Handling brake springs can be a bit of a delicate dance, but using brake spring pliers makes the process much more manageable.
Brake spring pliers are designed to give you the leverage and control needed to safely remove and install brake springs without causing damage.
You’ll want to start by familiarizing yourself with the correct grip and positioning to avoid strain or damage.
Mastering this tool not only improves safety but also guarantees a precise fit when reinstalling springs.
Let’s explore the essential steps that will help you work efficiently and confidently with brake spring pliers.
With the right technique, you can make brake spring replacement smoother and safer.
Brake Spring Pliers: What They Are and Why You Need Them
Brake spring pliers are specialized tools designed to safely and efficiently install and remove the high-tension springs found in drum brake systems. When working with various brake spring types, such as return springs, hold-down springs, and adjuster springs, you need a tool that provides secure grip and precise control.
These pliers offer several advantages: their curved jaws conform to spring shapes, reducing slippage and minimizing hand fatigue. You can apply targeted force to stretch or compress springs without damaging them or surrounding components.
Unlike generic pliers, brake spring pliers guarantee consistent alignment and engagement, speeding up maintenance tasks. By using the right pliers, you maintain safety and improve the accuracy of spring installation and removal for peak brake performance.
Why Brake Springs Are Tough to Handle: And How Pliers Help
Handling high-tension springs in drum brake systems requires careful control due to their strong resistance and potential for sudden release. You must understand brake spring mechanics: these springs store significant spring tension, which keeps brake shoes firmly in place.
Without proper tools, you risk injury or damaging components when manipulating these springs. Brake spring pliers are designed to grip and compress the springs safely, allowing you to overcome the stored energy with precision.
Preparing Your Workspace and Safety Gear
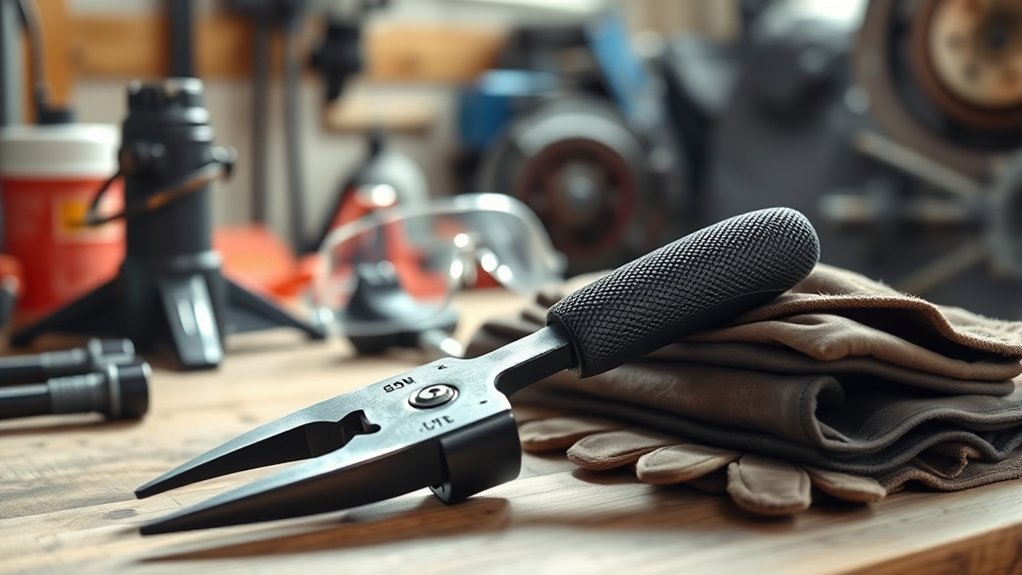
Before you begin working with brake springs, set up a clean, well-lit workspace that allows clear visibility and easy access to all tools and components. Prioritize workspace organization by arranging your brake spring pliers, replacement springs, and related hardware systematically to prevent delays and errors.
Verify the surface is stable and free of clutter to avoid accidental slips. Next, equip yourself with essential safety equipment: wear safety glasses to protect your eyes from flying debris, and use heavy-duty gloves to guard against sharp edges and pinches. Consider wearing long sleeves and closed-toe shoes for added protection.
Confirm that your workspace has proper ventilation if you’re working with lubricants or solvents. These steps will maximize both efficiency and safety as you handle brake springs with precision.
How to Identify Brake Springs Compatible With Your Pliers
When selecting springs, verify they match the size and tension specifications designed for your brake spring pliers. Different brake spring types vary in diameter, length, and coil tension, so identifying these parameters is vital for compatibility.
Ensure brake springs match your pliers’ size and tension specifications for safe, effective brake maintenance.
Consult your pliers’ manufacturer guidelines to determine the exact spring dimensions and force range your tool can handle. Using incompatible brake springs can damage both the springs and the pliers, compromising safety and functionality.
Measure springs with calipers and compare against your pliers’ capacity. Additionally, verify that the spring ends align with the gripping design of your pliers for secure handling.
Always use compatible tools to maintain control and guarantee proper brake assembly performance. This precision prevents slippage and tool wear during brake maintenance.
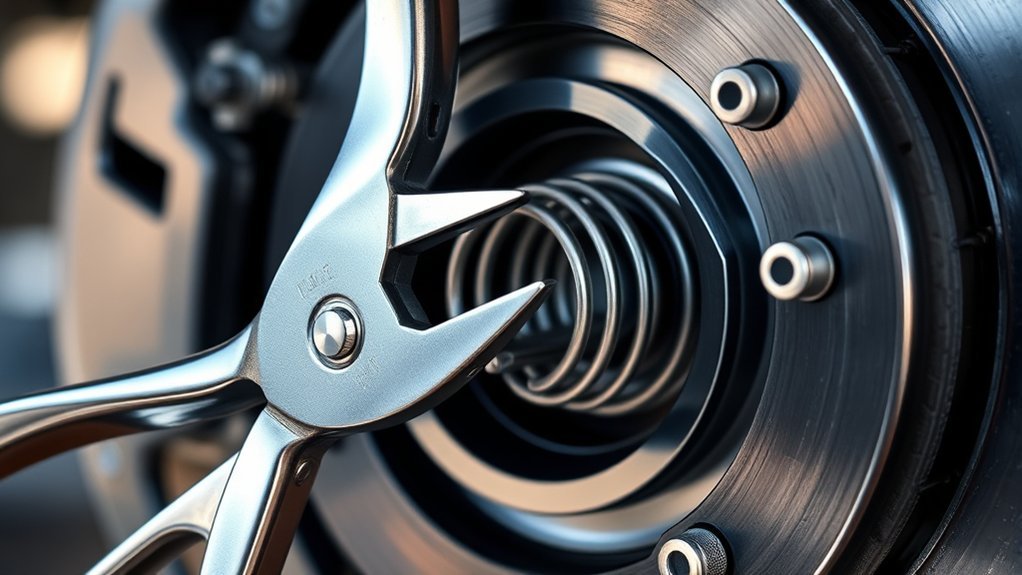
How to Grip and Position Brake Springs With Brake Spring Pliers
Although brake springs can be tough to manipulate by hand, brake spring pliers provide the leverage and control you need to grip them securely. Begin by confirming your plier selection matches the spring size and tension to maintain proper brake spring mechanics.
Position the pliers’ jaws around the spring’s coil, guaranteeing a firm grasp without deforming the metal. Apply steady pressure to compress or expand the spring as required, maintaining alignment with brake components.
Use the pliers to guide the spring into its anchor points, avoiding sudden releases that can damage the assembly. Proper grip and positioning reduce the risk of misalignment and guarantee consistent brake operation.
Always maintain controlled movements to handle brake springs safely and effectively.
How to Remove Brake Springs Safely
Before you start removing brake springs, make sure you wear safety glasses and gloves to protect yourself from sudden spring release. Use brake spring pliers to securely grip the spring, applying steady pressure to avoid slips.
Follow a clear, step-by-step process to detach the springs without damaging the brake components or injuring yourself.
Proper Safety Precautions
A secure workspace and the right personal protective equipment are essential for removing brake springs safely. Begin by wearing proper safety gear, including safety glasses to protect your eyes from sudden spring releases and gloves to prevent hand injuries.
Guarantee your work area is well-lit and free of clutter to avoid tripping or tool mishandling. When handling brake spring pliers, maintain a firm grip and control the tool’s movement deliberately. Avoid applying excessive force that could cause the spring or tool to slip.
Always position yourself to minimize risk if the spring unexpectedly releases. Confirm that the vehicle is securely supported on jack stands before starting. Adhering to these precautions will reduce the risk of injury and guarantee effective tool handling during brake spring removal.
Step-by-Step Removal Process
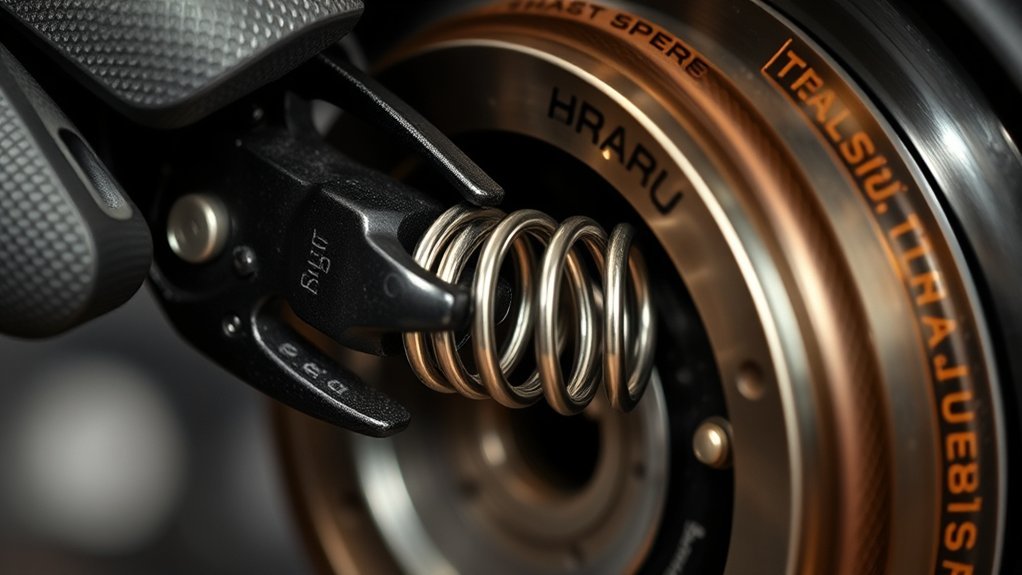
With safety measures firmly in place, you can begin the removal of brake springs using the brake spring pliers. First, identify the brake spring types installed, as different designs require specific handling.
Position the pliers’ jaws securely over the spring’s hooked end. Squeeze the handles firmly to compress the spring, releasing tension carefully. Slowly pivot the spring away from its anchor point, avoiding sudden releases that could cause injury.
Repeat this process for each spring, maintaining control throughout. Once removed, inspect the springs for wear before proceeding with spring installation of new or serviced components. Proper removal guarantees the brake system’s integrity and prepares the assembly for precise spring installation, maintaining ideal brake function and safety.
How to Install Brake Springs Using Brake Spring Pliers
Begin by positioning the brake spring pliers securely on the brake spring hooks to guarantee a firm grip. Choose pliers based on the specific brake spring types you’ll be installing, as different springs require varying jaw sizes and tensions.
Squeeze the handles to compress the spring, then carefully align it with the anchor points on the brake shoes. Maintain steady pressure to stretch the spring into place without slipping.
Once aligned, release the pliers slowly to seat the spring securely. Always verify the spring is fully engaged to prevent operational failure.
Proper pliers selection is essential for handling distinct brake spring types effectively, confirming safety and precision during installation. Repeat the process for each spring, verifying correct placement before reassembling the brake system.
Tips for Avoiding Damage When Using Brake Spring Pliers
Preventing damage to brake springs and surrounding components requires careful handling and proper technique when using brake spring pliers. First, guarantee correct tool selection; use pliers designed specifically for brake springs to provide the necessary grip and leverage without slipping.
Always position the pliers securely on the spring, avoiding contact with adjacent parts to prevent scratching or bending. Apply steady, controlled force rather than sudden movements to reduce stress on the spring and avoid deformation.
Maintain the pliers in good condition. Check for worn or damaged tips that could slip. Finally, wear gloves to improve grip and protect your hands. Following these steps guarantees you use the proper technique and tool selection to minimize damage during brake spring installation or removal.
Troubleshooting Brake Spring Pliers Problems
If your brake spring pliers aren’t gripping properly or show signs of malfunction, it’s essential to identify the root cause quickly. Check for worn or bent tips, and guarantee the pivot joint moves smoothly without excessive play.
Addressing these issues promptly will restore peak tool performance and prevent further damage.
Common Pliers Malfunctions
Several common issues can arise when using brake spring pliers, affecting their performance and safety. One frequent malfunction is misalignment of the jaws, which compromises grip and control. This often results from improper pliers maintenance or wear over time.
Another common issue is spring tension loss, reducing the tool’s ability to open and close effectively. Corrosion and dirt buildup can also impede smooth operation, leading to stiffness or jamming.
To prevent these malfunctions, regularly clean and lubricate the pliers, inspect for damaged parts, and store them in a dry environment. Early detection and routine pliers maintenance guarantee reliable function and extend the tool’s lifespan, helping you avoid operational hazards during brake spring removal or installation.
Fixing Grip Issues
Grip issues with brake spring pliers often stem from the malfunctions discussed earlier, such as jaw misalignment or weakened spring tension. To fix grip problems, first inspect the jaws for proper alignment; misaligned jaws reduce gripping effectiveness and require realignment using a flat surface and gentle tapping.
Next, check the spring tension by compressing the handles; if the resistance feels weak, replace or tighten the spring to restore maximum force. Perform grip adjustments by loosening any adjustable screws or bolts, then reposition the jaws or handles for a firmer hold.
After adjustments, test the pliers on a brake spring to verify a secure grip without slippage. Regularly maintaining spring tension and jaw alignment prevents recurrent grip issues and guarantees consistent performance.
How to Maintain and When to Replace Your Brake Spring Pliers
Although brake spring pliers are designed for durability, regular maintenance is essential to guarantee peak performance and longevity. Start by cleaning the pliers after each use to remove dirt, grease, and brake dust.
Apply a light machine oil to the pivot joint to facilitate smooth operation and prevent rust. Inspect the gripping surfaces for wear or damage, as compromised grips reduce effectiveness in brake spring maintenance. Check for any looseness or play in the pivot; tighten or replace parts as needed.
You should consider pliers replacement if you notice bent handles, cracked jaws, or if the tool no longer secures springs firmly. Maintaining your brake spring pliers properly extends their service life and guarantees safety and efficiency during brake servicing tasks.
Conclusion
Now that you’ve mastered using brake spring pliers, picture confidently gripping each spring’s hook, compressing it smoothly without strain or slip. With steady hands and the right technique, you’ll install and remove springs safely, protecting both yourself and your brake system.
Keep your workspace organized and your tools well-maintained to guarantee every job goes precisely as planned. By following these steps, you’ll handle brake springs like a pro, minimizing risks and maximizing efficiency.
Remember, the key to success lies in mastering how to use brake spring pliers effectively, ensuring both safety and precision in every brake maintenance task.