When selecting grit for your orbital sander, you need to consider the material and the stage of your project carefully. Choosing the right grit for orbital sander use is crucial to achieving the best results. Starting too fine wastes time, while too coarse risks damaging the surface.
Understanding how grit size influences both removal speed and finish quality is essential. But what grit should you begin with when stripping old paint, and how do you transition smoothly to achieve a flawless finish?
Recommended Grit Levels for Orbital Sanders
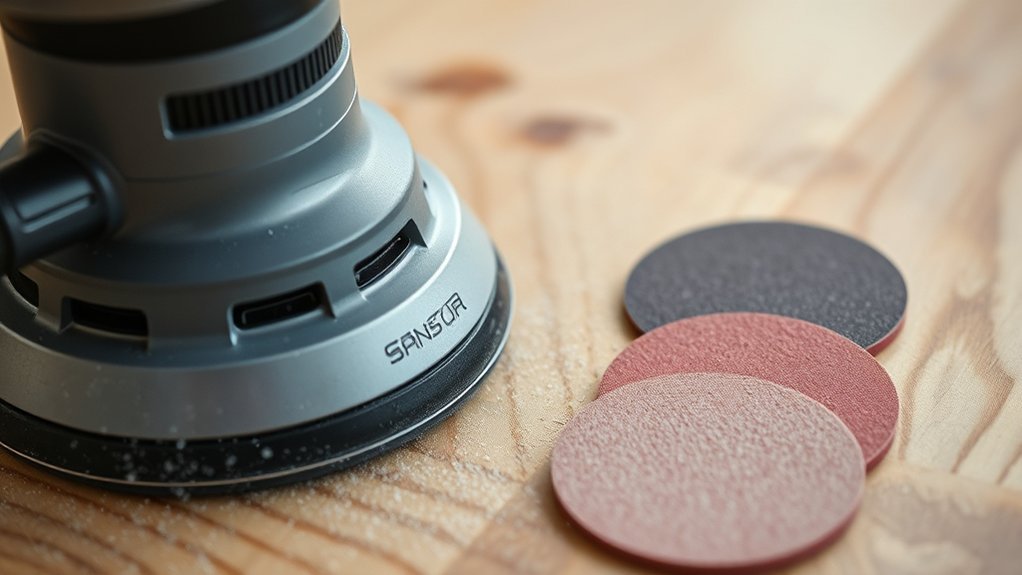
When should you choose a specific grit level for your orbital sander? You need to ensure grit compatibility with the material and the sander’s capabilities. Coarser grits (40-60) remove material quickly but can strain your orbital sander if used excessively, affecting orbital sander maintenance.
Medium grits (80-120) offer a balance between material removal and surface smoothing, ideal for preparing surfaces or removing light imperfections. Fine grits (150-220 and above) refine finishes without damaging the substrate.
Selecting the right grit ensures efficient sanding and prolongs your sander’s lifespan by preventing motor overload and abrasive clogging. Always match grit levels to your sander’s specifications and material hardness to optimize performance and maintain your tool in top condition.
How to Choose Sandpaper Grit for Your Project
To choose the right sandpaper grit, you need to understand how grit levels affect material removal and surface finish. You’ll also want to match the grit to the type of material you’re working on, as different surfaces require different abrasiveness.
This approach guarantees efficient sanding and peak results for your project.
Understanding Grit Levels
How do you determine the right grit level for your orbital sander? Understanding grit levels is essential for efficient sanding. Grit refers to the size of the abrasive particles, like crystal grit or aluminum oxide, affecting the finish quality.
Lower grit numbers mean coarser particles for aggressive material removal, while higher numbers indicate finer particles for smooth finishes.
Consider these grit categories:
- Coarse (40-60 grit): Ideal for heavy material removal and shaping.
- Medium (80-120 grit): Suitable for general sanding and surface preparation.
- Fine (150-220 grit and above): Used for finishing and smoothing surfaces.
Matching Grit To Material
Which grit level suits your material best depends on its hardness, texture, and the sanding stage. For softer woods, start with medium grit (80-120) to avoid gouging; harder materials like metal require coarser grit (60-80) initially.
Smooth surfaces or finishing stages demand finer grit (220+). Assess grit compatibility carefully. Using too coarse a grit on delicate materials can cause damage, while too fine a grit on rough surfaces wastes time.
Match your sanding cadence to the grit: slower, controlled movements suit coarse grits to prevent uneven removal; faster, lighter strokes work well with fine grits for smooth finishes. By aligning grit compatibility with material characteristics and adjusting your sanding cadence accordingly, you optimize efficiency and surface quality in every project.
How to Choose Grit for Removing Old Paint?
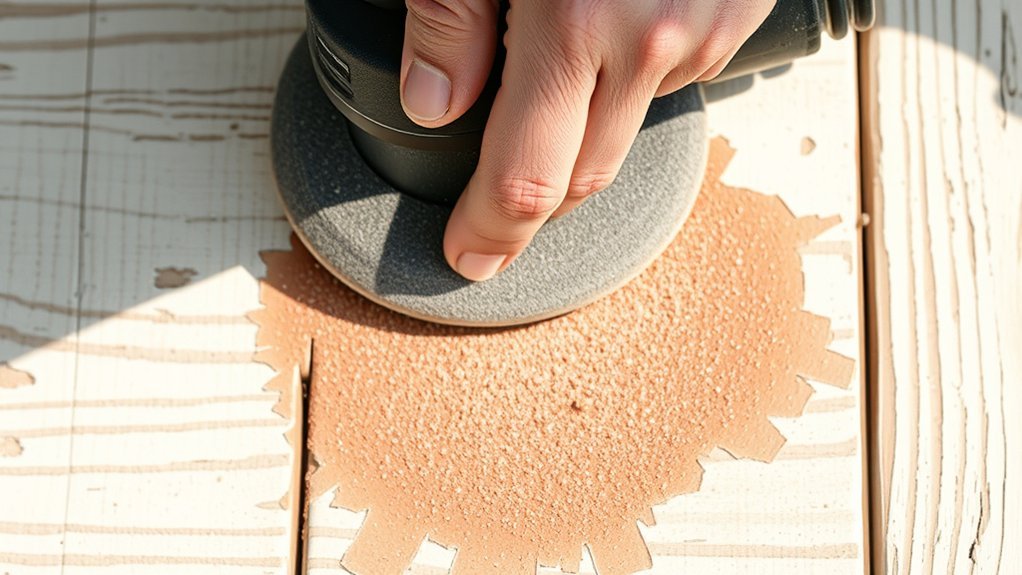
When removing old paint, you’ll start with coarse grit to strip layers efficiently without damaging the surface. Next, switch to medium grit to smooth rough areas and prepare for finishing.
Finally, use fine grit to achieve a polished, even finish ready for repainting.
Coarse Grit Benefits
Why opt for coarse grit when removing old paint? The coarse grit benefits are clear: it aggressively strips layers, saving time and effort. When paired with the right orbital sander speed, you maximize efficiency without damaging the surface beneath.
Consider these points:
- Rapid removal: Coarse grit (40-60) quickly breaks down thick paint layers, speeding up your prep work.
- Surface leveling: It evens out rough patches left by peeling paint, creating a smooth base for refinishing.
- Orbital sander speed synergy: Adjusting speed to medium-high with coarse grit balances removal power and control, preventing gouging.
Using coarse grit with proper speed settings ensures thorough, efficient paint removal, setting you up for a flawless finish.
Medium Grit Usage
How do you balance efficiency and control when removing old paint? Medium grit sandpaper, typically between 80 and 120, offers a strategic compromise. It’s abrasive enough to strip paint without gouging the surface beneath.
Using medium grit allows you to maintain better control over the orbital sander, reducing the risk of over-sanding. This grit also supports effective noise control, as it avoids the harsh scraping sounds associated with coarser grits.
Furthermore, medium grit contributes to improved dust management. It produces larger, less fine particles that are easier to capture with a vacuum attachment, minimizing airborne dust.
When selecting your medium grit, consider the paint’s thickness and the substrate’s sensitivity to ensure efficient removal while preserving the material’s integrity.
Fine Grit Finishing
After using medium grit to efficiently remove most of the old paint, you’ll want to refine the surface with fine grit sandpaper to achieve a smooth, even finish. Your grit choice here is crucial for the finishing technique, as it prevents scratching while preparing the surface for painting or sealing.
Typically, fine grits between 180 and 220 work best. To choose the right grit for removing residual paint and smoothing:
- Use 180 grit to eliminate minor rough patches left by medium grit.
- Progress to 220 grit for final surface smoothing without damaging the substrate.
- Test on a small area to ensure the grit choice balances paint removal and surface integrity.
This structured approach ensures an optimal finish and prepares the surface effectively.
Which Grit Works Best for Smoothing Rough Wood?
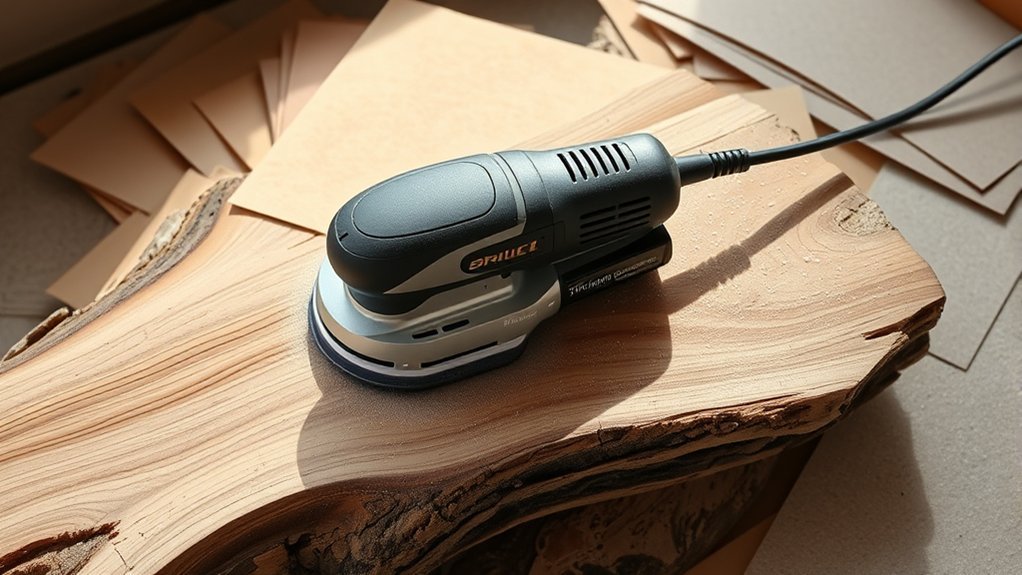
When selecting grit for smoothing rough wood with an orbital sander, you’ll want to start with a coarser grit to efficiently remove uneven surfaces and imperfections. Typically, grits between 40 and 60 are ideal for this initial phase. Your grit selection should balance aggressive material removal with preventing excessive damage to the wood.
Additionally, ensure the grit matches your orbital sander’s tool compatibility; some sanders perform better with specific grit ranges or backing types. After the coarse pass, gradually move to finer grits to refine the surface.
Picking the Right Grit for Your Wood and Project
Once you’ve established a sanding sequence starting with coarser grits, the next step is to tailor your grit choices to the specific wood type and project requirements. Grit compatibility ensures you don’t damage the wood or waste time. Consider these factors:
- Wood Hardness: Softer woods require finer grit earlier to prevent gouging, while hardwoods tolerate coarser grits longer.
- Project Finish: For a smooth finish, transition through progressively finer grits; rough projects tolerate abrupt changes.
- Dust Extraction Efficiency: Choose grit types compatible with your sander’s dust extraction system to maintain visibility and sanding quality.
When to Use Coarse vs. Fine Sandpaper Grit
Why choose coarse grit over fine, or vice versa, during your sanding process? Your grit selection directly impacts sanding efficiency and the outcome. Use coarse grit when you need to remove material quickly, strip old finishes, or smooth rough surfaces. It’s best for initial passes where efficiency is critical.
Fine grit, however, suits final sanding stages, refining the surface and preparing it for finishing. You’ll sacrifice speed for a smoother finish. By selecting the right grit at each stage, you optimize both time and quality.
How Grit Size Affects Sanding Speed and Finish Quality
You’ll notice that coarse grit sandpaper removes material quickly but leaves a rough surface, while fine grit slows the process but creates a smoother finish.
Understanding this trade-off helps you balance sanding speed with the quality of the final surface. Let’s examine how choosing the right grit size impacts both efficiency and finish.
Coarse Grits For Speed
How does grit size influence the speed and quality of your orbital sanding? With coarse grits, you accelerate material removal, but you sacrifice smoothness. Your orbital sander’s efficiency depends heavily on grit selection.
Coarse grits (40-60) enable rapid stripping of paint or varnish, quickly exposing the raw surface. They also allow faster shaping of rough wood, removing high spots and imperfections. This increases sanding speed, reducing project time significantly.
However, as you use coarser grits, the scratches left behind grow deeper, requiring subsequent sanding with finer grits to smooth the surface. So, while coarse grits boost speed, they trade off finish quality initially. Effective grit selection balances these factors to optimize your orbital sander’s performance for the task at hand.
Fine Grits For Smoothness
While coarse grits speed up material removal, they leave behind deeper scratches that require refinement. That’s where fine grits come into play. When you use an orbital sander with finer grit selection, typically between 180 and 320, you slow down sanding speed but significantly improve surface smoothness.
This finer abrasive removes smaller imperfections and subtly polishes the surface, preparing it for finishing. You’ll notice that fine grits reduce the risk of visible scratch marks, producing a cleaner, more professional look. However, the trade-off is a longer sanding process.
Understanding how grit size affects both speed and finish quality helps you make informed choices, ensuring your orbital sander delivers optimal results for delicate or finishing stages of your project.
Balancing Speed And Finish
Why does grit size matter so much when using an orbital sander? Because it directly influences balancing speed and finish quality. Larger grits remove material quickly but leave rough surfaces, while finer grits take longer but yield a smooth finish.
To optimize your sanding process, consider:
- Coarse grit (40-60): Speeds up material removal but produces a rough finish requiring further sanding.
- Medium grit (80-120): Balances moderate removal speed with improved surface smoothness.
- Fine grit (150-220+): Slows removal but enhances finish quality, ideal for final sanding.
How to Transition Sandpaper Grits for a Flawless Finish
When moving between sandpaper grits on your orbital sander, you need a systematic approach to guarantee a flawless finish. Begin with grit calibration, ensuring each grit level is appropriate for the surface condition. Transition gradually to prevent scratching. Prioritize dust management by cleaning the surface and sander between grits to maintain effectiveness.
| Step | Action | Purpose |
|---|---|---|
| 1 | Start coarse (60-80 grit) | Remove major imperfections |
| 2 | Intermediate (100-120) | Smooth rough scratches |
| 3 | Fine (150-180) | Refine surface texture |
| 4 | Very fine (220-320) | Prepare for finishing |
| 5 | Clean between steps | Prevent grit contamination |
This structured process ensures each grit builds on the last, producing a smooth, even finish.
Common Sandpaper Grit Mistakes to Avoid
How do common sandpaper grit mistakes impact your orbital sanding results? Using the wrong grit can compromise surface smoothness and prolong your project. Avoid these pitfalls to optimize orbital sander ergonomics and dust collection efficiency:
- Starting with too coarse a grit: This causes deep scratches that finer grits struggle to remove, increasing sanding time and effort.
- Skipping intermediate grits: Jumping from coarse to very fine grit leaves uneven surfaces, forcing you to redo steps and strain your wrist.
- Overusing fine grit prematurely: It clogs quickly, reducing dust collection efficiency and causing overheating, which affects sander control and comfort.
Tips for Maintaining Sandpaper and Getting the Most Out of Each Grit
What steps can you take to extend the life of your sandpaper and maximize each grit’s effectiveness? First, always practice proper sanding etiquette by applying consistent, moderate pressure and keeping the sander moving to prevent premature wear.
Clean your sandpaper regularly with a brush or abrasive cleaning stick to remove debris, which significantly improves grit longevity. Avoid using sandpaper on surfaces with embedded nails or screws, as this damages the abrasive coating.
Store sandpaper in a dry, flat environment to prevent curling or moisture damage. Additionally, match the grit to the task precisely; using finer grits prematurely clogs and dulls paper faster.
Frequently Asked Questions
Can Grit Type Affect Dust Production During Sanding?
Yes, grit type directly affects dust production; coarser grit size generates larger particles, increasing dust and noise levels.
You’ll notice finer grits produce less dust and quieter operation, enhancing control and cleanup efficiency during sanding.
Are There Eco-Friendly Sanding Grit Options Available?
When it comes to eco-friendly sanding, you’ve got grit options like recycled aluminum oxide and silicon carbide. These materials reduce environmental impact, letting you kill two birds with one stone: effective sanding and sustainability combined.
How Does Grit Affect Sander Motor Wear and Tear?
You’ll find that coarse grit increases grit wear and causes the motor heat to rise, accelerating sander motor wear and tear.
Using finer grit reduces motor strain, extending your sander’s lifespan by minimizing heat and friction.
Can Grit Size Impact Sanding Noise Levels?
Yes, grit size impacts sanding noise; coarser grit raises noise and dust production, increasing motor wear.
Choosing eco friendly grit types for metal sanding reduces noise and wear during orbital sander usage, optimizing grit effects efficiently.
What Grit Should Be Used for Sanding Metal With an Orbital Sander?
Like a surgeon choosing tools, you’ll want 80-120 grit for metal sanding using an orbital sander. Ensure grit compatibility with the metal type to avoid damage, and manage dust implications with proper ventilation and a vacuum system.
Conclusion
Choosing the right grit for your orbital sander isn’t just a step—it’s the key to releasing a flawless finish. Start coarse to tackle tough jobs, then methodically refine with medium and fine grits, avoiding the temptation to skip steps. Like climbing a ladder, each grit level builds on the last, ensuring smooth progress without damage.
If you master this sequence, your project will transform from rough to remarkable with precision and ease. Understanding what grit for orbital sander to use at each stage will make all the difference in achieving a professional result.