Sanding a table with an electric sander isn’t just about smoothing wood—it’s about setting the stage for a flawless finish. Using an electric sander correctly can transform the surface, making it ready for staining or painting. You’ll need to select the right tool, prepare your surface carefully, and master a technique that avoids common pitfalls.
Getting these steps right ensures your table looks professional and lasts longer. But before you pick up that sander, there are essential details you should understand to avoid costly mistakes. Taking the time to learn these basics will save you effort and improve your results significantly.
Choosing the Best Electric Sander for Your Table
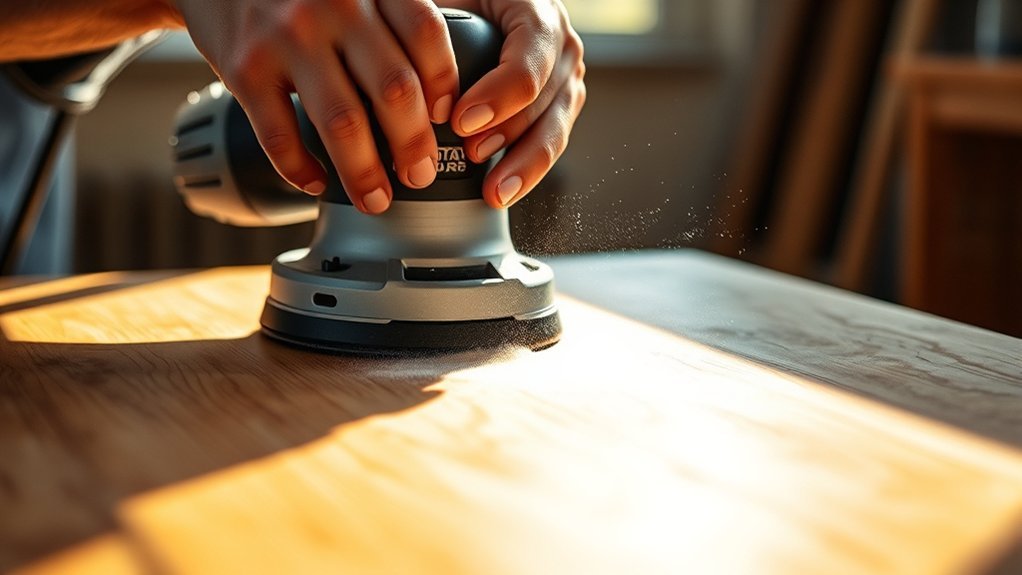
When selecting the best electric sander for your table, what factors should you prioritize to ensure a smooth and efficient finish? Start by choosing power appropriate for your table’s material. Higher wattage means faster sanding but can be harder to control.
Consider the noise level; quieter models allow longer use without fatigue. Dust collection is crucial to keep your workspace clean and improve visibility. Look for sanders with built-in dust bags or ports for vacuum attachment.
Weight balance affects comfort and precision. A well-balanced sander reduces strain and lets you maintain steady pressure. By focusing on these elements—power, noise level, dust collection, and weight balance—you’ll pick a tool that delivers effective sanding while minimizing hassle and fatigue.
Preparing Your Table Surface for Electric Sanding
Before you start sanding, thoroughly clean your table to remove dust, dirt, and grease that could interfere with the sanding process. Use a mild detergent and water, then dry the surface completely.
Inspect for nails, screws, or staples protruding from the wood, as these can damage your sander or cause uneven sanding. These are common preparation pitfalls to avoid. Remove any hardware or loose parts to ensure a smooth workflow.
Arrange your workspace to support proper sanding ergonomics; position the table at a comfortable height and clear the area for unrestricted movement. This setup helps prevent fatigue and maintains consistent pressure during sanding.
Taking these preparation steps seriously ensures efficient sanding and protects both your table and your electric sander from unnecessary damage.
Step-by-Step Guide to Sanding Your Table With an Electric Sander

How do you achieve a smooth, even finish using an electric sander? Start by attaching medium-grit sandpaper (around 120 grit) to your sander. Turn it on and move the sander steadily across the table’s surface, following the wood grain.
Avoid pausing in one spot to prevent uneven sanding. After the initial pass, switch to finer grit sandpaper (220 grit) to smooth out the surface. Remember, focus strictly on sanding. The irrelevant topic of paint removal or an unrelated concept like staining comes later.
Keep consistent pressure and overlapping strokes for uniform results. Finally, wipe away dust with a tack cloth to inspect your work. This step-by-step method ensures your table is evenly sanded and ready for finishing without unnecessary distractions.
Common Mistakes to Avoid When Sanding Your Table
Achieving a smooth, even finish with your electric sander sets the foundation, but steering clear of common mistakes will save you time and effort. Poor sanding etiquette, like applying uneven pressure or skipping grit steps, can ruin your table’s surface.
Avoid lingering too long on one spot to prevent gouges.
| Common Mistakes | Effect on Finish | How to Avoid |
|---|---|---|
| Uneven pressure | Uneven surface | Maintain consistent hand pressure |
| Skipping grit steps | Rough, scratched finish | Progress systematically |
| Over-sanding edges | Rounded, damaged edges | Sand edges carefully and briefly |
Stick to proper sanding etiquette to ensure a flawless, professional result every time.
Finishing Steps for a Smooth Table Surface
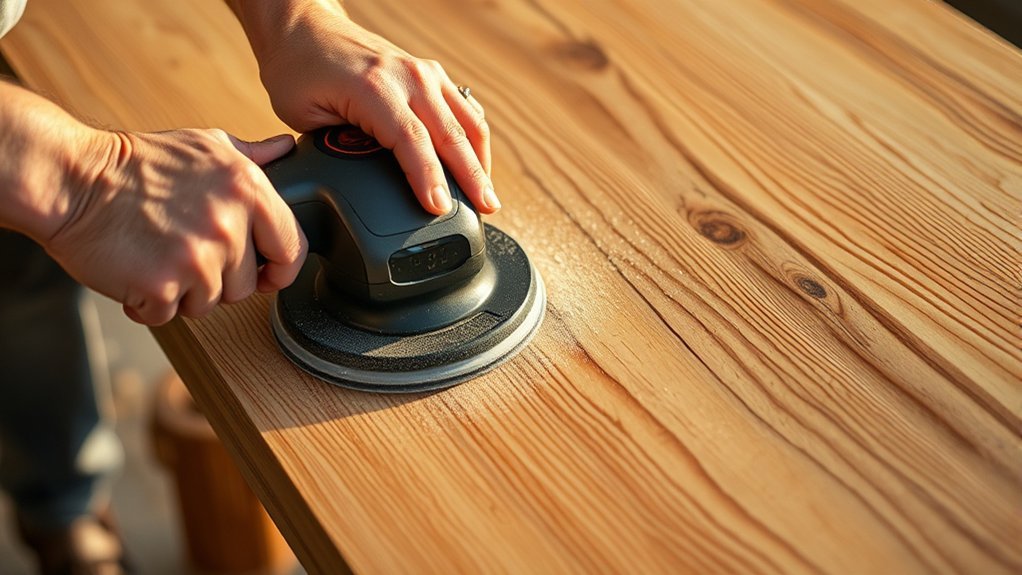
What comes after sanding to create a truly smooth table surface? The finishing steps are crucial. First, thoroughly wipe the table with a tack cloth or a damp microfiber cloth to remove all dust particles left from sanding.
After sanding, wiping the table with a tack cloth removes dust, preparing it for a flawless finish.
Next, inspect the surface for any imperfections, filling small dents or scratches with wood filler if needed. Once dry, lightly sand these spots again, then clean off the dust.
Apply a wood conditioner to ensure even stain absorption if you plan to stain the table. Afterward, apply your chosen finish, polyurethane, varnish, or oil, in thin, even coats using a brush or cloth.
Allow each coat to dry fully, sanding lightly between coats with fine-grit sandpaper. These finishing steps guarantee a smooth surface, enhancing both appearance and durability.
Frequently Asked Questions
What Safety Gear Should I Wear While Using an Electric Sander?
You should always wear safety gear, including eyewear protection to shield your eyes from dust and debris, a dust mask to avoid inhaling particles, and hearing protection to guard against noise from the electric sander.
Can I Use an Electric Sander on Painted Tables?
You can use an electric sander on painted tables, but be cautious. The electric sander practicality is high for removing paint, yet painted surface drawbacks include uneven sanding and potential damage if you press too hard or use the wrong grit sandpaper.
How Do I Maintain and Clean My Electric Sander?
Feel the power slip away if you neglect maintaining your sander. Stick to a cleaning routine: unplug, brush dust off, wipe surfaces, check pads, and store it dry.
This keeps your sander efficient and long-lasting.
What Grit Sandpaper Is Best for Removing Deep Scratches?
You’ll want to start with coarse grit sandpaper, around 60-80, to effectively remove deep scratches. Use orbital patterns consistently to avoid uneven surfaces, then gradually switch to finer grits for a smooth finish.
How Long Does It Typically Take to Sand a Table?
It typically takes you 30 minutes to 2 hours to sand a table. Factors influencing sanding time include the table’s size, wood type, scratch depth, grit progression, and your sanding technique’s efficiency.
Conclusion
Sanding your table with an electric sander is a simple, satisfying step toward stunning surfaces. Start smart by selecting a sander with solid support and smooth dust collection. Steady sanding with the grain, switching grits skillfully, ensures a sleek, scratch-free finish.
Stay sharp—skip the common slip-ups like lingering too long or ignoring prep. Finally, finish firmly with a clean wipe to create a flawless, fresh-faced table ready for your next masterpiece. Mastering how to sand a table with an electric sander will give you beautiful results every time.