Did you know that using the right sanding technique with an orbital sander can reduce your project time by up to 30%? If you want to achieve a smooth, even finish without damaging your workpiece, mastering the orbital sander is essential.
From selecting the correct grit to maintaining steady pressure and motion, there are key steps you need to follow. Understanding these basics will help you get professional results every time.
What Is an Orbital Sander?
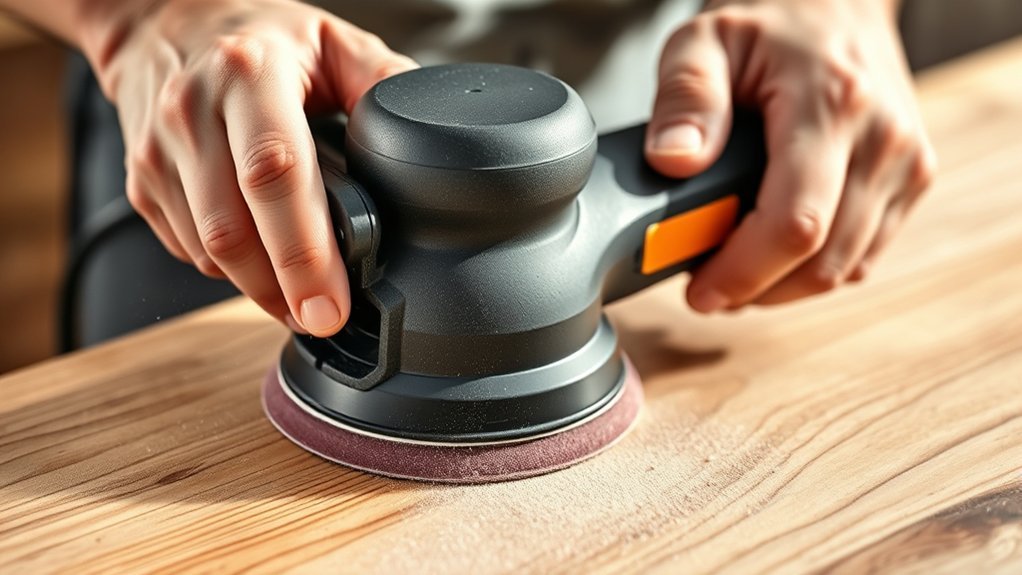
What exactly is an orbital sander, and why might you want to use one? An orbital sander is a handheld power tool designed for smoothing surfaces by moving a sanding pad in small, circular orbits. This action reduces swirl marks, making it ideal for finishing wood, metal, or plastic.
Understanding what is an orbital sander helps you choose the right tool for your project. You’ll find the sanding pad at the base, which you’ll need to replace periodically as it wears out.
Sanding pad replacement is straightforward: just detach the old pad and attach a new one, usually secured with hook-and-loop fasteners. Keeping the pad in good condition ensures consistent sanding performance and a smooth finish every time you use your orbital sander.
How to Use an Orbital Sander Safely
Before you start sanding, make sure the sanding pad is properly attached and in good condition to ensure smooth operation. Follow safety guidelines by wearing eye and ear protection to guard against dust and noise.
Hold the sander with a firm grip, applying power tool ergonomics to reduce fatigue. Use both hands to control the tool and keep it flat on the work surface to avoid gouging.
Manage vibration by taking breaks and using anti-vibration gloves if possible. For noise reduction, work in a well-ventilated area and consider noise-dampening mats.
| Safety Aspect | Action Tip |
|---|---|
| Eye Protection | Wear safety goggles |
| Noise Reduction | Use earplugs or earmuffs |
| Vibration Management | Take regular breaks |
| Ergonomics | Hold with both hands, keep wrists neutral |
Choosing the Right Sandpaper Grit for Your Orbital Sander
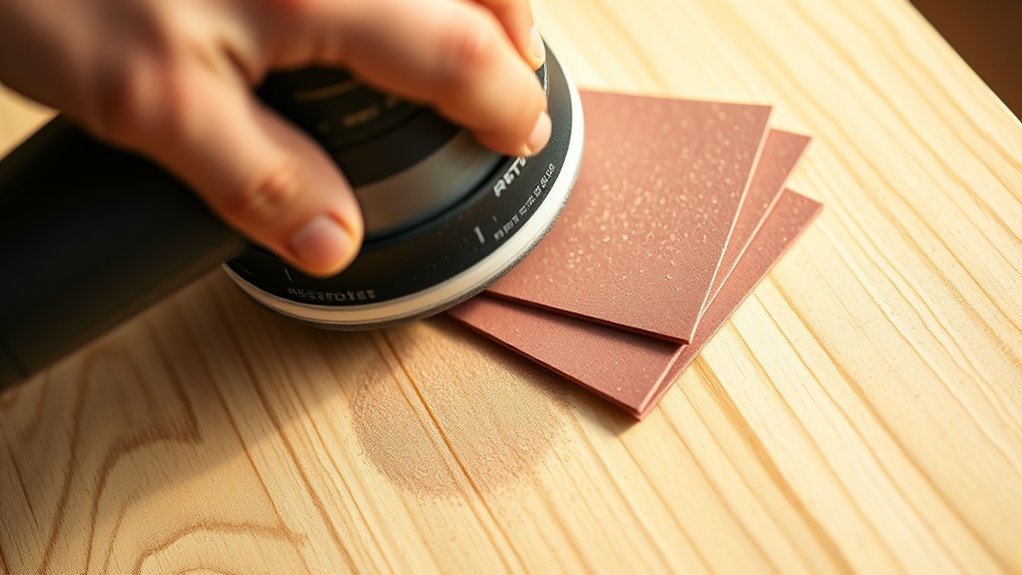
How do you select the right sandpaper grit to achieve a smooth, even finish with your orbital sander? Start by choosing grit based on your project’s needs. Coarse grits (40-60) remove material quickly, ideal for stripping paint or shaping wood.
Medium grits (80-120) smooth rough surfaces and prepare wood for finishing. Fine grits (150-220) provide a polished surface ready for staining or painting. Remember, sanding speed affects performance. Higher speeds work well with finer grits but can clog coarse sandpaper faster.
Always match sanding speed to grit size to avoid damaging the surface or wearing out the paper prematurely. By carefully choosing grit and adjusting sanding speed, you’ll optimize results and extend your sandpaper’s life.
Tips for a Smooth Finish Every Time
Selecting the right sandpaper grit sets the foundation, but achieving a truly smooth finish requires attention to technique and handling. Start by keeping the sander moving steadily in overlapping, circular motions to avoid gouges or uneven spots.
Don’t press down hard; let the sander’s weight do the work. Change grits progressively, from coarse to fine, to refine the surface smoothly. Between grits, wipe away dust to prevent scratches.
When you’re ready, apply a light coat of sealant using a brush or cloth, ensuring even coverage. This locks in the finish and protects the wood.
For best results, sand lightly between sealant coats with fine-grit sandpaper. Mastering these techniques for finishes will help you consistently produce professional-looking, smooth surfaces every time you use your orbital sander.
Common Orbital Sander Mistakes to Avoid
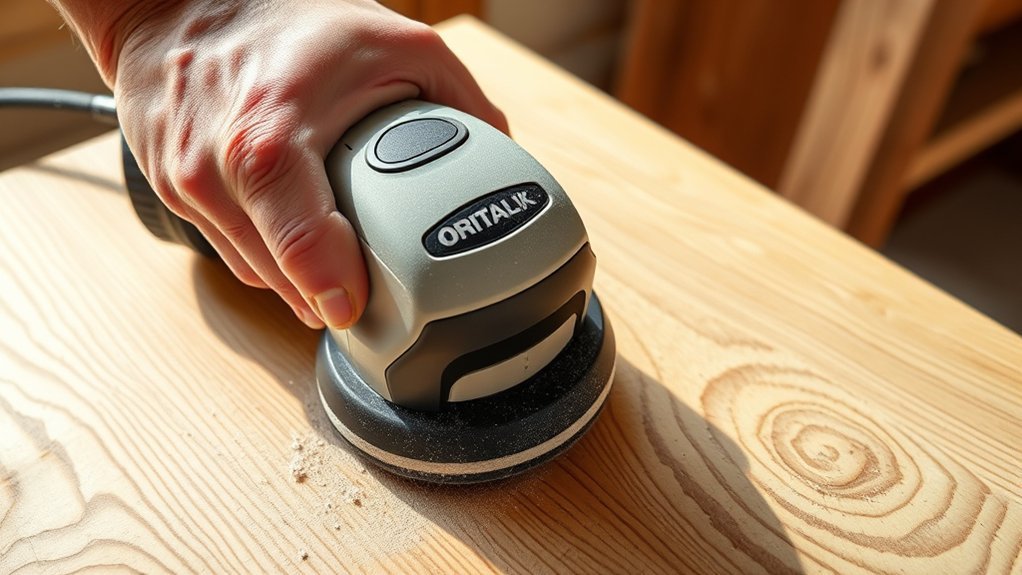
Even if you follow all the proper steps, certain mistakes can still undermine your sanding results. Avoid these common mistakes to improve your sanding technique and achieve a flawless finish.
1. Applying too much pressure
Pressing hard can cause uneven surfaces and damage the sander’s motor. Let the tool do the work.
2. Sanding in one spot too long
This creates uneven spots and grooves. Keep the sander moving in steady, overlapping motions.
3. Using the wrong grit
Starting with grit that’s too coarse or finishing with one too fine can ruin your surface. Match the grit to your sanding stage.
Maintaining and Cleaning Your Orbital Sander
To keep your orbital sander running smoothly, regularly empty and clean the dust collection system to prevent clogs. Make sure to remove debris from the sanding pads after each use to maintain their effectiveness.
Also, check the motor for dust buildup and follow the manufacturer’s guidelines for proper lubrication and maintenance.
Dust Collection System Care
How often should you clean your orbital sander’s dust collection system? Regular maintenance is key to effective dust control and prolonging the life of your sander. Aim to clean the dust filters and collection bag after every few uses, or whenever you notice reduced suction.
Follow these steps to maintain optimal dust collection:
- Detach the dust collection bag or canister carefully to avoid spreading dust.
- Empty and tap out the bag to remove loose debris.
- Inspect and clean the dust filters by gently tapping or using compressed air to clear clogged particles.
Keeping dust filters clear ensures efficient airflow and prevents overheating. Proper dust control not only keeps your workspace cleaner but also improves sanding performance and tool longevity.
Cleaning Sanding Pads
Regularly cleaning your sanding pads ensures consistent grit performance and extends their lifespan. After each use, remove the pads and gently brush off dust and debris with a stiff-bristle brush or compressed air.
For stubborn residue, use a cleaning stick or rubber eraser designed specifically for cleaning pads to restore abrasiveness. Avoid soaking the pads in water, as moisture can damage the adhesive backing.
Inspect the pads frequently for wear or clogging; if the grit is visibly worn or the pad no longer sands effectively, it’s time to replace it. Using worn sanding pads reduces efficiency and can damage your work surface.
Keep a set of replacement pads handy to switch out as needed, ensuring your orbital sander always performs at its best.
Motor Maintenance Tips
Keeping your orbital sander’s motor in good condition plays a big role in ensuring smooth operation and a longer tool lifespan. Understanding motor basics helps you spot issues early, especially those linked to blade wear.
To maintain your sander’s motor, follow these steps:
- Regularly clean dust and debris from the motor vents to prevent overheating and motor damage.
- Inspect the brushes and replace them if worn down, as worn brushes reduce motor efficiency and cause uneven sanding.
- Lubricate moving parts according to the manufacturer’s guidelines to minimize friction and wear.
Frequently Asked Questions
Can an Orbital Sander Be Used on Metal Surfaces?
Yes, you can use an orbital sander on metal surfaces, but ensure you choose appropriate abrasive pads for orbital durability.
Also, check your dust collection effectiveness since metal dust differs from wood and requires proper cleanup.
What Is the Difference Between an Orbital and a Random Orbital Sander?
You’ll find the orbital vs random orbital difference lies in motion; orbital sanders move in a fixed circle, while random orbitals combine spinning and oscillating. This makes random orbitals better for metal surface usage and smoother finishes.
How Loud Is an Orbital Sander During Operation?
You’ll find the noise level considerations moderate, but it varies by model. Using proper dust extraction effectiveness reduces airborne particles, making operation cleaner and quieter.
Always wear hearing protection to safeguard your ears during use.
Are There Cordless Orbital Sanders Available?
Yes, cordless orbital sanders offer great cordless portability, letting you work anywhere without a power outlet. Just keep an eye on battery life to avoid interruptions and guarantee you charge fully before starting your project for optimal performance.
Can I Use an Orbital Sander for Removing Paint?
You can absolutely use an orbital sander for paint removal, especially when prepping metal surfaces. Just don’t bite off more than you can chew. Start with coarse grit, then fine, to avoid damaging the metal underneath.
Conclusion
Now that you know how to use an orbital sander, you’re all set to make every surface flawlessly smooth—assuming you don’t press down like you’re trying to dig a hole or forget to change grits.
Just hold it flat, move steadily, and let the tool do the work. Skip these steps, and your “smooth finish” might end up more like an accidental abstract art piece.
So, follow the tips carefully, and you’ll avoid sanding regrets when using an orbital sander!