Using an electric sander is like wielding a precision tool that can transform rough surfaces into smooth finishes with ease—if you know how to handle it correctly.
An electric sander allows you to work efficiently, but you’ll need to secure your workpiece firmly, choose the right grit, and maintain consistent pressure while moving the sander along the grain.
Mastering these steps prevents damage and guarantees efficiency. However, there’s more to achieving a flawless result than just basic operation.
How to Use an Electric Sander Safely and Effectively
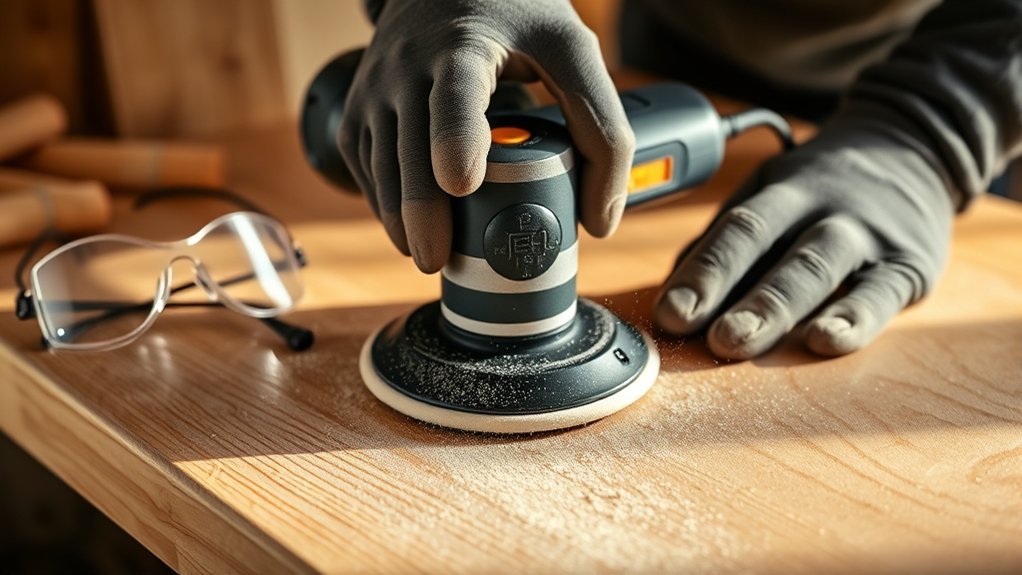
How do you guarantee both safety and efficiency when using an electric sander? Start by securing your workpiece firmly to prevent movement. Always inspect the sander for damage or loose parts before use.
Choose the correct sandpaper grit for your task. Coarser grits remove material faster but can cause uneven surfaces if misused. Maintain consistent pressure and keep the sander moving to avoid gouges.
Select the right grit, apply steady pressure, and keep the sander moving to ensure a smooth, even finish.
Avoid unrelated discussions or distractions that could impair your focus; stay on topic ideas related to the sanding process. Ensure your workspace is clean and well-lit to spot potential hazards.
Lastly, connect the sander to a properly grounded power source and avoid overloading circuits. By following these practical steps, you’ll use your electric sander safely and effectively every time.
What Safety Gear to Wear When Sanding
Why should you prioritize wearing the right safety gear when sanding? Sanding produces fine dust particles that can irritate your eyes, skin, and respiratory system. You must wear safety gear designed to protect you from these hazards.
Start with respiratory protection: use a dust mask or respirator rated for fine particulates to prevent inhaling harmful dust. Eye protection is essential. Wear safety goggles or glasses with side shields to block airborne debris.
Gloves protect your hands from abrasions and splinters. Additionally, consider hearing protection if your sander is loud, as prolonged exposure can damage your hearing. Proper clothing, such as long sleeves, helps shield your skin.
Always choose safety gear that fits well and meets industry standards to ensure effective protection while sanding.
How to Prepare Your Workpiece for Sanding
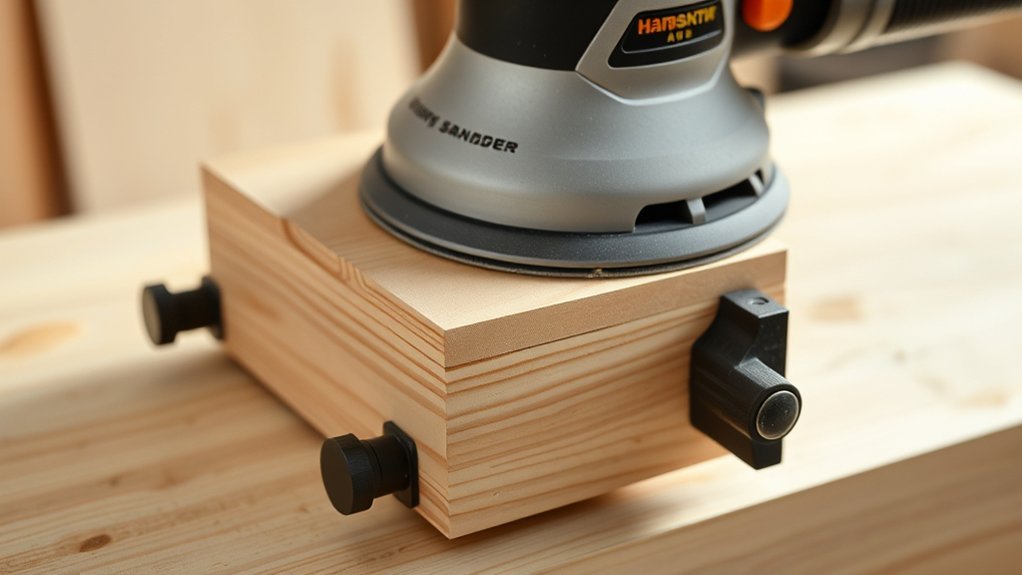
Before you start sanding, make sure you clean the surface thoroughly to remove dust and debris. Strip any old finishes that could clog the sander or affect the results.
Finally, secure the workpiece firmly to prevent movement during sanding for consistent, even pressure.
Clean Surface Thoroughly
Where should you begin when preparing your workpiece for sanding? Start by ensure a clean surface. Remove all dust, dirt, grease, or debris that could interfere with the sanding process.
Use a tack cloth or a damp rag to wipe down the surface thoroughly. Proper surface preparation prevents clogging of the sandpaper and promotes an even finish.
Inspect the surface closely to confirm it’s free of contaminants. If necessary, use a mild detergent and water, then allow the workpiece to dry completely before sanding.
Skipping this step might result in scratches or uneven abrasion. Taking time to clean the surface thoroughly optimizes the effectiveness of your electric sander and ensures professional-quality results.
Remove Old Finishes
After cleaning the surface thoroughly, the next step is to remove any old finishes that could hinder the sanding process. Old finishes like varnish, lacquer, or paint peeling can cause uneven sanding and damage the sander’s abrasive pads.
To ensure a smooth, clean workpiece, follow these steps:
- Use a chemical stripper to dissolve stubborn old finishes.
- Scrape off loosened paint peeling with a plastic or metal scraper.
- Sand rough edges gently by hand before using the electric sander.
- Apply a tack cloth to remove dust and residue.
- Inspect the surface for any remaining finish or peeling areas.
Removing old finishes prepares your workpiece for efficient sanding and prevents clogging or uneven abrasion during the sanding process.
Secure Workpiece Firmly
A stable workpiece is essential for safe and effective sanding. To secure workpiece firmly, use clamps or a vise, ensuring it doesn’t shift during operation. This stability prevents uneven sanding and potential injury.
Additionally, choose appropriate dust collection to maintain a clean workspace and improve visibility.
| Step | Tool Needed | Purpose |
|---|---|---|
| Clamp workpiece | Clamps or vise | Prevents movement |
| Check stability | Hand pressure | Confirms secure positioning |
| Connect dust collection | Vacuum or dust extractor | Reduces airborne debris |
How to Choose the Right Sandpaper Grit
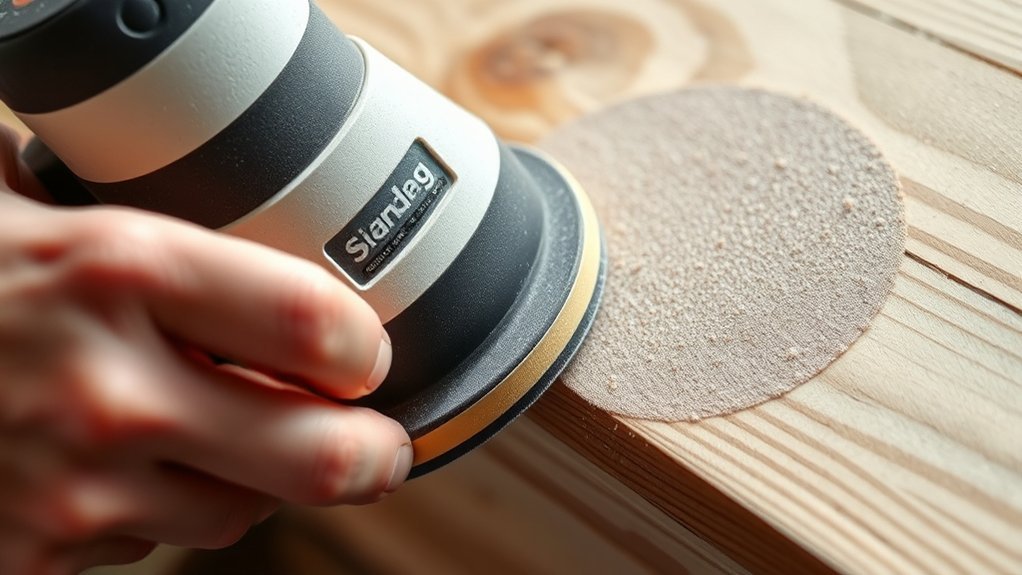
You need to understand sandpaper grit numbers to select the right abrasive for your project. Coarser grits remove material quickly but leave rougher finishes, while finer grits smooth surfaces without heavy abrasion.
Match the grit to your workpiece’s condition and desired finish for optimal results.
Understanding Grit Numbers
How do grit numbers affect your sanding results? The grit scale measures the abrasive texture of sandpaper, indicating particle size. Lower grit numbers correspond to coarse abrasives that remove material quickly but leave rough surfaces. Higher grit numbers mean finer abrasives for smoothing and finishing.
Understanding this scale lets you control the sanding process precisely.
- Coarse grits (40-60) strip paint and shape wood rapidly
- Medium grits (80-120) smooth rough surfaces and remove minor imperfections
- Fine grits (150-180) prepare surfaces for finishing
- Very fine grits (220-400) polish and refine surfaces
- Ultra-fine grits (600+) are used for ultra-smooth finishes and polishing
Choosing the correct grit number ensures efficient sanding and desired surface quality, optimizing your electric sander’s performance.
Matching Grit To Surface
Where should you start when selecting sandpaper grit for a project? Begin by assessing the surface condition and your goal. Coarse grits (40-60) are ideal for removing rust patterns or stripping old paint quickly.
Medium grits (80-120) prepare surfaces by smoothing out scratches left by coarser grits, essential before applying finish. Fine grits (150-220) enhance varnish durability by creating a smooth base for adhesion without damaging the substrate.
For delicate surfaces or final sanding, use ultra-fine grits (320+). Match grit to the material’s hardness and the extent of surface imperfections. Using too coarse grit on a finished surface risks deep scratches, while too fine grit won’t remove defects effectively.
This precise matching ensures efficient sanding and optimal results with your electric sander.
How to Hold and Move the Electric Sander Properly
When should you apply pressure while holding an electric sander? Apply light, even pressure. Too much can damage the surface or overheat the sander. Focus on steady control rather than force.
For proper holding sander technique and moving sander effectively:
- Grip the sander firmly with both hands to maintain balance and control.
- Keep the sander flat against the surface to ensure uniform sanding.
- Move the sander in consistent, overlapping strokes following the grain direction.
- Avoid staying in one spot to prevent gouges or uneven sanding.
- Let the sander’s weight do the work. Don’t push down excessively.
How to Sand Different Types of Surfaces
Maintaining proper control and pressure sets the foundation for effective sanding, but different materials demand specific approaches to achieve the best results. When working on wood for crafting and framing, use medium-grit sandpaper to smooth surfaces without removing too much material.
Proper control and pressure are key, with medium-grit sandpaper ideal for smoothing wood without excess removal.
For hardwood, apply lighter pressure to preserve grain detail essential for color matching finishes. With softwoods, you can use slightly more pressure but avoid gouging.
When sanding painted surfaces, opt for fine-grit sandpaper to prevent damaging the paint layer while preparing for repainting or touch-ups. Metal surfaces require a finer grit and slower sander speed to avoid overheating and surface distortion.
Always adjust your technique based on the surface hardness and finish to maintain control and achieve a uniform texture for optimal results.
Common Sanding Mistakes and How to Fix Them
Why do sanding projects sometimes fall short of expectations? Common mistakes often cause uneven finishes and wasted effort. You can avoid these by focusing on proper technique and tool maintenance.
Here are frequent errors and how to fix them:
- Applying excessive pressure: Let the sander do the work to prevent gouges.
- Using worn-out sandpaper: Replace it regularly for consistent abrasion.
- Skipping tool maintenance: Clean dust buildup to maintain performance.
- Sanding too fast or unevenly: Move steadily and overlap strokes.
- Ignoring surface preparation: Remove nails and debris to avoid damage.
Addressing these issues ensures smooth, professional results. By recognizing and correcting these common mistakes, you maximize efficiency and extend the life of your electric sander.
How to Maintain and Clean Your Electric Sander
Correcting common sanding mistakes improves your results, but consistent performance depends on how well you care for your electric sander. Start by regularly cleaning dust from vents and pads using compressed air or a soft brush to prevent overheating and motor damage.
Replace worn sanding discs promptly to maintain efficiency. Check power cords for damage and secure loose parts to avoid operational issues. Avoid falling for sanding myths like “water cleans dust away,” which can harm electrical components.
For deeper insights, consult book recommendations specialized in power tool maintenance to expand your knowledge. Routine maintenance not only extends the tool’s life but also ensures safer, more reliable operation. Keep your sander in optimal condition to achieve precise, professional results every time.
Tips for Getting a Smooth, Professional Sanding Finish
How can you achieve a flawlessly smooth finish with your electric sander? Whether you’re working on framing carpentry or metal finishing, precision and technique are key. Start by selecting the correct grit sandpaper, progressing from coarse to fine to avoid surface scratches. Maintain consistent pressure and movement to prevent uneven spots.
Here are essential tips:
- Use a sanding block or pad for flat surfaces to ensure uniform contact.
- Keep the sander moving steadily; don’t stay too long in one spot.
- Change sandpaper regularly to maintain efficiency.
- Clean the surface between sanding stages to remove dust.
- For metal finishing, apply light pressure to avoid heat buildup and warping.
Frequently Asked Questions
Can Electric Sanders Be Used for Metal Polishing?
Yes, you can use electric sanding for metal polishing, but you’ll need specific abrasive pads designed for metal. Make sure to control speed and pressure carefully to avoid damaging the surface or overheating the metal during polishing.
What Is the Average Lifespan of an Electric Sander?
You’ll get an average lifespan of 5-10 years from your electric sander if you maintain it well.
Don’t ignore the dust collection system; keeping it clean can extend your tool’s life like a time machine for hardware.
Are Cordless Sanders as Powerful as Corded Ones?
Cordless sanders generally aren’t as powerful as corded ones due to battery limitations. However, their cordless power and improved tool ergonomics let you work conveniently in tight spaces without sacrificing much efficiency or control.
How Much Does a Good Electric Sander Typically Cost?
You’ll find electric sander cost ranges between $30 to $150, depending on features and power. Brand comparisons show DeWalt and Bosch offer durable, mid-range models, while cheaper brands sacrifice longevity and precision for lower prices.
Can Electric Sanders Be Used for Automotive Bodywork?
Yes, you can use electric sanders for auto body prep, but ensure they have airflow dust control to minimize debris.
Choose models with adjustable speed and appropriate grit for precise, smooth sanding on automotive surfaces.
Conclusion
Now that you know how to use an electric sander safely and effectively, why settle for anything less than a smooth, professional finish? By choosing the right grit, holding the sander properly, and maintaining consistent pressure, you’ll avoid common mistakes and get precise results every time.
Remember to prepare your workpiece and wear safety gear to protect yourself. These steps are crucial for both safety and achieving the best outcome.
With these practical tips, you’re ready to tackle any sanding project with confidence and efficiency. Using an electric sander correctly will ensure your projects look polished and professional every time.