Removing paint with an electric sander demands both power and precision. Using the right electric sander and selecting the appropriate grit can make a significant difference in achieving smooth, controlled results.
You can rush through the job with the wrong tool, but this often leads to uneven surfaces or damage. Proper setup and technique are essential to avoid harming the surface beneath the paint.
Before you start, it’s critical to understand how to match your equipment and approach to the task at hand. Otherwise, you risk more work and frustration down the line.
Choose the Best Electric Sander for Paint Removal
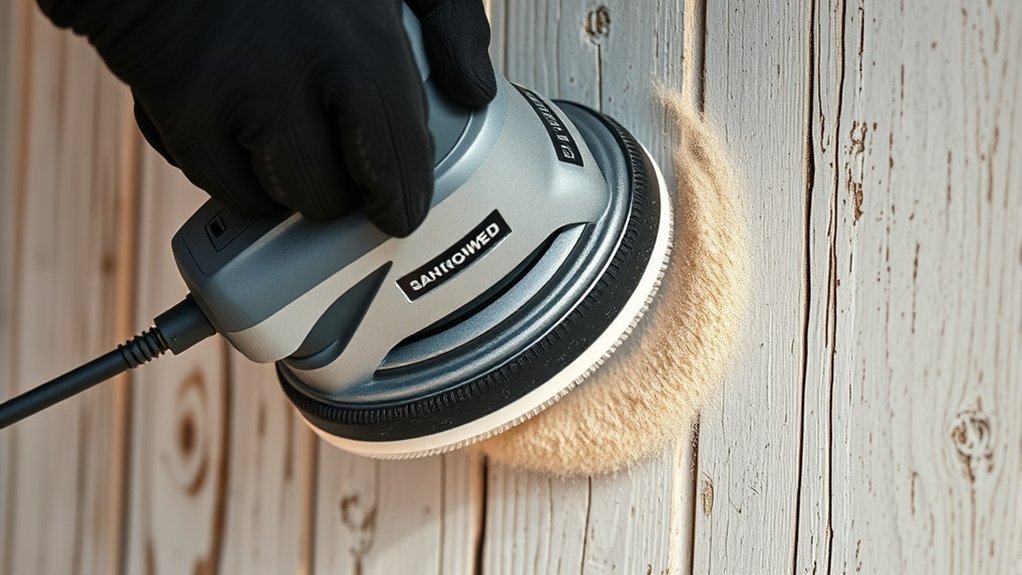
How do you select the ideal electric sander for efficient paint removal? Start by understanding the primary sander types: orbital, belt, and detail sanders. For large, flat surfaces, a belt sander provides aggressive paint removal, quickly stripping thick layers.
Orbital sanders offer versatility and smoother finishes, suitable for moderate paint removal without damaging the substrate. Detail sanders excel in tight corners and intricate areas but aren’t efficient for broad surfaces. Evaluate the motor power and variable speed settings; higher power and adjustable speed improve control and efficiency.
Also, consider dust collection capabilities to maintain a clean workspace. Selecting the correct sander type tailored to your project’s scale and paint thickness ensures optimal paint removal performance and surface integrity.
Get Your Safety Gear and Prep Your Workspace
Before you start sanding, put on essential protective gear like safety goggles, a dust mask, and gloves to shield yourself from debris and dust. Ensure your workspace is well-ventilated by opening windows or using fans to minimize inhalation of harmful particles.
Finally, prepare the surface by cleaning it thoroughly and removing any loose paint or contaminants for optimal sanding results.
Essential Protective Equipment
Since electric sanding generates dust and debris that can harm your health and damage your surroundings, you need to equip yourself with the proper protective gear and prepare your workspace meticulously. First, wear a high-quality respirator rated for fine dust to ensure effective dust control during paint removal.
Use safety goggles to shield your eyes from flying particles, and don heavy-duty gloves to protect your hands from abrasions. Long sleeves and pants help prevent skin irritation from dust and paint fragments.
Additionally, use hearing protection, as electric sanders produce significant noise levels. Finally, secure your workspace by covering floors and furniture with drop cloths or plastic sheeting, minimizing cleanup and preventing damage.
Adhering to these protective measures ensures your safety and maintains an organized, efficient paint removal process.
Workspace Ventilation Tips
Along with wearing the right protective gear, managing airflow in your workspace substantially reduces airborne dust and fumes generated by electric sanding. Start by positioning fans to direct dust and fumes away from your breathing zone and out through open windows or doors.
Use exhaust fans when available to enhance ventilation efficiency. Maintain low workspace moisture to prevent paint dust from clumping and impairing dust extraction systems. Excess moisture can also increase the risk of mold growth, compromising air quality.
For odor control, consider using activated carbon filters or air purifiers designed for chemical fumes. Ensure ventilation systems are running continuously during sanding and for at least 30 minutes afterward to clear residual particles. Proper airflow management safeguards your health and optimizes sanding performance.
Surface Preparation Steps
How do you guarantee a safe and efficient sanding process? Start by equipping yourself with essential safety gear: wear a dust mask rated for fine particles, safety goggles, and hearing protection. Gloves are optional but recommended for prolonged use.
Next, prep your workspace thoroughly. Remove or cover furniture and floors to protect against dust and debris. Ensure electrical outlets and cords are clear of the sanding area to prevent hazards.
Avoid distractions or irrelevant topics that might divert your focus during preparation; such diversions are non applicable to your task and increase risk. Establishing these safety and workspace conditions upfront minimizes accidents and enhances your control over the electric sander, ensuring precise paint removal without compromising your health or the integrity of your surroundings.
Select the Right Sandpaper Grit for Paint Removal
Choosing the correct sandpaper grit is essential for efficient and effective paint removal with an electric sander. You need to select grit based on the paint thickness and surface type to avoid damage or excessive effort.
Coarser grits remove paint faster but can scratch the surface, while finer grits offer smoother finishes but take longer.
Use this guide to select grit for paint removal:
| Grit Number | Application |
|---|---|
| 40-60 | Heavy paint layers |
| 80-120 | Medium paint, smoothing |
| 150-220 | Light paint, final smoothing |
Set Up Your Electric Sander
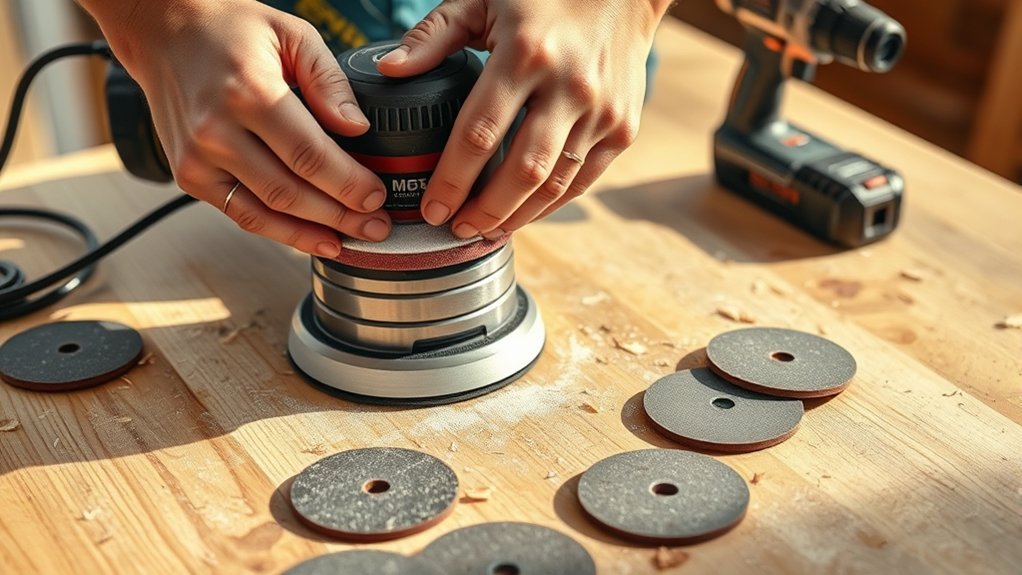
Before you begin sanding, properly setting up your electric sander ensures ideal performance and safety. Start by inspecting the sander for any damage or wear, especially on recycled components that may affect durability.
Properly inspect your electric sander for damage and wear before sanding to ensure safety and optimal performance.
Attach the appropriate sandpaper securely, ensuring it aligns with the sander’s pad to avoid uneven abrasion. Confirm that the dust collection system is connected and functioning to maintain a clean workspace.
Adjust the speed settings based on the paint’s thickness; most models allow variable control for precision. Finally, grip the sander firmly using its ergonomic grips designed to reduce hand fatigue and improve control.
These steps guarantee efficient paint removal while minimizing risk of injury or equipment malfunction.
Use Proper Sanding Techniques to Remove Old Paint
A consistent sanding technique is essential to efficiently remove old paint without damaging the underlying surface. When you begin paint removal, apply even pressure and maintain steady, overlapping strokes.
Avoid lingering too long in one spot to prevent gouging. Choose the correct grit sandpaper to optimize your sanding technique. Start coarse, then refine with finer grits.
| Sanding Step | Recommendation |
|---|---|
| Initial Grit | 60-80 (for heavy paint) |
| Intermediate Grit | 100-120 (smooth surface) |
| Final Grit | 150-180 (prepare for finish) |
| Pressure | Moderate, consistent |
Control Dust and Keep Your Workspace Tidy
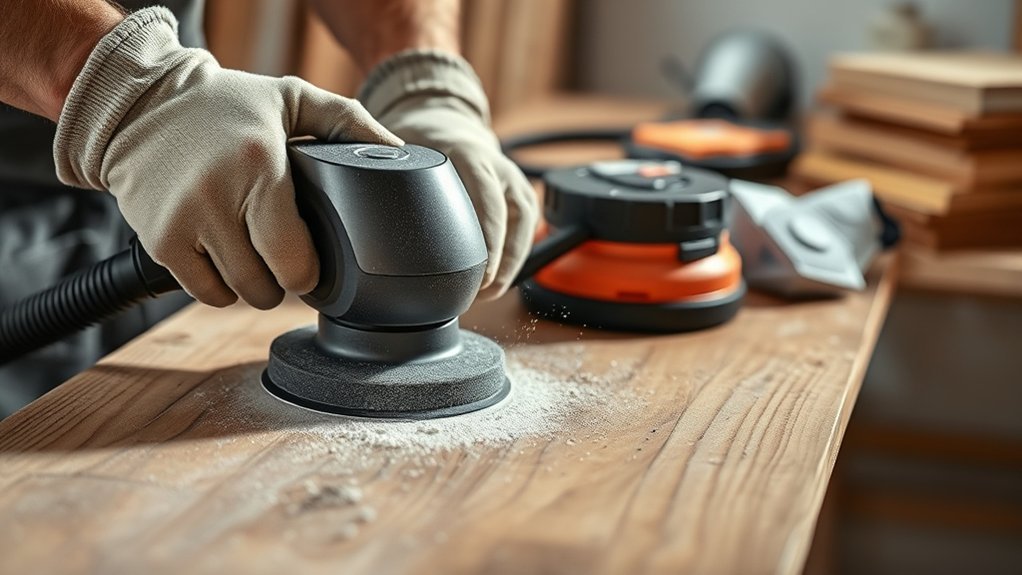
Keep dust from piling up by using a vacuum attachment on your electric sander and regularly clearing debris from the workspace. Effective dust collection is essential to maintain workshop cleanliness and prevent airborne particles from compromising air quality.
Connect your sander’s dust port to a high-efficiency vacuum system designed for fine particles. Periodically empty the vacuum bag or canister to sustain optimal suction power. Additionally, wipe down surfaces with a damp cloth to remove residual dust that accumulates during sanding.
Maintaining a clean environment minimizes fire hazards and extends the lifespan of your tools. By controlling dust rigorously, you ensure a safer, more efficient sanding process and a professional-quality finish. Prioritize dust management throughout your project to uphold both health standards and workspace order.
Inspect the Surface and Prepare for Refinishing
Thoroughly inspecting the surface is essential to identify imperfections and determine the appropriate refinishing approach. During surface inspection, carefully examine the area for any remaining paint, dents, cracks, or wood rot. This allows you to tailor your surface prep effectively before refinishing.
Focus on these key steps:
- Identify any residual paint or finish that requires further sanding.
- Detect surface damage such as gouges or warping.
- Check for moisture or mold that could affect adhesion.
- Confirm the surface is clean and dry to ensure proper refinishing.
Troubleshoot Common Electric Sander Problems
Why isn’t your electric sander operating smoothly? Common issues often stem from the sander motor or compromised dust extraction. A clogged dust extraction system can overheat the motor, reducing performance.
Additionally, worn sanding pads or loose components affect efficiency and finish quality.
Use this table to quickly identify issues and solutions:
| Problem | Solution |
|---|---|
| Sander motor overheating | Clean dust extraction, check vents |
| Reduced sanding efficiency | Replace worn sanding pads |
| Excessive vibration | Tighten loose parts |
| Dust buildup on surface | Ensure dust extraction is functional |
| Motor doesn’t start | Inspect power supply and switch |
Address these problems promptly to restore your sander’s optimal function and avoid further damage.
Maintain Your Electric Sander for Long-Term Use
You need to clean your electric sander thoroughly after every use to prevent dust buildup that can impair performance.
Inspect and replace worn sanding pads promptly to maintain optimal abrasion and surface finish. Consistent maintenance ensures your sander operates efficiently and lasts longer.
Clean After Every Use
How often do you clean your electric sander after use? Proper cleaning after use is critical to ensure optimal performance and longevity. Neglecting this step leads to dust buildup, overheating, and reduced efficiency.
Develop a routine with these maintenance reminders:
- Disconnect the sander from power before cleaning.
- Use compressed air to blow out dust from vents and motor housing.
- Wipe down the exterior with a damp cloth to remove residual dust.
- Inspect and clear the dust collection system or bag to maintain airflow.
Consistently following these steps prevents abrasive particles from damaging internal components. Cleaning after use is a straightforward yet essential practice that safeguards your investment and guarantees reliable, effective sanding every time.
Replace Worn Sanding Pads
When should you replace the sanding pads on your electric sander to maintain peak performance? Replace worn sanding pads as soon as you notice reduced abrasive efficiency, uneven sanding, or visible damage like tears or clogging. Using worn pads compromises the quality of your work and strains the motor.
To replace worn sanding pads, first disconnect the sander from power. Remove the old pads carefully, ensuring no debris remains on the backing plate. Attach new pads securely, aligning holes if dust extraction is integrated.
Regularly inspecting and replacing sanding pads extends the lifespan of your electric sander and ensures consistent paint removal. Don’t wait for performance to degrade. Proactive replacement preserves precision and protects your tool for long-term use.
Frequently Asked Questions
Can an Electric Sander Remove Lead-Based Paint Safely?
You shouldn’t use an electric sander on lead-based paint due to lead safety risks. Sanding releases hazardous dust, demanding specialized containment and disposal.
Always follow local regulations to manage disposal concerns and protect health effectively.
How Long Does It Typically Take to Sand a Painted Door?
If you sand a standard wooden door with medium grit, expect about 30-45 minutes for paint duration removal. Your sanding efficiency depends on grit choice, pressure, and sander speed. Optimizing these cuts duration while ensuring a smooth, paint-free surface.
Are There Electric Sanders Specifically Designed for Curved Surfaces?
Yes, you’ll find curved surface sanders specifically designed with ergonomic design features to comfortably fit your hand and contour to irregular shapes. This ensures precise paint removal on curved surfaces without compromising control or efficiency.
Can I Use an Electric Sander on Painted Metal Surfaces?
You can use an electric sander on painted metal surfaces, but ensure proper dust containment to avoid hazards. Select the right abrasive for effective paint removal, and maintain steady pressure to prevent metal distortion or uneven sanding.
What Are Environmentally Friendly Ways to Dispose of Paint Dust?
You should collect paint dust carefully, sealing it in heavy-duty bags for environmental disposal. Avoid airborne dust to prevent lead safety hazards.
Take the sealed waste to a hazardous materials facility for proper, compliant disposal.
Conclusion
By choosing the right sander and grit, wearing proper safety gear, and maintaining steady, overlapping strokes, you’ll efficiently strip paint like a pro. Keep your workspace dust-free—think of it as your own digital-age alchemy for perfect prep.
Regularly inspect your surface and tool to assure smooth refinishing. Follow these precise steps, and your electric sander will serve you reliably.
Using an electric sander to remove paint will deliver a flawless base for your next finish every time.