Did you know that using the correct sanding technique with a palm sander can improve your project’s finish by up to 40%?
When you operate a palm sander, maintaining consistent pressure and motion is essential to avoid damaging the surface.
Before you even start, selecting the right grit and ensuring proper pad alignment will optimize your results.
Understanding these details can make a significant difference in your work’s quality and efficiency.
Master the Proper Technique for Using a Palm Sander

Begin by gripping the palm sander firmly but comfortably to maintain control without causing fatigue. Proper tool ergonomics are essential; ensure your hand position supports steady movement and reduces strain during extended use.
Start the techniques overview by powering the sander on before contacting the surface. Move the sander in smooth, overlapping motions, applying even pressure to avoid uneven sanding or gouging.
Keep the sander flat against the workpiece, maintaining consistent contact for uniform abrasion. Avoid pressing down excessively; let the tool’s weight do the work.
Regularly check the sanding pad for wear to maintain efficiency. Mastering these fundamental techniques will enhance your finish quality while ensuring safe, effective palm sander operation.
Choose the Right Sandpaper for Your Palm Sander
Choosing the right sandpaper for your palm sander considerably impacts the quality and efficiency of your sanding project. Start by selecting grit based on the material and desired finish: coarse grits (40-60) for heavy material removal, medium (80-120) for smoothing, and fine (150-220) for finishing.
Ensure the sandpaper fits your sander’s pad precisely to avoid uneven wear or damage. Using incompatible grit or size can lead to a wrong sanding grip, causing poor control and uneven surfaces.
Also, improper sandpaper can clog quickly, increasing friction and contributing to noisy dust collection. Opt for high-quality, dust-permeable sandpaper designed to work with your sander’s dust extraction system. This reduces dust buildup, minimizes noise, and extends sandpaper life, improving both performance and safety.
Set Up Your Palm Sander for Optimal Performance
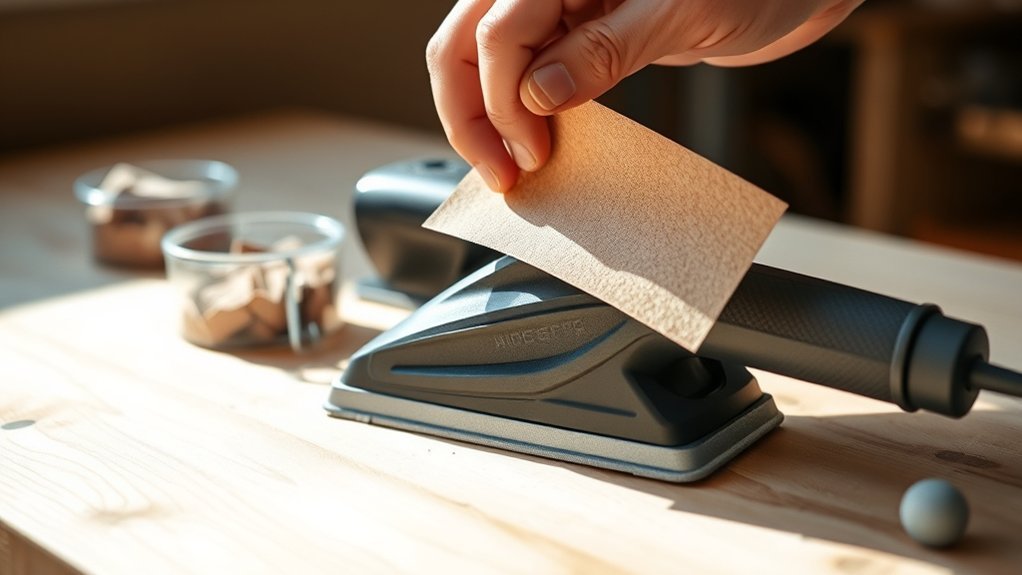
Proper setup of your palm sander ensures maximum efficiency and consistent results throughout your project. Start by securely attaching the correct grit sandpaper, aligning holes for optimal dust collection.
Check your sander’s dust bag or vacuum connection; a clean, well-fitted dust collection system prevents clogging and maintains suction power. Verify the power cord and switch function before operation.
| Setup Step | Purpose | Tip |
|---|---|---|
| Attach Sandpaper | Ensure secure fit and alignment | Match holes for dust extraction |
| Dust Collection | Remove debris efficiently | Empty or replace bags regularly |
| Power Check | Confirm operational safety | Inspect cord and switch |
| Work Surface Prep | Stabilize material | Clamp or secure workpiece |
Follow these steps to set up your palm sander for reliable, precise sanding.
Use These Tips for Sanding Different Surfaces
Once your palm sander is set up correctly, adapting your technique to the surface material will improve results and extend the life of your sandpaper. Different surfaces require specific approaches to achieve a smooth edge finish and maintain effective dust containment.
Follow these tips:
- Wood: Use medium-grit sandpaper, apply even pressure, and sand along the grain to prevent scratches. Keep the dust bag attached to maximize dust containment.
- Metal: Opt for fine-grit sandpaper and avoid excessive pressure to prevent overheating. Use a vacuum system to control dust and debris.
- Painted surfaces: Start with fine-grit paper and sand lightly to avoid damaging the paint layer. Focus on edges carefully to ensure a clean edge finish without gouges.
Adjust your technique accordingly to protect both the surface and your sandpaper’s durability.
Avoid Common Mistakes When Using a Palm Sander

How can you guarantee efficient and safe use of your palm sander? Avoid the wrong use by not applying excessive pressure; let the sander’s weight do the work to prevent uneven surfaces and motor strain. Always keep the sanding pad flat against the material to avoid gouging.
Another common mistake is neglecting dust collection. Use a vacuum attachment or dust bag to reduce debris buildup. Follow proper cleaning tips by regularly removing dust from vents and pads to maintain airflow and performance.
Don’t overlook inspecting the sanding pads for wear; replace them promptly to ensure consistent sanding quality. By steering clear of these errors and adhering to cleaning tips, you’ll optimize your palm sander’s effectiveness and extend its usability without compromising safety or results.
Maintain Your Palm Sander for Long-Lasting Use
Extend the lifespan of your palm sander by performing regular maintenance checks. Properly maintaining tools ensures efficiency and safety while reducing repair costs. Focus on these key areas:
- Clean the dust collection system frequently to prevent clogging and overheating.
- Inspect and replace sanding pads when worn to maintain consistent sanding performance.
- Lubricate moving parts as specified in the manufacturer’s manual to reduce friction and wear.
Follow Safety Precautions While Sanding
Why is it essential to follow safety precautions while sanding? Operating a palm sander involves fast-moving parts and dust generation, both of which pose risks. You must adhere to safety reminders to prevent injuries and health issues.
Always consult and implement PPE guidelines: wear safety goggles to protect your eyes from debris, a dust mask to avoid inhaling fine particles, and hearing protection to minimize noise exposure. Secure loose clothing and tie back long hair to avoid entanglement.
Ensure your workspace is well-ventilated and free from flammable materials. Before starting, check the sander for damage or wear. By following these safety precautions, you reduce accident risks and maintain a safe working environment, allowing you to focus efficiently on your sanding task.
Frequently Asked Questions
Can a Palm Sander Be Used for Metal Surfaces?
Yes, you can use a palm sander for metal sanding if you choose the right abrasive pads. Ensure your sander has dust extraction to manage metal particles safely, preventing buildup and maintaining a clean workspace during the process.
How Do I Store a Palm Sander Properly?
You should store your palm sander in a dry, secure location to ensure store_safety. Clean dust from the sander and use dust_management bags or filters to prevent buildup, maintaining your tool’s efficiency and longevity.
What Is the Average Lifespan of a Palm Sander?
You can expect the average lifespan of a palm sander to be around 5 to 10 years with proper use. Regular cleaning, timely sanding pad replacement, and motor maintenance are key maintenance tips to maximize its durability and performance.
Can I Use a Palm Sander for Stain Removal?
You can use a palm sander for stain removal on wood, but avoid metal surfaces since it may cause uneven abrasion or damage. For metal, consider specialized tools like wire brushes or chemical removers for better precision and control.
Are Palm Sanders Suitable for Detailed Woodworking Projects?
Palm sanders can handle detailed woodworking projects if you use two-word ideas like “fine grit” and “light pressure.” These guarantee precision and control, preventing damage while smoothing surfaces efficiently in tight, intricate areas.
Conclusion
Using a palm sander is like maneuvering a well-tuned machine—every movement counts. By choosing the right sandpaper, maintaining firm control, and ensuring proper setup, you’ll achieve smooth, professional results.
Remember to avoid common mistakes, keep your tool clean, and replace worn pads promptly. Follow safety precautions closely to protect yourself.
With consistent care and technique, your palm sander will perform reliably, turning rough surfaces into polished perfection every time. Using a palm sander correctly ensures the best finish and longevity of both your workpiece and tool.