When you’re ready to sand plywood with an orbital sander, setting up properly is key. You’ll want a clean, well-lit workspace and the right sanding grits to get the job done efficiently. Skipping steps or using the wrong grit can leave your plywood uneven or rough.
Understanding the correct process helps you avoid common pitfalls and achieve a smooth, professional finish that lasts.
Get Your Orbital Sander and Workspace Ready for Sanding Plywood
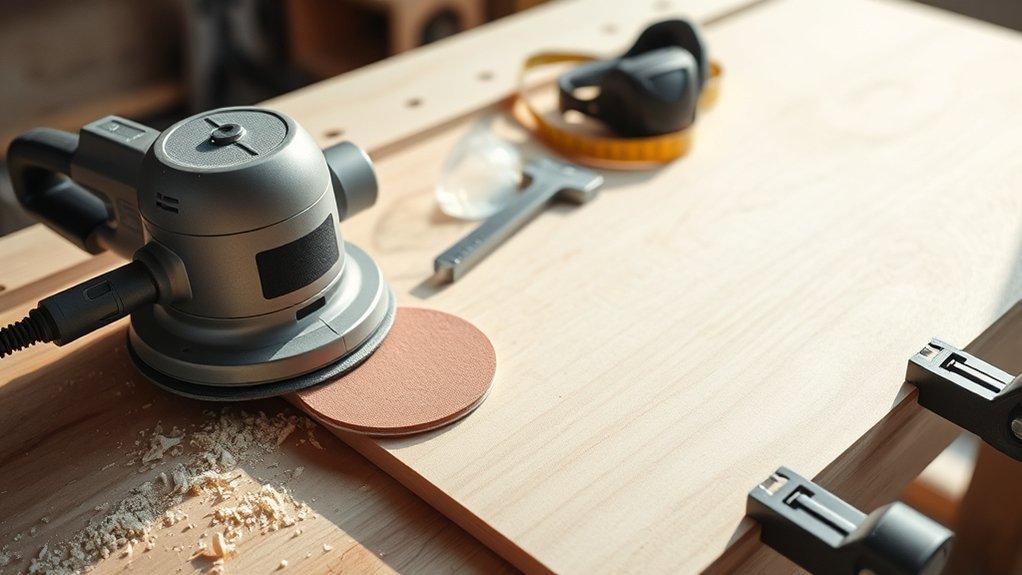
Where should you begin when prepping your orbital sander and workspace for sanding plywood? Start by getting started with a clean, well-lit area free of clutter to ensure safety and efficiency. Lay down a drop cloth or plastic sheeting to catch dust and debris, making cleanup easier.
Begin sanding by preparing a clean, well-lit workspace with a drop cloth for easy dust cleanup.
Next, inspect your orbital sander for any damage and ensure it’s unplugged before attaching sandpaper. Check the power cord for wear, and make sure the sanding pad is securely fastened.
Position your plywood on a stable workbench or sawhorses to prevent movement during sanding. Finally, set up proper ventilation or a dust collection system to protect your lungs from fine particles.
A solid workspace setup is essential for smooth, effective sanding and helps you work faster and safer.
Choose the Right Grits for Sanding Plywood
How do you decide which sandpaper grit to use when sanding plywood? Your choice depends on the plywood prep stage and the condition of the surface.
Start with a coarse grit, like 60 or 80, to remove rough spots or old finishes. That’s your initial plywood prep step. Then, switch to a medium grit, such as 120, to smooth out scratches left by the coarse grit.
Finally, consider a finer grit, like 150 or 180, if you want a smoother base for finishing later. Your grit choice should always be tied to the surface’s current state and your sanding goals. Using the right sequence ensures efficient sanding without damaging the plywood or wasting time.
Sand Plywood for a Smooth Finish
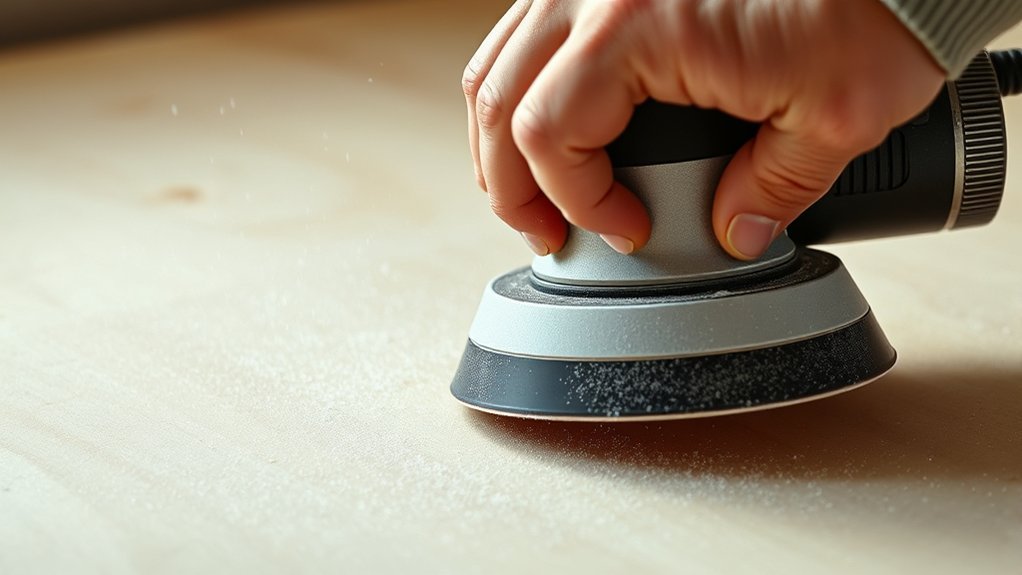
Once you’ve selected the right grit sequence, it’s time to start sanding the plywood for a smooth finish. Focus on sanding the edge grain carefully to avoid rounding edges.
Move the orbital sander evenly across the surface, paying attention to open pores; these need smoothing to ensure a flawless finish. Sand progressively through grits to close pores and level the surface.
| Grit Level | Purpose | Tips |
|---|---|---|
| 80-100 | Remove roughness | Sand along edge grain |
| 120-150 | Smooth surface | Use light pressure |
| 180-220 | Final finish | Close open pores evenly |
Avoid Common Mistakes When Sanding Plywood
Why do so many DIYers struggle with achieving a perfect plywood finish? It often comes down to common sanding pitfalls you can easily avoid. First, don’t apply too much pressure with your orbital sander; it can gouge the plywood surface.
Keep the sander moving steadily and evenly to avoid uneven spots. Also, don’t skip grits. Start with a coarser grit and progress to finer ones to prevent scratches.
Make sure to sand with the grain whenever possible to maintain a smooth texture. Lastly, avoid using a dull sanding pad, as it reduces efficiency and can cause burn marks.
Final Steps: Cleaning and Sealing After Sanding Plywood
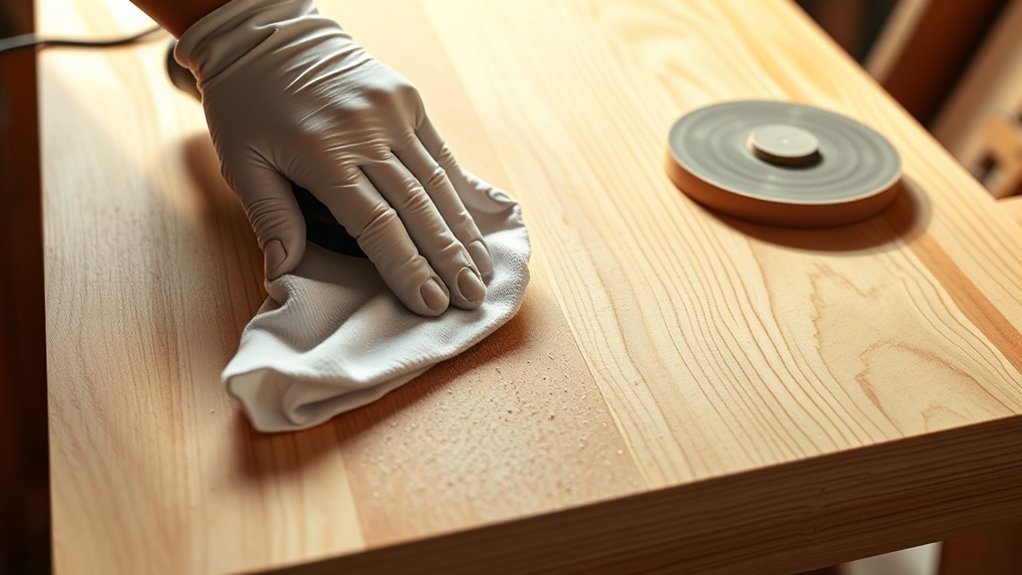
After sanding, your plywood surface will look much smoother, but it still needs proper cleaning and sealing to protect and enhance its appearance. The final steps: cleaning and sealing after sanding plywood are crucial to ensure durability and a polished finish.
Start by thoroughly removing dust with a vacuum or tack cloth. Then, consider sealing options after sanding plywood based on your project’s needs.
- Wipe the surface with a damp cloth to catch fine dust.
- Apply a wood conditioner if you plan to stain.
- Choose between polyurethane, varnish, or shellac for sealing.
- Allow adequate drying time between coats for best results.
Completing these steps will protect your plywood and bring out its natural beauty.
Frequently Asked Questions
Can I Use a Hand Sander Instead of an Orbital Sander?
Yes, you can use hand sanding instead of an orbital sander, but it’ll take more time and effort.
Hand sanding works well for finish prep on small areas or detailed spots where power tools can’t reach easily.
What Type of Plywood Is Best for Sanding?
You’ll find hardwood plywood best for sanding because it has fewer voids. Use finer sanding grits, starting with 120 and progressing to 220, to achieve a smooth surface without damaging the veneer.
How Long Does Sanding Plywood Usually Take?
How long does sanding plywood usually take? It depends on plywood durability and surface roughness, but you can expect about 15-30 minutes per sheet.
Harder plywood takes longer, so adjust your time accordingly for smooth results.
Is It Necessary to Wear a Mask While Sanding?
Dust clouds can be sneaky enemies, so yes, it’s necessary to wear a mask. You can use a hand sander as an alternative sanding approach, but wearing a mask remains essential for safety and health.
Can I Paint Plywood Immediately After Sanding?
You shouldn’t paint plywood immediately after sanding; you need proper paint prep, like wiping dust off. Otherwise, exposure risks increase, and paint won’t adhere well.
Let the surface stay clean and dry before you start painting.
Conclusion
Sanding plywood with an orbital sander is straightforward when you follow the right steps. Did you know using progressively finer grits can reduce surface roughness by up to 90%? Start rough, then smooth—this guarantees a flawless finish.
Keep your workspace clean and don’t rush the process. Proper sanding not only improves appearance but also helps sealers adhere better, extending your project’s life.
Stick to these tips, and your plywood will look professional every time. With the right technique, sanding plywood with an orbital sander becomes an easy and effective task.