Just like a skilled craftsman restoring a weathered surface, you can bring clarity back to your headlights with careful hand sanding headlights by hand. It’s a methodical process that requires the right materials, proper technique, and attention to detail to avoid damage.
If you want to improve visibility and extend your headlights’ lifespan, understanding each step— from prepping to finishing— is essential. Let’s walk through how to do it correctly and efficiently.
Why Hand-Sanding Your Headlights Is Worth It
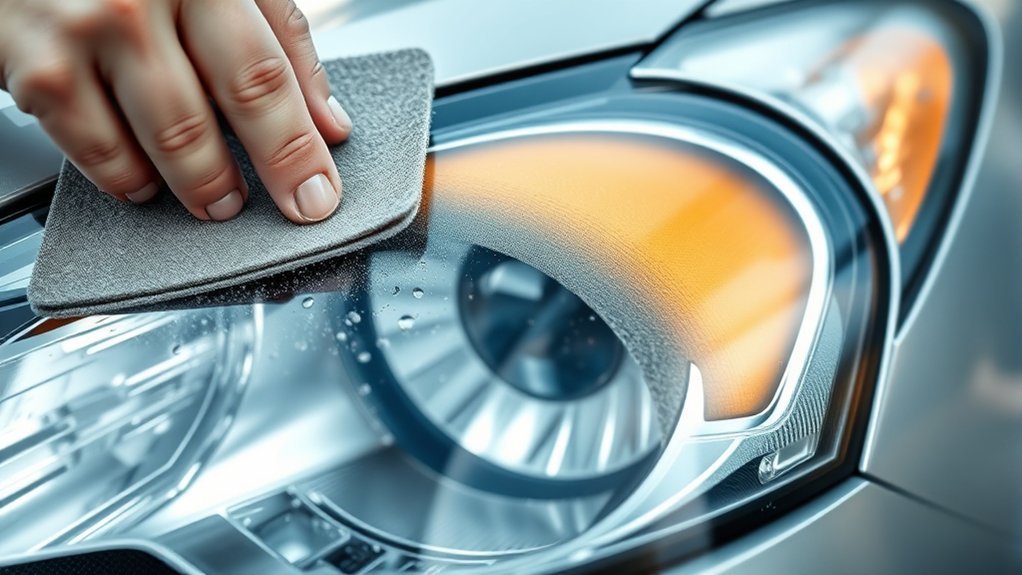
Why should you hand-sand your headlights instead of relying on power tools or replacements? Hand-sanding offers precise control over material removal, ensuring you don’t over-sand or damage the lens. Modern removal techniques using power tools can be too aggressive, stripping away protective coatings and leading to uneven surfaces.
By sanding manually, you can carefully remove oxidation and surface imperfections while preserving the headlight’s structural integrity. Additionally, hand-sanding allows you to prepare the lens optimally for applying UV protection coatings, which are essential to prevent future yellowing and degradation.
This method is cost-effective and environmentally friendly compared to replacements. Ultimately, hand-sanding your headlights gives you the accuracy and care necessary for a smooth, clear finish that enhances visibility and extends the lifespan of your headlights.
Tools You Need to Sand Headlights by Hand
What essential tools do you need to sand headlights by hand effectively? First, gather various sanding grit types. Start with coarse (around 600 grit) and progress to finer grits (up to 2000 grit) to match the headlight materials, typically polycarbonate plastic.
You’ll also need a spray bottle filled with water to wet sand, reducing heat and preventing surface damage. Use a sanding block to maintain even pressure and avoid uneven sanding.
Additionally, have microfiber cloths on hand for cleaning between grit changes. Finally, protective gloves and safety glasses are crucial for your safety during the process. These tools ensure precise abrasion control, preserving the integrity of headlight materials while restoring clarity through systematic grit progression.
Preparing Your Headlights for Sanding
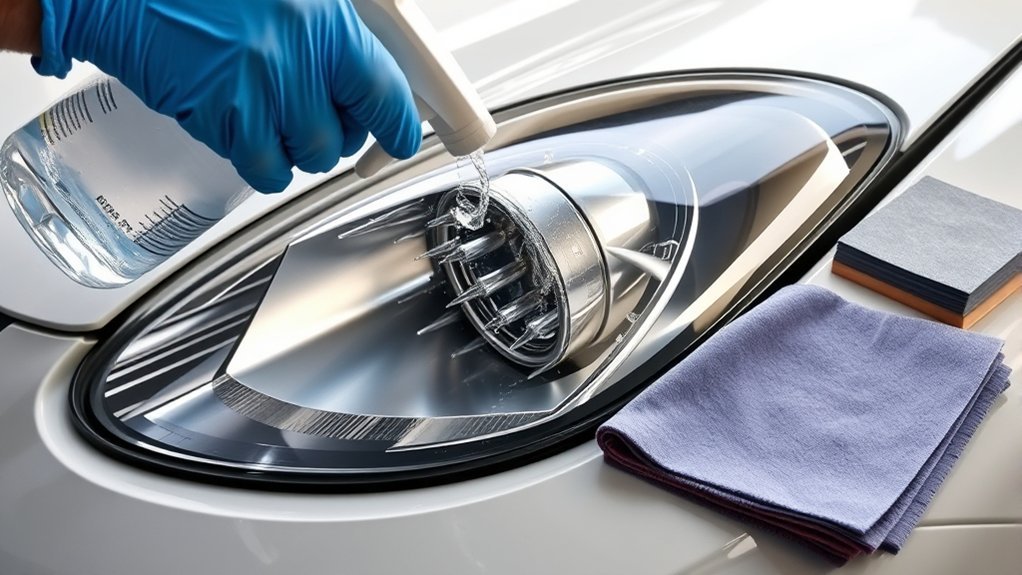
Once you have gathered the necessary sanding tools, prepare your headlights by thoroughly cleaning the surface to remove dirt, grime, and oxidation. Use a mild detergent and a soft cloth, then rinse with clean water. Dry the headlight completely to prevent moisture interference.
Next, apply painter’s tape around the headlight edges to protect your vehicle’s paint. This step is crucial for maintaining clean work boundaries. Proper surface adhesion depends on a contaminant-free surface, so avoid touching the headlight lens after cleaning.
These preparation tips ensure optimal sanding results by promoting uniform abrasion and preventing uneven wear. Finally, inspect the surface under bright light to confirm it’s clean and smooth, ready for the sanding process. Proper preparation sets the foundation for effective, consistent sanding results.
How to Sand Your Headlights by Hand
How should you approach sanding your headlights by hand to achieve a smooth, clear finish? Begin by wetting the headlight surface and your sandpaper to reduce friction and prevent scratching. Use a series of progressively finer grits, starting with 800 grit and moving up to 2000 grit, maintaining even pressure and consistent motion.
Focus on uniform sanding to remove oxidation without creating deep scratches, which can compromise gloss retention. Keep the surface wet throughout the process to avoid heat buildup, which may damage the plastic. After sanding, rinse thoroughly to eliminate residue.
How to Polish and Seal Your Headlights
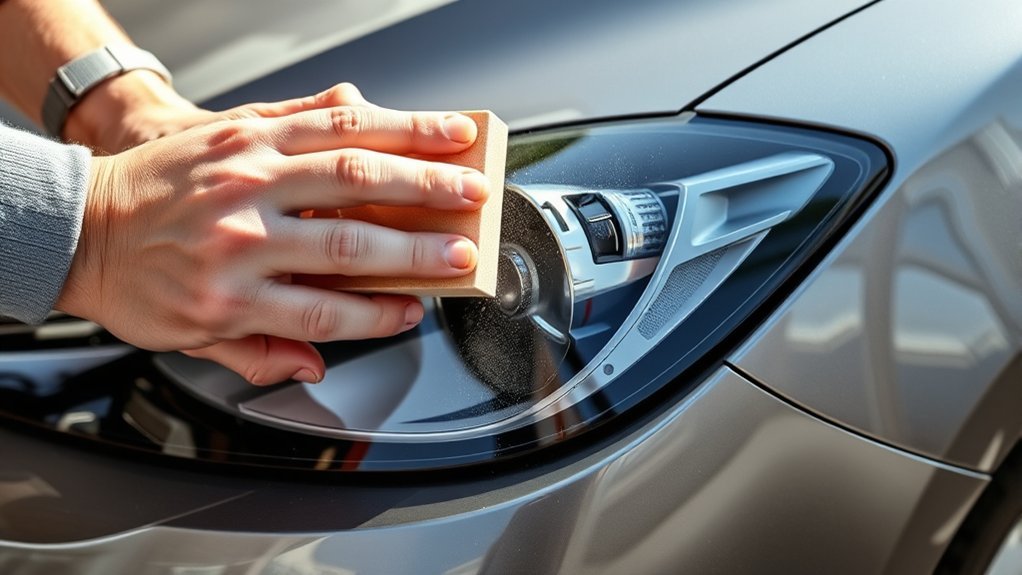
Typically, you’ll polish your headlights immediately after sanding to restore clarity and remove fine scratches. Use a dedicated polishing compound applied with a microfiber cloth or foam applicator in circular motions.
Focus on even coverage to enhance clarity without sacrificing gloss, as excessive polishing can increase gloss but reduce transparency, affecting visibility. After polishing, thoroughly clean the surface to remove residue before sealing.
Apply a UV-resistant sealant evenly to protect the headlights from oxidation and yellowing. Sealant longevity depends on proper application and environmental exposure; reapply every six months for optimal protection.
Prioritize clarity over gloss during polishing, as clear headlights improve safety. Proper polishing and sealing ensure durable restoration, maintaining both functionality and appearance effectively.
How to Avoid Common Sanding Mistakes and Maintain Clarity
To avoid common sanding mistakes, you need to apply consistent pressure to prevent over-sanding damage that can permanently harm your headlights. Make sure to clean the surface thoroughly between grits to remove debris that could cause scratches.
Following these steps will help you maintain clarity and achieve a smooth, even finish.
Preventing Over-Sanding Damage
Why is it essential to monitor your sanding progress closely? Over sanding risks damaging the headlight’s plastic lens, thinning it excessively and compromising long term durability. To prevent this, regularly inspect the surface under good lighting and feel for smoothness.
Stop sanding as soon as you remove the yellowed or scratched layer; going beyond this point can cause permanent harm. Use progressively finer grit sandpapers to refine clarity while minimizing material removal.
Avoid aggressive or prolonged sanding in one spot to reduce uneven wear. After sanding, rinse frequently to clear debris and reveal the true lens condition.
Consistent Pressure Application
How much pressure should you apply when sanding headlights by hand? You need to maintain consistent pressure throughout the process to avoid uneven sanding and surface damage.
Applying too much force can cause deep scratches, while too little pressure may result in ineffective abrasion. Use firm but controlled pressure, ensuring the sanding paper contacts the headlight surface evenly.
Combine this with even strokes, moving the sandpaper in a smooth, circular or back-and-forth motion. Avoid stopping mid-stroke, as inconsistent pressure and abrupt motions lead to patchy sanding.
Regularly check your progress under good lighting to maintain uniform clarity. By focusing on consistent pressure and even strokes, you’ll prevent common mistakes and achieve a smooth, clear headlight surface ready for polishing.
Proper Cleaning Techniques
Maintaining consistent pressure during sanding sets the stage for effective cleaning afterward. Begin by rinsing the headlight with clean water to remove loose debris. Use a microfiber cloth and a mild soap solution to gently wipe the surface, avoiding harsh chemicals that may damage the plastic.
Dry thoroughly with a lint-free towel to prevent water spots. For stubborn residue, apply isopropyl alcohol on a clean cloth and wipe evenly. Proper cleaning techniques ensure no abrasive particles remain, which could cause scratches during subsequent polishing.
As a maintenance tip, always clean the headlight before and after each sanding grit change to maintain clarity. Following these steps prevents common sanding mistakes like uneven surfaces and haziness, preserving the headlight’s transparency and extending its lifespan.
How Often to Sand Your Headlights for Best Results
Regularly sanding your headlights ensures they remain clear and effective at night. The frequency depends on fade testing results and UV exposure levels. Excessive UV rays accelerate oxidation, requiring more frequent sanding.
Monitor clarity monthly and assess haze or yellowing to decide when to sand again.
| Condition | Sanding Interval |
|---|---|
| High UV exposure | Every 3-4 months |
| Moderate UV exposure | Every 6 months |
| Low UV exposure | Annually |
| After noticeable haze | Immediately |
Perform fade testing by comparing headlight brightness before and after sanding. This helps determine if sanding is necessary for visibility.
Stick to these intervals to maintain headlight performance without unnecessary wear on the lens surface.
Alternative Headlight Restoration Methods Beyond Sanding
Why settle for sanding when there are other effective ways to restore your headlights? Depending on the headlight materials, alternative methods may offer quicker or less labor-intensive results. Here are four precise options to consider:
- Polishing Compounds: Use a specialized polishing compound designed for plastic or glass headlights to remove oxidation and minor scratches.
- UV Sealants: Apply UV-resistant sealants post-restoration to protect headlights from future yellowing and degradation.
- Chemical Restorers: Select chemical restorers formulated for headlight plastics that dissolve oxidation without abrasion.
- Headlight Restoration Kits: Purchase comprehensive kits that combine cleaning, polishing, and sealing steps tailored to your headlight materials.
These alternative methods complement or replace sanding, depending on your specific restoration needs and headlight composition.
Frequently Asked Questions
Can Sanding Headlights Improve Nighttime Driving Safety?
Yes, sanding headlights can improve nighttime driving safety by restoring clarity, which safety testing confirms enhances light output.
Considering cost comparisons, it’s a cost-effective method to boost visibility without expensive replacements or upgrades.
Is It Safe to Sand Headlights on All Vehicle Types?
Like walking a tightrope, sanding headlights isn’t always safe. You must avoid unsafe materials and minimize dust exposure.
Always verify your vehicle’s headlight coating type and wear protective gear to ensure precise, safe handiwork without damaging surfaces or health.
How Long Does the Headlight Sanding Process Usually Take?
You’ll spend about 30 to 60 minutes sanding headlights, depending on damage severity. Timing expectations vary with technique and grit progression.
Prioritize safety considerations by wearing gloves and eye protection throughout the process for best results.
Can Headlight Sanding Remove Deep Cracks or Damage?
You can’t remove deep cracks with headlight sanding; it’s best for surface haze. For DIY repair, focus on light damage, but remember safety considerations. Wear protective gear and avoid inhaling dust during sanding to protect your health.
Are There Any Health Risks When Sanding Headlights by Hand?
Think of sanding as stirring up a dusty storm; you risk dust exposure, which can irritate your lungs. Also, avoid wheel cleaner risks. Its chemicals can harm your skin and eyes. Always wear gloves and a mask.
Conclusion
Sanding your headlights by hand might seem intimidating, but it’s worth every second when you see them shine like new—clearer than a mountain stream. By following the proper grit progression, keeping surfaces wet, and sealing with UV protection, you’ll restore visibility and safety without costly replacements.
Stick to the steps precisely, avoid common mistakes, and maintain your headlights regularly. Your efforts will pay off with crystal-clear lenses that last much longer than you’d expect. Sanding headlights by hand is a simple and effective way to bring back that clarity and improve your driving experience.