When you sand glass by hand, precision and safety are essential. You’ll need to prepare your workspace carefully, select the appropriate grit progression, and maintain consistent wet sanding to avoid scratches or cracks. Each step demands attention to detail to achieve a smooth, polished finish.
Understanding how to manage these variables can prevent costly mistakes and ensure a professional result. But first, you must know how to set up your tools and protect yourself properly. Following these guidelines will help you sand glass effectively and safely.
Prepare Glass Safely Before Sanding
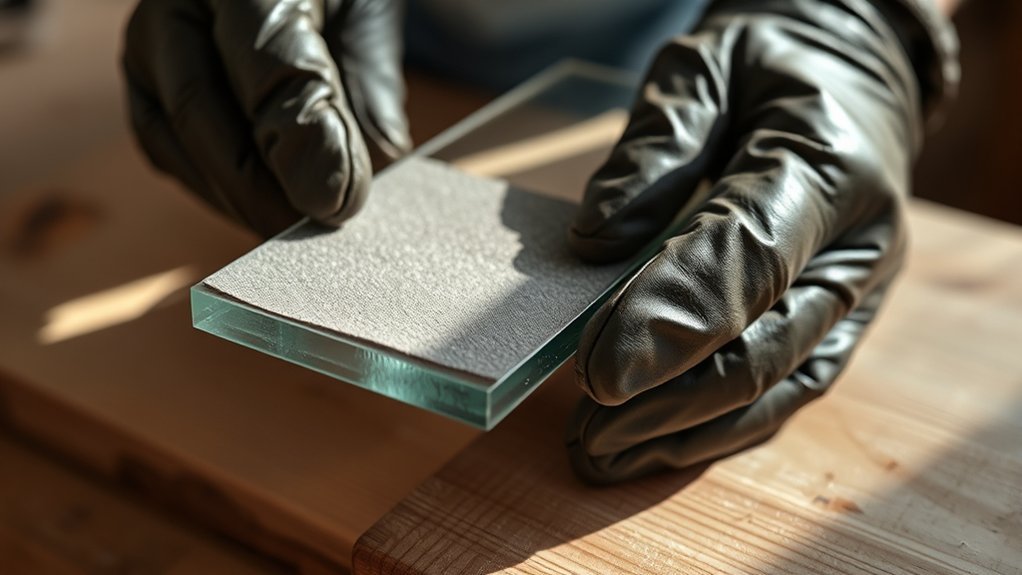
How do you ascertain maximum safety before sanding glass by hand? Begin with a two word discussion ideas approach: “safety mindedness” and “environmental impact.” Prioritize safety mindedness by wearing cut-resistant gloves and protective eyewear to prevent injury from sharp edges and glass dust. Work in a well-ventilated area to reduce inhalation risks.
Inspect the glass thoroughly for cracks that could cause breakage during sanding. For environmental impact, contain dust with a damp cloth or a controlled workspace to avoid contamination. Dispose of glass shards and waste responsibly, using designated containers.
Avoid wet sanding near electrical outlets. By integrating these precautions, you ensure a secure preparation process that minimizes hazards and environmental harm, enabling a precise and safe sanding experience.
Gather Tools and Materials for Hand-Sanding Glass
You’ll need a range of sandpaper grits, starting from coarse (around 220) to fine (up to 1000 or higher) for smooth glass edges. Always wear safety gear like gloves, goggles, and a dust mask to protect against sharp shards and glass dust.
Additionally, keep tools like a sanding block and a water spray bottle handy to ensure even pressure and reduce heat buildup.
Essential Sandpaper Grits
Which sandpaper grits are essential for effectively hand-sanding glass? For precise sandpaper selection, start with coarse grits such as 220 to remove major imperfections.
Next, move to medium grits like 400 to refine the surface, followed by finer grits 600 to 800 to smooth the glass further. This grit progression ensures you avoid scratches and achieve a polished finish.
Always use wet/dry sandpaper designed for glass to prevent clogging and overheating. Avoid skipping grits, as abrupt changes can cause uneven surfaces.
Safety Gear Requirements
After selecting the appropriate sandpaper grits, prioritize your personal protection by gathering the necessary safety gear before starting any hand-sanding on glass. Follow strict safety practices to minimize risk from glass dust and sharp edges.
Equip yourself with protective equipment including safety goggles to shield your eyes from fine particles and potential shards. Wear a high-quality dust mask or respirator rated for fine particulates to prevent inhalation of glass dust.
Use cut-resistant gloves to protect your hands from accidental nicks or abrasions during sanding. Additionally, consider long sleeves to guard your arms from glass fragments.
Ensuring all protective equipment fits properly and is in good condition is essential. Adhering to these safety practices reduces injury risks and creates a controlled environment for precise, efficient hand-sanding.
Additional Useful Tools
What tools can enhance your control and efficiency when sanding glass by hand? Consider adding a sanding block with ergonomic grips to maintain consistent pressure and reduce hand fatigue. Rubberized handles improve tool ergonomics, allowing precise movements along curved or flat surfaces.
Use fine-grit sandpaper sheets labeled with clear care labeling to ensure appropriate grit progression and prevent premature wear. A small, flexible scraper helps remove residue without damaging the glass.
Additionally, a magnifying glass with a stand can aid in inspecting edges for smoothness. Keep a damp cloth nearby to wipe away dust, which improves visibility and sanding accuracy.
Selecting tools with attention to ergonomics and care labeling optimizes your workflow, reduces repetitive strain, and extends the lifespan of your materials during the sanding process.
Pick the Right Sandpaper Grit for Sanding Glass
Because glass is a hard and brittle material, selecting the appropriate sandpaper grit is essential to avoid scratches and achieve a smooth finish. Start with a coarse grit, around 220 to 320, to remove any chips or imperfections without causing deep scratches.
Move progressively to finer grits, 600, 800, and up to 1200, to refine the surface and enhance edge clarity. Using grits finer than 1200 helps you achieve a glossy finish, minimizing visible abrasions.
Avoid skipping grit levels, as this can leave uneven surfaces and compromise the glass’s clarity. Choosing the right sequence ensures controlled abrasion, preserving the glass’s structural integrity while producing a polished, smooth texture ideal for both aesthetic and functional purposes.
Wet Sand Glass for a Smooth Finish
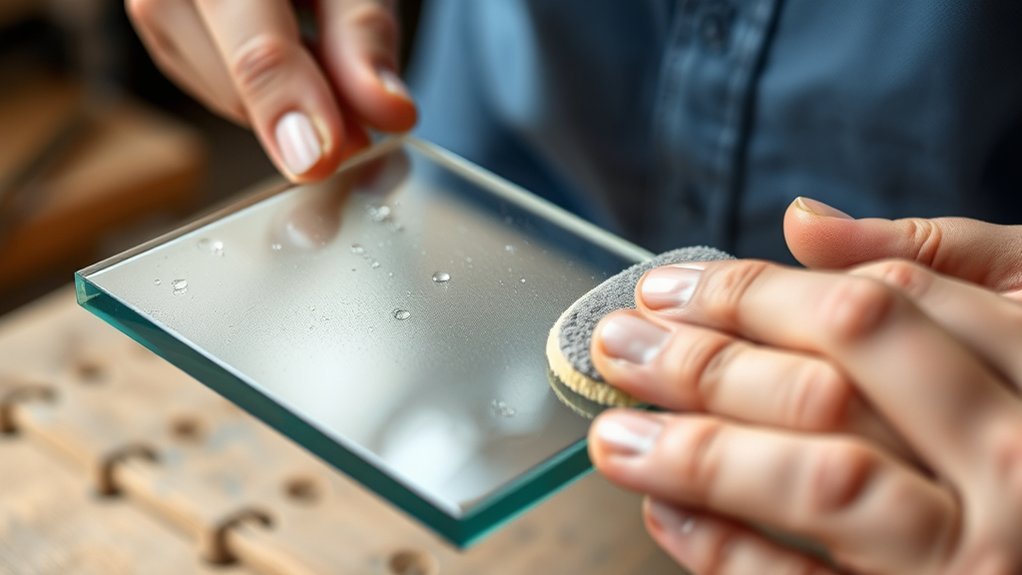
How do you achieve a perfectly smooth finish on glass? Wet sanding is the key. Begin by submerging the glass surface in water or continuously wetting it during sanding. This reduces friction and prevents clogging of the sandpaper, allowing for consistent abrasion.
Use fine-grit sandpaper, typically 600 to 1500 grit, and move in slow, circular motions for uniform smoothing. Wet sanding also minimizes airborne glass dust, enhancing glass safety by reducing inhalation risk.
Always wear safety goggles and gloves to protect against accidental chips or shards. Rinse the glass frequently to remove debris and inspect your progress.
Sand Glass Edges and Corners Safely
When sanding glass edges and corners, why must you prioritize safety and control? Sharp edges pose a cutting hazard, and uncontrolled sanding can cause glass shards to fly. Begin by preparing safety measures: wear cut-resistant gloves, safety goggles, and a dust mask.
Secure the glass on a stable surface to prevent slipping. Use fine-grit wet/dry sandpaper, keeping it wet to minimize dust and reduce friction. Focus on controlled, gentle strokes along edges and corners to avoid chipping or cracking.
For dust management, always work in a well-ventilated area and wipe surfaces with a damp cloth periodically to capture airborne particles. By combining careful technique with proper safety preparation and dust management, you ensure an efficient, injury-free sanding process.
Sand Frosted and Textured Glass Surfaces
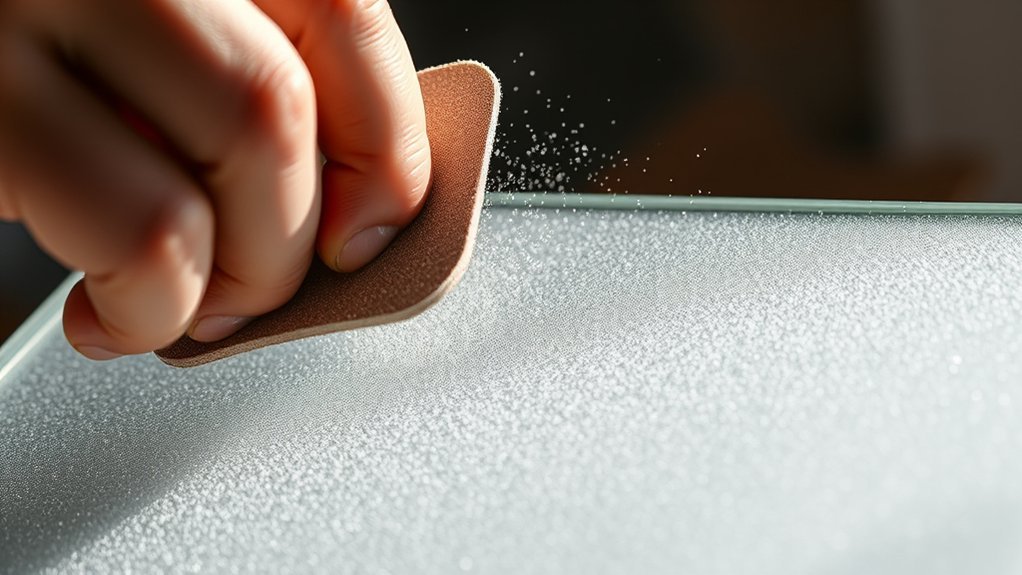
Why does sanding frosted and textured glass require a different approach than smooth glass? Unlike smooth glass, these glass types feature uneven surfaces that demand careful hand sanding techniques to maintain texture integrity.
When you sand frosted and textured glass surfaces, use fine-grit sandpaper (around 400-600 grit) to avoid flattening patterns. Apply gentle, consistent pressure, moving in small circular motions to blend imperfections without damaging the texture.
Follow strict safety protocols: wear protective gloves, goggles, and a dust mask to prevent injuries and inhalation of glass particles. Always work in a well-ventilated area.
Avoid Cracks and Chips When Sanding Glass
To avoid cracks and chips when sanding glass, you need to apply consistent, gentle pressure and sand in smooth, controlled motions. Always use protective materials like masking tape or foam padding around edges to absorb vibrations and prevent damage.
These techniques minimize stress on the glass and guarantee a clean, even finish.
Proper Sanding Techniques
How exactly can you prevent cracks and chips while sanding glass by hand? Mastering proper sanding techniques is essential. Here’s a techniques overview to guide you:
- Start with coarse grit: Use a low-grit sandpaper (around 80-120 grit) to shape the glass edges gently. Apply consistent, light pressure to avoid stress fractures.
- Progress gradually: Move to finer grits (220-400) to smooth the surface incrementally. Abrupt changes in grit or force can cause chips.
- Maintain a wet sanding process: Keep the glass wet throughout to reduce heat buildup and abrasive dust. This minimizes micro-cracks and yields smoother results.
Always prioritize safety considerations by working in a well-ventilated area and wearing eye protection. These techniques guarantee precision while preserving glass integrity during hand sanding.
Using Protective Materials
Where should you place protective materials when sanding glass by hand to prevent cracks and chips? You need to position cushioning materials around the work area and use appropriate protective gear to absorb shocks and reduce stress on the glass edges.
Follow strict safety procedures by wearing gloves, goggles, and a dust mask to protect yourself from shards and dust. Use foam pads or rubber mats underneath the glass to stabilize it and prevent slipping.
| Protective Material | Placement Area | Purpose |
|---|---|---|
| Foam pads | Underneath glass | Shock absorption, stabilization |
| Rubber mats | Work surface | Slip prevention |
| Gloves | Hands | Cut and shard protection |
| Goggles | Eyes | Dust and shard protection |
| Dust mask | Mouth/nose | Inhalation safety |
Polish Glass After Sanding for a Clear Shine
Why is polishing essential after sanding glass? Polishing removes microscopic scratches left by sanding, restoring transparency and achieving a clear shine. It’s a crucial final step, avoiding any unrelated topic or irrelevant discussion about cleaning or sealing.
Polishing removes microscopic scratches after sanding, restoring transparency and giving glass a clear, brilliant shine.
Here’s how to polish effectively:
- Use a cerium oxide polishing compound mixed with water to form a slurry. This abrasive targets fine scratches without etching the glass.
- Apply the slurry with a felt polishing pad or soft cloth, moving in consistent circular motions. Pressure should be firm but controlled to prevent new scratches.
- Rinse the glass thoroughly after polishing to remove residue, ensuring the surface is perfectly clear and smooth.
Clean Glass Properly After Sanding
After sanding, you need to remove all dust particles thoroughly to prevent scratches or cloudiness. Use a cleaning solution specifically designed for glass to break down any residue without damaging the surface.
Finally, dry the glass with a lint-free cloth to avoid streaks and guarantee a crystal-clear finish.
Remove Dust Thoroughly
How thoroughly you remove dust after sanding determines the quality of your final finish. Effective dust removal is critical for optimal dust management and prevents imperfections.
Follow these steps for precise dust removal:
- Use a soft, lint-free microfiber cloth to gently wipe the glass surface, avoiding scratches.
- Employ a small, soft-bristled brush to reach corners and edges where dust accumulates.
- Blow compressed air carefully over the surface to dislodge any remaining fine particles without spreading dust elsewhere.
Use Appropriate Cleaning Solutions
When should you apply cleaning solutions to your glass after sanding? Immediately after you’ve removed all sanding dust, but before drying. Using the right cleaning solutions ensures you neutralize any abrasive residue that could cause imperfections.
Choose a solution designed for glass, free of ammonia or harsh chemicals, to protect the surface integrity. Apply it evenly with a lint-free cloth, and gently wipe in one direction to avoid reintroducing particles.
Keep cleaning until the glass feels smooth and visibly clear. Maintain a safety focus by wearing gloves and working in a well-ventilated area to avoid inhaling fumes.
Proper cleaning not only prepares the glass for finishing but also prevents scratches and streaks, ensuring your sanding work remains flawless and durable.
Dry Glass Without Streaks
Once you’ve thoroughly cleaned the glass to remove sanding dust and residue, drying it without streaks becomes the next priority. Proper drying techniques ensure a clear, flawless finish and prevent watermarks or smudges.
To achieve effective streak prevention, follow these steps:
- Use a clean, lint-free microfiber cloth to absorb moisture without scratching the surface.
- Employ a gentle, circular motion to evenly distribute pressure and avoid streak lines.
- If necessary, use a squeegee with a soft rubber blade to remove excess water, working from top to bottom.
Troubleshoot Common Problems When Sanding Glass
Why does your glass surface sometimes come out uneven or scratched despite careful sanding? Uneven pressure distribution often causes this issue, much like the precision required in space travel engineering. You need a consistent, gentle touch to avoid creating low spots or gouges.
Scratches usually result from using abrasive grit that’s too coarse or dirty water carrying debris, similar to how culinary arts demand clean, precise tools. Always rinse your sandpaper and glass frequently to prevent embedded particles from scratching the surface.
If you notice haze formation, it might be due to insufficient water lubrication, causing micro-fractures. Adjust your sanding angle and apply uniform pressure while keeping the surface wet. These technical adjustments will help you achieve a smooth, flawless finish every time.
Frequently Asked Questions
Can I Sand Glass Using Power Tools Instead of by Hand?
Yes, you can sand glass using power tools, but prioritize power tools safety and choose the right tool selection, like a variable-speed rotary tool with diamond bits, to prevent damage and ensure precise, controlled sanding without overheating the glass.
How Long Does It Typically Take to Sand a Glass Piece by Hand?
Typically, time estimation takes twenty to sixty minutes, depending on your tool considerations like grit size and glass thickness.
You’ll steadily sand, smoothing sharp surfaces, so stay patient, precise, and persistent throughout this process for polished perfection.
Is It Safe to Sand Stained or Painted Glass by Hand?
It’s safe to sand stained or painted glass by hand if you use safe handling techniques, wear protective gear, and control dust with a damp cloth or vacuum. Avoid inhaling particles and work in a well-ventilated area.
Can Sanding Glass by Hand Change Its Optical Properties?
If you’ve ever noticed foggy windows after a rain, you’ll understand how sanding glass can cause optical changes. Sanding glass roughens its surface, scattering light and altering clarity, so yes, it definitely changes its optical properties.
What Are the Best Protective Gear Options for Hand Sanding Glass?
You should wear nitrile gloves and a high-quality mask to protect against glass dust. Ensure proper ventilation in your workspace and set up a clean, organized area to minimize airborne particles and enhance safety during hand sanding.
Conclusion
Now that you’ve mastered sanding glass by hand, you’re equipped to achieve flawless edges and surfaces with precision. Remember to follow each grit stage carefully, keep the area damp, and always wear protective gear—no need for a knight’s armor, but close enough.
Polishing with cerium oxide brings out that crystal-clear shine. With patience and technique, you’ll avoid cracks and chips, ensuring your glasswork looks impeccably smooth and professional every time.
By consistently applying these steps, you’ll perfect the art of sanding glass by hand, creating beautiful, polished results that stand out.