Did you know that nearly 70% of metal finishing projects rely on hand sanding metal for precision and control? When you sand metal by hand, you gain the ability to carefully remove rust, smooth welds, and polish surfaces without risking damage.
However, mastering the right grit progression, pressure, and technique is essential to achieving a flawless finish. Understanding these details can considerably improve your results—so let’s explore how to start preparing your metal surface properly.
Why Hand Sanding Metal Is Worth the Effort
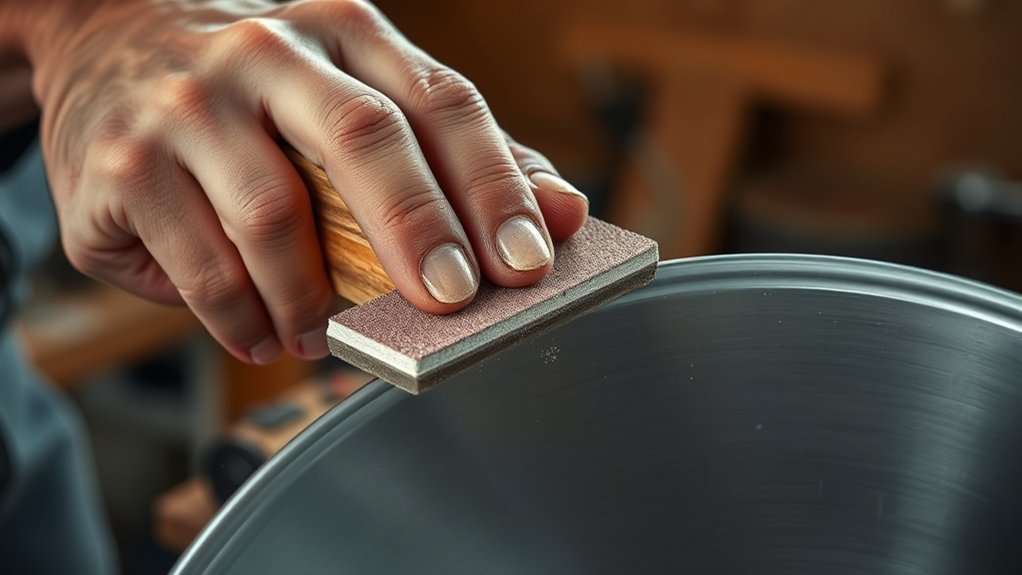
Although power tools can speed up the process, hand sanding metal gives you greater control over surface finish and detail. When you sand by hand, you can carefully target rough spots and imperfections without removing too much material, which is crucial for rust prevention.
You’ll also better preserve any existing patina, maintaining the metal’s character and value. By applying consistent, even pressure and using the appropriate grit sandpaper, you minimize the risk of damaging the metal’s surface.
Hand sanding lets you work incrementally, so you can inspect progress regularly, ensuring optimal results. This precision reduces the need for aggressive treatments later, saving time and effort. Ultimately, hand sanding offers a controlled, methodical approach that power tools often can’t match when aiming for fine finishes and long-term metal preservation.
When to Choose Hand Sanding or Power Tools for Metal
You’ll need to assess the metal’s surface type to decide between hand sanding and power tools. If you require high precision or are working on delicate areas, hand sanding is ideal, while power tools offer faster material removal.
Also, consider noise and dust levels, as power tools generate more of both, affecting your work environment.
Surface Type Considerations
When should you choose hand sanding over power tools for metal surfaces? You’ll want to evaluate the surface type carefully before starting surface prep or rust removal. Hand sanding gives you control over delicate or detailed areas, while power tools suit broader, flat surfaces where speed is key.
Consider these factors:
- Surface complexity: Use hand sanding on intricate shapes or tight corners.
- Rust severity: For light rust removal, hand sanding prevents damage; heavy rust may require power tools.
- Surface finish: Hand sanding helps achieve a smoother, more precise finish.
- Material thickness: Thin metal benefits from hand sanding to avoid gouging or warping.
Selecting the right method ensures effective surface prep without compromising the metal’s integrity.
Precision Versus Speed
Since metalworking often demands both accuracy and efficiency, choosing between hand sanding and power tools depends on your project’s priorities. If precision is crucial, opt for hand sanding. It gives you control to target small areas and delicate edges without removing too much material, minimizing errors.
Conversely, when speed matters and surface area is large, power tools excel by rapidly removing material, saving time. Consider the hand tool vs power trade-off: hand sanding offers fine control but requires more effort and time, while power tools boost speed but risk over-sanding if not carefully managed.
Assess the metal’s thickness and complexity to decide. For intricate or finish-sensitive tasks, prioritize precision with hand sanding. For bulk shaping or rust removal, favor speed with power tools.
Noise And Dust Levels
How much noise and dust you can tolerate plays a critical role in choosing between hand sanding and power tools for metalworking. Hand sanding offers superior noise reduction and better dust containment, making it ideal for indoor or noise-sensitive environments.
Power tools, however, generate higher noise levels and disperse more dust, requiring additional protective measures.
Consider these factors when deciding:
- Noise reduction: Hand sanding operates quietly, minimizing disturbance.
- Dust containment: Manual sanding produces less airborne dust, easier to control.
- Workspace environment: Use hand sanding in enclosed or shared spaces.
- Protective equipment: Power tools demand respirators and ear protection due to increased exposure.
How to Prepare Your Metal Surface Before Sanding
Why does preparing your metal surface before sanding matter? Proper preparation ensures effective rust prevention and guarantees coating compatibility after sanding.
Start by thoroughly cleaning the metal to remove dirt, grease, and oils using a solvent or degreaser. Next, inspect the surface for existing rust or contaminants; use a wire brush or chemical rust remover to eliminate rust spots.
Dry the metal completely to avoid trapping moisture, which can cause corrosion. Mask off areas you don’t want to sand to maintain precision.
Finally, verify that any coatings or primers on the metal are compatible with your sanding process and subsequent finishing materials. Skipping these steps can result in poor adhesion, uneven sanding, and compromised rust protection, undermining your entire project’s quality and durability.
What Sandpaper Grits Work Best for Metal
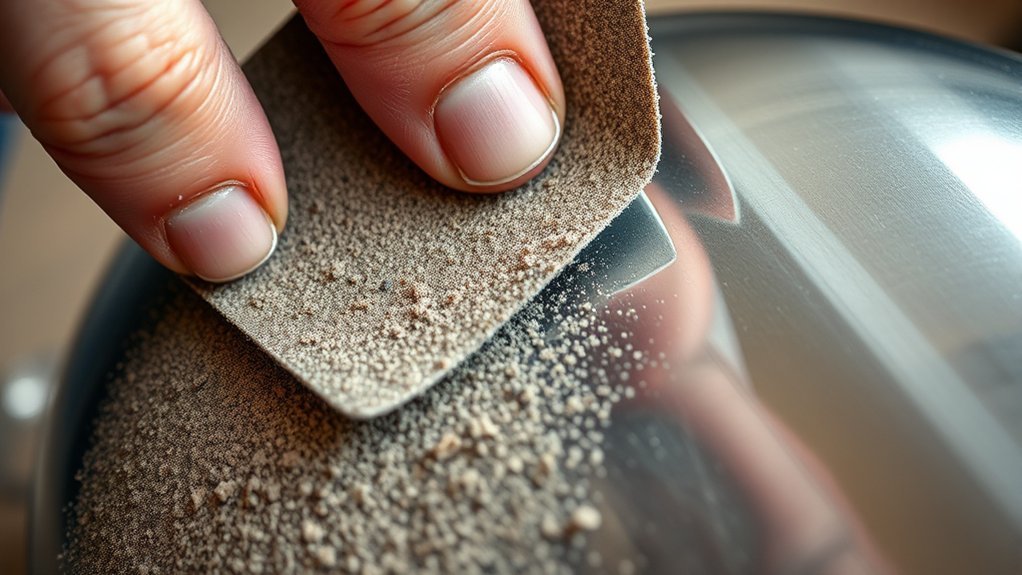
You’ll start with coarse grit sandpaper to remove rust and heavy imperfections efficiently.
Next, switch to medium grit to smooth the surface and prepare it for finer work.
Finally, use fine grit to achieve a polished finish and remove any remaining scratches.
Coarse Grit Uses
Coarse grit sandpaper, typically ranging from 40 to 60 grit, excels at rapidly removing rust, paint, and heavy surface imperfections from metal. When selecting metal bonding abrasives, coarse grit uses focus on aggressive material removal to prepare surfaces for finer sanding stages.
Use coarse grit to:
- Strip away thick layers of corrosion or old coatings efficiently
- Level out deep scratches, weld seams, or casting marks quickly
- Shape metal edges or contours before smoothing
- Remove mill scale or surface contaminants that hinder adhesion
Applying coarse grit abrasives properly prevents damage to the metal substrate while speeding up preparation. Always maintain consistent pressure and motion for even results. Coarse grit is your first line of attack in restoring or shaping metal, setting the foundation for subsequent finer grits to achieve a polished finish.
Medium Grit Benefits
After removing heavy imperfections with coarse grit, medium grit sandpaper steps in to refine the surface and prepare it for finer finishing. Typically, grit values between 120 and 220 work best for metal, striking the balance between material removal and surface smoothness.
This stage is crucial in your grit progression, as it eliminates deep scratches left by coarse grit, ensuring an even texture. When sanding by hand, pay attention to tool ergonomics. Choose sandpaper sizes and grips that reduce fatigue and maintain control.
Applying consistent pressure and sanding in uniform strokes enhances efficiency and prevents uneven wear. Proper use of medium grit sandpaper optimizes surface readiness, setting the foundation for subsequent fine grit applications without compromising metal integrity or prolonging effort.
Fine Grit Applications
Shifting to fine grit sandpaper focuses on achieving a smooth, polished metal surface by removing the subtle scratches left from previous sanding stages. You’ll want to select grits ranging from 320 to 600 for optimal results. These finer abrasives minimize rust reaction risks by smoothing the metal’s surface, reducing corrosion initiation points.
Additionally, fine grit prepares the metal for improved coating compatibility, ensuring paint or sealants adhere uniformly without imperfections.
Use these guidelines when choosing fine grit:
- 320 grit for initial fine smoothing after medium grit
- 400 grit to refine surface texture further
- 600 grit for near-polish finish and removing minor scratches
- Avoid coarser grits that can compromise coating adhesion and trigger rust reaction
Following this progression guarantees a professional, corrosion-resistant finish.
Best Tools for Hand Sanding Metal
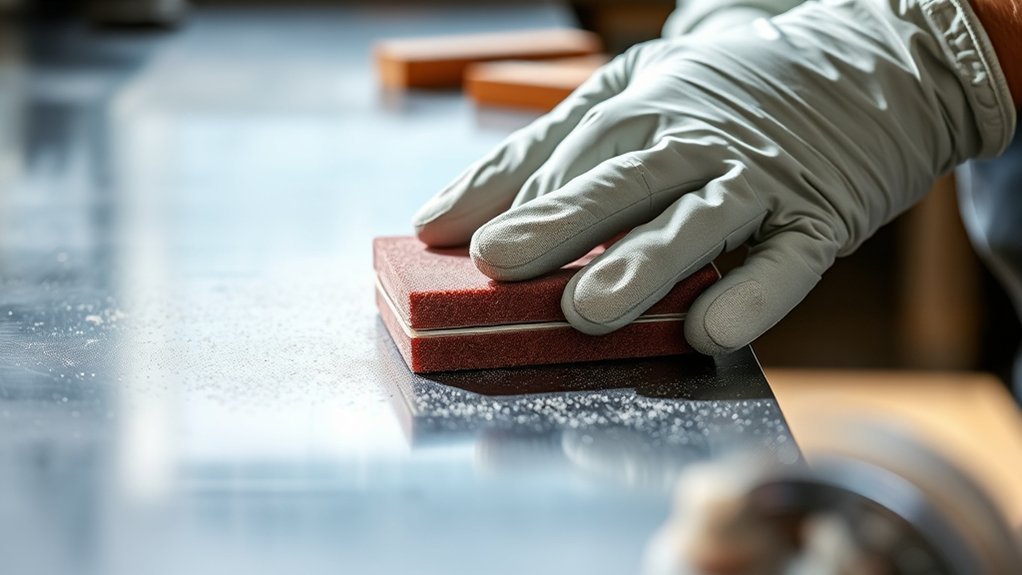
Which tools will give you the most control and efficiency when sanding metal by hand? Start with high-quality sandpaper sheets, ideally aluminum oxide or silicon carbide, in various grits for progressive smoothing.
Use a sanding block or a rubber sanding pad to maintain even pressure and avoid uneven surfaces. For curved or intricate areas, flexible sanding sponges or folded sandpaper provide better adaptability.
A sanding block ensures even pressure, while sponges or folded sandpaper adapt to curves and intricate details.
Avoid unrelated topics like power tools or chemical treatments, which belong to different discussions. Keep your workspace organized to prevent mixing discussion ideas about unrelated topics that can distract from the task.
Always wear gloves and eye protection to safeguard yourself. Selecting the right tools ensures precision and efficiency, essential for achieving a smooth, defect-free metal surface manually.
How to Hand Sand Rust and Corrosion
Once you’ve selected the right sanding tools, you can effectively address rust and corrosion on metal surfaces by hand. Begin by focusing on rust removal to restore the metal’s integrity. Use medium-grit sandpaper to break down rust spots, then switch to finer grits for a smooth finish.
Follow these steps:
- Apply consistent pressure to avoid gouging the metal.
- Sand in a circular motion to remove corrosion evenly.
- Wipe the surface frequently to check progress and remove debris.
- After sanding, clean the area thoroughly and apply a rust inhibitor for corrosion prevention.
How to Smooth Rough Edges and Welds on Metal
How do you achieve smooth, safe edges on metal after welding or cutting? Start by securing the metal piece firmly to minimize movement and ensure vibration control, which helps maintain precision.
Begin by firmly securing the metal to reduce movement and vibration for precise, safe edge finishing.
Use a coarse-grit sanding block or file to remove weld beads and rough edges, applying consistent pressure along the contour. Focus on gradual material removal to avoid gouging.
Once the major irregularities are gone, switch to finer grit sandpaper to refine the surface. Always wear gloves for edge protection to prevent cuts and ensure a steady grip.
Pay attention to weld seams, blending them smoothly into the base metal. This methodical approach ensures safe, polished edges, improving both the metal’s functionality and aesthetics without compromising structural integrity.
How to Sand Metal Without Scratching or Damaging It
Why should you be cautious when sanding metal surfaces? Scratches or damage can compromise the metal’s integrity and appearance. To avoid this, you need to discuss safety measures and plan workflow carefully before starting.
Follow these key steps:
- Use fine-grit sandpaper (start around 320 grit) to minimize abrasion depth.
- Sand with consistent, gentle pressure in one direction to prevent uneven marks.
- Keep the metal clean and free of debris to avoid embedding particles that cause scratches.
- Frequently check your progress and adjust sanding speed and pressure accordingly.
How to Get a Smooth, Even Finish on Metal
Achieving a smooth, even finish on metal requires careful attention to sanding progression and technique. Use progressively finer grit sandpapers with hand tools, ensuring consistent pressure for uniform abrasion.
Maintain a clean surface prep to avoid embedding grit or debris. Sand in a linear motion, then alternate directions between grit changes to minimize scratch patterns. Refer to the table below for grit sequence and corresponding actions:
| Grit Level | Action |
|---|---|
| 80 | Remove heavy imperfections |
| 120 | Smooth deeper scratches |
| 220 | Refine surface texture |
| 400 | Eliminate visible scratches |
| 600+ | Final polish for smoothness |
Following this structured approach guarantees a flawless, even metal finish ready for subsequent treatments or coatings.
How to Clean and Maintain Sanded Metal Surfaces
Once you’ve completed sanding to a smooth finish, cleaning and maintaining the metal surface guarantees the longevity of your work. Proper cleaning removes residual abrasives and contaminants that could promote edge corrosion. Follow these steps:
- Wipe the surface with a lint-free cloth dampened with isopropyl alcohol to eliminate dust and oils.
- Inspect edges carefully for any signs of corrosion; address immediately to prevent spreading.
- Choose coatings compatible with the metal type and sanding grade to ensure adhesion and protection.
- Store the metal in a dry, controlled environment to minimize moisture exposure and corrosion risk.
Regular maintenance extends the life of your sanded metal, preserves finish integrity, and prevents deterioration caused by environmental factors.
Frequently Asked Questions
Can Hand Sanding Metal Remove Paint Effectively?
Yes, you can remove paint effectively from a metal surface by hand sanding. Use the right sanding technique and wear protective gear.
Start with coarse grit, gradually moving to finer grit for a smooth finish and thorough paint removal.
Is It Safe to Sand Metal Without Wearing Gloves?
You shouldn’t sand metal without gloves, as glove safety prevents cuts and irritation. Even with oil lubrication reducing friction, your hands remain vulnerable to sharp edges and metal particles.
How Long Does Hand Sanding Metal Typically Take?
You’ll spend about 20 to 60 minutes smoothing your project’s surface. Hand sanding for metal prep varies with metal type and grit choice, so pace yourself, focusing on even strokes to achieve a consistent finish.
Can Hand Sanding Metal Be Done Underwater?
You can perform underwater sanding, but ensure you use waterproof abrasives and proper safety gear.
Underwater sanding demands careful safety considerations to avoid electric shocks and maintain tool functionality while achieving effective metal surface preparation.
What Are Common Health Risks When Sanding Metal by Hand?
You’ll face common dust exposure, risking respiratory issues, so wear masks. Maintain proper hand tool ergonomics to prevent strain.
Stay alert to chemical fumes safety and minimize noise-induced fatigue by using ear protection during sanding tasks.
Conclusion
You’ll find hand sanding metal worth the effort when you clean thoroughly, sand progressively, and protect carefully. You’ll get better results when you choose the right grit, use proper tools, and maintain steady pressure. You’ll avoid damage when you work consistently, inspect often, and wear protection.
You’ll achieve a smooth finish when you follow each step precisely, keep motions even, and finish with fine grit. Hand sanding metal demands patience, precision, and care—but it delivers lasting quality. Mastering the technique of hand sanding metal ensures your projects have a professional and durable finish.