You might think sanding detailed trim risks damaging its delicate patterns, but with the right approach, you can preserve every intricate edge. Sanding detailed trim requires careful attention to maintain its beauty without causing harm. Start by assessing the trim’s condition and selecting appropriate grit progression to avoid over-sanding.
Using methodical hand sanding techniques and proper edge protection ensures precision without abrasion. Understanding these steps is crucial before you move on to power tools or finishing methods that bring out the trim’s true character. Taking your time with sanding detailed trim will result in a flawless, professional finish.
Preparing Detailed Trim for Sanding
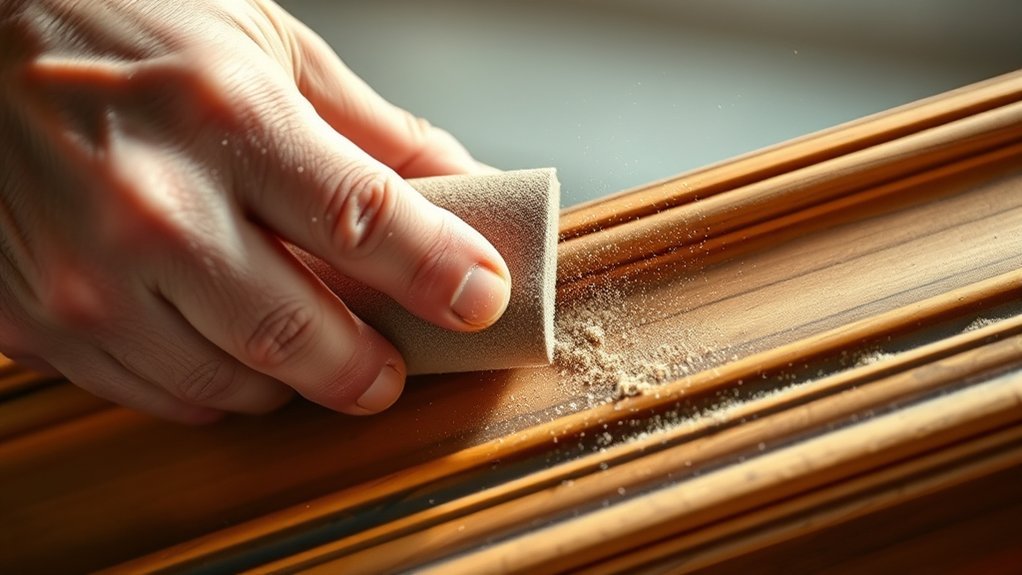
How do you guarantee your detailed trim is ready for sanding? Start by thoroughly inspecting the trim for any existing historical finishes. You need to identify whether these finishes require special treatment or removal techniques to prevent damage during sanding.
Begin by carefully examining the trim for historical finishes needing special care before sanding.
Next, clean the trim surface meticulously, removing dust, dirt, and oils that could interfere with sanding adhesion. Implement dust management protocols by using a vacuum or tack cloth to minimize airborne particles and maintain a clean work area.
Secure the trim firmly to prevent movement that could cause uneven sanding. Confirm all nails or fasteners are countersunk or removed to avoid damaging your tools or the trim.
This methodical preparation ensures optimal sanding results while preserving underlying finishes and controlling dust effectively.
Choosing the Right Sandpaper Grit for Detailed Trim
Select sandpaper grit carefully to balance effective material removal with preserving delicate details in your trim. When choosing grit, start with a coarser grade to remove imperfections, then move progressively finer to smooth the surface without eroding intricate patterns.
For detailed trim, hand sanding is essential to control pressure and avoid damage.
| Grit Number | Purpose |
|---|---|
| 80 | Rapid material removal |
| 120 | General smoothing |
| 180 | Refining surface texture |
| 220 | Preparing for finishing |
| 320 | Final smoothing on delicate areas |
Hand Sanding Techniques to Protect Intricate Patterns
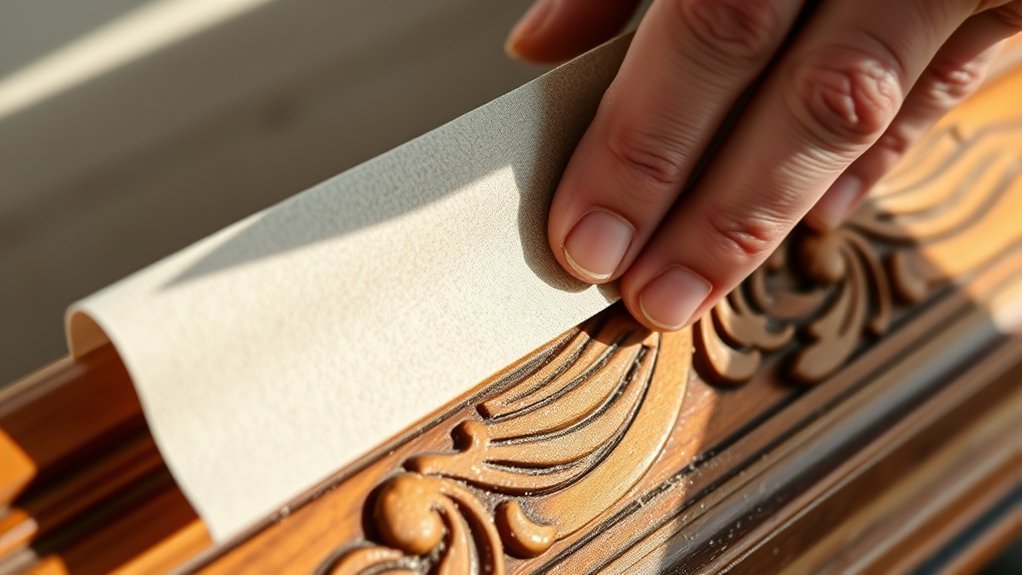
You’ll want to start by selecting a fine grit sandpaper to avoid removing too much material from your trim. Use flexible sanding tools like foam pads or small sanding sponges to conform to the curves and avoid damaging delicate carvings.
Always sand gently along the grain to preserve the intricate patterns without rounding off sharp details.
Choosing The Right Grit
Why does choosing the right grit matter when hand sanding detailed trim? Proper sandpaper selection directly impacts edge protection and the preservation of intricate patterns. Using too coarse a grit risks gouging, while too fine a grit prolongs work and reduces effectiveness.
Follow these steps for optimal grit choice:
- Start with 120-150 grit to remove surface imperfections without damaging edges.
- Progress to 180-220 grit for smoothing and refining detail.
- Use 320 grit or finer for final finishing, ensuring a clean, smooth surface.
- Avoid skipping grits to maintain consistent abrasion and protect trim edges.
Using Flexible Sanding Tools
How can you effectively sand intricate trim without damaging its delicate patterns? Using flexible sanding tools is essential for this task. Opt for sanding sponges or flexible sanding pads that conform to contours, preventing uneven pressure and minimizing sanding issues like gouging or over-sanding.
When hand sanding, move the tool gently along the grain and around details to maintain the trim’s integrity. Regular tool maintenance is critical—clean sanding surfaces frequently to avoid clogging, which reduces abrasiveness and can scratch the wood.
Replace worn sanding pads promptly to ensure consistent performance. By selecting the right flexible tool and maintaining it properly, you can achieve smooth, precise results on detailed trim without compromising its intricate designs or causing damage.
Protecting Delicate Carvings
When working on delicate carvings, applying gentle, controlled hand sanding techniques is essential to preserve intricate patterns. You should:
- Choose fine-grit sandpaper (220-320 grit) to minimize abrasion on detailed surfaces.
- Use a soft sanding block or flexible sponge to conform to curves without damaging edges.
- Maintain consistent pressure and slow, circular motions to avoid uneven wear or gouging.
- Monitor moisture control carefully; excessive moisture can swell wood fibers, compromising detail and adhesion of protective coatings.
After sanding, apply a thin, even layer of protective coatings to shield the carvings from environmental damage. This methodical approach ensures the trim retains its craftsmanship while preparing it for finishing. By following these steps, you’ll protect intricate patterns and achieve a smooth, durable surface without eroding delicate details.
Handling Tight Corners and Delicate Edges
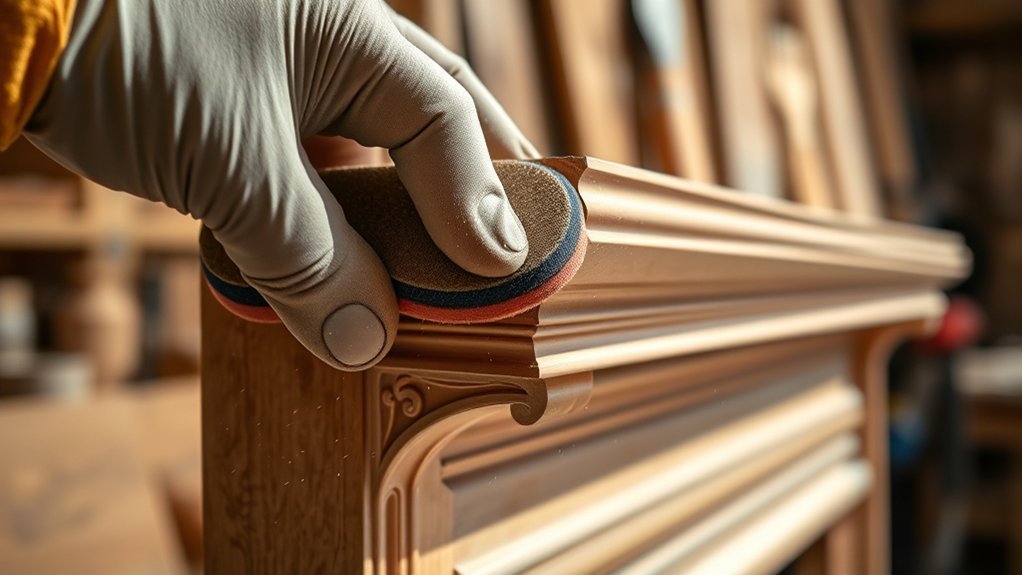
Where do you start when sanding tight corners and delicate edges without causing damage? Begin by selecting a fine-grit sanding sponge or folded sandpaper that fits snugly into confined spaces. Work slowly, applying light pressure to avoid rounding sharp details.
Use your fingertip or a small sanding block wrapped in sandpaper for better control. Focus on the angles where flat surfaces meet, ensuring you remove imperfections while maintaining crisp lines. Rotate your tool frequently to access all facets of tight corners.
For delicate edges, approach them with a lighter touch and shorter strokes, preventing material removal beyond the surface. Constantly inspect your progress under good lighting. This methodical approach helps preserve intricate profiles while achieving a smooth, even finish on your detailed trim.
Power Sanders: When and Which to Use on Detailed Trim
You’ll need to select the appropriate power sander based on the trim’s complexity and material. Orbital and detail sanders offer different control levels for tight spaces and intricate patterns.
Mastering the right techniques ensures you maintain precision without damaging delicate areas.
Types of Power Sanders
Power sanders come in various types, each designed for specific tasks and surfaces. When working on detailed trim, understanding these tools helps you achieve a smooth finish efficiently. Consider these four common types:
- Orbital Sanders Ideal for gentle sanding on flat or curved surfaces, minimizing swirl marks.
- Detail Sanders Perfect for tight corners and intricate trim profiles, offering precise control.
- Belt Sanders Best for heavy material removal but less suited for delicate trim due to aggressiveness.
- Random Orbital Sanders Combines orbital and rotary motions, excellent for glass finishing and reducing visible scratches.
Most modern power sanders come with built-in dust collection systems, which keep your workspace clean and improve sanding effectiveness on detailed trim. Select the appropriate type based on the trim’s complexity and finish requirements.
Choosing the Right Sander
Selecting the right sander depends on the trim’s complexity and the desired finish. If your sanding goals prioritize preserving intricate details, opt for a palm or detail sander; these provide control without aggressive material removal.
For larger, less ornate sections, a random orbital sander balances efficiency with surface smoothness, supporting clean trim aesthetics. Avoid belt sanders on detailed trim as they’re too coarse and risk damaging profiles.
Consider grit progression aligned with your sanding goals; start coarse for paint removal, then finer for smoothness. The sander’s size and shape should match the trim’s contours to maintain edges and patterns.
Ultimately, choosing the right tool ensures you refine your trim aesthetics methodically, preventing over-sanding and preserving the integrity of detailed woodwork.
Techniques for Detailed Areas
When working on detailed trim, knowing when and which power sander to use can save both time and the integrity of your work. Detailed carving requires precision, so select tools that conform to complex shapes without damaging edges. Consider these guidelines:
- Use a detail sander for tight corners and intricate profiles; its small pad fits well into carved recesses.
- Opt for a random orbital sander on flat adjacent surfaces to maintain uniformity without aggressive removal.
- Employ a rotary tool with fine sanding attachments for acute angles but control speed to avoid overheating wood.
- Prioritize dust management by attaching a vacuum system or using sanders with built-in dust collection to protect delicate details and maintain visibility.
This methodical approach preserves your trim’s fine craftsmanship and ensures efficient sanding.
Common Mistakes to Avoid When Sanding Detailed Trim
Why do some sanding projects on detailed trim fail to achieve a smooth, professional finish? Often, it’s due to neglecting edge protection and poor tool maintenance. When you skip protecting trim edges, you risk rounding or damaging intricate profiles.
Always use painter’s tape or edge guards to preserve sharp details. Additionally, sanding with dull or clogged abrasive tools reduces efficiency and causes uneven surfaces. Regularly clean and replace sandpaper to maintain consistent grit performance.
Another common error is applying excessive pressure. This can gouge soft wood or flatten delicate carvings. Instead, use light, controlled strokes aligned with the grain.
Finally, don’t overlook dust removal during sanding; trapped particles can scratch the surface. By avoiding these mistakes, you ensure clean, precise results on your detailed trim projects.
Finishing: Cleaning and Sealing Sanded Trim
How do you guarantee that your detailed trim maintains its smoothness and durability after sanding? Start with thorough maintenance cleaning to remove dust and debris from every crevice. Next, select the appropriate sealing option based on the trim material and desired finish. Follow these steps:
Ensure smooth, durable trim by cleaning thoroughly and choosing the right sealer for your material and finish.
- Use a tack cloth or vacuum for precise dust removal.
- Apply a penetrating wood sealer or clear coat evenly.
- Allow sufficient drying time between coats.
- Reassess and lightly sand between layers if needed.
Proper sealing prevents moisture infiltration and maintains structural integrity. Regular maintenance cleaning extends the life of the finish, ensuring your detailed trim stays flawless. By methodically following these steps, you protect your work and enhance its appearance with durable, professional results.
Frequently Asked Questions
Can I Sand Detailed Trim Without Removing Old Paint First?
You can sand detailed trim without removing paint first, but you must use fine-grit sandpaper carefully to avoid damaging intricate areas. Test a small section, then proceed methodically, ensuring smoothness without stripping the entire paint layer.
How Long Does Sanding Detailed Trim Usually Take?
Sanding detailed trim usually takes 1 to 3 hours, depending on complexity. You’ll want fine-grit sandpaper and small tools like sanding sponges or detail brushes.
Proper tool selection optimizes time estimates and guarantees precision.
What Safety Gear Is Recommended When Sanding Detailed Trim?
Oh, who needs safety gear when using sanding tools, right? You should wear a dust mask, safety goggles, and gloves to protect your lungs, eyes, and skin from fine dust and sharp edges while sanding detailed trim efficiently.
Can I Use a Sanding Sponge on Detailed Trim?
Yes, you can use a sanding sponge on detailed trim. The sanding sponge usage allows you to conform to intricate shapes, enhancing detail trim techniques by providing even pressure and flexibility.
This ensures precise smoothing without damaging delicate carvings.
How Do I Repair Damaged Areas Before Sanding Trim?
You’ll find 75% of trim damage comes from moisture. To repair, use wood filler or epoxy for dents, then sand smoothly. Proper surface preparation ensures lasting adhesion. Apply primer before sanding for flawless, durable trim finishes.
Conclusion
As you wrap up sanding your detailed trim, remember that gentle persistence shapes perfection. Avoid the temptation of heavy-handed pressure and rushing through grit progression. Treat edges with tender care, and keep your tools in tip-top shape to ensure a flawless finish.
With patience and methodical attention, you’ll reveal the trim’s true character, ready to be sealed and admired. Your careful approach turns meticulous work into effortless elegance.
In conclusion, mastering how to sand detailed trim is key to achieving a beautiful, professional result that highlights the craftsmanship of your work.