When sanding corners with an orbital sander, you need to adjust your technique to handle tight spaces and angles effectively. Using the tool exactly as you would on flat surfaces won’t deliver smooth, even results. Choosing the right pads, controlling pressure, and positioning the sander precisely are essential steps to master.
Understanding these nuances will help you avoid common pitfalls and achieve professional-quality finishes in those challenging areas. With the right approach, your corners will look as polished as the rest of your project.
How An Orbital Sander Handles Flat Vs. Corner Sanding
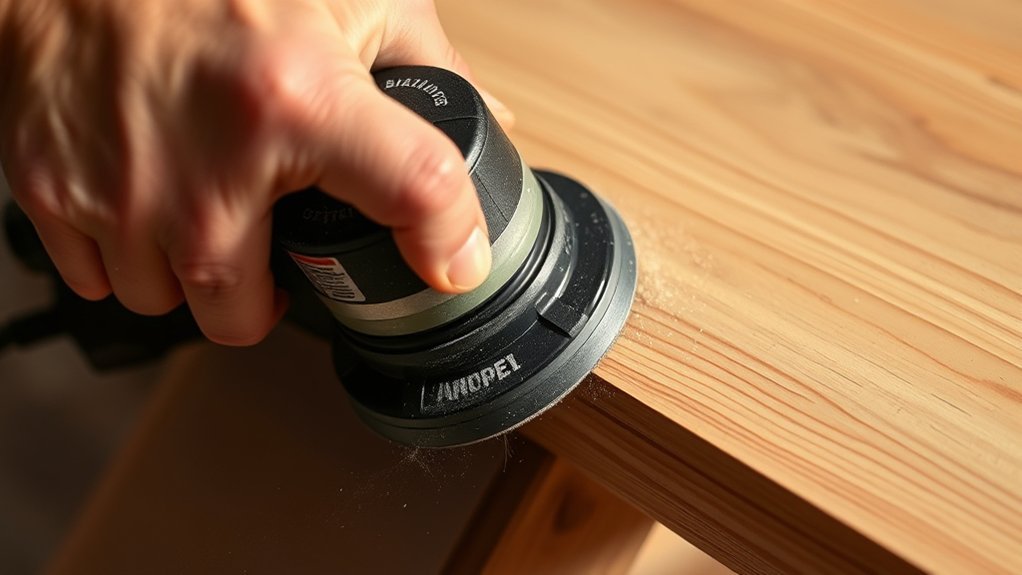
How does an orbital sander perform differently on flat surfaces compared to corners? When you use an orbital sander on flat surfaces, its circular sanding motion evenly removes material, providing a smooth, uniform finish. The sanding pad maintains consistent contact, maximizing efficiency.
However, corner sanding presents challenges due to the tool’s round pad and orbital differences. The sander can’t reach tight angles or edges effectively, causing uneven abrasion and potential damage to adjacent surfaces. You’ll notice that orbital sanders lack the precision needed for sharp corners, as their motion disperses sanding action over a wider area.
Understanding these orbital differences helps you realize why orbital sanders excel on flat planes but require adjustments or alternative methods for effective corner sanding.
How To Prepare Your Orbital Sander For Corner Sanding
Preparing your orbital sander for corner sanding starts with selecting the right sanding pad and grit to match the task. Choose a smaller or detail sanding pad to access tight corners effectively. Opt for finer grit sandpaper if you need to smooth delicate edges without damaging surfaces.
When prepping sander, ensure the pad is securely attached to avoid slippage during use. Check the sander’s speed settings and adjust them to suit the material and corner complexity.
Effective dust management is crucial; connect a vacuum or dust collection system to minimize debris buildup, which can impair sanding efficiency and surface quality. Finally, inspect the sander for any damage or wear before starting to ensure consistent performance throughout the corner sanding process.
Techniques For Sanding Inside And Outside Corners
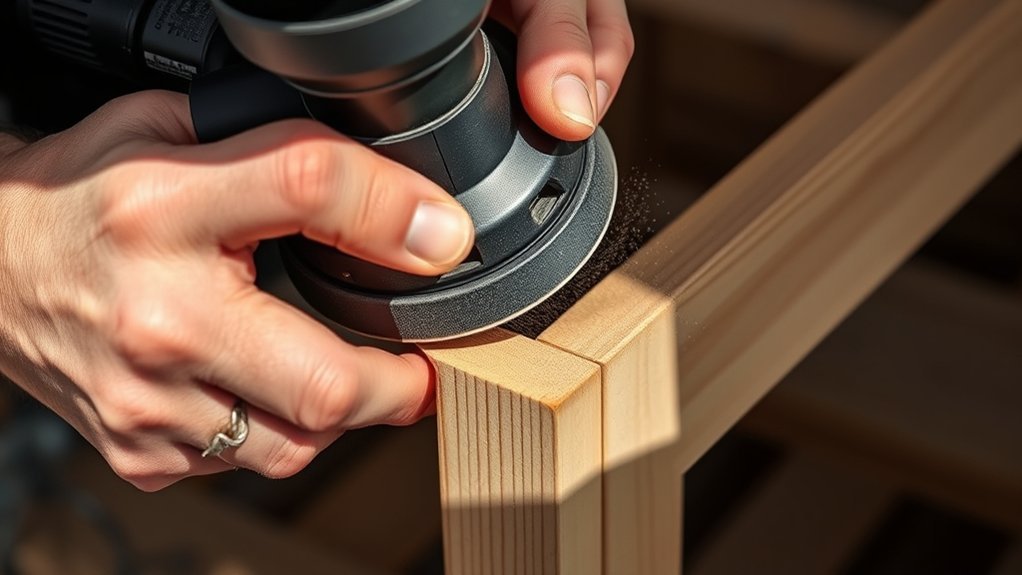
Where should you focus your orbital sander when tackling inside and outside corners? Prioritize adapting to the corner geometry to achieve even sanding. For inside corners, align the sander’s pad edge parallel to the corner intersection, applying light pressure to avoid gouging.
Use precise, slow movements to conform to the angle without over-sanding adjacent surfaces. For outside corners, gently tilt the sander so only the pad’s edge contacts the surface, following the contour smoothly. Maintain consistent motion to prevent uneven wear.
Always consider sanding ergonomics: position your body for stability and control, minimizing fatigue and ensuring precise handling. Proper posture and grip enable better responsiveness to corner shapes, reducing the risk of damage and improving finish quality on both inside and outside corners.
Best Orbital Sander Attachments For Corner Sanding
Mastering corner sanding with an orbital sander often depends on selecting the right attachments. You need attachments that offer precision without sacrificing efficiency. Focus on attachment compatibility to ensure your sander performs at its best in tight spaces.
| Attachment Type | Best Use Case |
|---|---|
| Triangular Sanding Pad | Ideal for inside corners |
| Detail Sanding Pad | Accesses narrow, tight angles |
| Hook & Loop Backing | Quick paper changes, versatile |
| Flexible Sanding Pad | Adapts to curved corners |
Each attachment targets specific corner sanding challenges. The triangular pad excels at inside corners, while detail pads reach narrow angles others miss. Hook & loop backing simplifies grit swaps, boosting workflow. Flexible pads conform to curved edges, enhancing finish quality.
Always verify attachment compatibility with your orbital sander model to maintain performance and avoid damage.
Common Mistakes To Avoid When Sanding Corners
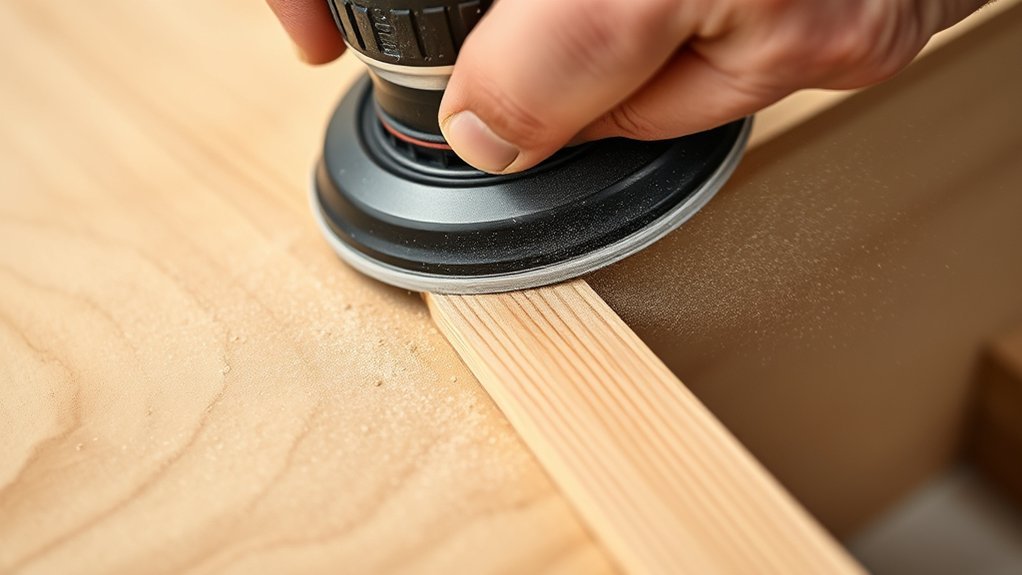
Why do sanding corners often lead to unsatisfactory results? It’s usually due to poor corner ergonomics and inadequate dust control. You might apply uneven pressure or hold the sander at an incorrect angle, causing gouges or rounded edges instead of sharp, clean corners.
Avoid forcing the sander into tight spaces; instead, adjust your grip for better maneuverability. Neglecting dust control can obscure your view, leading to missed spots or overly aggressive sanding.
Always use a vacuum attachment or dust collection system to maintain visibility and prolong sandpaper life. Lastly, don’t rush the process. Slow, controlled movements yield uniform sanding and prevent damage.
How To Finish And Inspect Corners For A Flawless Result
You’ll want to apply final touch techniques to smooth any remaining roughness without over-sanding. Carefully inspect corners under good lighting to spot imperfections like uneven surfaces or missed spots.
Address any flaws immediately to ensure a flawless, professional finish.
Final Touch Techniques
How do you guarantee your corners look perfectly smooth and professional after sanding? Focus on corner ergonomics by adjusting your orbital sander’s angle to maintain consistent pressure without straining your wrist. Use smaller, precise motions to reach tight edges effectively.
Prioritize dust containment by attaching a vacuum system or using a dust bag to keep the workspace clean and prevent debris from interfering with the finish. After the initial pass, switch to finer grit sandpaper for the final touch, ensuring a seamless, uniform surface.
Maintain steady control, avoiding over-sanding which can round off sharp corners. Finally, wipe down the area with a tack cloth to remove residual dust, setting the stage for flawless finishing. This method ensures your corners retain their integrity and professional appearance.
Corner Quality Inspection
After sanding, carefully examine each corner to confirm the surface is smooth and edges remain sharp without rounding. Use consistent lighting to highlight any imperfections or unevenness during your corner quality inspection.
Run your fingers along the edges to detect rough spots or raised fibers. Employ a magnifying glass if necessary to inspect corner details closely.
If you find any imperfections, return to sanding with fine-grit paper to refine the surface. Document your inspection corner results to track progress and ensure compliance with quality standards.
Proper corner quality inspection prevents finish failures and ensures your workpiece meets professional standards. By following these precise steps, you’ll achieve consistently flawless corners that enhance the overall visual and structural integrity of your project.
When To Switch To Hand Sanding For Tough Corners
You’ll want to switch to hand sanding when your orbital sander can’t reach tight angles or intricate corners. Hand sanding offers precise control and access to areas where power tools struggle.
This guarantees a smooth, even finish without damaging delicate edges.
Identifying Difficult Angles
When do corners become too challenging for an orbital sander to handle effectively? You’ll notice this when you encounter detailed angles that the sander’s pad can’t access without compromising tool ergonomics. Sharp inside corners, narrow gaps, or complex profiles often require a switch to hand sanding for precision.
| Corner Type | Orbital Sander Suitability | Difficulty Level | Recommended Action |
|---|---|---|---|
| 90° inside corner | Low | High | Switch to hand sanding |
| Complex molding | Very low | Very high | Hand sanding required |
| Slightly rounded | Moderate | Medium | Orbital sander usable |
| Flat edges | High | Low | Orbital sander ideal |
Recognize these conditions early to maintain control and achieve a smooth finish on detailed angles.
Benefits Of Hand Sanding
Although orbital sanders excel on broad, flat surfaces, hand sanding offers unmatched control for tough corners and intricate details. When you encounter tight angles or delicate edges, switching to hand sanding lets you precisely target these areas without damaging adjacent surfaces.
The benefits of hand sanding include greater maneuverability and tactile feedback, allowing you to feel surface smoothness and adjust pressure accordingly. An ergonomic grip on your sanding block reduces hand fatigue, enabling longer, more consistent work sessions.
This control is essential for achieving a flawless finish in hard-to-reach spots where orbital sanders can’t fit or may cause over-sanding. By knowing when to switch to hand sanding, you ensure superior results and preserve the integrity of your workpiece’s corners and fine details.
Frequently Asked Questions
What Grit Sandpaper Is Best for Initial Sanding?
You’ll want 80-grit sandpaper for initial sanding. This grit balances material removal and surface prep, especially when using the corners technique.
It also minimizes clogging, helping your orbital sander’s dust collection system stay efficient.
Can Orbital Sanders Be Used on Painted Surfaces?
Yes, you can use orbital sanders on painted surfaces. For best results, follow orbital sander tips like using fine grit sandpaper and applying light pressure.
Always consider paint surface considerations to avoid damage or uneven sanding.
How Do I Clean and Maintain My Orbital Sander?
Think of your orbital sander as a machine breathing dust. Maintain dust collection by emptying bags regularly, clean brushes to prevent clogging, and wipe down surfaces. This preserves performance and extends your tool’s lifespan efficiently.
Are There Safety Tips for Using an Orbital Sander?
You should always wear safety PPE like goggles and gloves to protect yourself. Stay alert for kickback by maintaining a firm grip and sanding with controlled pressure, ensuring precise, safe operation without losing control of the orbital sander.
What Materials Can I Sand With an Orbital Sander?
You can sand wood, metal, plastic, and painted surfaces with an orbital sander. It’s ideal for refining wood finish and smoothing surfaces.
Use proper grit and guarantee your dust collection system efficiently manages debris during sanding.
Conclusion
Sanding corners with an orbital sander is like maneuvering a tight maze—you need precision and control. By preparing your sander properly, using the right attachments, and applying targeted techniques, you’ll achieve smooth, even edges without damaging adjacent surfaces.
Remember to switch to hand sanding when the sander can’t reach. This ensures no spots are missed and the finish remains consistent throughout.
With careful finishing and inspection, your corners will be flawless, blending seamlessly into your project’s overall finish. Mastering how to sand corners with an orbital sander will elevate the quality of your woodworking projects.