When you sand cabinets with an orbital sander, precision and preparation are key. Sanding cabinets properly starts with removing doors and hardware to ensure a smooth process. Protecting surrounding areas is also essential to prevent unwanted damage.
Selecting the proper grit is crucial to avoid damaging surfaces. Applying steady, overlapping passes while controlling pressure helps achieve an even finish. However, mastering these steps alone won’t guarantee perfect results.
Understanding the nuances of grit progression and sander handling is essential. This knowledge helps you avoid common pitfalls that can compromise your work. With the right technique, sanding cabinets with an orbital sander becomes a manageable and rewarding task.
Benefits of Using an Orbital Sander for Cabinets
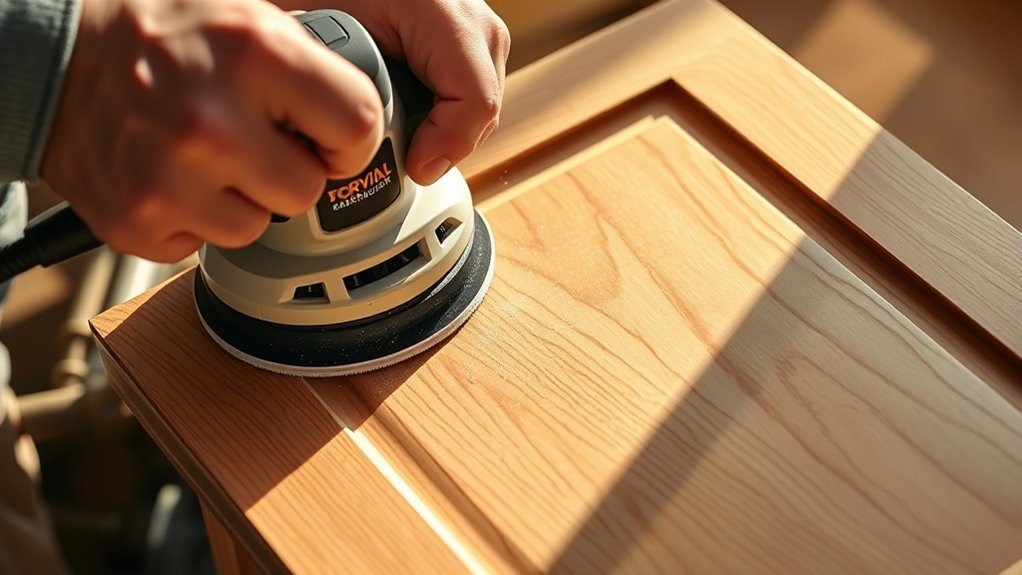
Why choose an orbital sander for your cabinet project? The benefits of using an orbital sander lie in its efficient material removal combined with a smooth finish. Its random orbital motion minimizes swirl marks, providing a consistent surface that’s ideal for cabinetry.
You’ll appreciate the orbital sander advantages like reduced sanding time and less user fatigue due to its ergonomic design and vibration control. This tool excels on flat and contoured surfaces, ensuring uniform sanding without gouging the wood.
Additionally, the orbital sander’s dust collection system improves workspace cleanliness and visibility. By selecting this sander, you gain precision control, making it easier to achieve professional-grade results on your cabinets with less effort and greater accuracy.
Preparing Cabinets for Orbital Sander Use
Before you start sanding, how you prepare your cabinets directly impacts the quality and efficiency of your work. First, remove all cabinet doors and hardware to ensure even sanding. Seal off adjacent areas to control sanding dust. Use ear protection to address noise concerns from the orbital sander.
| Step | Action | Purpose |
|---|---|---|
| 1 | Remove doors & hardware | Access all surfaces |
| 2 | Clean surfaces | Remove grease and dirt |
| 3 | Seal workspace | Limit sanding dust spread |
| 4 | Wear ear protection | Mitigate noise concerns |
| 5 | Check sander condition | Ensure optimal performance |
Thorough preparation minimizes cleanup and protects your environment while maximizing sanding effectiveness.
Choosing the Right Sandpaper Grit for Cabinets
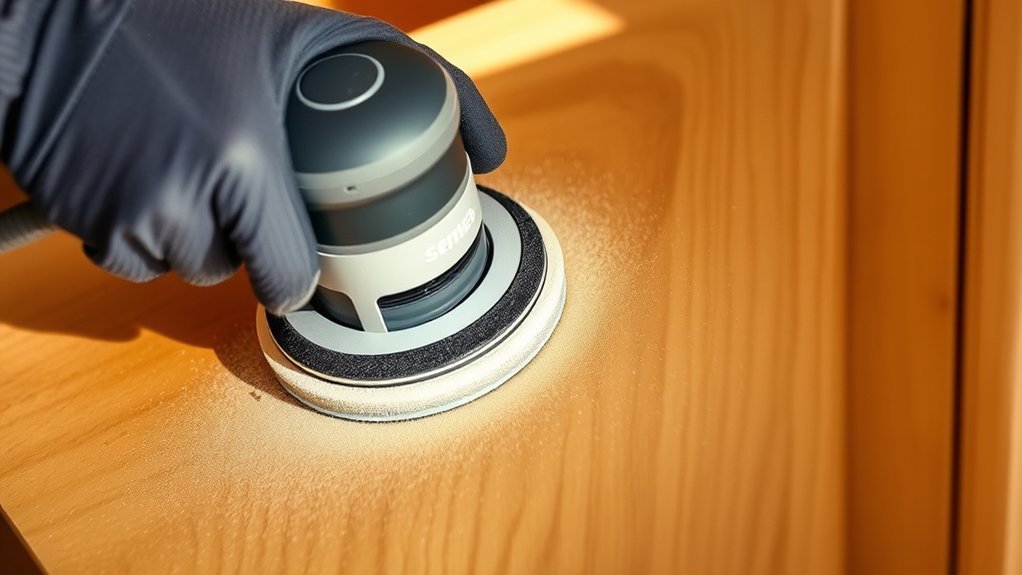
How do you select the ideal sandpaper grit for your cabinets to achieve a smooth, even finish? Choosing grit depends on the cabinet surface condition and your sanding technique.
Start with a coarse grit, like 80 or 100, to remove old finish or imperfections quickly. Then progress to a medium grit, such as 120 or 150, to smooth the surface and refine scratches left by the coarser grit.
Finish with a fine grit, 220 or higher, to prepare the wood for staining or painting without damaging the surface. Your sanding technique should involve consistent pressure and controlled movements to avoid gouging.
Step-by-Step Guide to Sanding Cabinets With an Orbital Sander
Before you start sanding, make sure you properly prepare your cabinets by removing hardware and cleaning surfaces thoroughly.
Next, control the orbital sander’s speed and apply consistent pressure to avoid gouges or uneven sanding. Following these steps ensures a smooth, professional finish every time.
Preparing Cabinets Properly
Why is meticulous preparation essential when sanding cabinets with an orbital sander? Proper preparation ensures a smooth, even finish and prevents damage to the cabinet surfaces. Begin by removing all hardware and doors to access every surface evenly.
Clean the cabinets thoroughly to eliminate grease, dirt, and dust, which can interfere with sanding efficiency. Use preparation tips such as taping off adjacent walls or countertops to protect them.
Conduct a finish inspection to identify areas with peeling paint, varnish, or rough spots needing extra attention. Secure all cabinet parts firmly to prevent movement while sanding.
Proper lighting during inspection helps reveal imperfections. Following these steps systematically sets the foundation for effective sanding, ensuring optimal adhesion for new finishes and extending the life of your cabinets.
Using Orbital Sander Effectively
Where should you begin when using an orbital sander on cabinets? Start by focusing on orbital efficiency to maximize your sanding results. Maintain consistent pressure and keep the sander moving to avoid gouges.
Here are key steps to ensure effective sanding:
- Select the correct grit sandpaper for initial and finishing passes.
- Secure the cabinet door or drawer firmly before sanding.
- Use smooth, overlapping passes following the wood grain.
- Frequently check your progress with two word discussion ideas like “surface smoothness.”
- Clean dust from the surface between grit changes to avoid scratches.
Techniques for a Smooth, Even Finish When Sanding Cabinets
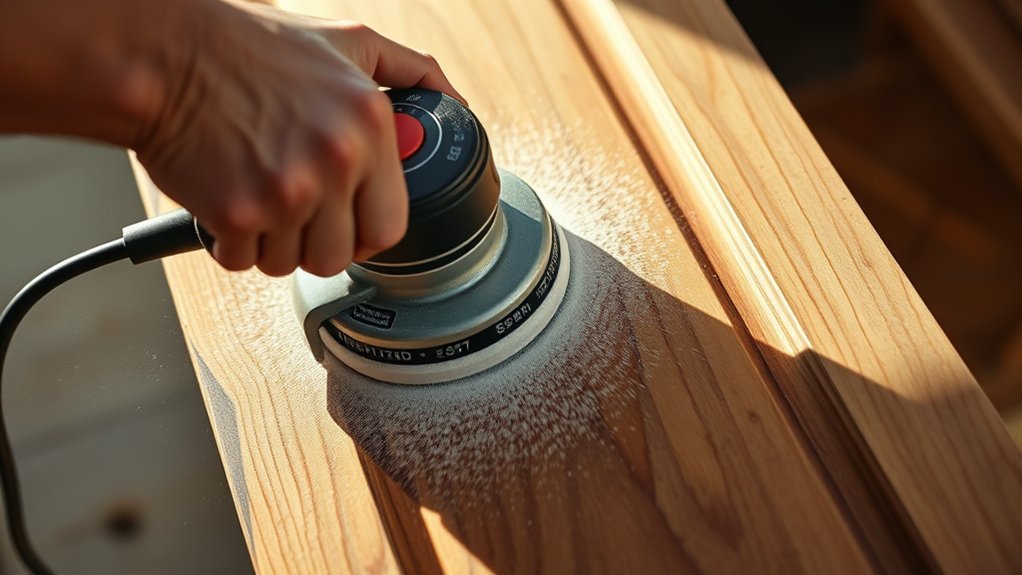
How do you achieve a consistently smooth, even finish when sanding cabinets with an orbital sander? Start by selecting the appropriate grit sandpaper, progressing from coarse to fine to gradually refine the surface. Maintain steady, overlapping strokes to prevent uneven sanding.
Pay close attention to deburring edges. Lightly sand these areas to remove sharpness without rounding them off. Effective dust management is crucial; use a sander equipped with a vacuum attachment and pause regularly to clear accumulated dust. This prevents clogging and ensures consistent abrasion.
Keep the sander flat against the surface to avoid gouges or swirl marks. By controlling pressure and speed, you promote uniform material removal, resulting in a flawless finish that preps your cabinets perfectly for staining or painting.
Troubleshooting Common Orbital Sander Issues on Cabinets
Encountering issues with your orbital sander can disrupt the cabinetry refinishing process, but most problems stem from common, identifiable causes. To ensure efficient cabinet refinishing, focus on proper sander maintenance and troubleshooting.
Here’s how you can address frequent orbital sander issues on cabinets:
Uneven sanding or swirl marks: Replace worn sanding pads and use consistent pressure.
Sander overheating: Clean dust collection ports and check for motor blockages.
Pad not spinning: Inspect and tighten the backing pad or replace the drive pad.
Excessive vibration: Verify that sanding discs are properly centered and secured.
Dust buildup: Regularly clean or replace filters and empty dust bags to maintain airflow.
Frequently Asked Questions
Can I Use an Orbital Sander on Painted Cabinets?
Yes, you can use an orbital sander on painted cabinets, but you’ll want to start with a fine-grit sandpaper to avoid damaging the surface. Maintain controlled pressure to evenly smooth the paint for proper refinishing.
How Do I Clean Dust After Sanding Cabinets?
You’ll clean dust after sanding by using a vacuum with dust collection features, followed by a tack cloth wipe. This guarantees thorough finishing prep, removing fine particles that could affect paint or stain adhesion.
Is It Safe to Sand Cabinets Indoors Without Ventilation?
No, it’s unsafe to sand cabinets indoors without proper indoor ventilation. Lack of airflow hinders dust containment, exposing you to harmful particles.
Always ensure adequate ventilation and use dust extraction to protect your health and workspace cleanliness.
Can I Sand Cabinet Doors While They Are Still Attached?
You can sand doors while mounted, but risks of sanding mounted cabinets include uneven pressure, damaging hinges, and limited access to edges.
For precise results, remove doors to guarantee thorough sanding and avoid structural damage.
What Protective Gear Should I Wear When Sanding Cabinets?
You probably don’t *need* protective eyewear or a dust mask unless you enjoy eye irritation and inhaling sawdust. Always wear certified protective eyewear and a quality dust mask to shield yourself from harmful particles and debris while sanding.
Conclusion
Once you master sanding cabinets with an orbital sander, your cabinets will look so flawless they’ll rival museum exhibits. No uneven spots, no stubborn old finish—just perfectly smooth surfaces ready for any paint or stain. You’ll feel like a woodworking wizard wielding precision and power in every pass.
Follow the steps and grit progression exactly, and watch your cabinets transform with professional-grade results. Each room will shine like a showroom, showcasing your skill and attention to detail.
With patience and the right technique, sanding cabinets with an orbital sander becomes an easy way to achieve stunning, smooth finishes every time.