When you’re ready to sand and polish epoxy resin by hand, it’s essential to start with a fully cured, clean surface free of dust and oils.
Sanding and polishing epoxy resin by hand requires patience and precision to achieve a flawless finish.
You’ll need to work through a series of sandpaper grits carefully, progressing from coarse to fine to avoid scratches and achieve a smooth finish.
Applying even pressure and cleaning between steps guarantees the best results.
Mastering this process requires understanding the right materials and techniques to avoid common pitfalls—let’s explore what you need to know.
Tools and Materials You’ll Need for Sanding and Polishing Epoxy Resin
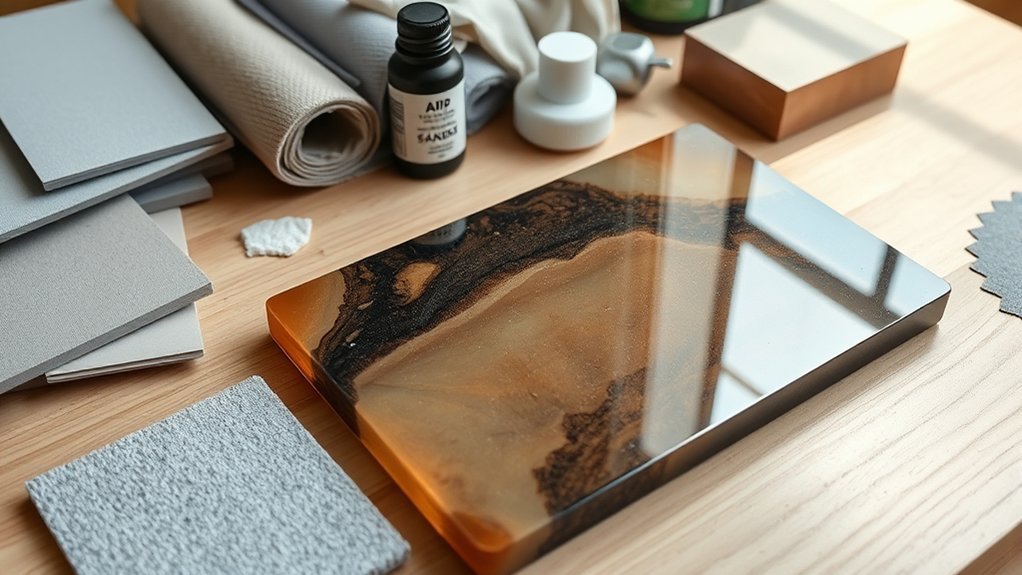
Before you begin sanding and polishing epoxy resin, gather all the essential tools and materials to ensure a smooth process. You’ll need a range of sandpaper grits, from coarse (around 120 grit) to very fine (up to 1500 grit), to progressively refine the surface.
Include epoxy fillers if you want to fill any minor imperfections before sanding. A sanding block or sponge will help maintain even pressure. For dust containment, use a vacuum or a damp cloth nearby to minimize airborne particles.
Additionally, have polishing compounds and microfiber cloths ready to restore the resin’s shine after sanding. Don’t forget safety gear: a dust mask, gloves, and eye protection.
Organizing these tools beforehand lets you work methodically and efficiently, ensuring the best finish on your epoxy resin project.
Why Sanding and Polishing Epoxy Resin Matters
Why does sanding and polishing epoxy resin make such a difference? Because these steps refine the surface, enhancing both appearance and durability. When you sand, you remove imperfections and prepare the resin for polishing, which restores its clarity and shine.
Sanding and polishing epoxy resin refine the surface, boosting both its clarity and durability for a flawless finish.
Here are three key reasons why you should master this process:
- Surface Smoothness: Sanding eliminates bumps and unevenness, crucial since how friction creates heat can soften the resin surface if done improperly.
- Curing Optimization: Polishing compensates for surface irregularities caused by how humidity affects curing, ensuring a consistent finish.
- Durability Enhancement: A polished resin surface resists scratches and stains better, extending your project’s lifespan.
Preparing Your Epoxy Resin Surface for Sanding
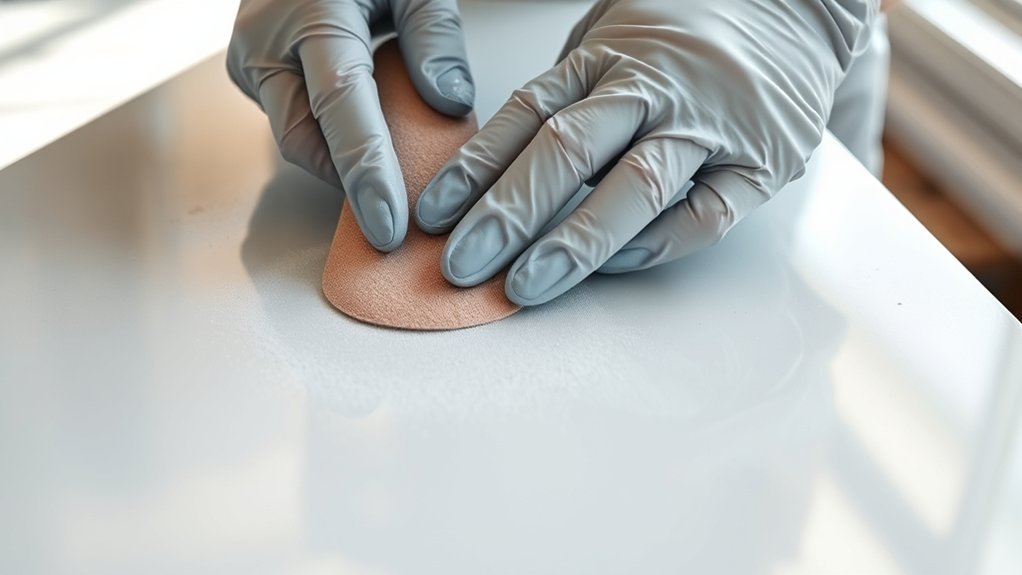
Achieving a polished, durable epoxy resin surface starts with thorough preparation. Begin by inspecting your piece for any dust, dirt, or oils, as these contaminants can interfere with sanding and prevent a smooth, glossy finish. Clean the surface using a lint-free cloth and isopropyl alcohol, ensuring all residues are removed.
Allow the epoxy to cure fully; sanding too soon can cause unevenness and damage. Next, check for any raised bubbles or imperfections. Lightly pop bubbles with a pin and fill gaps if needed.
Finally, lightly scuff the surface with a fine abrasive pad to promote adhesion during sanding. This epoxy prep ensures your sanding efforts will be effective, setting the foundation for an even, professional-quality finish without scratches or dullness.
Choosing Sandpaper Grits for Epoxy Resin
You’ll start with coarse grit sandpaper to shape the epoxy and remove major imperfections. Next, switch to medium grit to smooth the surface and eliminate scratches left by the coarse grit.
Finish with fine grit to polish the epoxy, preparing it for a clear, glossy finish.
Coarse Grits For Shaping
Selecting the right coarse grit sandpaper is essential for efficiently shaping epoxy resin without damaging its surface. Coarse grits remove material quickly but require careful handling to avoid excessive texture analysis or premature color fading. Start with grit sizes between 60 and 120 to shape the resin effectively.
Follow these guidelines for optimal results:
- Use 60 or 80 grit for aggressive shaping, especially on thick layers.
- Switch to 100 or 120 grit when approaching the final shape to refine edges.
- Apply consistent pressure and keep the surface wet to reduce heat buildup and prevent discoloration.
Medium Grits For Smoothing
Once you’ve shaped the epoxy resin with coarse grit sandpaper, it’s time to refine the surface using medium grits. Select sandpaper in the 220 to 400 grit range to eliminate scratches left by coarser papers.
Work methodically in circular motions, applying even pressure to avoid uneven sanding that could disrupt the resin’s color consistency. Pay close attention to areas where “midnight dust,” tiny dark particles from sanding, accumulates, as these can dull the surface if not removed promptly.
Frequently wipe the resin with a damp cloth to check your progress and ensure you’re smoothing rather than scratching. This stage prepares the resin for the next step by creating a uniformly smooth surface, essential for achieving a flawless finish without compromising the resin’s depth or color integrity.
Fine Grits For Polishing
Frequently overlooked, the transition to fine grit sandpaper is crucial for polishing epoxy resin to a glossy, glass-like finish. After smoothing with medium grits, switch to fine grits ranging from 1000 to 3000. This step minimizes scratches and prepares the surface for buffing.
Remember to wear safety gloves to protect your hands from abrasive particles and maintain proper dust collection to keep your workspace clean and prevent inhalation hazards. Follow this numeric guide:
- Begin with 1000 grit to erase medium scratches.
- Progress to 1500 or 2000 grit for a smoother surface.
- Finish with 2500 to 3000 grit to achieve a near-polished shine.
Sanding with fine grits requires gentle, consistent pressure and frequent rinsing to avoid clogging the sandpaper.
How to Sand Epoxy Resin Evenly Without Damage
You’ll want to start by selecting the correct sandpaper grit to avoid removing too much material too quickly. Keep your hand steady and apply consistent pressure to ensure an even surface without creating uneven spots.
Moving the sandpaper in smooth, controlled motions helps maintain uniformity and prevents accidental gouges.
Choosing The Right Grit
Although sanding epoxy resin may seem straightforward, selecting the correct grit is essential to avoid uneven surfaces or scratches. To achieve a smooth finish that respects the resin’s randomized textures and color variants, follow this methodical approach:
- Start with a coarse grit (around 120-220) to level out major imperfections without damaging the surface. This grit removes excess resin quickly while preparing for finer sanding.
- Progress to medium grit (400-600) to refine the surface, smoothing out scratches left by the coarser paper. This step balances texture uniformity and preserves color depth.
- Finish with a fine grit (800-1500) to polish the resin, enhancing clarity and minimizing visible sanding marks.
Choosing grit carefully ensures you work efficiently, protecting both the epoxy’s finish and its unique aesthetic qualities.
Maintaining Consistent Pressure
Applying steady, even pressure while sanding epoxy resin prevents uneven surfaces and accidental gouges. You want to apply just enough force to remove material without digging in. Use your whole hand to distribute pressure evenly, avoiding finger-tip sanding.
This technique also aids in noise reduction and dust management by minimizing sudden, aggressive contact that generates more dust and noise.
| Pressure Level | Effect on Epoxy Resin |
|---|---|
| Light | Inefficient sanding, uneven |
| Moderate | Smooth, controlled removal |
| Heavy | Risk of gouging, uneven |
| Inconsistent | Patchy finish, more dust |
Consistent pressure ensures a uniform surface and prolongs sandpaper life while maintaining a safer, quieter workspace.
Switching Sandpaper Grits to Achieve a Smooth Finish
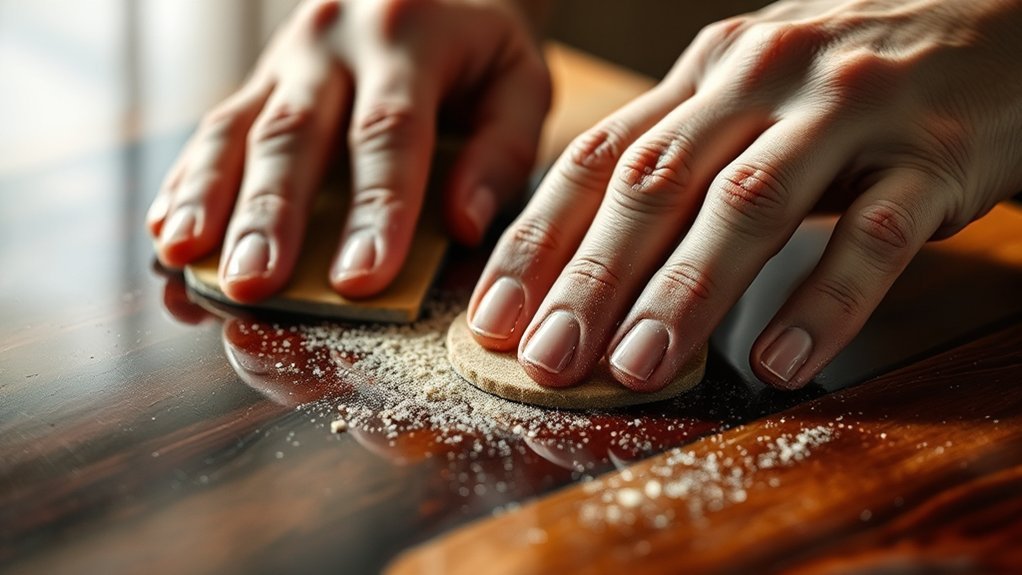
A key step in achieving a flawless finish on epoxy resin is methodically switching sandpaper grits. This process ensures you gradually eliminate scratches from previous sanding stages. Follow these two word discussion ideas for grit progression:
- Start Coarse: Begin with 120-grit sandpaper to remove any major imperfections or unevenness.
- Intermediate Step: Move to 220-grit to smooth out scratches left by the coarser grit, refining the surface.
- Fine Finish: Finish with 400-grit or higher to create a smooth, uniform texture ready for polishing.
Each grit stage should completely remove marks from the previous one. Skipping grits can lead to visible scratches, undermining your epoxy resin’s final appearance. Maintain consistent pressure and sand evenly for the best results. This methodical grit switching is essential for a professional, polished finish.
Cleaning Dust Between Sanding Steps
Why should you clean dust between sanding steps? Proper dust removal prevents airborne particles from contaminating the surface, ensuring each grit level works effectively. If you skip cleaning, leftover dust causes scratches and uneven finishes, diminishing your final polish.
Use a soft brush or microfiber cloth to wipe the surface, then blow off remaining particles with compressed air. This method controls airborne particles and prepares the resin for the next sanding grit.
| Step | Tool Used | Purpose |
|---|---|---|
| Initial Wipe | Microfiber cloth | Remove loose dust |
| Detailed Cleaning | Soft brush | Dislodge embedded particles |
| Final Blow Off | Compressed air | Eliminate airborne residues |
Cleaning thoroughly after each step guarantees a smooth, flawless epoxy finish.
Best Polishing Compounds for Epoxy Resin
You’ll want to choose polishing compounds specifically designed for epoxy resin, paying close attention to their abrasive levels, from coarse to ultra-fine. Understanding these levels helps you gradually refine the surface without causing damage.
Apply each compound methodically with the right pressure and motion to achieve a flawless, high-gloss finish.
Types Of Polishing Compounds
Although sanding smooths the surface of epoxy resin, polishing compounds are essential for achieving a glossy, mirror-like finish. Understanding the types of polishing compounds and their compound consistency will guide you in selecting the right one for your project.
- Cutting Compounds: These have an abrasive consistency designed to remove fine scratches left by sanding, preparing the surface for finer polishing.
- Polishing Compounds: Slightly less abrasive, they refine the surface further, enhancing clarity and gloss without damaging the resin.
- Finishing Compounds: The least abrasive, their smooth consistency produces a high shine and deep luster, perfect for the final step.
Abrasive Levels Explained
Choosing the right polishing compound depends largely on its abrasive level, which determines how effectively it smooths and shines your epoxy resin surface. Coarse abrasives handle initial stain removal and surface imperfections but can generate heat, so you must apply them carefully to avoid damaging the resin’s heat sensitivity.
Medium abrasives refine scratches left by coarser grits, preparing the surface for finer polishing. Fine abrasives, often called finishing compounds, deliver the final luster without compromising the resin’s integrity.
Selecting compounds with appropriate abrasiveness ensures efficient polishing without overheating or over-sanding. Always progress methodically through abrasive levels, matching each to the resin’s current condition and your desired finish. This approach preserves your work’s clarity and durability while achieving a smooth, glossy appearance.
Application Techniques Tips
How do you guarantee your epoxy resin achieves a flawless shine without risking damage? Mastering application techniques is crucial, especially considering sculpting techniques and curing considerations. Start by selecting the right polishing compounds designed specifically for epoxy resin.
Here’s a methodical approach:
- Use a fine abrasive compound first, like a 3M Finesse-it, to gently remove micro-scratches left from sanding.
- Follow with a swirl remover or medium polishing compound to enhance clarity and depth.
- Finish with a high-gloss polish or finishing compound to create a durable, mirror-like shine.
Apply compounds in thin, even layers using a soft cloth or foam applicator, working in circular motions. Always ensure the resin is fully cured before polishing to avoid surface damage. This precise, stepwise process ensures a smooth, professional finish every time.
How to Hand Polish Epoxy Resin to a Glass-Like Shine
Why settle for anything less than a flawless, glass-like finish on your epoxy resin? To achieve this, start by ensuring your surface is free from epoxy mistakes such as uneven sanding or leftover dust. Use a soft, lint-free cloth and apply a small amount of polishing compound specifically designed for epoxy.
Work in small, circular motions with consistent pressure, focusing on one section at a time. Two word ideas like “buffing technique” and “surface preparation” are key here. Continue polishing until the resin gleams with clarity.
Rinse the area with clean water and dry thoroughly to reveal the shine. Being methodical and precise in this process prevents dull spots and highlights your craftsmanship, giving your epoxy project a professional, high-gloss finish.
Fixing Common Sanding and Polishing Mistakes on Epoxy Resin
Even with careful buffing technique and thorough surface preparation, sanding and polishing epoxy resin can sometimes lead to common mistakes like swirl marks, uneven gloss, or cloudy spots. To fix these missteps, follow these steps methodically:
- Rewet-sand the affected area using progressively finer grits (start at 800, move up to 2000) to even out imperfections without cutting too deep.
- Remove sanding residue thoroughly and apply a polishing compound with a soft cloth, using consistent circular motions to restore clarity and gloss.
- Address persistent haze by buffing gently with a microfiber pad and applying a resin-specific polish, always observing safety considerations like wearing a mask and working in a ventilated area.
Frequently Asked Questions
Can I Use Power Tools Instead of Sanding and Polishing by Hand?
Yes, you can use power tools for sanding and polishing epoxy resin, but take safety precautions seriously. Wear protective gear, control speed carefully, and avoid overheating to prevent damage and guarantee a smooth, even finish.
How Long Does the Entire Sanding and Polishing Process Take?
Rome wasn’t built in a day, and neither is a perfect epoxy finish. Tool free finishing usually takes 2 to 4 hours, depending on layers.
Take your time; how long polishing takes matters for durability.
Is It Safe to Sand and Polish Epoxy Resin Indoors?
You can sand and polish epoxy resin indoors, but you must guarantee proper indoor ventilation to reduce fumes. Always wear a dust mask for dust safety, and keep the workspace clean to minimize inhaling fine resin particles.
Can I Apply a Protective Coating After Polishing Epoxy Resin?
Yes, you can apply a protective coating after polishing epoxy resin. Doing so enhances post polish durability by shielding the surface from scratches, UV damage, and wear. This ensures your finish stays pristine and long-lasting.
How Do Temperature and Humidity Affect Epoxy Resin Sanding and Polishing?
Temperature impact affects epoxy’s hardness; sanding too soon in cold slows curing, causing clogging. Humidity influence can create a tacky surface, making polishing uneven.
You’ll need stable, moderate conditions for best results.
Conclusion
By carefully progressing through grit levels—from 120 to 3000—and polishing with precision, you transform epoxy resin into a surface so smooth it reflects light like a mirror, enhancing clarity by up to 90%.
Remember, even pressure and cleaning dust between steps prevent imperfections. With patience and methodical sanding followed by circular polishing motions, you’ll achieve that flawless, glass-like finish.
This meticulous effort pays off in stunning, professional results. By mastering how to sand and polish epoxy resin by hand, your project will truly shine with a beautiful, polished surface.