You might not realize that using the right sandpaper grit sequence is essential for a smooth fence surface and long-lasting finish when you sand a fence by hand.
Skipp ing steps or applying too much pressure can damage the wood or leave uneven patches.
By prepping properly and choosing your tools carefully, you’ll avoid common pitfalls that make sanding frustrating.
Let’s walk through the essential steps to get your fence ready for a fresh coat that lasts.
Gather Your Tools and Materials
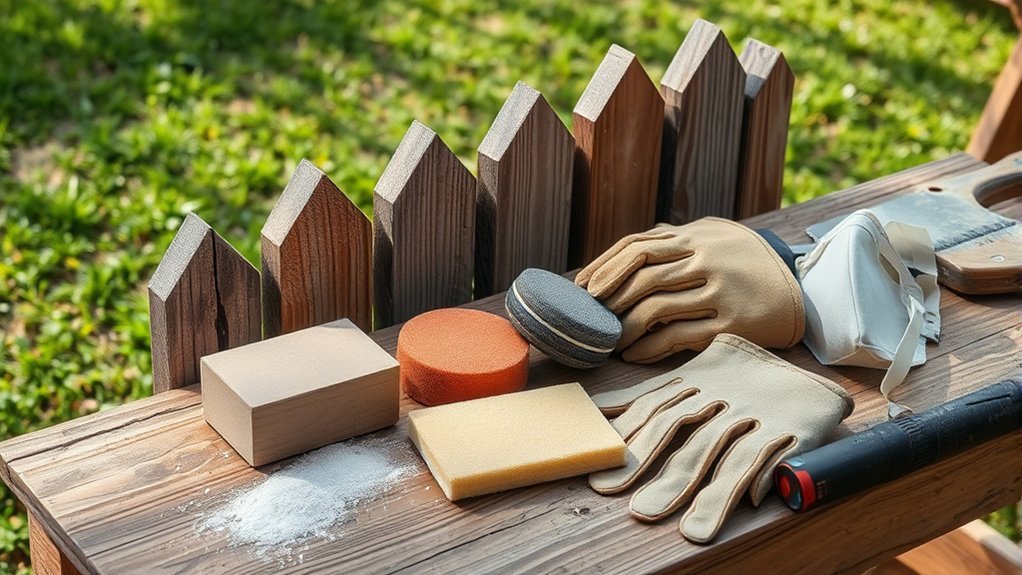
Before you begin sanding your fence by hand, gather all the necessary tools and materials to ensure a smooth process. Start by selecting sandpaper with the right grit: coarse (60-80 grit) for removing old paint or rough areas, medium (100-120 grit) for smoothing surfaces, and fine (150-220 grit) for finishing touches.
You’ll also need a sanding block to hold the sandpaper securely and maintain even pressure. Don’t forget gloves to protect your hands, safety goggles to shield your eyes from dust, and a dust mask to avoid inhaling particles.
Have a clean, dry cloth handy for wiping off dust between sanding stages. Gathering tools and selecting sandpaper thoughtfully will save time and improve your sanding results considerably.
Prep the Fence Surface
How do you ensure your fence is ready for sanding? Start with thorough preparation steps. First, clean the fence surface to remove dirt, dust, and spider webs using a stiff brush or a pressure washer on a gentle setting. Allow the wood to dry completely before proceeding.
Next, inspect the fence for nails or screws sticking out. Hammer or tighten them to prevent damage to your sandpaper or injury. Check for peeling paint or loose wood; use a putty knife to scrape off flaking material.
These steps smooth out irregularities and prepare the surface texture for sanding, ensuring consistent results. Proper preparation prevents clogging and uneven wear on your sandpaper, making the sanding process more efficient and effective.
Pick Sandpaper Grits and Sand Your Fence
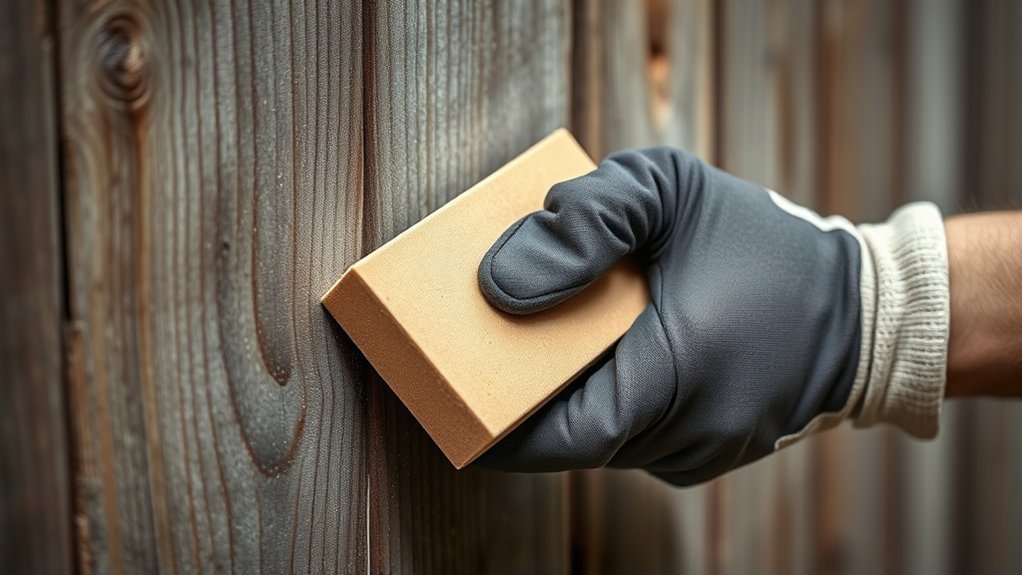
Frequently, selecting the right sandpaper grit is essential to achieving a smooth, even finish on your fence. Start by understanding sandpaper compatibility with your fence material. Usually, wood demands specific grit progressions to avoid damage.
Begin sanding with a coarse grit to remove old paint or roughness, then advance to finer grits for a polished look. Follow this grit progression carefully to ensure a balanced surface.
| Sandpaper Grit | Purpose |
|---|---|
| 60-80 | Remove old paint, rough spots |
| 100-120 | Smooth rough surfaces |
| 150-180 | Final finish preparation |
Stick to this sequence, check compatibility, and sand evenly, applying moderate pressure to avoid gouging the wood.
Fix Common Sanding Problems
As you sand, keep an eye out for rough spots that need extra attention to ensure a smooth finish. Use even pressure and consistent strokes to avoid creating gouges in the wood.
Catching and correcting these issues early will save you time and improve the fence’s appearance.
Identifying Rough Spots
When you run your hand along the fence, rough spots will feel uneven or splintery compared to the surrounding wood. Conduct a thorough roughness assessment by moving your fingers slowly across the surface, paying close attention to how the grain direction affects texture.
Here’s how to identify these problem areas effectively:
- Visual Inspection: Look for discoloration or raised fibers that indicate sanding missed the spot.
- Tactile Check: Feel for bumps or splinters, especially where the grain changes direction.
- Light Test: Shine a light at a low angle along the fence to highlight unevenness or rough patches.
Preventing Sanding Gouges
Although sanding by hand gives you great control, it’s easy to create gouges if you apply uneven pressure or stay too long in one spot. To prevent this, maintain consistent, light pressure as you move the sandpaper steadily along the grain of the fence material.
Avoid circular motions, which can dig into soft wood fibers. Check your fence regularly for rough patches, but resist the urge to over-sand any one area. Weather considerations also matter. Dry wood sands more evenly, so choose a dry day to work.
If the fence is damp or swollen from moisture, you risk deeper gouges. Finally, use finer grit sandpaper as you progress to smooth out any minor scratches. This careful approach preserves the fence’s integrity and ensures a uniform finish without damage.
Clean and Protect Your Fence
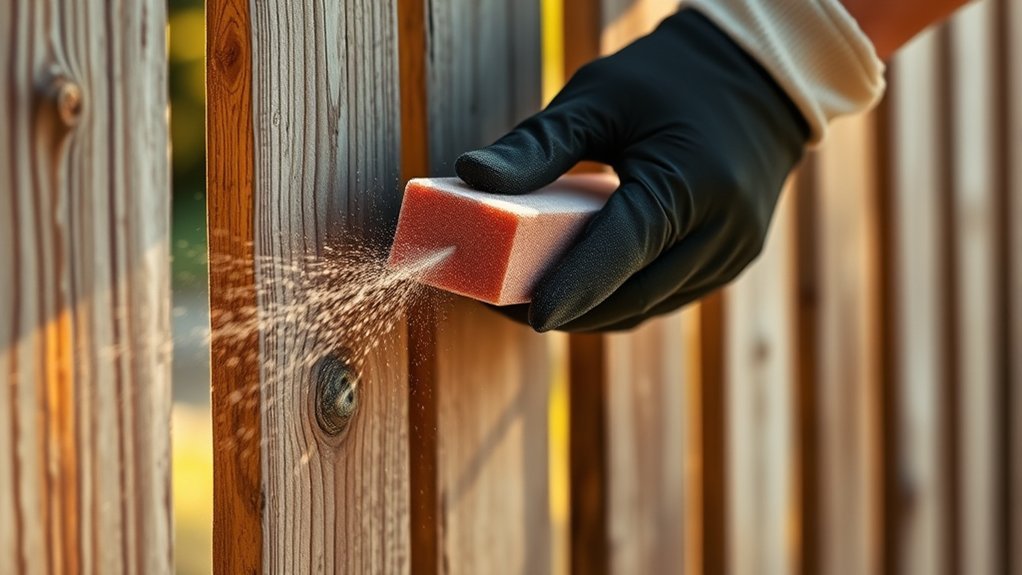
Before you start sanding, thoroughly clean your fence to remove dirt, mildew, and old paint or stain residues. Proper cleaning eliminates debris that can cause scratches during sanding and ensures a smooth finish.
Pay close attention to weather considerations; choose a dry day with mild temperatures to prevent moisture from affecting the wood or your work.
Follow these steps to clean and protect your fence effectively:
- Use a stiff brush and a mixture of water and mild detergent to scrub off cleaning debris and mildew.
- Rinse thoroughly with a garden hose, ensuring no soap residue remains.
- Allow the fence to dry completely, preferably for 24-48 hours, before sanding or applying any protective treatments.
This preparation ensures your fence is ready for sanding and long-term protection.
Final Tips for Long-Lasting Results
To keep your fence looking great, always apply a proper wood sealer right after sanding to protect it from moisture and UV damage.
Stick to a routine maintenance schedule, checking for any signs of wear or damage and addressing them promptly. These steps will extend your fence’s life and maintain its smooth finish.
Proper Wood Sealing
Why does proper wood sealing matter so much for your fence’s longevity? It creates essential moisture barriers that protect the wood from water damage, rot, and warping. Without this step, your sanding efforts won’t last.
To seal your fence effectively, consider these sealing options:
- Penetrating sealers They soak deep into the wood, offering long-lasting moisture resistance without peeling.
- Film-forming sealers These create a protective layer on the surface, ideal for areas exposed to heavy rain.
- Oil-based vs. water-based Oil-based sealers typically last longer but take more time to dry; water-based options dry faster and are easier to clean.
Apply your chosen sealer evenly with a brush or sprayer, ensuring full coverage. Let it dry thoroughly before exposing the fence to weather. This step is crucial for preserving your freshly sanded wood.
Routine Maintenance Practices
Sealing your fence properly sets a strong foundation, but keeping it in good shape requires regular upkeep. Inspect your fence every few months for peeling wood stain, cracks, or signs of mold. Address these issues promptly to maintain the weatherproofing integrity.
Clean the surface with a mild detergent and a soft brush to remove dirt and mildew before reapplying wood stain. Avoid power washing, as it can damage the wood fibers.
When you notice the wood stain fading or chipping, lightly sand the affected areas by hand to smooth the surface before restaining. This routine maintenance not only preserves the fence’s appearance but also extends its lifespan by protecting it from moisture and UV damage.
Consistency in these practices ensures long-lasting results and saves you from costly repairs.
Frequently Asked Questions
Can I Sand a Fence With a Power Sander Instead?
Yes, you can use a power sander to sand your fence, but make sure you work in dry weather to avoid damage.
Control the sander carefully to prevent gouging and maintain even pressure for a smooth finish.
How Long Does Hand Sanding a Fence Typically Take?
You’ll spend 4-8 hours hand sanding a typical fence, depending on size and condition. Time estimation varies with maintenance frequency; frequent upkeep reduces sanding duration, while neglected fences demand more effort and longer sanding sessions.
Is It Necessary to Wear a Mask While Sanding?
Yes, you should wear a mask to minimize dust exposure while sanding. It’s essential for sanding safety, protecting your lungs from fine particles that can cause irritation or long-term respiratory issues during the task.
Can I Sand a Fence in Wet Weather?
Can you really sand a fence in wet weather? It’s best to avoid it since moisture swells wood and clogs sandpaper.
If you must, wear safety gear, work gently, and guarantee the fence dries fully afterward.
What Type of Wood Fences Need Sanding Most Often?
You’ll need to sand softwood varieties like pine or cedar more often since they’re less rot resistant and weather slower.
Rot resistant wood like redwood requires less frequent sanding, thanks to its natural durability and resistance.
Conclusion
You’ve prepped your fence, chosen the right sandpaper, and sanded with care—now it’s time to clean, protect, and maintain. Keep your tools ready, check for damage regularly, and apply sealant or paint to extend your fence’s life.
Remember to sand evenly, work with the grain, and use consistent pressure for the best finish. By following these steps, you’ll preserve your fence’s beauty, strengthen its durability, and enjoy a smooth, lasting surface year after year.
In conclusion, mastering how to sand a fence by hand will ensure your fence remains attractive and sturdy for many seasons to come.