Did you know that properly hand-sanding a door can improve paint adhesion by up to 40% compared to skipping this step? When you take the time to remove hardware, select the right grit progression, and sand with consistent pressure following the grain, you set the foundation for a flawless finish.
Before you start, understanding the precise techniques and common pitfalls of how to sand a door by hand will ensure your effort pays off with a smooth, professional result.
Benefits of Hand-Sanding a Door vs. Power Tools
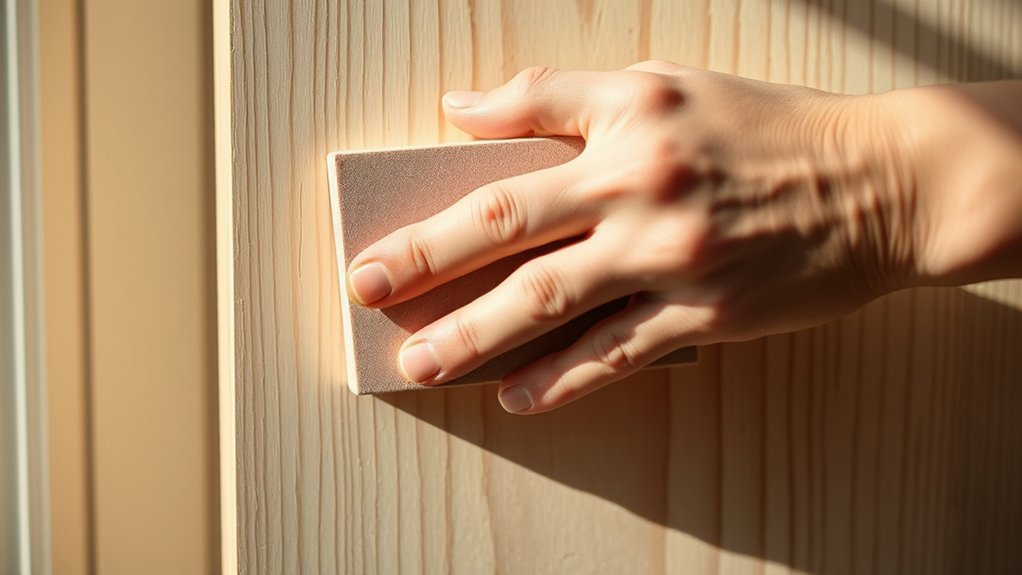
Why choose hand-sanding over power tools when refinishing a door? Hand-sanding offers superior control, especially for detailed edge comparison. You can precisely smooth corners and intricate moldings without removing too much material.
Hand-sanding provides precise control for smoothing detailed edges and intricate moldings without excess material removal.
Unlike power tools, hand-sanding minimizes the risk of gouging the surface, preserving the door’s original shape. Additionally, you avoid concerns related to power tool safety, such as accidental slips or electric hazards.
When you hand-sand, you can feel the surface texture directly, allowing for immediate adjustments. This tactile feedback is essential for achieving a uniform finish.
While power tools speed up the process, hand-sanding ensures accuracy and reduces damage risk. Choosing hand-sanding means prioritizing control and safety over speed, which is vital for high-quality refinishing results.
Materials Needed for Hand Sanding a Door
To sand a door by hand effectively, you’ll need sandpaper in varying grits, typically starting with coarse and finishing with fine.
Don’t forget essential safety gear like gloves and a dust mask to protect yourself from debris. You’ll also want a sanding block and a tack cloth to guarantee smooth, even results.
Essential Sandpaper Grits
Selecting the right sandpaper grits is essential for achieving a smooth, professional finish when sanding a door by hand. Start with coarse grit (60-80) to remove old paint or varnish, especially around door hinges where buildup often occurs.
Next, switch to medium grit (120-150) to smooth out scratches left by the coarse paper and refine the surface. Finally, use fine grit (220-320) to prepare the door for painting or staining, ensuring a flawless finish.
Employ consistent sanding techniques, applying even pressure and sanding with the grain to avoid damage. Remember to remove or mask door hinges to sand thoroughly and prevent damage.
Using these essential grits in sequence guarantees optimal surface preparation and a polished final result.
Necessary Safety Gear
What gear should you equip before sanding a door by hand? Prioritize essential safety gear to protect yourself from dust, splinters, and potential access hazards.
Start with a dust mask or respirator rated for fine particulates to avoid inhaling harmful dust. Wear safety goggles to shield your eyes from flying debris. Use sturdy work gloves to guard against splinters and abrasions.
Ensure your clothing is snug to prevent it from catching on door hardware or nearby objects. If sanding in a confined space, verify clear access and exit routes to reduce trip or fall risks.
Proper footwear with non-slip soles helps maintain stability. Equipping this safety gear minimizes injury risks and creates a controlled environment, enabling you to focus on achieving a smooth, even sanding finish.
Additional Handy Tools
Once you’ve secured your safety gear, gather the additional tools that will make hand sanding a door more efficient and effective. Start with a sanding block to maintain even pressure and avoid gouging the wood. A common hand sanding myth is that freehand sanding delivers better results.
Use various grit sandpapers, from coarse to fine, to ensure smooth transitions. Incorporate a vacuum dust extractor or tack cloth to apply dust control techniques; these prevent buildup that can mar the finish.
A small detail scraper helps address intricate areas. Finally, a workbench or stable surface will keep the door steady while you sand. These tools optimize your manual sanding process, ensuring precision and reducing physical strain without relying on power tools.
Removing the Door and Preparing Your Workspace
How do you begin sanding a door by hand? Start by removing the door carefully to protect door hinges and ensure easier access for sanding. Follow these steps:
- Unscrew the door hinges using a screwdriver or drill; support the door to prevent damage.
- Remove any weatherstripping or hardware that could interfere with sanding.
- Clear and organize your workspace to accommodate the door flat, preventing warping.
Prepare your workspace with proper lighting and ventilation. Lay the door on a stable surface, like sawhorses, to maintain a flat profile and avoid stress on the wood. Check the door’s gloss finish and stain compatibility before sanding to avoid damaging the surface or complicating refinishing later.
Proper preparation sets the stage for efficient, even sanding results.
Choosing the Right Sandpaper Grits
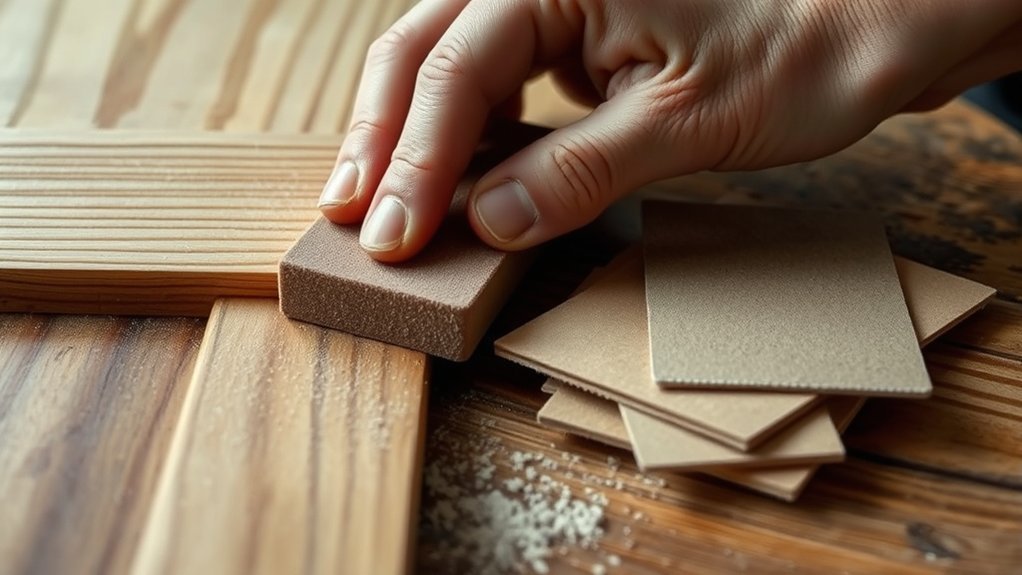
With the door removed and your workspace prepped, the next step is selecting the appropriate sandpaper grits. Start with a coarse grit, such as 80 or 100, to efficiently strip old paint or varnish and address surface imperfections. This grit size facilitates effective surface preparation by removing the top layer and any unevenness.
After this initial sanding, use a medium grit, around 120 to 150, to smooth out scratches left by the coarse paper. Finally, finish with a fine grit, 220 or higher, to prepare the surface for painting or staining.
Always ensure thorough dust removal between each grit change; this prevents debris from embedding into finer grits and ensures a uniformly smooth finish. Proper grit selection is essential for optimal sanding results.
How to Sand a Door by Hand
Start by selecting the appropriate sandpaper grit based on your door’s condition. Use consistent, even strokes to sand along the wood grain, applying moderate pressure to avoid uneven surfaces.
Before sanding, make sure the door is clean and free of dust or debris to achieve the best results.
Choosing The Right Sandpaper
Selecting the right sandpaper grit is essential for achieving a smooth, even finish on your door. Start with a coarse grit, like 80 or 100, to remove old paint or varnish and rough surfaces quickly. Then, switch to a medium grit, such as 120 or 150, to smooth out scratches from the coarse paper.
Finally, use a fine grit, around 220, for the finishing touch. Keep in mind:
- Choose sandpaper with good grip ergonomics to reduce hand fatigue during prolonged sanding.
- Opt for sandpaper designed to minimize sanding dust for a cleaner work environment.
- Match sandpaper type (aluminum oxide or garnet) to your door material for optimal results.
Proper selection ensures effective sanding while maintaining control and minimizing cleanup.
Sanding Techniques And Tips
How should you approach sanding a door by hand to ensure an even, professional finish? Begin by applying consistent, moderate pressure, moving your sandpaper along the wood grain to prevent scratches. Use long, overlapping strokes for uniform abrasion, which materials science shows reduces surface irregularities effectively.
Change sandpaper grits progressively, starting coarse and finishing fine, to refine the texture smoothly. Pay attention to edges and recessed areas, using folded sandpaper or sanding blocks for better control.
Keep dust minimal to avoid contamination that affects adhesion and color uniformity. Understanding color theory helps you anticipate how sanding impacts the door’s final hue; uneven sanding can cause blotchy stains or paint absorption.
Finally, inspect your work under natural light to detect imperfections before proceeding.
Preparing The Door Surface
Achieving an even, professional finish begins with properly preparing the door surface for sanding. First, remove all door hardware, including hinges, knobs, and locks, to prevent damage and ensure smooth access to every area.
Next, clean the door thoroughly to eliminate dust, grease, and residues that could interfere with sanding. Finally, inspect the surface for imperfections such as dents or old paint chips and fill them with wood filler. Sand smooth after drying to facilitate accurate color matching during repainting or staining.
To prepare effectively, follow these steps:
- Detach all door hardware carefully, labeling parts for reinstallation
- Clean the door surface with a mild detergent and a lint-free cloth
- Repair surface flaws with filler to ensure uniform sanding and optimal color matching
How to Sand Around Door Details and Edges
Where do you start when sanding intricate door details and edges? Begin by focusing on the edge grain, as it tends to absorb finish sealant unevenly. Use a sanding sponge or folded sandpaper to carefully follow the contours without flattening raised details.
Work gently to avoid rounding sharp edges, which can alter the door’s profile. For tight corners and crevices, wrap fine-grit sandpaper around a small wooden dowel or use a sanding stick to maintain control. Always sand with the grain where possible to prevent scratches that will show after finishing.
How to Get an Even, Smooth Finish by Hand
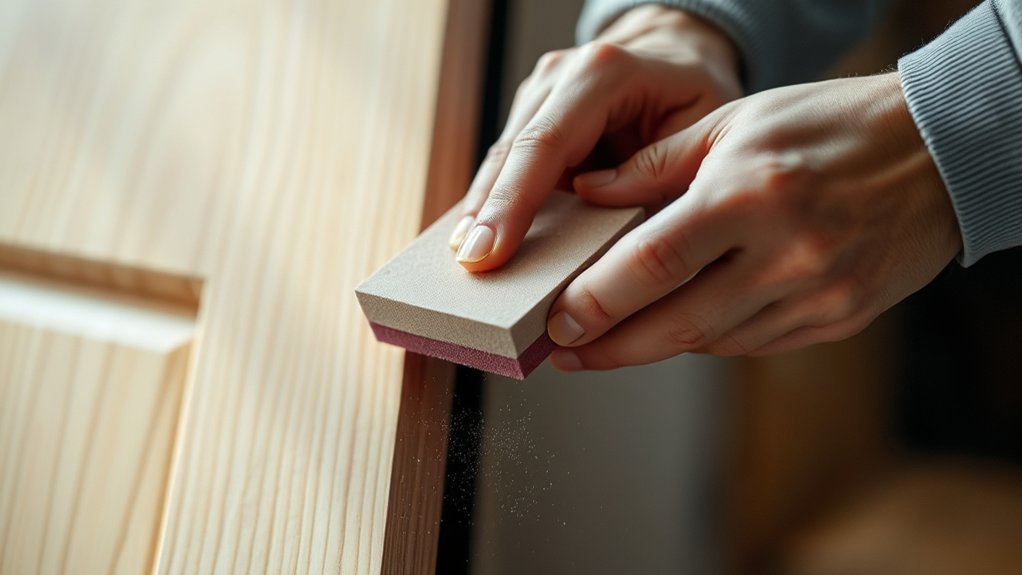
What’s the key to getting an even, smooth finish by hand? It’s all about consistent pressure and technique. Start by sanding with medium-grit sandpaper, then progress to finer grits for a flawless surface. Pay close attention around door hardware to avoid uneven wear or damage.
Achieve a smooth finish by sanding evenly with consistent pressure, starting medium then fine grit.
Focus on these critical steps:
- Use long, even strokes along the grain to prevent scratches.
- Frequently check your progress under good lighting to ensure uniformity.
- Blend edges carefully to achieve perfect stain matching later.
Cleaning and Inspecting the Door After Sanding
How thoroughly you clean and inspect the door after sanding directly impacts the final finish quality. Begin by removing all dust and debris with a tack cloth or vacuum equipped with a brush attachment to avoid surface contamination during wood staining.
Next, conduct a detailed visual inspection to identify any remaining rough spots, scratches, or uneven areas that might affect stain absorption. Perform moisture testing using a moisture meter to ensure the wood’s moisture content is within the ideal range (typically 6-8%) before staining; excess moisture can cause poor adhesion and uneven coloring.
Address any issues before proceeding. This meticulous cleaning and inspection step ensures the wood surface is properly prepared, preventing defects and promoting a uniform, durable finish once you move forward with your staining process.
Applying Primer and Paint After Hand Sanding
After thoroughly sanding and preparing the door, you’ll want to apply a high-quality primer to ensure optimal paint adhesion and durability. Focus on edge removal by smoothing all corners and edges to prevent paint buildup and peeling. Choose a primer compatible with your paint type to maintain paint compatibility and finish quality. Apply primer evenly with a brush or roller, allowing it to dry fully before painting.
When applying paint, keep these points in mind:
- Use thin, consistent coats to avoid drips and uneven texture.
- Sand lightly between coats for a smooth surface.
- Ensure paint compatibility with the primer to prevent peeling or cracking.
Following these steps guarantees a professional, long-lasting finish after hand sanding.
Avoid These Common Hand-Sanding Mistakes
Why do some hand-sanding projects fail to achieve a smooth, even finish? Often, it’s due to inconsistent pressure and neglecting a maintenance schedule for your sanding tools. Applying uneven force creates gouges or missed spots, compromising the surface.
Make sure to change or clean your sandpaper regularly to maintain effectiveness. Another critical mistake is poor dust control. Failing to remove dust frequently causes buildup, which scratches the surface and interferes with primer or paint adhesion.
Use a vacuum or tack cloth during and after sanding to keep the area clean. Lastly, avoid sanding too aggressively in one spot; move in steady, even strokes along the grain. Following these technical guidelines ensures a flawless, professional-quality finish on your door every time.
Frequently Asked Questions
Can I Sand a Door Without Removing It From the Hinges?
Can you sand a door without removing it? Yes, but you’ll need to carefully select fine-grit sandpaper and ensure proper hinge clearance to avoid damage.
Work slowly around edges and hinges for an even, smooth finish.
How Long Does Hand Sanding a Door Typically Take?
Hand sanding a door typically takes 1 to 2 hours, depending on hand sanding speed and door condition.
You’ll work steadily, using consistent pressure and smooth strokes to ensure even surface preparation for finishing or painting.
Is Hand Sanding Suitable for All Types of Door Finishes?
Hand sanding isn’t suitable for all finishes; you must assess finishes compatibility first. Adjust your sanding technique variation accordingly. Softer finishes need gentler pressure and finer grit to avoid damage, while tougher finishes tolerate more aggressive sanding.
Can I Reuse Sandpaper After Sanding a Door?
Think of reusing sandpaper like a river that gradually loses its current; you can reuse sandpaper lightly, but its grit wears down, reducing effectiveness.
Reusing helps lower environmental impact, but replace it when sanding slows or scratches appear.
What Safety Gear Should I Wear While Hand Sanding a Door?
You should wear safety gloves to protect your hands, a dust mask to avoid inhaling particles, and eye protection to shield against debris.
Prioritize sanding safety by ensuring all gear fits properly and remains secure throughout the process.
Conclusion
Congrats, you’ve mastered the ancient art of hand sanding a door without turning it into modern art. By ditching power tools, you’ve earned the right to call yourself a sanding artisan—complete with sore arms and impeccable finish.
Remember: patience, proper grit progression, and wiping dust aren’t just suggestions—they’re commandments. Now, go forth, prime, paint, and bask in the glory of a door that’s smoother than your excuses for skipping this step.
With your skills polished, you’re ready to enjoy the satisfaction that comes from hand sanding a door perfectly by hand.