When organizing your workspace, hanging pliers on a pegboard is a smart way to keep them accessible and visible. Using a pegboard for your pliers not only saves space but also helps you quickly find the tool you need.
You’ll want to start by choosing the right pegboard and hooks that fit your tools securely. Make sure the pegboard is sturdy enough to support the weight of your pliers.
Beyond just hanging them up, arranging your pliers by type and size can make a real difference in efficiency. This organization will help you work faster and keep your workspace tidy.
Let’s explore how to set up your pegboard so your pliers stay put and your workspace stays neat and organized.
Pick the Right Pegboard and Hooks for Your Pliers
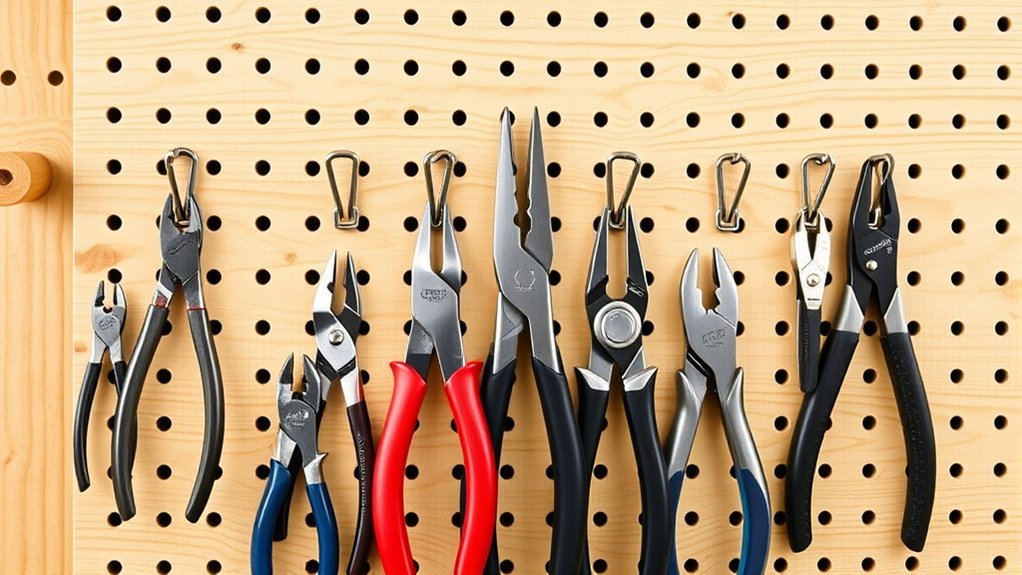
Before you start hanging your pliers, choose a pegboard and hooks that can support their weight and size. Opt for pegboard materials like metal or heavy-duty fiberboard, as they provide better durability and can handle heavier tools without warping.
Avoid thin or low-quality pegboards that may bend under weight. Select hook sizes based on your pliers’ dimensions; smaller hooks work for lightweight, compact pliers, while larger, thicker hooks are necessary for heavy or long-handled ones.
Make certain the hooks fit snugly into the pegboard holes to prevent slipping. By matching pegboard materials and hook sizes to your pliers, you’ll guarantee a secure, organized setup that keeps your tools easily accessible and safe from damage.
Get Your Pliers and Pegboard Ready for Hanging
Gather all your pliers and clear a workspace near your pegboard to streamline the hanging process. Before you start, inspect the pegboard materials—melamine, metal, or wood—and verify it’s properly installed and clean.
Lay out your different plier types so you can easily pick hooks suited for each size and weight. Organizing your workspace prevents mishaps and speeds up hanging.
| Pliers Type | Hook Size Needed | Notes |
|---|---|---|
| Needle-nose | Small | Lightweight, needs smaller hooks |
| Slip-joint | Medium | Moderate weight |
| Lineman’s | Large | Heavier, requires sturdy hooks |
| Cutting pliers | Medium | Secure to avoid slipping |
This prep helps you hang efficiently and keeps your tools accessible and safe.
Arrange Pliers by Type and Size for Easy Access
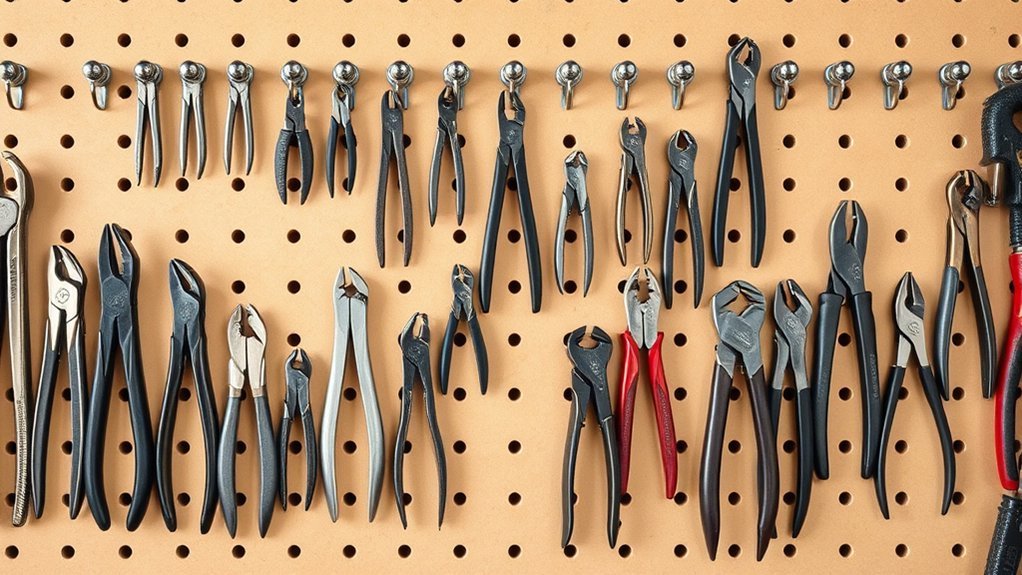
Since organizing your pliers by type and size makes them easier to find, start by grouping similar tools together on your workspace. Separate needle-nose, slip-joint, cutting, and locking pliers into distinct clusters.
Within each group, arrange them from smallest to largest to enhance tool accessibility. This structured pliers organization minimizes time spent searching and streamlines your workflow. Position frequently used pliers at eye level or within easy reach to further improve efficiency.
Labeling sections on your pegboard can help maintain order over time. By thoughtfully arranging your pliers, you guarantee each tool has a designated spot, reducing clutter and preventing damage.
This approach not only saves time but also promotes a safer, more productive workspace. Prioritize clear visibility and quick access when planning your layout.
Hang Pliers Securely to Avoid Slipping or Damage
To keep your pliers secure and prevent damage, use sturdy hooks or specialized pegboard holders designed for gripping tool handles firmly. Make certain each hook offers secure fastening to avoid any movement that could cause slipping or accidental falls.
Choose hooks with rubberized or cushioned grips for added slip prevention and to protect your pliers’ handles from scratches. Position the hooks so the pliers hang straight, reducing stress on joints and maintaining their shape.
Avoid overloading a single hook; instead, assign one per pair to maintain stability. Regularly check the hook integrity and re-tighten or replace any that loosen over time.
Taking these steps guarantees your pliers stay safe, organized, and ready to use without damage or risk of slipping off the pegboard.
Maximize Pegboard Space With Smart Pliers Layout Tips
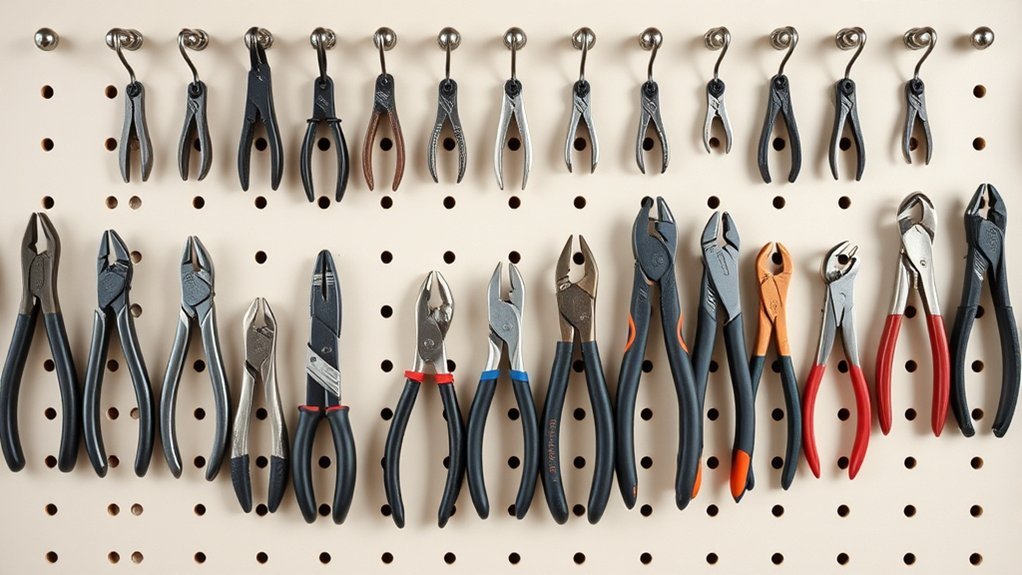
Efficiently arranging your pliers on the pegboard frees up valuable space and keeps your workspace organized. Start by grouping pliers by type and size, so you can quickly find the right tool. Use vertical space wisely. Hang larger pliers on the bottom rows and smaller ones higher up.
Employ pegboard hooks designed specifically for pliers to hold them securely without slipping. Consider spacing tools evenly to avoid overcrowding, which can slow you down. Label sections for quick identification and maintain efficient storage by regularly reassessing your layout as your tool collection grows.
This smart tool organization approach not only maximizes pegboard space but also enhances your workflow, making tool access straightforward and your workspace clutter-free.
Conclusion
By choosing the right pegboard and hooks, then organizing your pliers by type and size, you’ll keep your workspace efficient and tidy.
For example, Sarah, a DIY enthusiast, hung her pliers by frequency of use, placing her needle-nose tools at eye level for quick access. This simple setup saved her time and frustration during projects.
Regularly updating your layout guarantees your tools stay easy to find and your pegboard stays clutter-free. Properly hanging pliers on pegboard ensures your tools are always within reach and your workspace remains organized.