If you use your Dewalt orbital sander regularly, you’ll know the pad wears out and affects performance. Changing the pad on a Dewalt orbital sander isn’t complicated, but doing it properly ensures safety and optimal sanding results. You’ll need the right tools and a compatible replacement pad.
Before you start, understanding the removal and installation steps will save time and prevent damage. Let’s go over what you need to do to get your sander back in top condition.
When and Why to Change Your Dewalt Sander Pad
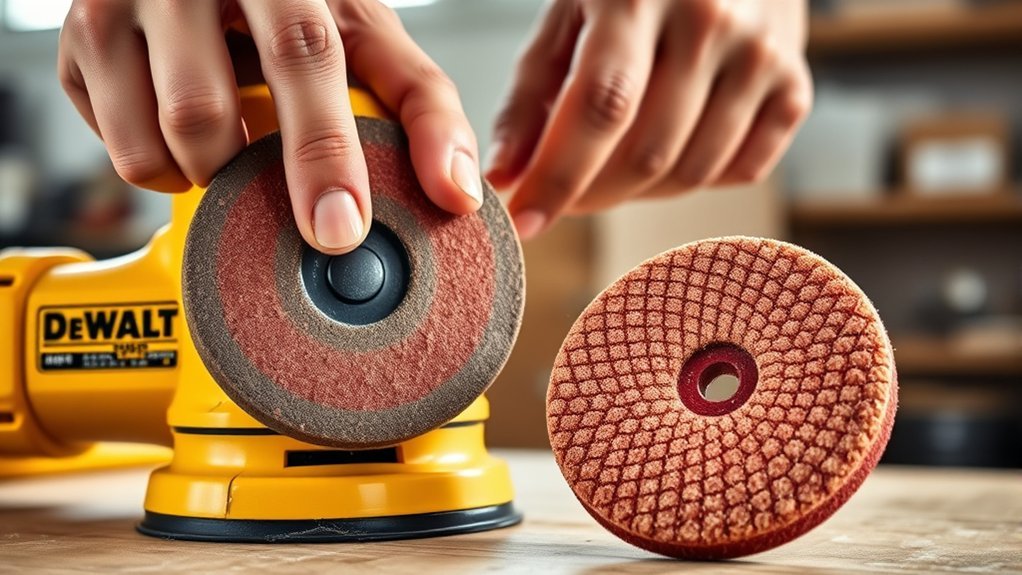
When should you change the pad on your Dewalt orbital sander? You should replace the pad when you notice reduced sanding efficiency, visible wear, or damage such as tears or hardened debris buildup. Continuing to use a worn pad compromises surface finish quality and may damage the workpiece.
Proper changing pad intervals depend on usage frequency and material abrasiveness.
Pad selection is critical; choose pads compatible with your Dewalt sander model and the sanding task. Different materials and grit sizes affect performance and longevity.
Selecting the right pad ensures compatibility, performance, and durability for your Dewalt orbital sander.
Matching the pad’s hardness and hook-and-loop compatibility ensures secure attachment and optimal vibration control. Regularly inspect your pad for wear, and replace it promptly to maintain consistent sanding results and tool safety.
Gather Tools and Materials for Your Dewalt Orbital Sander
Maintaining optimal sanding performance means replacing your Dewalt orbital sander pad with the right tools and materials at hand. Start by sourcing a genuine replacement pad to ensure brand compatibility and reliable fit. Avoid generic pads that might degrade performance or cause damage.
You’ll also need basic tools to complete the swap efficiently.
| Tool/Material | Purpose |
|---|---|
| Genuine Dewalt Pad | Ensures brand compatibility |
| Screwdriver or Hex Key | For loosening mounting screws |
| Clean Cloth | To wipe dust and debris |
| Replacement Screws | In case originals are worn |
| Safety Glasses | To protect your eyes during work |
Having these items ready streamlines the process and maintains your sander’s efficiency.
How to Remove the Old Sanding Pad
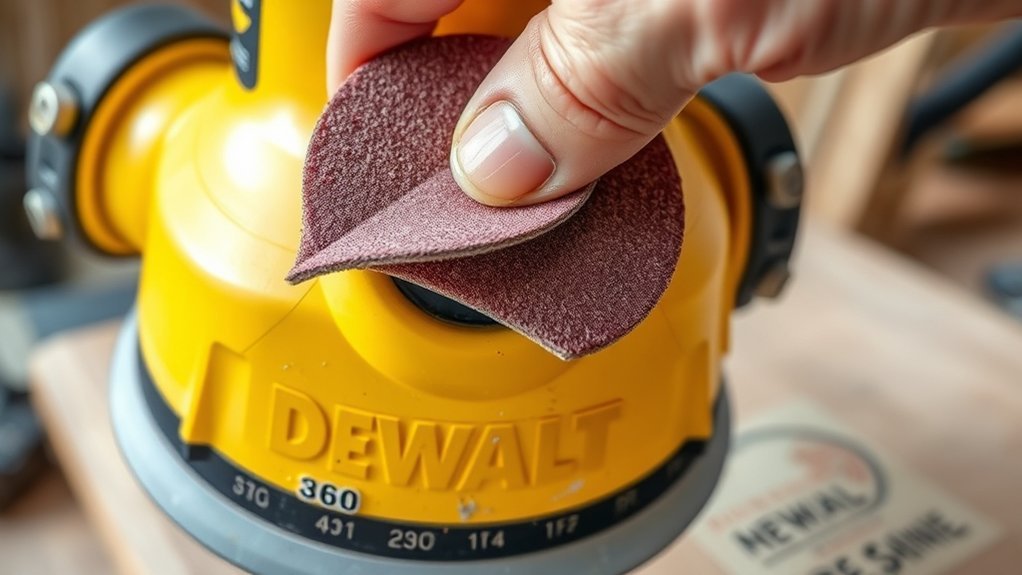
How do you safely remove the old sanding pad from your Dewalt orbital sander? First, unplug the sander to eliminate any risk of accidental activation. Locate the screws or fasteners securing the pad, typically on the backside.
Use the appropriate screwdriver or hex key to carefully loosen and remove these screws, supporting the pad to prevent it from falling. Avoid applying excessive force, which can damage the backing plate. Once detached, gently peel off the old sanding pad.
Discard any loose debris or adhesive residue on the backing plate to ensure a clean surface. Avoid including irrelevant topic or filler content such as unrelated maintenance tips here; focus solely on removal steps. This precision ensures you’re ready for the next phase without confusion or delay.
How to Attach a New Sanding Pad to Your Dewalt Sander
Where should you begin to attach the new sanding pad on your Dewalt orbital sander? Start by ensuring the replacement pad matches the model’s specifications to guarantee pad compatibility. Align the new pad’s holes with the sander’s dust extraction ports and mounting studs.
Press firmly to secure the hook-and-loop backing, confirming it adheres evenly across the surface without wrinkles or gaps. This step is crucial when learning how to change the pad effectively, as improper attachment can reduce sanding efficiency and cause premature wear.
Double-check that the pad sits flush against the sander’s baseplate before you power it on. Following these precise steps ensures optimal performance and extends the life of your sanding pad.
How to Maintain Your Orbital Sander Pad for Longer Use
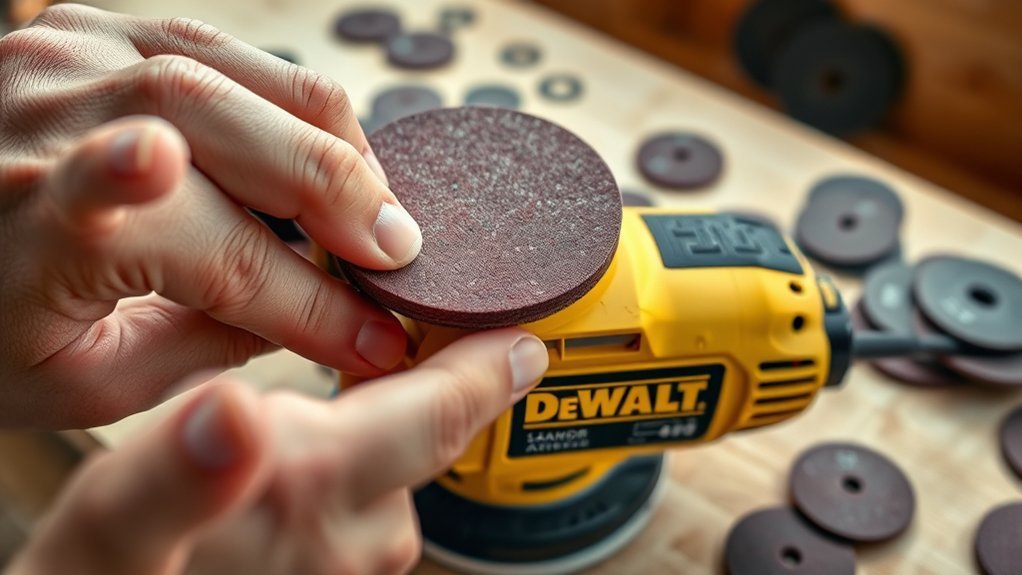
Why should you regularly clean and inspect your orbital sander pad? Maintaining the pad ensures optimal sanding performance and extends its lifespan. Debris buildup reduces abrasive efficiency and causes uneven wear.
Regularly cleaning and inspecting your orbital sander pad ensures peak performance and prolongs its useful life.
After each use, remove dust and residue with a soft brush or compressed air. Avoid introducing unrelated topic elements like irrelevant idea discussions about unrelated tools or techniques, as these distract from maintenance focus.
Inspect the pad for tears, uneven surfaces, or hardened material that could damage your workpiece. Replace the pad immediately if you detect significant wear or damage.
Store the sander in a dry, clean environment to prevent material degradation. By following these targeted maintenance steps, you keep your Dewalt orbital sander pad functioning efficiently and avoid premature replacement.
Frequently Asked Questions
Can I Use Different Grit Sandpaper With My Dewalt Orbital Sander?
You can use different grit sanding pads with your Dewalt orbital sander to achieve varying finishes. Just ensure the pads match your sander’s size and attachment system for optimal performance and secure fit during operation.
How Do I Troubleshoot a Dewalt Sander That Won’T Start?
When your Dewalt sander won’t start, don’t let silence defeat you. Check power sources, inspect the motor startup switch, and ensure the cord isn’t damaged.
Troubleshooting power issues often solves the problem quickly and safely.
What Safety Gear Should I Wear When Using an Orbital Sander?
You should wear safety goggles, a dust mask, hearing protection, and gloves during orbital operation. This safety gear protects your eyes, lungs, ears, and hands from debris, dust, and vibration, ensuring safe and effective sanding.
Can the Dewalt Orbital Sander Be Used for Polishing?
Yes, the Dewalt orbital sander supports polishing feasibility through adaptable polishing methods. By using specific polishing pads and adjusting speed settings, you can achieve effective surface polishing with precision and control for various materials.
How Do I Store My Dewalt Orbital Sander Properly?
Why risk damage by improper storage? Follow these storage tips: keep your Dewalt orbital sander in a dry, dust-free place, remove the battery, and store batteries separately at room temperature to ensure optimal battery care and longevity.
Conclusion
Remember, “a stitch in time saves nine.” Changing your Dewalt orbital sander pad promptly guarantees optimal performance and extends its lifespan. Always use genuine replacement pads and follow the steps precisely to avoid damage.
Regular maintenance keeps your tool efficient and safe. By staying proactive with pad replacement, you’ll maintain smooth sanding results and prevent costly repairs down the line.
Keep your sander in top shape for professional, consistent finishes every time by properly changing the pad on your Dewalt orbital sander.