Just like fitting the right key to a lock ensures smooth opening, attaching a sanding disc correctly to your orbital sander is crucial for optimal performance. Properly attaching the sanding disc not only improves efficiency but also extends the life of both the disc and the sander.
You need to prepare your sander carefully, align the disc precisely, and secure it firmly to avoid any wobble or uneven wear. Taking these steps ensures smooth sanding and better results.
But what are the specific steps and techniques you should follow to get this right every time? Understanding the correct method will help you achieve professional-quality finishes with ease.
Choose the Right Sanding Disc for Your Orbital Sander
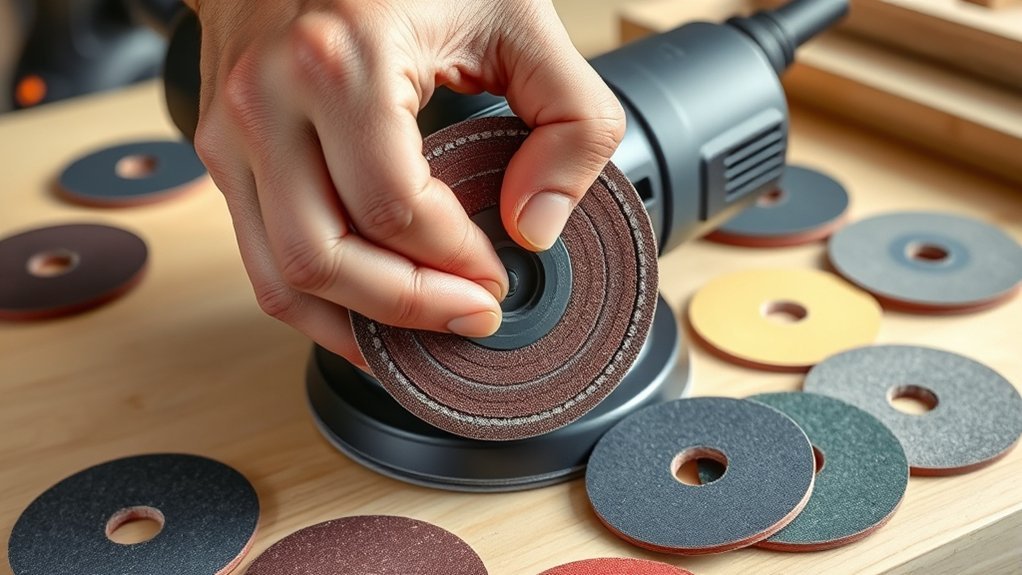
How do you ensure optimal performance when attaching a sanding disc to your orbital sander? First, select the sanding disc compatible with your sander’s size and backing pad type. A disc with the correct grit is crucial; choose coarse grits for heavy material removal and fine grits for finishing.
Proper grip between the disc and backing pad prevents slippage, ensuring efficient sanding and maintaining control. Also, consider discs designed for superior dust control to minimize airborne particles and maintain a clean workspace, which prolongs tool life.
Using the right disc enhances sanding precision and safety. Avoid discs that don’t match your model or grit needs, as they compromise performance and dust management. Selecting the correct sanding disc is the foundation of efficient, controlled orbital sanding.
Get Your Orbital Sander Ready for Attachment
Selecting the right sanding disc sets the stage, but preparing your orbital sander properly ensures a secure and effective attachment. First, disconnect the sander from power to avoid accidental starts.
Inspect the sanding pad for damage, excessive wear, or residue that could affect adhesion. Clean the pad surface thoroughly to remove dust and debris.
Next, check the sander’s speed settings; compare speeds to ensure the selected disc matches the optimal rotation rate. Slower speeds reduce sanding noise but may decrease efficiency, while higher speeds increase noise and heat.
Adjust the speed accordingly to balance performance and noise control. Finally, verify the backing pad is firmly attached and free of wobble, ensuring a stable platform for the sanding disc before proceeding.
Align the Sanding Disc Properly on the Sander Pad
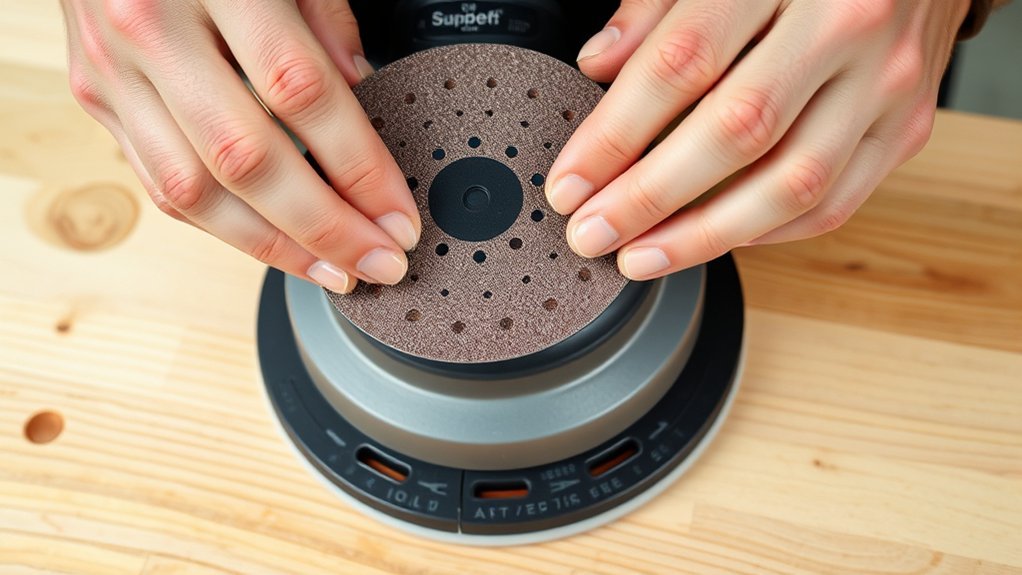
You need to center the sanding disc precisely on the sander pad to ensure even wear and optimal performance. Carefully align any holes in the disc with those on the pad to maintain proper dust extraction.
Taking these steps prevents imbalance and improves sanding efficiency.
Centering the Disc Correctly
Why is aligning the sanding disc precisely on the sander pad essential? Proper centering alignment ensures even wear, reduces vibration, and maintains optimal sanding performance.
To center the disc correctly, first position it so the disc’s center matches the sander pad’s midpoint. Pay close attention to the disc orientation, ensuring it lies flat without wrinkles or folds that could impair function.
Once aligned, gently press the disc onto the hook-and-loop pad, confirming uniform contact across the surface. This precise centering prevents off-balance rotation, which can cause uneven sanding and premature disc damage.
Taking the time to verify the disc orientation and centering alignment guarantees smooth operation and extends both the disc’s and sander’s lifespan.
Matching Disc Holes
After ensuring the sanding disc is centered correctly on the pad, the next step involves aligning the disc holes with the sander’s dust extraction ports. Achieving alignment accuracy is critical for optimal dust collection and sanding performance.
Follow these steps to match the holes precisely:
- Identify the hole pattern on your sanding disc, considering your disc selection based on the sander model.
- Rotate the disc gently on the pad until the holes line up perfectly with the sander’s ports.
- Secure the disc, verifying that all holes remain aligned to avoid clogging or reduced dust extraction efficiency.
Proper hole alignment ensures consistent sanding results and prolongs both disc and sander life. Take your time to confirm the fit before starting your project.
Secure the Sanding Disc Using Hook and Loop or Adhesive
You’ll start by choosing between hook and loop discs or adhesive-backed ones, depending on your sander’s compatibility. For hook and loop, firmly press the disc onto the pad to ensure secure attachment.
If using adhesive discs, carefully align and press them onto the pad, allowing the adhesive to bond properly before use.
Hook And Loop Basics
How do you guarantee a sanding disc stays firmly attached during use? Understanding hook and loop basics is essential for hooking safety and minimizing pad wear. The hook and loop system relies on a set of tiny hooks on the sander’s pad that grip the loops on the sanding disc’s back, ensuring a secure bond.
Follow these steps for optimal attachment:
- Inspect the pad’s hook surface regularly to prevent excessive pad wear, which reduces gripping strength.
- Align the sanding disc carefully before pressing it firmly onto the pad to ensure full contact and hooking safety.
- Replace worn discs promptly to maintain consistent adhesion and avoid slippage during operation.
Applying Adhesive Discs
A reliable sanding disc attachment depends on choosing the right securing method, either hook and loop or adhesive-backed discs. When applying adhesive discs, first ensure the sander’s pad surface is clean and free from dust or oil to maximize adhesion.
Peel the backing carefully to avoid contaminating the adhesive layer, which can compromise disc longevity. Align the disc precisely and press firmly to activate the bond.
Maintain adhesive safety by avoiding skin contact and working in a well-ventilated area to prevent inhalation of fumes. Once applied, inspect the attachment for any air bubbles or edges that could lift during operation.
Proper application not only secures the sanding disc but also extends its functional life, ensuring consistent sanding performance without unexpected detachment.
Ensuring Proper Alignment
Where should you position the sanding disc to guarantee optimal performance? Proper alignment is crucial to prevent alignment issues and vibration causes that can reduce efficiency and damage your orbital sander.
When securing the sanding disc using hook and loop or adhesive, follow these steps precisely:
- Center the disc carefully on the sanding pad, ensuring the holes align with the pad’s dust extraction ports.
- Press down firmly and evenly to secure the disc, avoiding wrinkles or air pockets that lead to imbalance.
- Spin the sander by hand before use to check for wobble or vibration; realign if any irregularities appear.
Check Sanding Disc Attachment Before You Start
Why should you verify the sanding disc’s attachment before powering on the orbital sander? Proper attachment is crucial to prevent operational errors and ensure safety. First, inspect that the disc is securely aligned with the backing pad, eliminating any gaps or looseness.
Verifying the sanding disc’s secure attachment prevents operational errors and ensures safe, effective sanding.
Confirm that the hook-and-loop or adhesive bond is intact, avoiding mistakes like detachment during use. Next, perform a gentle manual spin to detect wobbling or misalignment.
These checks serve as vital safety reminders to prevent accidents caused by flying debris or tool malfunction. Taking these steps methodically minimizes the risk of damage to both the sander and your workpiece.
Always prioritize this verification to maintain effective performance and uphold safety standards before starting your sanding task.
Replace Worn or Damaged Sanding Discs Safely
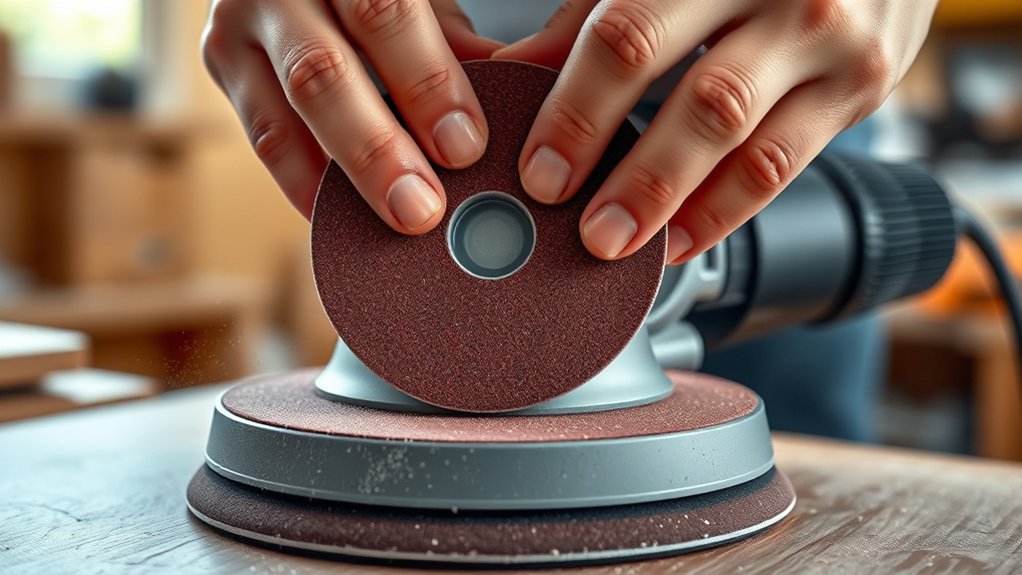
Ensuring your sanding disc is properly attached goes hand in hand with knowing when to replace worn or damaged discs safely. Ignoring this can lead to poor performance or injury. Follow these steps to replace discs correctly, avoiding unrelated techniques that don’t apply:
- Power off and unplug the sander to eliminate accidental activation.
- Remove the worn or damaged disc by peeling it off gently; if adhesive residue remains, use a suitable cleaner without damaging the backing pad.
- Align the new disc’s holes with the sander’s pad holes and press firmly to secure, ensuring even contact for optimal performance.
Avoid using topic ideas or methods unrelated to sanding disc replacement, as precision in this process guarantees safety and effectiveness.
Fix Common Problems When Attaching Sanding Discs
How can you quickly identify and resolve issues when attaching sanding discs to your orbital sander? First, check the disc alignment carefully; misaligned discs cause uneven sanding and chatter. Remove the disc and realign it precisely with the backing pad’s holes or Velcro surface before reattaching.
If you experience fixing chatter, vibrations or irregular movements, ensure the disc is firmly attached and the backing pad is clean, free of dust or debris that prevents proper adhesion. Also, inspect the disc for damage or wear that can contribute to chatter.
Tighten any loose components on the sander that may affect stability. Following these steps methodically helps maintain optimal performance, preventing issues that arise from improper disc attachment.
Maintain Your Orbital Sander to Extend Sanding Disc Life
Addressing issues like disc misalignment and chatter is only part of maintaining your orbital sander’s efficiency. To extend sanding disc life, you must choose caution during use and adhere to a strict maintenance routine. Follow these steps methodically:
- Clean the Pad and Velcro Surface: Remove dust and debris after every use to ensure proper disc adhesion and prevent uneven wear.
- Inspect and Replace Worn Components: Regularly check the backing pad for damage or warping; replace it promptly to avoid disc instability.
- Lubricate Moving Parts: Follow the manufacturer’s guidelines to lubricate bearings and moving components, reducing vibration and mechanical stress.
Tips for Even, Professional Sanding Results
Why does your sanding result sometimes look uneven or streaky? It often stems from inconsistent pressure or incorrect orbital sander speed. To achieve even, professional sanding results, apply steady, moderate pressure. Avoid pressing too hard, which can cause gouging.
Move the sander in overlapping, controlled passes to prevent missed spots. Adjust the speed according to the material; higher speeds suit softer woods, while lower speeds reduce heat buildup on metals.
Always follow safety considerations: wear protective gear and ensure your workspace is well-ventilated. If your project demands greater precision, consider alternative methods like hand sanding or using a detail sander for edges.
Regularly check and replace worn sanding discs to maintain effectiveness. Following these steps ensures smooth, uniform finishes and prolongs both tool and disc life.
Frequently Asked Questions
What Safety Gear Should I Wear While Using an Orbital Sander?
You should wear safety gear including safety goggles, a dust mask or respirator, hearing protection, and gloves. Follow PPE guidelines strictly and maintain proper sanding technique safety to protect yourself from dust, noise, and vibration hazards.
Can I Use Sanding Discs From Different Brands With My Orbital Sander?
Think of your orbital sander as a puzzle; sanding disc compatibility guarantees pieces fit seamlessly. You can use discs from different brands, but verify brand interoperability by matching size, attachment type, and grit to maintain optimal performance.
How Do I Dispose of Used Sanding Discs Properly?
You should follow disposal procedures by checking local regulations for abrasive materials. Some recycling options exist through specialized programs.
Always separate discs from other waste, and avoid landfill disposal if recycling alternatives are available to minimize environmental impact.
What Grit Size Is Best for Different Sanding Projects?
Sure, just grab the finest grit and expect perfection instantly. Actually, use coarse grits (40-60) for heavy material removal, medium (80-120) for smoothing, fine (180-220) for finishing. Your sanding technique and dust management depend on this precision.
How Do I Store Sanding Discs to Keep Them in Good Condition?
You should keep store bought discs flat in a cool, dry place with stable storage conditions. Avoid humidity and temperature fluctuations to prevent adhesive failure.
Use airtight containers or sealed bags to maintain disc integrity and prolong usability.
Conclusion
By carefully aligning and securely attaching your sanding disc, you transform your orbital sander into a precision instrument, ready to carve through rough surfaces like a sculptor’s chisel. Treat each step methodically—clean, center, and check—to avoid wobble and ensure smooth, professional results.
With this disciplined approach, your sanding projects will glide effortlessly, leaving a flawless finish and extending the life of both disc and tool. Mastery lies in the details you don’t overlook when you attach sanding disc to orbital sander.