When you sand a deck with an orbital sander, the time it takes depends on several factors like the deck’s size, wood condition, and varnish thickness. You might spend anywhere from a few hours to much longer, especially if the surface is weathered or rough. Understanding how these variables affect your sanding process is essential before you start.
Otherwise, you could underestimate the effort involved. Taking the time to assess your deck beforehand will help you plan better and achieve the best results.
How Long Does It Take to Sand a Deck With an Orbital Sander?
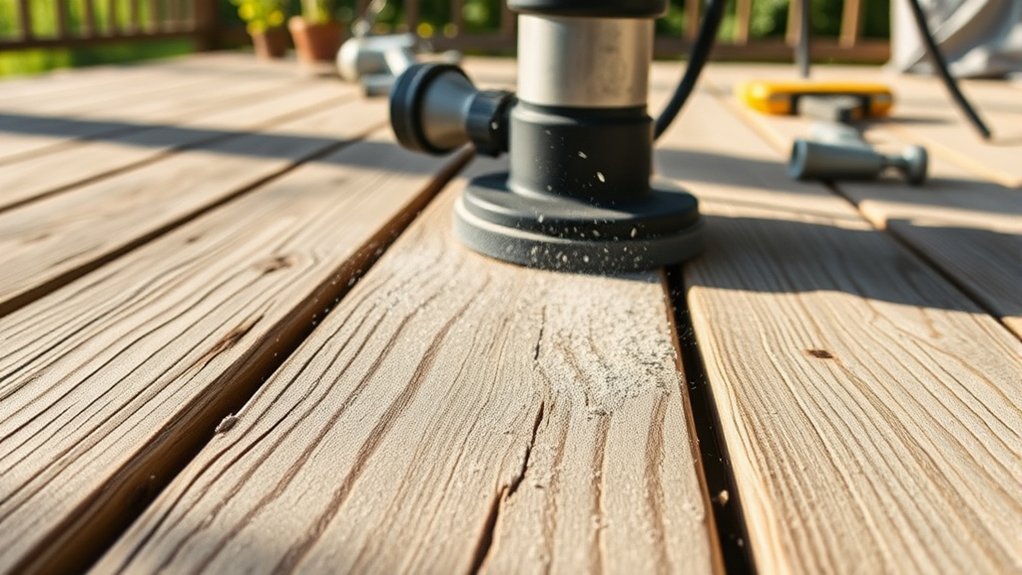
How long does it take to sand a deck with an orbital sander? Typically, you’ll spend between 3 to 6 hours on an average-sized deck, depending on the varnish thickness and wood condition. The orbital sander efficiently removes varnish layers, preparing the surface for refinishing.
For thorough varnish removal, you must use the correct grit progression, starting with a coarse grit (60-80) and finishing with a finer grit (120-150). This method enhances deck durability by smoothing the wood fibers and ensuring better adhesion of protective coatings.
How Your Deck’s Size Affects Sanding Time
Your deck’s size directly impacts how long sanding takes with an orbital sander. Smaller decks require less time and effort, often finishing in a few hours.
Larger decks demand extended work, increasing total sanding duration proportionally.
Small Decks: Quick Process
Why does deck size matter when sanding with an orbital sander? With small decks, the process is inherently faster due to less surface area. You’ll spend less time maneuvering the sander and focusing on tiny gaps between boards.
These gaps can accumulate dust, so efficient dust management becomes crucial even on a small scale to maintain visibility and prevent clogging. Since small decks typically have fewer boards, you can quickly cover all areas without excessive overlapping.
This means you can complete the sanding in a fraction of the time needed for larger decks. Just ensure you maintain consistent pressure and stay mindful of dust buildup to optimize your workflow.
Large Decks: Extended Effort
While small decks allow for quick sanding, larger decks require considerably more time and effort due to their increased surface area. When tackling a large deck, you need to adjust your completion pacing to avoid fatigue and maintain consistent quality.
Using randomized sanding techniques helps prevent uneven wear and visible patterns, ensuring a smooth finish across the entire surface. Plan your work in sections, allowing you to manage time efficiently and monitor progress.
Keep in mind that the larger the deck, the more frequent breaks you’ll need to maintain control and precision with the orbital sander. By pacing yourself and applying randomized sanding, you’ll achieve a uniform finish without overworking any single area, ultimately optimizing your overall sanding time.
Why Wood Condition Changes Sanding Duration
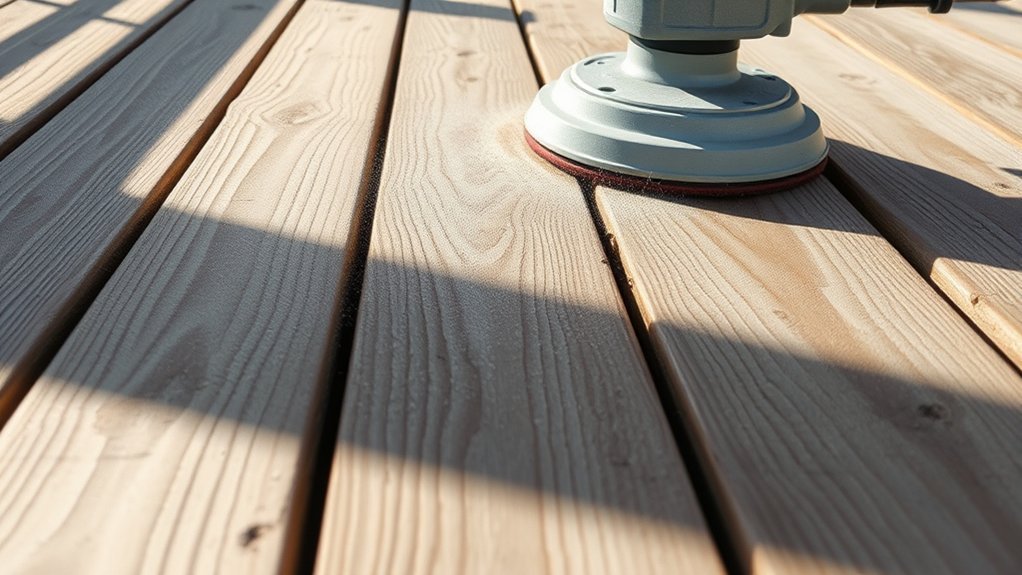
How does the condition of the wood impact the time it takes to sand your deck? When wood is weathered, rough, or damaged, it demands more sanding time to smooth out imperfections and remove old finishes.
Dry, hard wood resists abrasion, extending sanding duration, while softer, fresher wood sands more quickly. Moisture content also plays a role; damp wood clogs sandpaper faster, slowing progress.
Dry, hard wood takes longer to sand, while damp wood clogs sandpaper and slows progress.
Avoid subtopic mismatch by focusing solely on wood condition, not surface smoothness or deck size, which are separate two word discussion ideas. Understanding the wood’s current state helps you estimate sanding time more accurately and choose the right grit or orbital sander settings.
This technical approach prevents wasted effort and ensures efficient deck preparation.
How Deck Smoothness Affects Sanding Time
Knowing the wood’s condition sets the stage, but the deck’s smoothness directly influences sanding time. A rough, uneven deck demands more passes with your orbital sander, extending the process significantly. Conversely, a relatively smooth surface cuts down sanding duration.
Don’t get distracted by irrelevant topic or off topic discussion about unrelated tools or techniques; focus strictly on surface texture.
Consider these factors:
- Deep splinters and raised grain require extra attention
- Uneven boards increase sanding complexity
- Existing finish thickness affects effort needed
- Minor surface imperfections speed up sanding
Choosing Sandpaper Grit for Faster Deck Sanding
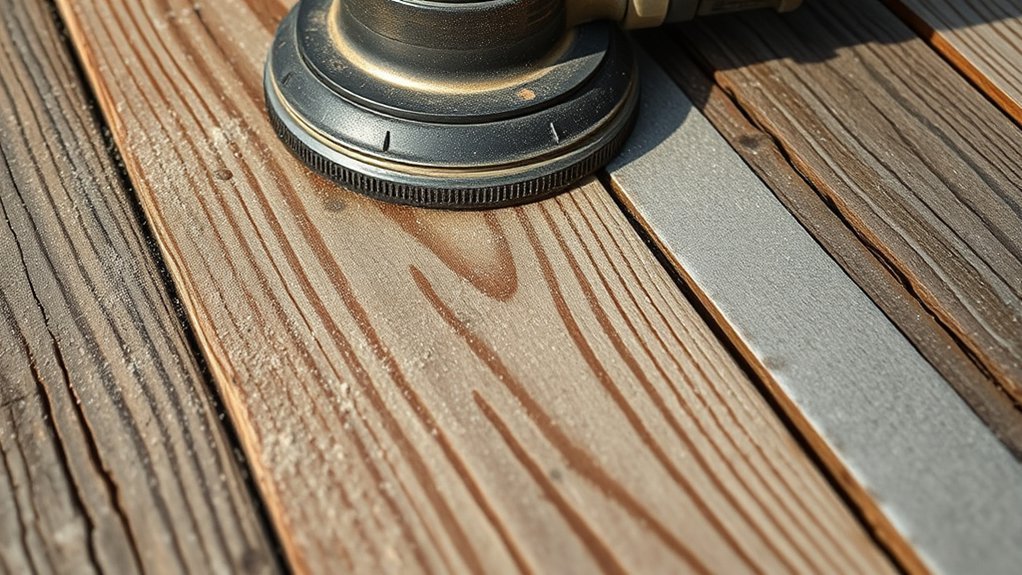
Which sandpaper grit you choose can dramatically impact the speed and effectiveness of your deck sanding. Start with a coarse grit, typically 60 or 80, to remove old finishes and level rough surfaces quickly. This initial step speeds up material removal but may leave scratch marks that require finer grit for smoothness.
Follow with medium grit, like 100 or 120, to refine the surface, balancing efficiency and finish quality. Avoid skipping grit levels, as abrupt changes can slow progress and reduce results.
Fine grits, 150 or higher, polish the deck but slow sanding significantly, so reserve them for final touch-ups. Remember, selecting the right grit is a two word idea that optimizes workflow and prevents subtopic irrelevant steps, ensuring faster, effective deck sanding.
When to Rent a More Powerful Orbital Sander
If your deck spans a large area, renting a more powerful orbital sander can substantially reduce sanding time. You’ll also want to evaluate the surface condition. Rough, weathered boards demand higher power for efficient material removal. Choosing the right tool based on these factors guarantees you work smarter, not harder.
Assessing Deck Size
How do you determine whether your deck requires a more powerful orbital sander or if a standard model will suffice? The key lies in assessing deck size accurately, avoiding distractions from unrelated topics or irrelevant concepts like aesthetic preferences or paint color. Focus solely on the area to sand.
Consider these factors:
- Total square footage of the deck surface
- Number of tight corners and edges requiring more precision
- Thickness and type of wood that affect sanding duration
- Accessibility for maneuvering larger sanders efficiently
If your deck exceeds 300 square feet or has complex geometry, renting a high-powered orbital sander saves time and effort. Smaller, straightforward decks under 150 square feet typically don’t justify the extra power or rental costs.
This direct measurement approach ensures you select the optimal tool for efficient sanding.
Evaluating Surface Condition
When should you consider renting a more powerful orbital sander? Evaluate your deck’s surface condition. If it’s heavily weathered, stained, or has multiple layers of old finish, a basic sander won’t cut it.
Don’t let topic drift lead you to underestimate the effort required. A more powerful tool tackles tough surfaces efficiently, preventing wasted time and uneven sanding caused by an irrelevant angle or insufficient power.
| Surface Condition | Effort Required | Recommendation |
|---|---|---|
| Light wear | Low | Basic orbital sander |
| Moderate weathering | Medium | Consider powerful sander |
| Heavy staining/finish | High | Rent powerful sander |
| Uneven/damaged wood | Very High | Rent powerful sander |
Choose wisely to avoid frustration and ensure smooth results.
Preparing Your Deck to Sand Faster
Why does proper preparation speed up deck sanding? Because when you eliminate obstacles and distractions beforehand, you focus solely on the task. Skipping irrelevant topics like unnecessary repairs or unrelated discussion ideas saves time.
Start by clearing furniture and debris to access all deck areas. Inspect for protruding nails or screws and secure them. Remove loose paint or peeling stain with a scraper. Sweep dirt and dust to prevent sander clogging.
These steps ensure your orbital sander glides smoothly and efficiently. By preparing meticulously, you reduce interruptions caused by hidden issues, making your sanding quicker and more uniform.
Proper prep streamlines the process, letting you concentrate on sanding without frequent stops or adjustments.
Tips for Efficient Deck Sanding Without Rushing
You’ll get the best results by properly preparing the deck surface before sanding, ensuring it’s clean and dry. Maintain a consistent sanding technique, applying even pressure and overlapping strokes to avoid uneven spots.
These steps help you work efficiently without sacrificing quality or rushing the job.
Proper Surface Preparation
How do you ensure your deck is ready for sanding without cutting corners? Proper surface preparation sets the foundation for efficient sanding and optimal results. Avoid distractions by focusing solely on deck prep, steering clear of unrelated topics that waste time.
Start by clearing the deck of all unused material and debris to prevent interference during sanding. Then, follow these key steps:
Inspect the surface for nails or screws and countersink any protrusions.
Clean the deck thoroughly with a deck cleaner or mild detergent.
Allow the wood to dry completely to avoid clogging the sander.
Remove any loose paint or sealant residues with a scraper or wire brush.
Consistent Sanding Technique
When sanding your deck with an orbital sander, maintaining a consistent technique guarantees even results and prevents damage. Start by establishing a clear sanding sequence, moving systematically across the deck to avoid uneven wear.
Use overlapping, steady passes with uniform pressure, ensuring you don’t linger too long in one spot. Consistency techniques include keeping the sander flat and moving at a controlled speed to prevent gouges or blotchy patches.
Avoid rushing; consistent, deliberate motions deliver a smooth, uniform finish. Monitor abrasive wear and replace sandpaper as needed to maintain efficiency.
Common Sanding Mistakes That Waste Time
Why do some sanding projects take longer than expected? Often, you fall into common sanding traps that slow progress. Poor dust management clogs the sander and reduces efficiency. Skipping proper grit progression leaves uneven surfaces, forcing extra passes.
Applying uneven pressure causes inconsistent sanding depth, wasting time on touch-ups. Finally, ignoring corners and edges means revisiting areas repeatedly.
Avoid these mistakes:
- Letting dust accumulate without vacuuming or dust bag use
- Using coarse grit too long before switching to finer grits
- Pressing too hard or too lightly on the sander
- Missing tight spots, leading to repeated sanding
How Weather and Environment Affect Deck Sanding Time
Where you work and the conditions outside can substantially impact your deck sanding time. Weather considerations like humidity and temperature affect wood moisture content, altering sanding efficiency. High humidity can swell wood fibers, causing clogging of sandpaper and extending your sanding duration.
Conversely, dry conditions facilitate smoother sanding but may generate more dust, requiring frequent equipment maintenance to prevent motor strain. Rain or dampness can halt work entirely and damage your orbital sander.
Windy environments increase airborne debris, risking surface contamination and necessitating more thorough clean-up. To optimize sanding time, monitor weather forecasts and choose dry, moderate conditions.
Regularly clean and inspect your sander’s components, especially filters and pads, to maintain peak performance. Factoring in these environmental variables ensures you work efficiently and preserve your equipment.
Frequently Asked Questions
What Safety Gear Should I Wear While Sanding a Deck?
You should wear gloves for safety, sturdy boots for visibility and protection, safety goggles to shield your eyes, a dust mask to prevent inhaling particles, and hearing protection to guard against orbital sander noise during deck sanding.
Can I Use an Orbital Sander on Painted Decks?
Yes, you can sand paint off decks using an orbital sander, but you should ensure proper dust containment to avoid inhaling hazardous particles. Use a vacuum attachment and wear a respirator for safe, effective paint removal.
How Do I Maintain My Orbital Sander for Best Performance?
You’ll want to clean your orbital sander’s dust vents regularly; 85% of tool failures stem from poor upkeep. Replace worn pads promptly, check power cords, and always wear deck sanding safety gear to protect yourself during maintenance.
What Are the Best Times of Year to Sand a Deck?
You should sand your deck during spring or fall when best seasonal conditions prevail. Avoid high humidity, as it affects wood absorption and drying.
Low humidity ensures smooth sanding and proper finish adherence.
How Do I Dispose of Sanding Dust and Debris Properly?
You’ll contain dust using a vacuum attachment or damp cloth, then collect debris in heavy-duty bags. For disposal methods, follow local regulations.
Usually, you can discard bags with regular waste or take them to a recycling center.
Conclusion
Sanding your deck with an orbital sander takes patience and precision—expect 3 to 6 hours depending on size and wood condition. Keep your grit progression sharp and prep the surface well to avoid wasted effort.
Remember, rushing leads to missed spots and uneven finishes, so take it step by step. Like peeling back layers of an onion, each sanding pass reveals a smoother deck.
This careful approach ensures your hard work truly shines through when sanding your deck with an orbital sander.