You might be wondering if you can use a palm sander on a car for prepping its surface. While a palm sander offers controlled, flat sanding that is ideal for certain tasks, using it incorrectly can easily damage paint or primer.
Understanding when and how to use the sander, selecting the proper grit, and applying the right technique are essential steps. But before you start, consider the potential risks and whether alternative tools might better suit your project.
How Does a Palm Sander Work on Car Surfaces?
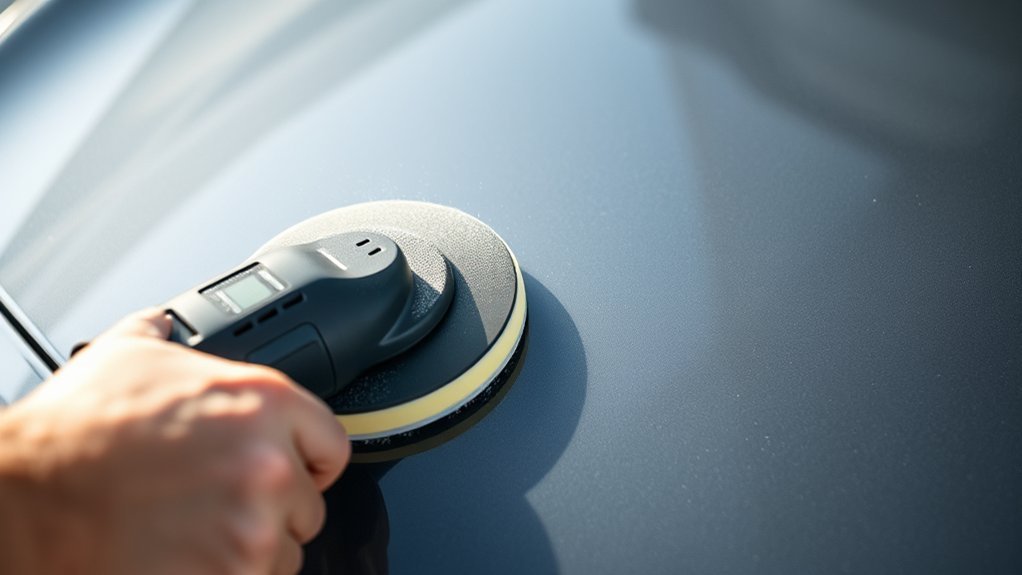
How exactly does a palm sander work on car surfaces? You apply the tool’s flat, vibrating pad directly to the paint or primer, using controlled, even pressure. The sander’s orbital motion gently removes surface material without gouging, which is critical for automotive finishes.
Unlike unrelated topics like woodworking or metalwork, car surfaces demand a delicate balance. Too aggressive, and you risk damaging the clear coat; too light, and sanding won’t be effective.
Palm sanders operate through two word ideas: “orbital action,” meaning the pad moves in small circles, and “abrasive backing,” which holds the sandpaper securely. By understanding these two word ideas, you can precisely control the sanding process, ensuring smooth, uniform abrasion that prepares your car’s surface for painting or refinishing.
When Is a Palm Sander Suitable for Sanding Your Car?
You should use a palm sander on your car only when the surface is clean, dry, and free of deep scratches or rust. Selecting the right sandpaper grit is essential. Start with a coarser grit for paint removal and switch to finer grits for smoothing. This guarantees controlled abrasion without damaging the underlying metal or clear coat.
Ideal Surface Conditions
When is a palm sander the right tool for working on your car’s surface? You want to use it only when the surface is clean, dry, and free of rust or deep imperfections. The ideal condition includes a smooth, paintable area without contaminants like dirt, grease, or wax.
This ensures effective abrasion without causing damage. In car maintenance, prepping the surface properly maximizes the palm sander’s efficiency and prevents uneven sanding.
Tool ergonomics also play a role; the palm sander’s design allows you to maintain steady control over flat or gently curved panels, minimizing fatigue during longer sessions. Avoid using it on heavily curved or delicate sections where precision is critical.
Stick to these conditions to achieve a professional finish and protect your vehicle’s integrity.
Appropriate Sandpaper Grit
Which sandpaper grit should you choose to maximize the effectiveness of a palm sander on your car’s surface? For car preparation, start with a coarser grit, such as 320 to 400, to remove old paint or clear coat efficiently without damaging the metal.
Once the surface is even, switch to finer grits like 600 to 800 for smoothing and feathering edges. Always avoid extremely coarse grits below 320, as they risk gouging the surface.
Safety considerations are crucial; use appropriate protective gear and ensure the sander’s speed matches the grit to prevent overheating and uneven sanding. Selecting the right grit balances aggressive material removal with surface preservation, making your palm sander a precise tool for automotive refinishing.
Risks of Using a Palm Sander on Delicate Paint
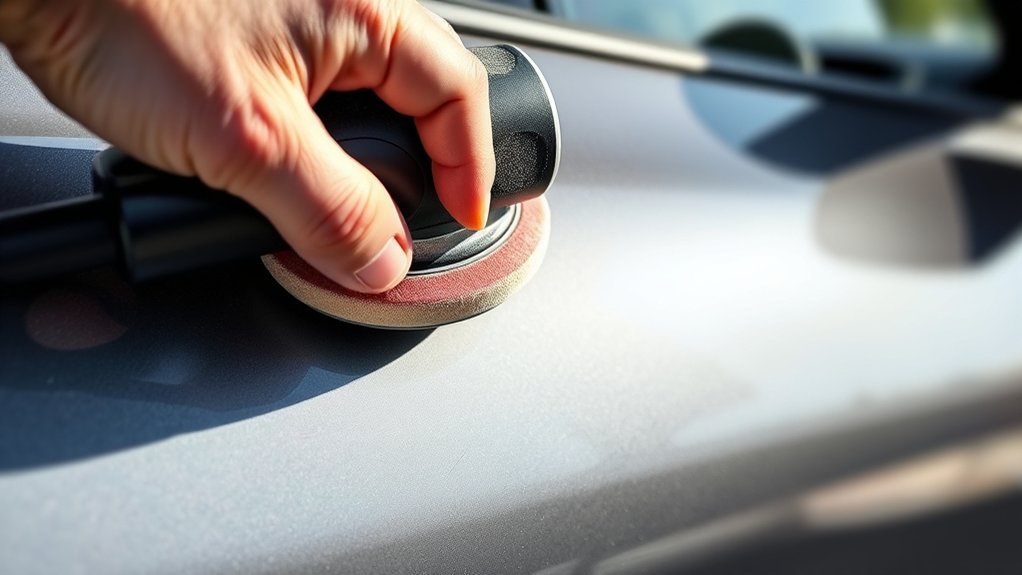
How does a palm sander affect delicate automotive paint? When you use a palm sander on fragile paint, you risk removing too much of the clear coat or base layers, which compromises the finish’s integrity. This over-sanding can cause uneven surfaces, making precise color matching difficult during repairs.
Since modern eco friendly finishes often have thinner layers compared to traditional paints, they’re more susceptible to damage from aggressive sanding. You might unknowingly expose the primer or substrate, leading to corrosion or paint failure.
To avoid these issues, you need to control pressure, speed, and duration carefully. Remember, delicate paint requires a gentle touch. Using a palm sander without the right technique can ruin your vehicle’s appearance and make future refinishing projects more complicated.
Choosing the Right Sandpaper Grit for Your Palm Sander
You’ll want to select sandpaper grit based on the surface condition and the level of abrasion needed. Start with a coarser grit for rough areas, then progress to finer grits to achieve a smooth finish without damaging the paint.
Matching the right grit and following a proper progression strategy ensures efficient sanding and preserves the car’s surface integrity.
Sandpaper Grit Types
When selecting sandpaper grit for your palm sander, understanding the specific grit sizes is essential for achieving the desired finish on your car’s surface. Grit sizes range from coarse (40-60) to very fine (400+), each serving a distinct purpose in paint and bodywork.
Coarse grits remove material quickly but risk damaging the surface if misused. Medium grits (120-220) smooth imperfections without aggressive abrasion. Fine grits (320-400) prepare the surface for primer or paint by creating a uniform texture.
Avoid distractions like random noise or unrelated topic shifts when choosing grit; focus strictly on grit specifications and the task at hand. Precision in grit selection ensures you avoid surface damage and achieve professional results efficiently with your palm sander.
Matching Grit To Surface
Why does matching sandpaper grit to your car’s surface matter? Abrasive compatibility ensures efficient material removal without damaging the paint or body. Choosing the correct grit preserves tool ergonomics by reducing effort and vibration during sanding.
Here’s how to select the right grit for your palm sander:
- Coarse grit (40-60): Use for heavy rust or paint removal on bare metal.
- Medium grit (80-120): Ideal for smoothing primer or light surface imperfections.
- Fine grit (150-220): Perfect for preparing surfaces before paint application.
- Extra fine grit (320+): Use for final sanding and polishing without scratching.
Selecting the proper grit keeps your palm sander effective and your car’s surface intact, optimizing both abrasive compatibility and tool ergonomics.
Grit Progression Strategy
Matching the right sandpaper grit to your car’s surface sets the foundation for effective sanding, but applying grit progression ensures a smooth, defect-free finish. Start with a coarse grit, like 80 or 120, to remove old paint or imperfections.
Then, advance to medium grits such as 220 or 320 to refine the surface. Finish with fine grits like 400 or 600 for a polished, ready-to-prime finish. This systematic progression minimizes swirl marks and reduces the risk of uneven surfaces.
During durability testing, this approach helps maintain the integrity of the paint layers. Also, consider noise comparison among grits; coarser grits typically generate more sound, signaling aggressive material removal.
Following this grit progression strategy optimizes your palm sander’s performance and ensures professional-grade results.
Techniques for Sanding Your Car With a Palm Sander
How do you achieve a smooth, even surface when sanding your car with a palm sander? Follow these techniques to ensure effectiveness and protect your finish.
First, select the correct grit sandpaper, respecting sandpaper ethics by using fresh, undamaged sheets to avoid scratches. Second, maintain consistent pressure; too much can gouge, too little wastes effort.
Third, keep the sander flat against the panel, moving it in slow, overlapping motions to prevent uneven spots. Fourth, perform regular tool maintenance, clean dust from vents and check the pad for wear to maintain optimal performance.
When to Skip the Palm Sander: Hand Sanding Tips
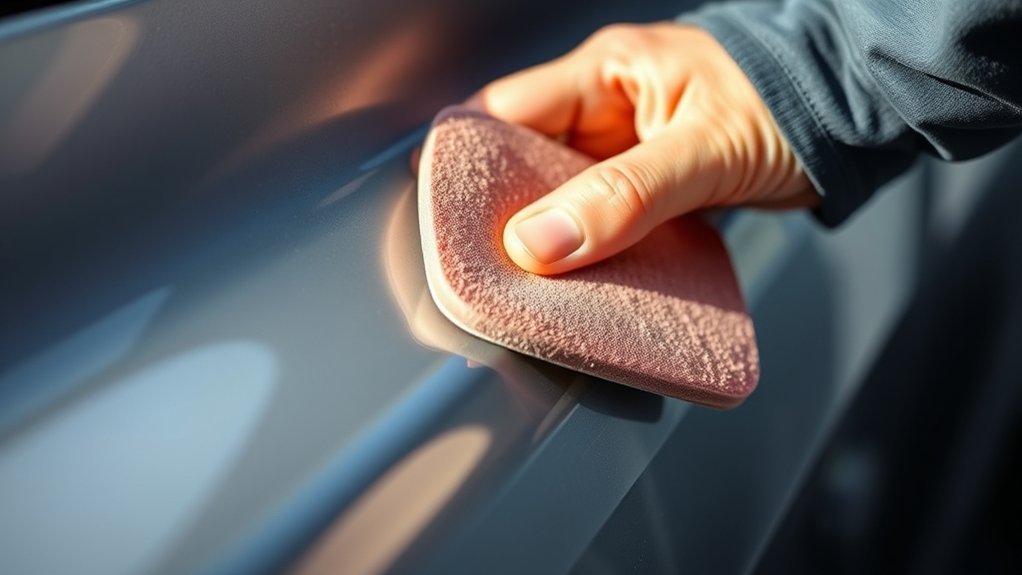
When should you forgo the palm sander in favor of hand sanding? Choose hand sanding when working on delicate contours, edges, or tight spaces where tool ergonomics limit control and risk damaging the surface.
Hand sanding offers precise pressure application, which is crucial for avoiding over-sanding and maintaining panel integrity. Additionally, hand sanding excels in small touch-up areas or when smoothing primer between coats, delivering finer finishes.
You’ll also benefit from noise reduction, as hand sanding eliminates the loud motor noise of a palm sander, making extended work sessions less fatiguing. Use a sanding block or sponge to maintain even pressure and avoid uneven surfaces.
Prioritize hand sanding when precision, surface sensitivity, and quieter operation matter more than speed or aggressive material removal.
Alternative Sanding Tools Better Suited for Car Refinishing
While hand sanding provides control in delicate areas, certain car refinishing tasks demand tools that balance speed, power, and precision. To optimize your workflow, consider these alternative tools better suited for car refinishing:
- Dual-Action (DA) Sander Offers orbital and rotary motion, reducing swirl marks and providing even sanding on curved surfaces.
- Rotary Sander Delivers aggressive material removal, ideal for heavy paint stripping or rust removal but requires skill to avoid damage.
- Air-Powered Random Orbital Sander Combines power and smooth finish, perfect for larger panels and consistent surface preparation.
- Detail Sander Designed for tight spots and edges where larger tools can’t reach effectively.
Using these alternative tools will enhance efficiency and quality in car refinishing projects, ensuring a smooth, professional surface ready for primer or paint.
How to Protect Your Car’s Surface While Sanding
Why should you prioritize protecting your car’s surface before sanding? Because improper protection can cause scratches, uneven sanding, or damage to the clear coat. Use painter’s tape and plastic sheeting to shield areas you’re not working on.
Also, clean the surface thoroughly to remove dirt and debris that could scratch the paint during sanding.
| Step | Action |
|---|---|
| 1. Surface Cleaning | Remove contaminants before sanding |
| 2. Masking | Apply tape/plastic to protect edges |
| 3. Sanding Control | Use correct grit and pressure |
| 4. Cleaning Afterward | Wipe dust to prepare for refinishing |
For storage tips, keep sanding pads dry and dust-free to maintain their effectiveness. Proper cleaning afterward prevents buildup that can harm your car’s finish.
Frequently Asked Questions
Can a Palm Sander Remove Rust From a Car?
Yes, you can use a palm sander for rust removal on a car, but carefully. It’s effective for paint preparation by smoothing surfaces, yet avoid excessive pressure to prevent damaging the metal or surrounding paint areas during rust removal.
How Long Does It Take to Sand a Whole Car With a Palm Sander?
Sanding a whole car with a palm sander typically takes 8-12 hours, depending on surface condition.
For precise car detailing and paint prep, you’ll need patience and consistent technique to achieve a smooth, even finish.
Is a Palm Sander Noisy When Used on a Car?
Like wielding a power tool in a busy workshop, a palm sander produces moderate noise during car bodywork. Your sanding technique affects sound levels, so using steady pressure and smooth motions can minimize the noise effectively.
Can I Use a Palm Sander on Plastic Car Parts?
You can use a palm sander on plastic car parts, but ensure abrasive compatibility to avoid damage. Use fine-grit sandpaper for finish uniformity, and sand gently to prevent melting or warping the plastic surface.
What Safety Gear Should I Wear When Sanding a Car?
You should wear safety gear like a respirator mask, safety goggles, gloves, and ear protection to prevent inhaling dust and protect your eyes and skin.
Always apply correct sanding technique to minimize hazards.
Conclusion
Using a palm sander on your car is like wielding a scalpel—precision and control define success. When handled with care, it strips away imperfections without damaging the delicate finish beneath.
Remember, the right grit, steady pressure, and proper technique act as your guiding compass. If you rush or apply too much force, you risk turning a restoration into a scar. Treat the surface as a canvas, and your handiwork will shine with professional finesse.
In conclusion, using a palm sander on a car requires patience and skill to achieve the best results without harm.