You might be wondering if you can use an orbital sander on hardwood floors. It can be a practical choice, offering controlled sanding without the aggressive impact of drum sanders.
However, using it effectively requires understanding the right grit progression, proper preparation, and techniques to avoid damaging the wood. Before you start, consider how orbital sanders compare to other options.
Also, think about the steps you need to take to protect your floors properly.
Is Using an Orbital Sander Safe for Hardwood Floors?
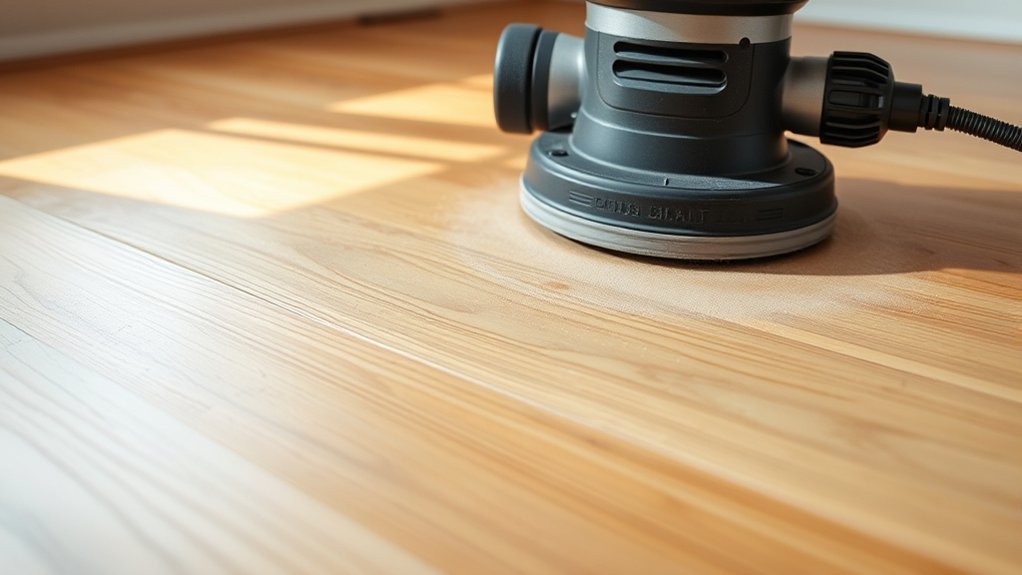
How safe is it to use an orbital sander on hardwood floors? When operated correctly, an orbital sander can be safe, but you must understand its limitations. The key is to maintain consistent pressure and keep the sander moving evenly to avoid gouging or uneven sanding.
Using coarse grit papers can pose risks, so start with finer grits to prevent damage. Remember, an orbital sander doesn’t remove material as aggressively as drum sanders, making it less likely to cause deep scratches.
Avoid distractions like considering an unrelated topic or a random idea while sanding, as loss of focus increases the chance of errors. Proper technique and attention are crucial for safety and preserving the integrity of your hardwood floors.
When Is an Orbital Sander the Right Choice for Hardwood Floors?
When should you choose an orbital sander for hardwood floors? You’ll find it ideal when you need controlled sanding with minimal damage risk. Orbital sanders work best in these scenarios:
- Refinishing floors following current hardwood trends that emphasize smooth, matte finishes without deep scratches.
- Managing moderate surface imperfections or wear, as the random orbital motion allows even abrasion without gouging.
- Prioritizing dust management. Orbital sanders often come with efficient dust collection systems, critical for indoor air quality and cleanup.
If your project demands precision and clean operation without aggressive material removal, an orbital sander fits perfectly. It balances effective sanding with the delicate care hardwood floors require, especially when aligning with contemporary hardwood trends and maintaining a clean workspace.
How Orbital Sanders Work on Hardwood Floors Compared to Other Sanders
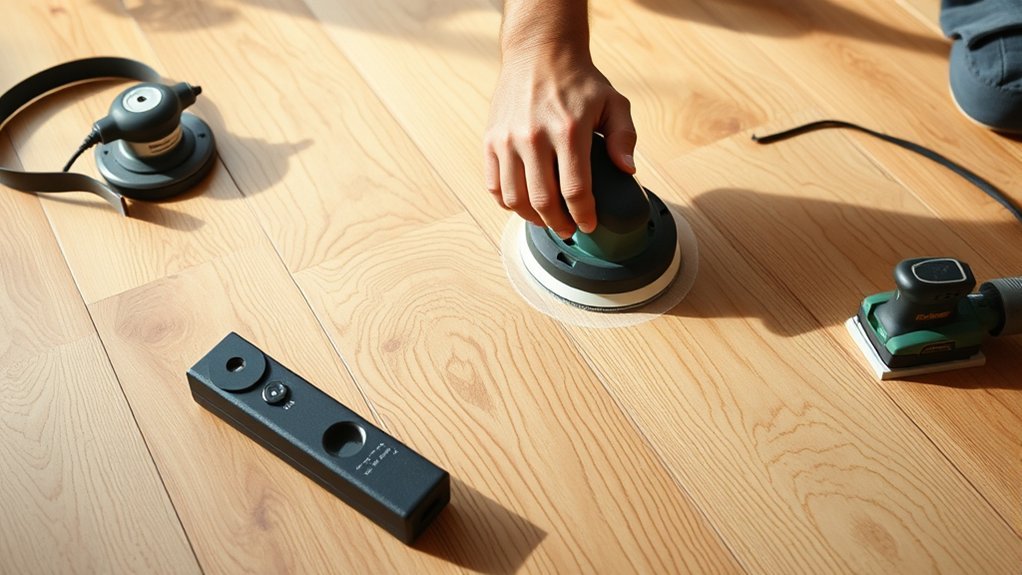
Why choose an orbital sander over other types for hardwood floors? Its design offers superior orbital efficiency, combining rapid circular and elliptical motions that reduce swirl marks and produce a smoother finish.
Unlike belt sanders, which aggressively remove material, orbital sanders provide controlled abrasion, minimizing the risk of gouging hardwood surfaces. The random orbit differences in motion prevent repetitive sanding patterns, ensuring even wear across the floor.
This precision makes orbital sanders ideal for refinishing hardwood without damaging the wood grain. While drum and detail sanders focus on specific tasks, orbital sanders balance power and finesse, allowing you to cover larger areas efficiently.
Understanding these operational distinctions helps you select the right tool, optimizing sanding results while preserving hardwood floor integrity.
Alternatives to Orbital Sanders for Hardwood Floors
Which sanding tools can match or exceed the performance of orbital sanders on hardwood floors? Considering design considerations and tool ergonomics, you have several effective alternatives:
- Belt Sanders: These deliver aggressive material removal with a continuous sanding belt, ideal for leveling uneven floors but require careful control due to their power and weight.
- Drum Sanders: Featuring a rotating drum, they offer precise sanding depth control, suited for large areas, though their ergonomics demand experience to prevent gouging.
- Edge Sanders: Designed specifically for corners and edges, their compact design and ergonomic handles allow you to finish areas orbital sanders can’t reach efficiently.
Selecting the right tool depends on your floor’s condition and your comfort handling each sander’s ergonomics and operational nuances.
What Grit Sandpaper Should You Use on Hardwood Floors?
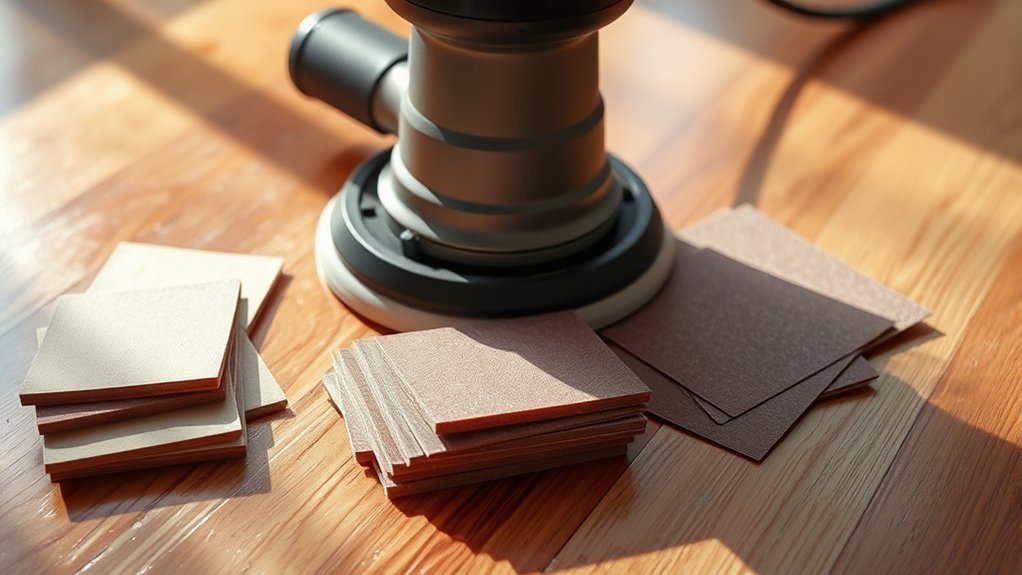
You’ll start with coarse grit sandpaper to strip old finishes and level uneven areas. Next, switch to medium grit for smoothing the surface without causing deep scratches.
Finish with fine grit to prepare the floor for staining or sealing, ensuring a smooth, professional result.
Coarse Grit for Stripping
How do you choose the right grit sandpaper for stripping hardwood floors effectively? Start with a coarse grit to remove old finishes and surface imperfections quickly while maintaining orbital safety and sanding efficiency. Typically, grit sizes between 36 and 60 work best for this initial phase.
- Use 36 grit for heavy stripping or deep finish layers.
- Opt for 40 or 60 grit when the finish is thinner, balancing aggressive removal and control.
- Ensure your orbital sander’s pad matches the grit to prevent uneven wear and maintain safety.
Using the correct coarse grit not only speeds up the stripping process but also reduces the risk of gouging the wood. This approach preserves the floor’s integrity while preparing it for the next sanding stage.
Medium Grit for Smoothing
When should you switch to medium grit sandpaper during hardwood floor sanding? Transition to medium grit (typically 80-120 grit) after you’ve removed old finish and major imperfections with coarse grit. This step refines the surface, smoothing scratches left by coarser paper without overly flattening the wood grain. Proper sanding techniques at this stage ensure an even surface ready for fine sanding.
Manage dust effectively by using a vacuum attachment on your orbital sander and wearing a mask to maintain a clean workspace and protect respiratory health.
| Sandpaper Grit | Purpose |
|---|---|
| 80-100 | Smooth rough scratches |
| 100-120 | Refine surface finish |
| 120 | Prepare for fine grit |
This medium grit phase balances efficient material removal and dust management for optimal results.
Fine Grit for Finishing
Why choose fine grit sandpaper for your hardwood floors? Fine grit (typically 120-150 grit) is essential for finishing because it smooths the surface without causing scratches or damage. It prepares the wood for staining or sealing, ensuring an even, professional look.
When using fine grit sandpaper, keep these points in mind:
- Enhances surface smoothness: Removes minor imperfections left by coarser grits.
- Improves finish adhesion: Creates an ideal texture for stains or sealers to bond.
- Minimizes safety hazards: Reduces splinters and uneven spots that cause tripping.
Additionally, fine grit sanding produces less dust, aiding effective dust management. Always wear a mask and use a vacuum attachment on your orbital sander to control airborne particles and maintain a safer workspace.
How to Prepare Hardwood Floors Before Using an Orbital Sander
Before you start sanding, make sure to clear the room completely and clean the floor of any debris or dust. Carefully inspect the hardwood for any damages like cracks or loose boards that need repair.
Remove baseboards gently to avoid damaging them or the wall edges during sanding.
Clear and Clean Area
A thoroughly cleared and cleaned workspace guarantees optimal results and prevents damage during sanding. Before you start with your orbital sander, ensure the hardwood floor is a clean area free of debris, as particles can interfere with sanding and scratch the surface. Implement dust control measures to maintain a safe and efficient environment.
Follow these steps:
- Remove all furniture, rugs, and obstacles to expose the entire floor surface.
- Vacuum the floor meticulously, focusing on corners and edges to eliminate dust and small debris.
- Wipe the floor with a damp microfiber cloth to pick up remaining fine dust, ensuring the surface is completely dry before sanding.
This preparation minimizes airborne dust and protects both your floor and sander.
Inspect for Damages
Inspecting your hardwood floor for damages is essential to ensure effective sanding and avoid worsening existing issues. Before using an orbital sander, carefully inspect integrity by checking for cracks, loose boards, or deep scratches.
Assess moisture levels to prevent sanding over damp areas, which can cause warping or mold growth. Address any identified issues prior to sanding to achieve a smooth, even finish.
| Damage Type | Emotional Impact | Practical Concern |
|---|---|---|
| Cracks | Frustration | Structural weakness |
| Moisture Spots | Anxiety | Potential warping |
| Loose Boards | Unease | Uneven sanding surface |
Taking these steps ensures your hardwood floor remains durable and visually appealing after sanding.
Remove Baseboards Carefully
How do you guarantee a clean edge when sanding hardwood floors? Start with careful baseboard removal to prevent damage and ensure dust containment. Removing baseboards lets you sand closer to walls without risking uneven edges or trapped dust.
Follow these steps for efficient baseboard removal:
- Score the caulk line between baseboards and wall with a utility knife to break the seal.
- Use a pry bar and putty knife to gently lift baseboards, minimizing wall and board damage.
- Label and store baseboards for reinstallation.
This process not only provides unobstructed floor access but also reduces dust buildup behind baseboards, improving dust containment during sanding. Proper baseboard removal is essential for a professional, clean finish when using an orbital sander on hardwood floors.
How to Sand Hardwood Floors With an Orbital Sander
When do you know you’re ready to start sanding your hardwood floors with an orbital sander? First, ensure your sanding preparation is thorough: remove all furniture, clean the floor to eliminate debris, and check for any protruding nails.
Prepare thoroughly by clearing furniture, cleaning debris, and inspecting for nails before sanding hardwood floors.
Attach a dust containment system or vacuum adapter to your sander to minimize airborne particles. Begin sanding with a coarse-grit sandpaper to remove the old finish and surface imperfections, moving the sander in overlapping, consistent strokes.
Maintain steady pressure and avoid staying in one spot to prevent uneven sanding. Progress to finer grits for a smooth finish.
Regularly empty the dust bag or vacuum to maintain optimal dust containment. This method ensures efficient sanding, preserving your hardwood floors’ integrity while reducing cleanup time.
Mistakes to Avoid When Sanding Hardwood Floors
Why do many sanding projects fall short of expectations? Often, it’s due to critical mistakes to avoid that compromise both results and safety hazards. To ensure a smooth process with your orbital sander, focus on these points:
- Using the wrong grit sequence. Starting with too fine or too coarse grit can damage the hardwood or prolong sanding unnecessarily.
- Ignoring dust control. Failing to use a proper dust collection system creates a slippery, unhealthy environment and can clog the sander.
- Applying excessive pressure. Pressing down hard causes uneven sanding and premature wear on the sander’s pad.
How to Finish and Protect Hardwood Floors After Sanding
Avoiding common sanding mistakes sets the stage for achieving a professional finish on your hardwood floors. Once sanding is complete, thoroughly vacuum and wipe the surface to remove all dust.
Apply a compatible wood stain if desired, using a clean cloth or brush for even coverage. After the stain dries, protect your floors with a durable finish like polyurethane, applying thin, even coats with a high-quality applicator.
Avoid advice from a random advisor or unrelated topic sources that suggest shortcuts; these can compromise the finish. Allow each coat to dry fully, lightly sanding between coats with fine-grit sandpaper to ensure adhesion.
This method guarantees your hardwood floors retain their beauty and durability, providing lasting protection against wear and tear.
Frequently Asked Questions
Can I Rent an Orbital Sander for Hardwood Floor Projects?
You can rent an orbital sander for hardwood floor projects at most hardware stores. Ensure proper sander rental includes necessary grit sandpaper for effective hardwood preparation.
This helps achieve smooth, even surfaces without damaging the floor.
How Long Does It Take to Sand a Typical Hardwood Floor?
It typically takes you one to two days to sand a hardwood floor, including removal of finish.
Using an orbital sander with proper dust containment speeds cleanup and guarantees a smooth, even surface for refinishing.
Are Orbital Sanders Noisy During Hardwood Floor Sanding?
Yes, orbital sanders produce noticeable noise during hardwood floor sanding. However, their dust containment is better than drum sanders, offering improved dust comparison and reducing airborne particles.
This makes cleanup more manageable and the environment less dusty overall.
What Safety Gear Should I Wear When Using an Orbital Sander?
You should wear safety gear like ear protection to manage noise level, safety goggles to guard your eyes from dust, a dust mask or respirator to protect your lungs, and gloves to ensure a secure grip and hand safety.
Can Orbital Sanders Be Used on Engineered Hardwood Floors?
You can use an orbital sander on engineered hardwood floors, but watch for orbital sander pitfalls like uneven sanding.
Ensure floor finish compatibility to avoid damage, and test a small area first for best results and safety.
Conclusion
You can definitely put an orbital sander to work on your hardwood floors, just keep it gentle and steady. Think of it as a careful dance—start coarse, then move finer, and keep it moving to avoid unwanted dents.
Prep well, manage dust, and finish with care to bring out that natural beauty. With the right approach, your floors will thank you by looking smooth and polished, not battle-worn.
Using an orbital sander on hardwood floors can transform their appearance when done correctly, ensuring a beautiful, professional finish.