You’ve probably noticed how your hammer tends to disappear just when you need it most. Where is my hammer? This common question can be frustrating, especially when you’re in the middle of a project.
Instead of digging through cluttered drawers or piles of tools, you can take simple steps to keep it within easy reach. By setting a clear, consistent spot and organizing your workspace thoughtfully, you’ll save time and frustration.
But finding that perfect system isn’t always obvious—so let’s explore how to make sure your hammer is always exactly where you expect it to be.
Why Do Hammers Always Go Missing?

Why do hammers always seem to disappear just when you need them? The main reason is often poor hammer storage and lack of tool visibility. When you toss your hammer in a cluttered drawer, toolbox, or workbench without a designated spot, it blends in with other tools and materials.
You lose track of it quickly. Without clear visibility, you spend valuable time searching instead of working. Also, if your hammer isn’t secured properly, it can get moved or borrowed and not returned to the right place.
To avoid this, you need to prioritize organized hammer storage solutions that keep your tool in plain sight and easily accessible. Doing so prevents misplacement and speeds up your projects by ensuring your hammer is always within reach.
How to Choose a Dedicated Spot for Your Hammer
Where should you keep your hammer to guarantee you always know where it is? Choose a dedicated spot that’s visible, accessible, and consistent. For effective hammer storage, consider a pegboard or wall-mounted hook near your main workbench.
This keeps your hammer within arm’s reach and helps maintain metalwork organization by separating your hammer from other tools. Avoid places where the hammer can get mixed with clutter or hidden in drawers.
If you have multiple hammers, assign each one a unique spot labeled clearly. Make sure the location suits your workflow, so you naturally return the hammer after use.
Easy Ways to Organize Your Toolbox for Quick Hammer Access
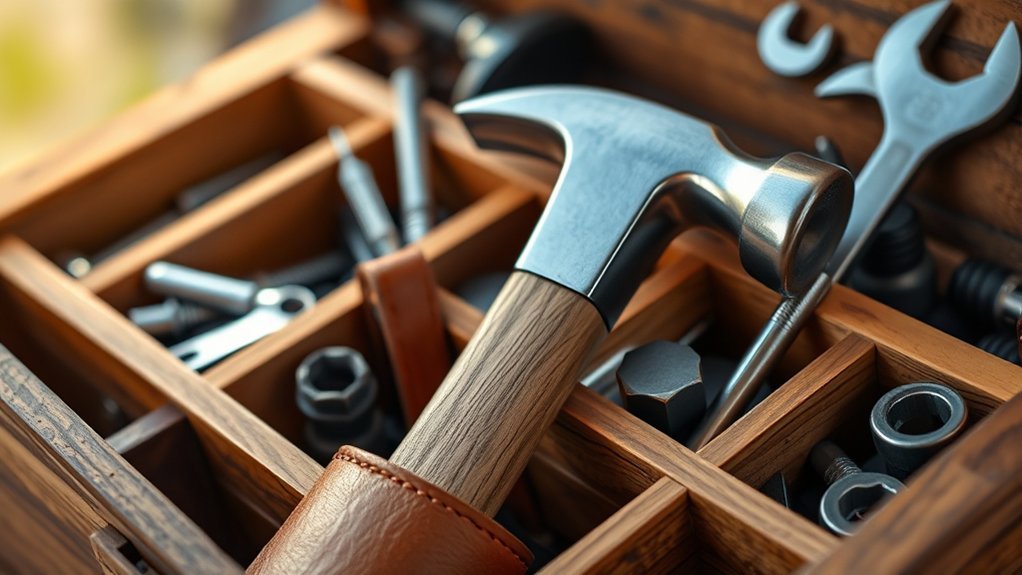
How do you guarantee your hammer is always easy to grab when you need it? Organizing your toolbox with intentional category design and considering hammer ergonomics makes all the difference. Follow these steps:
- Designate a specific compartment for your hammer based on size and shape to keep it separate and accessible.
- Use foam inserts or custom dividers to hold the hammer securely while respecting its handle grip and head balance.
- Place frequently used hammers near the top to avoid rummaging and reduce wear on the tool.
- Label compartments clearly so you can quickly identify where the hammer belongs.
How to Use Wall Mounts to Keep Your Hammer Visible
When you need your hammer quickly, wall mounts offer a simple and effective solution to keep it visible and within reach. Start by selecting a sturdy wall mount designed for hammer storage, such as hooks or brackets.
Choose a location near your workspace where you frequently use your hammer. Secure the mount firmly to the wall using appropriate screws and anchors to support your hammer’s weight.
Hang your hammer by its handle or claw, ensuring it’s easy to grab but won’t slip off. Wall mounting keeps your hammer off surfaces, reducing clutter and preventing loss.
How to Label and Sort Your Hammer and Tools to Prevent Loss
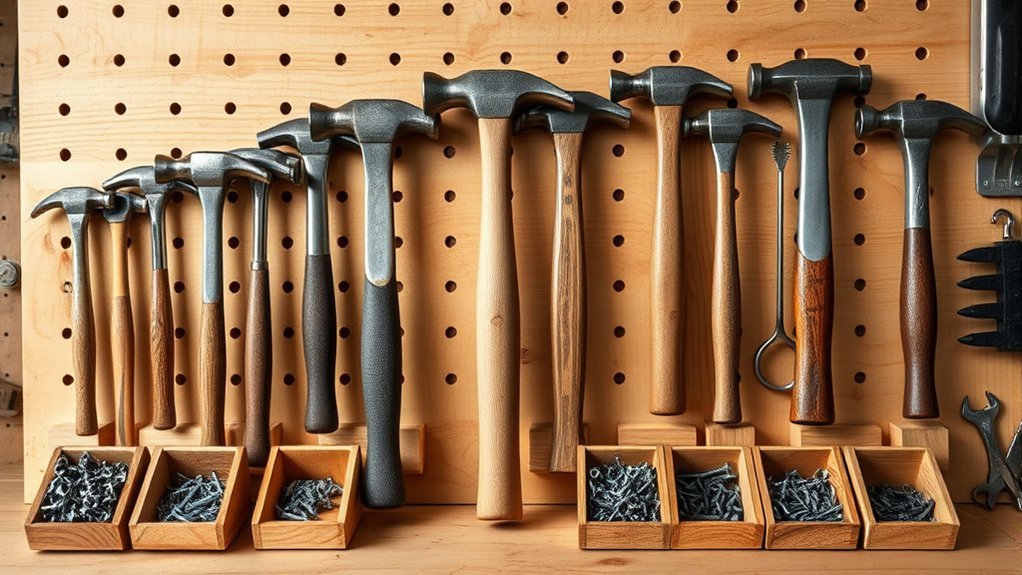
You can stop losing your hammer by labeling each tool clearly with your name or a unique mark. Organize your storage space by grouping similar tools together and using designated compartments or holders.
Set a habit of returning tools to their labeled spots immediately after use to keep everything in order.
Effective Tool Labeling Methods
Clear and consistent labeling is essential to keep your hammer and tools organized and easy to find. When labeling, consider hammer ergonomics to ensure labels don’t interfere with grip or comfort. Use durable, weather-resistant labels for longevity.
Magnet placement on metal tools can help keep them secure and visible, so label near the magnet for quick identification. Here are four effective labeling methods:
- Use color-coded tags or tapes to categorize tools by type or frequency of use.
- Apply printed labels with tool names or functions directly on handles, avoiding slippery surfaces.
- Attach magnetic labels for metal tools, placing magnets strategically without affecting ergonomics.
- Use laminates or clear protective covers over labels to prevent wear and tear.
These steps help you prevent loss and maintain tool readiness.
Organizing Tool Storage Spaces
Where should you place your hammer and tools to ensure they’re always within reach and easy to locate? Start by dedicating specific spaces for each item, using clear labels. Organize your tools by type and frequency of use to streamline access.
Consider budget options like affordable pegboards or magnetic strips for effective hammer care and storage. Here’s a simple layout to guide you:
| Storage Type | Best Use |
|---|---|
| Pegboard | Hanging frequently used tools |
| Drawer Dividers | Small hand tools |
| Magnetic Strips | Metal tools like hammers |
| Clear Bins | Group similar items |
| Wall-Mounted Racks | Larger tools |
This setup keeps your tools sorted, protects them, and saves time hunting, promoting better hammer care without overspending.
Preventing Tool Misplacement Tips
How can you keep your hammer and tools from going missing in the chaos of a busy workspace? Proper labeling and sorting are essential to avoid misplacement and ensure hammer maintenance while minimizing safety implications.
Here’s how you can stay organized:
- Use durable labels with clear, large fonts on each tool and storage spot.
- Assign specific storage zones for hammers and related tools, so you always know where to look.
- Implement a check-in/check-out system to track tool usage, reducing loss and misuse.
- Regularly inspect tools for wear and damage as part of hammer maintenance to maintain safety standards.
How to Make Putting Your Hammer Away a Habit
You can make putting your hammer away automatic by designating a specific spot for it every time. Use visual reminders, like labels or bright hooks, to catch your attention and reinforce the habit.
Stick to a consistent routine so it becomes second nature to return your hammer when you’re done.
Designate A Specific Spot
Why does your hammer always seem to disappear right when you need it? The solution is simple: designate a specific spot for hammer placement. When you create a consistent home for your hammer, you cut down on wasted time and frustration.
Follow these steps to establish your hammer’s spot:
- Choose a location near your main work area for easy access.
- Pick a visible, flat surface or hook that securely holds the hammer.
- Always return the hammer to this spot immediately after use.
- Keep the designated spot clear of clutter to avoid misplacement.
Create Visual Reminders
Designating a specific spot for your hammer makes it easier to keep track of, but remembering to put it back can still be a challenge. Creating visual reminders helps reinforce this habit.
Use brightly colored tape or labels near your hammer’s spot, making the location stand out like stone content on a page. You can also place a small sign or picture that prompts you to return the hammer immediately after use.
Pair these with digital reminders on your phone or watch to ensure you don’t forget even during busy projects.
| Reminder Type | Placement Location | Purpose |
|---|---|---|
| Colored Tape | Hammer spot edge | Draws immediate attention |
| Label/Sign | Above hammer spot | Provides clear visual cue |
| Picture Icon | Workbench or toolbox | Reinforces habit visually |
| Digital Reminder | Phone/Watch at end of task | Timely prompt to put hammer away |
Practice Consistent Routine
How often do you find yourself searching for your hammer because it wasn’t put back in its place? To avoid this, you need to practice routine habits that make putting your hammer away automatic. Consistency is key for effective hammer maintenance and organization.
Follow these steps to build a reliable routine:
- Always return your hammer to the same spot immediately after use.
- Schedule a quick daily check to ensure your tools are in order.
- Use a designated hook or holder that’s easy to access.
- Incorporate hammer maintenance into your routine, cleaning and inspecting it regularly.
How to Keep Your Hammer Organized for Good
A well-organized hammer saves you time and frustration when tackling projects. Start by designating a specific spot for your hammer, whether a pegboard, toolbox, or drawer, so you always know where to find it. Use hooks or magnetic strips to keep it visible and accessible.
Regular hammer maintenance is key: wipe it clean after use and apply a light coat of oil to the metal parts to aid rust prevention. Store your hammer in a dry area to avoid moisture buildup, which causes corrosion.
Label your storage space if needed to reinforce the habit. By keeping your hammer organized and maintained, you’ll extend its lifespan and ensure it’s ready for every job without wasting time searching or dealing with rust.
Frequently Asked Questions
What Type of Hammer Is Best for Home Use?
You’ll want a claw hammer for home use because its hammer selection offers project versatility. It drives nails and removes them easily, making it practical and straightforward for most household repairs and DIY tasks you’ll encounter.
Can a Hammer Be Repaired if the Handle Breaks?
Yes, you can fix a broken handle with hammer repair techniques like replacing the handle. Just track misplaced parts carefully to avoid losing screws or wedges during repair. Proper tools make the process straightforward and effective.
Are There Smart Tools to Track Misplaced Hammers?
Yes, you can use smart tools like Bluetooth trackers for misplaced tracking. Attach a small tracker to your hammer, then use your phone app to quickly locate it, saving you time and frustration on the job.
What Safety Tips Should I Follow When Using a Hammer?
Like a knight wielding a sword, grip your hammer firmly, wear safety glasses, and check for loose heads. Avoid common hammer mistakes: striking at odd angles or swinging wildly.
Always keep your workspace clear for safety tips.
How Do I Choose the Right Hammer Weight for Projects?
You choose weight by matching the hammer’s heft to your project size and strength. Test the balance feel in your hand. Too heavy tires you out, too light wastes effort. Find a comfortable, controlled swing.
Conclusion
Think of your hammer as the steady heart of your toolbox—when it’s always in its place, your projects flow smoothly. By dedicating a visible spot, labeling it clearly, and making a habit of returning it immediately, you’ll keep this essential tool ready and waiting.
Like a trusted partner, your organized hammer won’t wander off, saving you time and frustration. Keep it secure, and your workbench stays a place of efficiency and order.
To maintain this ease, always know where your hammer is. Remember, the key to a smooth workflow is knowing Where Is My Hammer.