If you want to craft a reliable hammer, you’ll need to start by selecting the right materials and tools for hammer making. The handle must be sturdy and comfortable, while the head requires a metal that can withstand repeated impact.
Precision is key when attaching these parts, and having the proper equipment will make the process smoother.
Understanding these essentials sets the foundation for creating a tool that’s both durable and effective.
Materials You’ll Need to Make Your Hammer
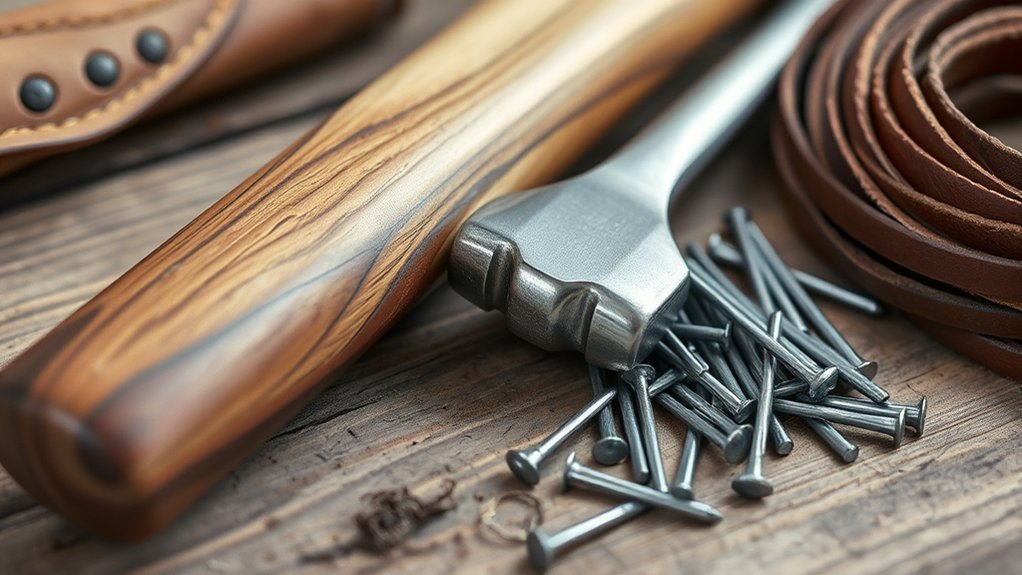
What materials do you need to craft a reliable hammer? Start with a sturdy handle material like hickory or fiberglass, known for shock absorption and durability. This choice directly affects hammer ergonomics, reducing hand fatigue during use.
For the hammer head, select a solid, impact-resistant metal that can withstand repetitive strikes. You’ll also need a strong adhesive or wedge system to secure the head to the handle firmly.
Don’t forget safety considerations: ensure the handle has a non-slip grip to prevent accidents, and check all components for defects before assembly. Properly chosen materials contribute to a hammer that’s comfortable, efficient, and safe, allowing you to work longer without strain or injury.
Ensure a non-slip grip and inspect all parts for defects to keep your hammer safe and comfortable.
Prioritize quality materials to build a tool that performs consistently.
Choosing the Right Metal for Your Hammer Head
You’ll want to pick a metal that balances strength and durability for your hammer head. Common choices include steel, which offers toughness and shock resistance, and brass, known for its softer impact.
Understanding each metal’s properties helps you choose one that matches your hammer’s intended use.
Common Metals for Hammerheads
Selecting the right metal for your hammerhead directly affects the tool’s durability and performance. You’ll encounter several common alloys designed for specific tasks, balancing toughness and weight.
While most metals focus on function, some hammerheads crafted from exotic metals serve ceremonial uses, emphasizing appearance over utility. Here are the common metals you should consider:
- Carbon Steel: Offers excellent strength and wear resistance, ideal for general use.
- Alloy Steel: Contains elements like chromium or vanadium to improve hardness and durability.
- Stainless Steel: Resists corrosion, suitable for damp environments but less impact-resistant.
- Brass or Bronze: Softer metals used where sparks must be avoided or in ceremonial tools.
Choosing from these ensures your hammerhead fits your practical needs or specialized uses precisely.
Metal Properties and Durability
Understanding the specific properties of metals helps you pick a hammerhead that stands up to the demands you place on it. Metals used in hammerheads undergo industrial forging and heat treatment to enhance durability and strength.
Choosing the right metal means balancing hardness, toughness, and resistance to wear.
| Metal Type | Hardness (HRC) | Durability Features |
|---|---|---|
| Carbon Steel | 50-60 | Excellent toughness, shock resistance |
| Alloy Steel | 55-65 | Higher wear resistance, stronger after heat treatment |
| Stainless Steel | 45-55 | Corrosion resistance, moderate hardness |
| Titanium | 35-45 | Lightweight, good toughness but less hard |
| Cast Iron | 40-50 | Brittle, less shock-resistant, rarely used |
Use metals forged industrially and heat-treated for optimal hammerhead performance.
Picking the Best Wood for Your Hammer Handle
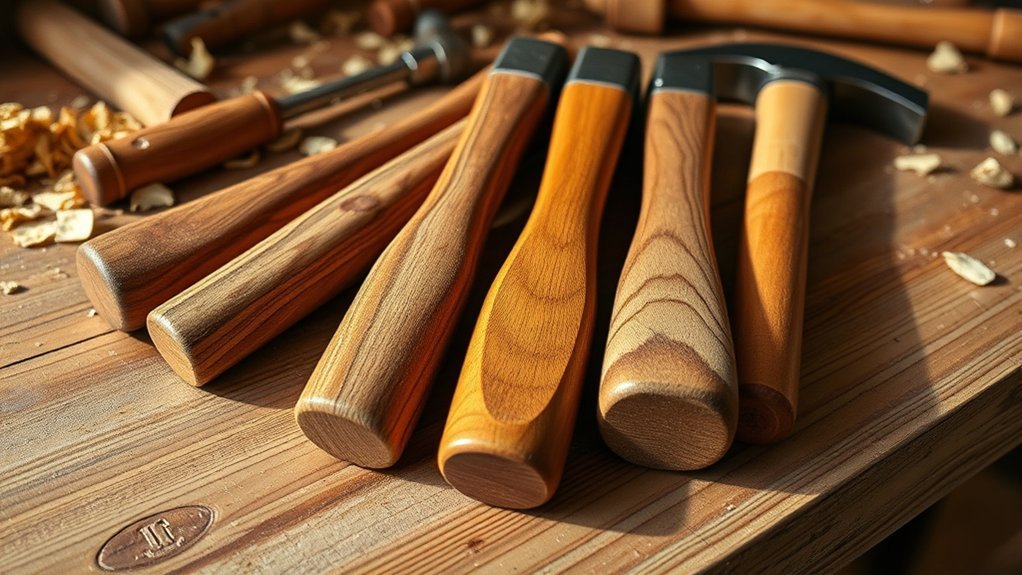
You’ll want to choose a durable wood like hickory or ash for your hammer handle, as they absorb shock well and resist splitting. Pay close attention to the wood grain. Straight, tight grains provide the best strength and longevity.
Selecting the right wood ensures your handle stays sturdy and comfortable during use.
Types Of Durable Wood
Choosing the right wood for your hammer handle is essential for durability and comfort during use. When selecting wood, focus on durability considerations and wood species nuances to ensure your handle withstands repeated impact without cracking or splintering.
Here are four reliable wood types known for their strength and resilience:
- Hickory: Offers excellent shock absorption and durability, making it a top choice.
- Ash: Balances toughness and flexibility, ideal for handling impact stress.
- Oak: Extremely hard and dense, providing long-lasting durability.
- Maple: Strong and relatively lightweight, with good resistance to wear.
Wood Grain Importance
Once you’ve selected the type of wood for your hammer handle, paying close attention to the wood grain will considerably affect your tool’s performance. The grain orientation directly impacts strength and durability. Look for straight, tight grains running parallel to the handle’s length.
This alignment resists splitting and absorbs shock better, enhancing your hammer’s lifespan. Avoid wood with irregular or cross grains, as these weaken the handle and increase breakage risk. Besides functional benefits, wood grain aesthetics add to your hammer’s professional look.
Choose a piece with consistent, appealing patterns. By prioritizing proper grain orientation and attractive grain aesthetics, you ensure your hammer handle not only performs well but also stands out visually, making it a reliable and attractive tool in your workshop.
Essential Tools for Hammer Making
How do you guarantee your hammer-making process runs smoothly? It starts with having the right essential tools. Focusing on your hammer design and safety considerations, you’ll need equipment that ensures precision and protects you throughout the process.
Here are the key tools you should have on hand:
- Forging hammer or mallet: For shaping the metal head accurately.
- Anvil or sturdy workbench: Provides a solid surface to form the hammerhead.
- Files and rasps: To refine the hammerhead’s shape and smooth edges.
- Clamps or vise: Secure components firmly during shaping and assembly.
Using these tools correctly helps maintain design accuracy and addresses safety considerations by minimizing slipping or mishandling risks. Preparing your workspace with these essentials sets a solid foundation before assembly.
How to Assemble Your Hammer Step-by-Step
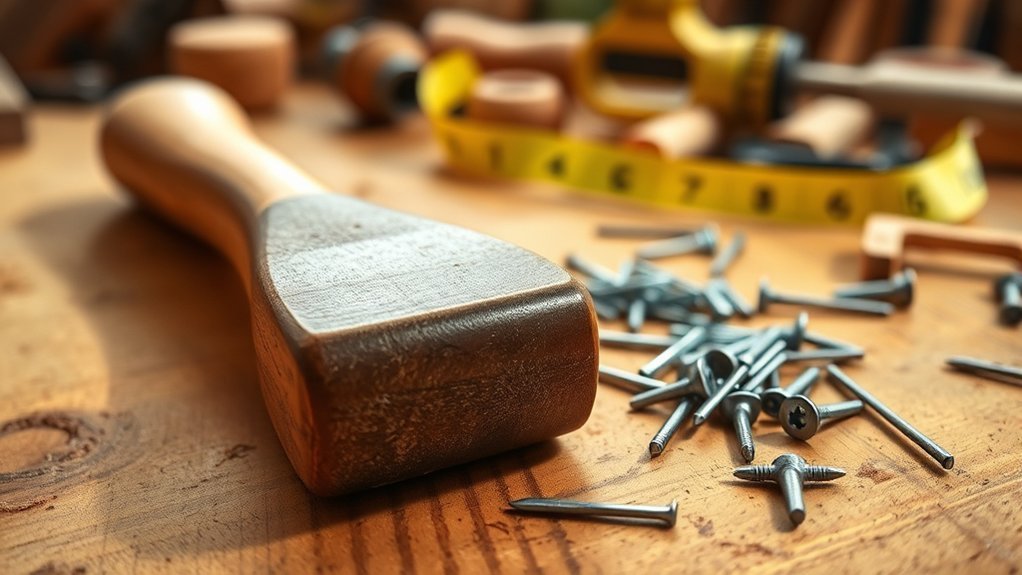
Where do you begin when assembling your hammer? Start by fitting the handle into the hammer head’s eye, ensuring a snug, secure fit to maintain hammer ergonomics and prevent wobbling. Use a wooden or metal wedge to expand the handle inside the head for added stability.
Check alignment carefully; a straight handle reduces strain during use. Next, trim any excess handle material flush with the hammer head. Always prioritize safety considerations. Wear gloves and eye protection to guard against splinters and flying debris.
Finally, sand the handle smoothly to enhance grip comfort and prevent blisters. By following these precise steps, you’ll create a reliable, ergonomic hammer that’s safe and comfortable for prolonged use.
Testing and Finishing Your Handmade Hammer
Why is testing your handmade hammer essential before regular use? Proper testing ensures your hammer design is safe, durable, and effective. You’ll want to conduct thorough safety testing to avoid accidents and confirm the tool performs as intended.
Start by checking the handle’s grip and secure fit to the head. Next, test the balance and weight distribution by swinging gently on a soft surface. Inspect for any cracks or weaknesses in the materials. Finally, ensure the striking face is smooth and properly finished to prevent chipping.
Verify handle stability and grip comfort
Ensure the handle is stable and comfortable to grip for safe, effective hammering.
Assess balance and weight for controlled swings
Inspect materials for cracks or defects
Smooth and finish the striking face for durability
Following these steps guarantees your hammer is ready and safe for regular use.
Frequently Asked Questions
How Long Does It Take to Craft a Hammer From Start to Finish?
You’ll spend about 1 to 3 hours on the crafting timeline, depending on your skill. Material sourcing considerations, like finding quality wood and metal, can add extra time before you start actual hammer assembly.
Can I Use Recycled Materials to Make a Hammer?
Certainly, crafting with recycled components can confidently contribute to your hammer’s creation. Recycled materials viability depends on strength and integrity, so prioritize ethical material sourcing to ensure durability.
Inspect, select, and securely shape for a sturdy, sustainable tool.
What Safety Precautions Should I Take While Crafting a Hammer?
You should wear safety gloves to protect your hands and work on a heat resistant bench to avoid burns. Keep your workspace organized, use eye protection, and guarantee proper ventilation while crafting your hammer for maximum safety.
How Do I Maintain and Sharpen My Handmade Hammer?
Like a chef sharpens knives, you maintain sharpening your handmade tools by regularly cleaning rust, lightly filing edges, and oiling wooden handles. This keeps your hammer precise and durable, ensuring it performs perfectly every time.
Are There Different Hammer Types for Specific Tasks?
Yes, hammer types are task specific. You’ll find claw hammers for nails, sledgehammers for heavy demolition, ball-peen for metalwork, and mallets for delicate surfaces.
Choose the right type to work efficiently and avoid damage.
Conclusion
Crafting a hammer blends raw strength with careful precision. While a sturdy metal head withstands powerful strikes, the handle’s smooth, straight grain ensures comfort and control. You might think it’s just about force, but it’s really about balance—between toughness and finesse, between impact and grip.
By choosing the right materials and assembling them methodically, you’ll create a tool that’s both durable and reliable. This careful process ensures your hammer is ready to tackle any project with confidence. Understanding what you need to craft a hammer is key to making an effective and lasting tool.