Drawing a hammer might seem like the most complex task you’ll ever face, but with the right approach, it becomes straightforward. Learning how to draw a hammer starts with breaking down its shape into simple forms. This helps in carefully balancing the proportions between the handle and the head.
As you refine the contours and add texture, you’ll uncover subtle details that bring the tool to life. Keep going—you’re about to uncover techniques that make your hammer look convincingly real.
Gather Materials for Drawing a Hammer
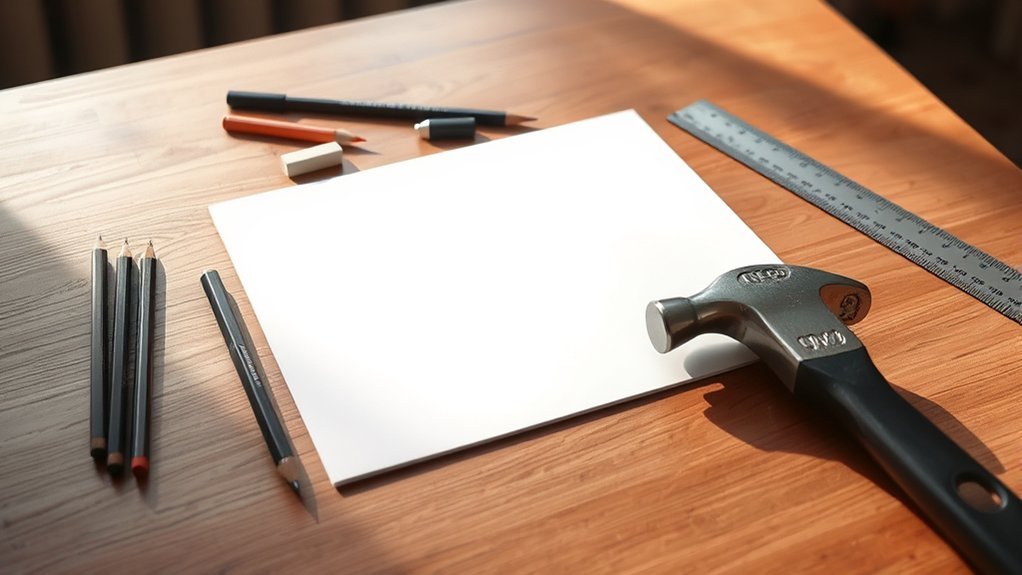
Before you start drawing a hammer, gather the essential materials to ensure a smooth process. Begin by gathering tools such as a sketchpad or quality drawing paper, an eraser, and a sharpener. These basics set a solid foundation.
Next, focus on selecting pencils with varying hardness, usually HB, 2B, and 4B, to help you create different line weights and shading effects. HB pencils work well for initial outlines, while softer pencils like 2B and 4B add depth and texture.
Don’t forget a ruler for precise measurements if you want accuracy. Keeping your workspace organized and well-lit will improve your drawing experience.
Start Your Hammer Drawing With Basic Shapes
To begin your hammer drawing, start by sketching simple geometric shapes that represent the main parts of the hammer. Use a rectangle or elongated oval to outline the handle, ensuring proportions consistency by keeping it longer and narrower than the hammerhead.
For the head, draw a square or trapezoid shape to capture its bulk. These two word discussion ideas, handle shape and head block, help you focus on each section clearly. Keep your lines light so you can adjust easily.
Pay close attention to the relationship between shapes, maintaining correct size ratios to avoid distortion. This approach allows you to build a solid framework, making it easier to refine the drawing later.
Add Details to Your Hammer Drawing’s Head and Handle
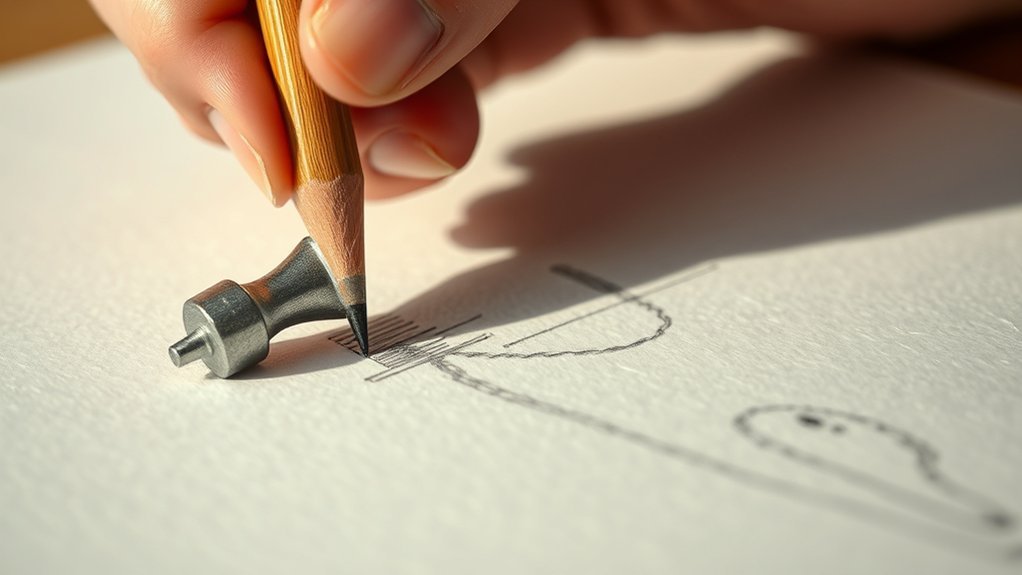
Start by adding subtle lines and shading to create texture on the hammer’s head, emphasizing its metal surface. Then, carefully shape the handle grip by drawing slight curves and contours to suggest a comfortable hold.
Focus on these details to give your drawing a more realistic and finished look.
Texturing The Hammer Head
How exactly do you bring your hammer drawing to life with texture? Start by applying texture mapping techniques to the hammer head. Use fine, controlled strokes to simulate the metal’s roughness and subtle scratches.
Incorporate variations in shading to depict the surface patina, the natural discoloration that metal acquires over time. Focus on areas where wear would be most prominent, such as the striking face and edges, adding small dents or scuffs.
This contrast will give your hammer head a realistic, weathered appearance. Avoid uniform shading; instead, layer your textures gradually for depth. Keep your lines precise and deliberate to maintain the hammer’s solid form while enhancing its tactile feel.
This attention to texture mapping and surface patina will elevate your drawing’s authenticity and visual interest.
Shaping The Handle Grip
After adding texture to the hammer head, turn your attention to shaping the handle grip, where form meets function. Begin by sketching a slight taper toward the bottom of the handle to suggest ergonomic design. Use gentle curves instead of straight lines to imply comfort and natural hold.
Next, focus on the handle texture; add subtle crosshatching or short, parallel lines to simulate wood grain or rubber grip patterns. These details enhance realism and tactile sense. Be precise in spacing the texture marks evenly, ensuring they follow the handle’s contour to maintain a three-dimensional feel.
When shaping grip details, vary line weight slightly to show depth and emphasize raised or indented areas. This careful approach helps your drawing convey both visual interest and practical grip features clearly.
How to Shade Your Hammer for Depth and Texture
Apply gradual shading to your hammer by observing where light naturally hits its surfaces and where shadows fall. Start by adding darker shading to areas opposite the light source, such as beneath the hammerhead and along the handle’s underside.
Use texture gradients to mimic the material differences: smooth for metal, subtle grain for wood. Incorporate reflective highlights on the hammerhead’s edges to emphasize its metallic nature and create a three-dimensional effect.
Focus on edge definition by sharpening contrast where surfaces change direction, like the hammerhead meeting the handle. This contrast helps separate elements visually and enhances depth.
Blend your shading smoothly, avoiding harsh lines unless emphasizing texture or form changes. By balancing reflective highlights with darker shading and carefully applying texture gradients, you’ll bring your hammer drawing to life with realistic depth and tactile quality.
How to Avoid Common Hammer Drawing Mistakes
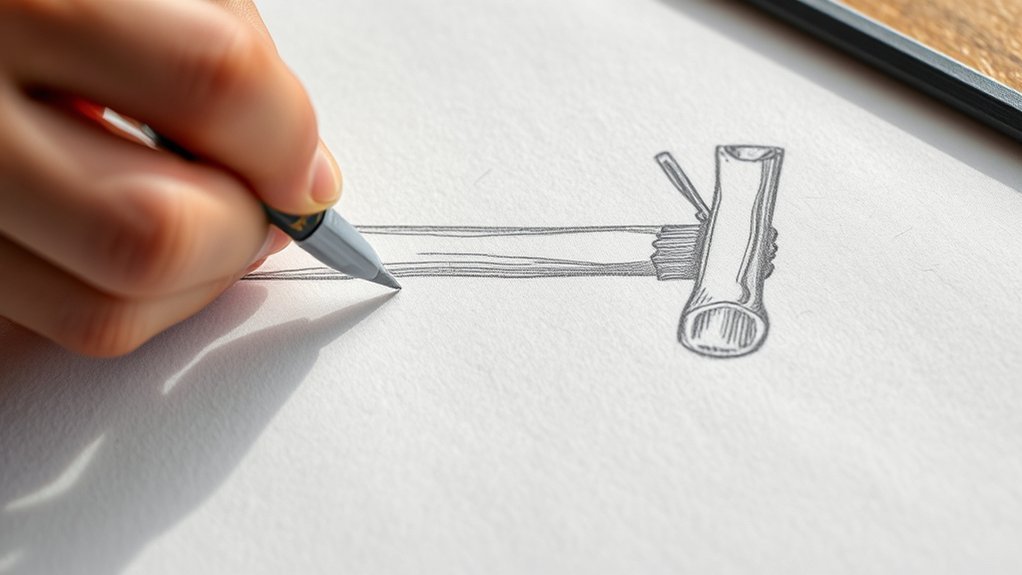
Why do so many hammer drawings lose their impact? Often, it’s due to perspective errors that distort the tool’s form. To avoid this, always establish a clear vanishing point and use light guidelines to maintain consistent angles, ensuring the hammer’s head and handle align realistically.
Next, focus on preventing overworked lines by committing to confident, deliberate strokes. Repeatedly retracing lines can make your drawing look messy and uncertain. Instead, sketch lightly at first, then darken the final lines once you’re satisfied with the proportions.
Pay close attention to the hammer’s distinctive shapes and avoid exaggerating curves or edges. By mastering the avoidance of perspective errors and preventing overworked lines, your hammer drawings will gain clarity and professional polish.
Try Creative Variations of Your Hammer Drawing
Once you’ve mastered accurate proportions and clean lines, challenge yourself by experimenting with creative variations of your hammer drawing. This approach lets you explore different styles and meanings, enriching your skills and understanding of hammer symbolism.
Try altering shapes, textures, or adding unique design elements to express strength, craftsmanship, or resilience.
| Variation Type | Description | Hammer Symbolism |
|---|---|---|
| Stylized Handle | Exaggerated curves or patterns | Craftsmanship, precision |
| Textured Head | Rough, worn, or metallic details | Strength, durability |
| Abstract Shapes | Simplified or geometric design | Power, innovation |
Using these creative variations helps you personalize your artwork and deepen your connection with the hammer’s symbolic significance.
Frequently Asked Questions
What Type of Hammer Is Best for Beginners to Draw?
You’ll find claw hammers best for beginners to draw since their simple shape highlights hammer types clearly. Focus on beginner techniques like sketching basic forms and adding details gradually, ensuring accuracy and easy recognition.
Can I Use Digital Tools Instead of Traditional Drawing Materials?
Digital brushes and diverse color palettes let you master synthetic media with meticulous control. Adjusting line weight digitally enhances detail, giving you precise, polished results that traditional tools might not easily achieve.
How Long Does It Typically Take to Complete a Hammer Drawing?
How long it takes depends on your skill, but beginners drawing hammer types usually spend 30-60 minutes. Focus on proportions first, then details.
This hammer drawing duration ensures accuracy and helps you improve gradually with each sketch.
Are There Any Famous Artists Known for Drawing Tools?
You’ll find famous tool artists like Claes Oldenburg, who transformed everyday objects into drawing instrument icons. Study their work closely to understand how they emphasize shape, texture, and scale, enhancing your own tool drawings effectively.
Can Drawing a Hammer Improve My Overall Drawing Skills?
Yes, drawing a hammer builds mastery through practice by sharpening your lines and shapes. Like a musician perfecting scales, you’ll boost your visual memory development, making it easier to capture any object with precision and confidence.
Conclusion
As you finish your hammer drawing, think of it as forging a tool not just of wood and metal, but of skill and patience. Each line you draw hammers a nail of understanding into the board of mastery.
Remember, just like a craftsman refines his hammer, you refine your art with every stroke. Keep shaping, shading, and perfecting—your drawing is the blueprint for the strength and precision you’re building within yourself.
In the end, your hammer drawing is more than an image; it is a symbol of your growing expertise and dedication to your craft.