You might think sandpaper only needs changing when it looks worn out, but when using an orbital sander, that’s not always true. A drop in sanding efficiency or an uneven finish can signal it’s time to swap the sandpaper, even if the paper seems intact.
Factors like grit size, material hardness, and project length influence how quickly sandpaper wears. Understanding these variables is key to maintaining optimal performance and avoiding wasted effort.
Let’s explore what really determines the right timing for changing sandpaper on your orbital sander.
How to Know When to Change Sandpaper on an Orbital Sander
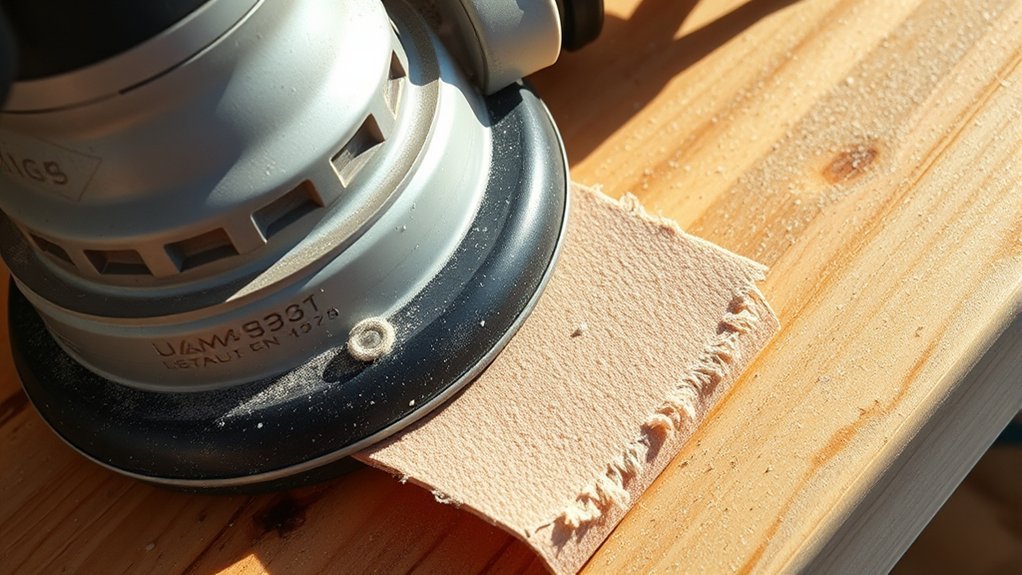
You should regularly inspect your sandpaper during use to ensure, or to guarantee, peak performance. Pay close attention to the wear level, as excessive wear reduces abrasive effectiveness and can damage your workpiece.
Examine the grain pattern closely; if it appears clogged, flattened, or unevenly worn, it’s a clear indicator the sandpaper needs replacement. Also, check for torn edges or detachment from the backing, which compromise sanding precision.
Consistent monitoring prevents inefficiency and uneven sanding results. Replace the sandpaper once you notice a significant decline in material removal rate or visible deterioration in the grain pattern. Maintaining an optimal wear level ensures smooth operation and prolongs both the sandpaper and sander’s lifespan. Don’t wait for performance to drop drastically. Timely changes maximize efficiency.
How Different Materials Affect Sandpaper Wear
Monitoring sandpaper wear is influenced by the type of material you’re sanding. Different materials impact abrasive durability greatly. Hardwoods, metals, and composites tend to accelerate sandpaper wear due to their density and toughness, reducing abrasive lifespan.
Softer materials like pine or drywall cause less friction, preserving the abrasive surface longer. You need to consider material compatibility when selecting sandpaper grit and type; using an abrasive designed for your specific material optimizes wear resistance.
For example, zirconia alumina grits excel on metals, while aluminum oxide suits wood better. Ignoring material compatibility leads to rapid abrasive degradation and inefficient sanding. By aligning your sandpaper choice with the material’s characteristics, you maintain consistent performance and extend abrasive durability, ensuring effective sanding results.
How Project Size and Time Affect Sandpaper Lifespan
When you work on larger projects, the sandpaper wears out faster due to extended use and greater surface area coverage. The longer you spend sanding, the more abrasive grit breaks down, reducing effectiveness.
Additionally, higher material removal rates accelerate sandpaper degradation, so managing these factors helps optimize lifespan.
Project Duration Impact
Frequently, the size and duration of your sanding project directly influence how quickly the sandpaper wears out. Extended project duration increases material wear on the abrasive surface, reducing its effectiveness.
Consider these factors to gauge sandpaper lifespan accurately:
- Longer project duration accelerates grit degradation, requiring more frequent changes.
- Continuous use on dense or rough materials intensifies abrasive wear, shortening sandpaper life.
- Intermittent breaks during sanding help cool the abrasive surface, slightly extending lifespan.
- High-speed orbital sanding over prolonged periods causes faster clogging and grit loss.
Surface Area Considerations
The size of the surface you’re sanding directly affects how quickly your sandpaper wears out. Larger surface areas demand extended contact time, accelerating abrasive degradation.
As you cover more ground, the sandpaper’s grit clogs and dulls faster, reducing sanding efficiency. For smaller projects, the abrasive maintains its cutting ability longer, allowing for prolonged use.
To optimize sanding efficiency, monitor the surface area relative to the sandpaper’s lifespan and adjust replacement frequency accordingly. Ignoring surface area can lead to uneven finishes and wasted effort.
Material Removal Rate
How quickly you remove material directly impacts your sandpaper’s lifespan. When working on larger projects or using high motor RPM settings, sandpaper wears out faster. To optimize sandpaper compatibility and durability, consider these factors:
- Project Size: Larger surface areas demand more sanding time, accelerating grit degradation.
- Material Hardness: Harder materials increase friction, reducing sandpaper lifespan.
- Motor RPM: Higher RPMs increase abrasive action, causing quicker wear but faster material removal.
- Sandpaper Grit and Type: Coarser grits remove material faster but wear down sooner; select grit matching project needs and sander RPM.
Balancing these elements helps you extend sandpaper use without sacrificing efficiency or finish quality. Always match sandpaper compatibility to your sander’s motor RPM and project requirements for optimal results.
How Grit Affects Sandpaper Replacement Frequency
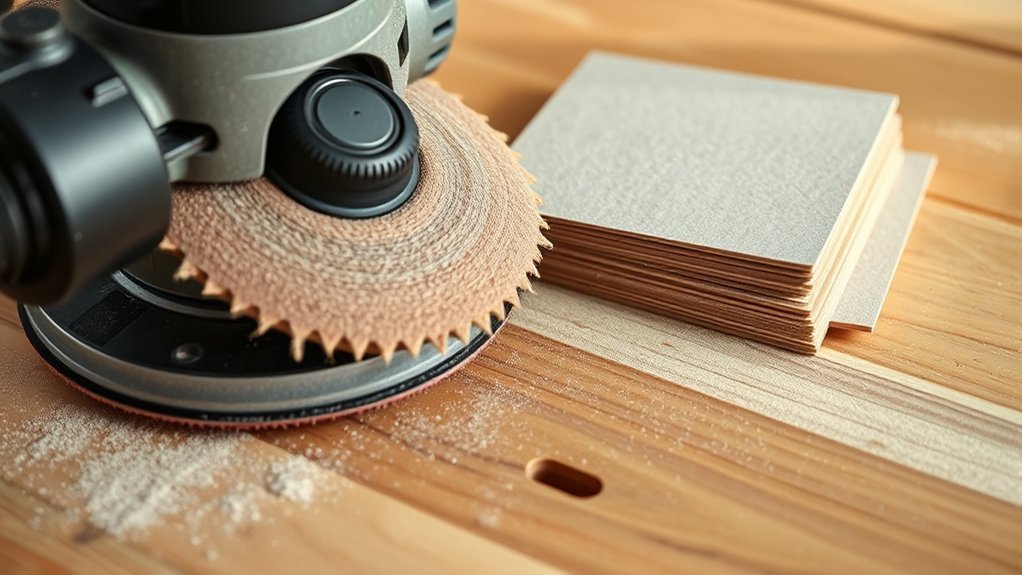
Why does grit size impact how often you need to replace your sandpaper? Coarser grits remove material faster but wear out quickly, while finer grits last longer but cut more slowly. Your choice affects replacement frequency directly.
Coarser grits wear out faster but remove material quickly; finer grits last longer with slower cutting.
Employing savory strategies, like matching grit size to your task, optimizes sandpaper lifespan and performance. Think of it like optical engineering: precision and efficiency depend on selecting the right lens, or in this case, grit.
Using a coarse grit for heavy stock removal demands frequent changes as abrasive particles degrade rapidly. Conversely, finer grits sustain their cutting edges, reducing replacements during finish sanding.
Understanding this balance helps you maintain optimal sanding efficiency and cost-effectiveness without sacrificing quality. Always monitor grit condition to avoid diminished performance that leads to wasted effort and material.
How to Choose the Right Sandpaper for Your Orbital Sander
Which sandpaper suits your orbital sander depends on the material, desired finish, and grit compatibility. To choose wisely, consider these two word ideas:
- Material Type: Use aluminum oxide for wood, silicon carbide for metal or plastic.
- Grit Size: Coarse grits (40-60) for rapid stock removal; fine grits (180-220) for smooth finishing.
- Backing Material: Paper backing suits light tasks; cloth backing offers durability for heavy-duty sanding.
- Attachment Method: Stick-on sandpaper for quick changes; hook-and-loop for repeated use and better grip.
Selecting the right sandpaper ensures efficient sanding techniques and prolongs the abrasive’s effectiveness. Match grit and material precisely to avoid damage or premature replacement. This targeted approach helps you optimize both performance and longevity of your orbital sander’s consumables.
How to Extend Sandpaper Life With Proper Sanding Techniques
To extend your sandpaper’s life, maintain consistent pressure while sanding to prevent premature wear. Make sure to clean the surface regularly to avoid clogging the abrasive. These simple techniques help you maximize efficiency and reduce costs.
Consistent Pressure Application
How can maintaining consistent pressure improve the lifespan of your sandpaper? Applying even pressure prevents uneven wear and overheating, which can degrade the abrasive material quickly. Proper pressure optimizes abrasive selection effectiveness and enhances dust management by reducing clogging.
Follow these steps for consistent pressure application:
- Hold the orbital sander firmly but avoid excessive force that strains the abrasive surface.
- Move the sander evenly across the workpiece to prevent concentrated abrasion spots.
- Monitor resistance; if the sander feels stuck, lighten pressure to maintain abrasive integrity.
- Use dust extraction systems to keep the abrasive free from debris, ensuring consistent cutting action.
Clean Surface Regularly
Why should you clean the surface regularly during sanding? Keeping a clean surface prevents debris buildup that can clog your sandpaper, reducing its effectiveness and lifespan.
When dust and particles accumulate, they cause uneven abrasion and increase friction, accelerating sandpaper wear. For optimal sandpaper maintenance, frequently wipe or vacuum the work area to remove dust and residue.
This ensures consistent sanding performance and extends the abrasive’s usable life. Additionally, a clean surface minimizes the risk of scratching or damaging the material you’re working on.
How to Change Sandpaper Quickly on Your Orbital Sander
Wondering what the fastest way is to swap out sandpaper on your orbital sander? Mastering quick changes saves time and keeps your workflow smooth. Follow these steps:
- Power off and unplug the sander for safety.
- Peel off the worn sandpaper from the hook-and-loop pad or detach the adhesive-backed paper.
- Align the new sandpaper with the pad’s holes to ensure dust collection efficiency.
- Press firmly to secure the sandpaper, avoiding wrinkles or misalignment.
Using proper sanding techniques and topic ideas around efficient tool handling will enhance your overall process. Quick sandpaper changes help maintain consistent sanding performance without interrupting your project flow. Keep your workspace organized for rapid swaps and apply these tips to optimize your sanding routine.
Why Fresh Sandpaper Improves Orbital Sander Finishing Results
Keeping your sandpaper fresh directly impacts the quality of your orbital sander’s finish. Worn sandpaper clogs and loses abrasiveness, causing uneven sanding and surface imperfections.
Fresh sandpaper maintains consistent grit exposure, allowing you to achieve smooth, precise results efficiently. It also reduces the need for excessive pressure, improving tool ergonomics by minimizing user fatigue and enhancing control.
Additionally, fresh sandpaper lowers vibration levels, which benefits noise considerations by producing a quieter operation. This not only protects your hearing but also creates a more comfortable working environment.
Frequently Asked Questions
Can Wet Sanding Be Done With an Orbital Sander?
You can perform wet sanding with an orbital sander if it has orbital compatibility designed for moisture. Ensure the sander and sandpaper are water-resistant to avoid damage and achieve smooth, controlled material removal during wet sanding.
What Safety Gear Is Recommended When Using an Orbital Sander?
You should wear safety goggles to protect your eyes from debris and a dust mask to prevent inhaling fine particles. Gloves and ear protection are also recommended to ensure exhaustive safety while using an orbital sander.
How Do I Dispose of Used Sandpaper Responsibly?
You should check local disposal methods for used sandpaper, as many aren’t recyclable due to adhesives. Consider specialized recycling options or reuse small pieces for cleaning or sanding tight spots to minimize waste responsibly.
Are There Eco-Friendly Sandpaper Options Available?
You know what they say: “Don’t throw the baby out with the bathwater.” You’ll find eco-friendly sandpaper options made from recycled materials and biodegradable adhesives, reducing environmental impact without sacrificing grit or durability in your sanding projects.
Can Orbital Sanders Be Used for Polishing Surfaces?
Yes, you can use orbital sanders for orbital polishing by switching to fine-grit pads or polishing discs. Ensure sanding compatibility with your sander’s speed and pad type for optimal surface finish without damaging materials.
Conclusion
Think of sandpaper on your orbital sander as the blade of a precision tool—it loses its edge with use. You’ll want to change it whenever you notice slower material removal, clogging, or uneven wear to maintain optimal performance.
Using the right grit for your material and project size extends its life, but don’t hesitate to swap it out for fresh paper. This ensures consistent, professional results every time.
Knowing how often to change sandpaper orbital sander helps keep your work smooth and efficient.