Using an electric sander on walls can be like wielding a sculptor’s chisel—powerful but requiring control and precision. You might wonder if an electric sander is suitable for your wall surface or if it risks causing damage. Choosing the right sander and technique can make the difference between a smooth, paint-ready wall and unwanted gouges.
Before you pick up that sander, it’s important to understand the factors that will guide your approach. Knowing how to use the tool properly will help protect your walls and achieve the best results. With the right preparation and care, an electric sander can be an effective aid in your wall refinishing project.
Is It Safe to Use an Electric Sander on Walls?
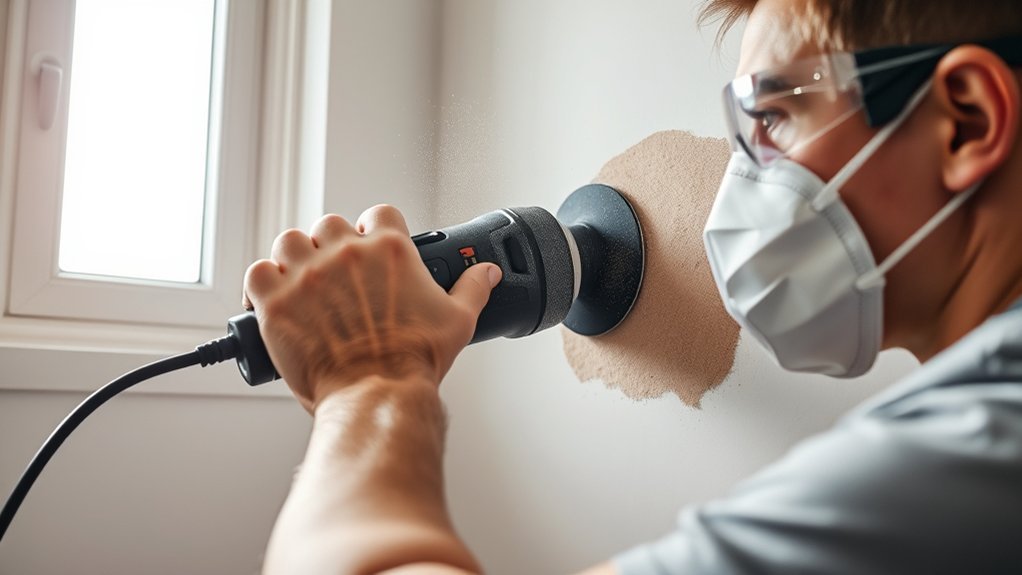
When considering whether you can safely use an electric sander on walls, it’s important to assess the type of wall surface and the sander’s specifications. You need to verify that the sander’s speed and abrasiveness suit your wall material, such as drywall or plaster, to avoid damage.
Proper wall prep is crucial to ensure consistent sanding without gouging. Additionally, effective dust control is essential since sanding generates fine particles that can affect air quality and settle on surfaces.
Using a sander with a built-in dust collection system or attaching a vacuum helps manage debris efficiently. Always wear protective gear to safeguard your respiratory system. By evaluating these factors, you can confidently determine the safety and appropriateness of using an electric sander on your walls.
How to Prepare Your Walls Before Sanding
Before you start sanding, clear the wall surface of any nails, screws, or loose debris to ensure smooth operation.
Next, protect the surrounding areas by covering floors, furniture, and fixtures with drop cloths or plastic sheeting. Taking these steps minimizes damage and keeps your workspace clean during sanding.
Clearing Wall Surface
How do you ensure a smooth sanding process on your walls? Start by thoroughly clearing wall surfaces of any nails, screws, or loose debris. Use a putty knife or scraper to remove peeling paint, and patch holes or cracks with appropriate filler. Allow the filler to fully dry before sanding.
Removing dust, grease, or any contaminants is crucial; clean the wall with a mild detergent solution and let it dry completely. This preparation minimizes resistance during sanding and prevents damage to the electric sander.
Proper clearing wall steps directly impact the tool’s safe usage, reducing the risk of kickback or uneven abrasion. By meticulously preparing your walls, you create an optimal surface for the electric sander to work efficiently and safely, ensuring a professional finish.
Protecting Surrounding Areas
Where should you focus your attention to protect the areas around your wall before sanding? Begin by covering floors, furniture, and fixtures with drop cloths or plastic sheeting to prevent dust accumulation.
Seal off adjacent rooms using plastic barriers taped securely to door frames. Don’t forget to remove or shield electrical outlets and switch plates to avoid dust infiltration.
Always wear appropriate protective gear, including a dust mask, safety goggles, and gloves, to safeguard yourself from airborne particles. Ventilation planning is crucial: open windows and doors where possible, and use fans to direct dust outside.
This prevents dust buildup and maintains air quality. By methodically preparing your workspace with these steps, you’ll minimize cleanup and protect both your surroundings and your health during wall sanding.
Which Electric Sanders Are Best for Walls?
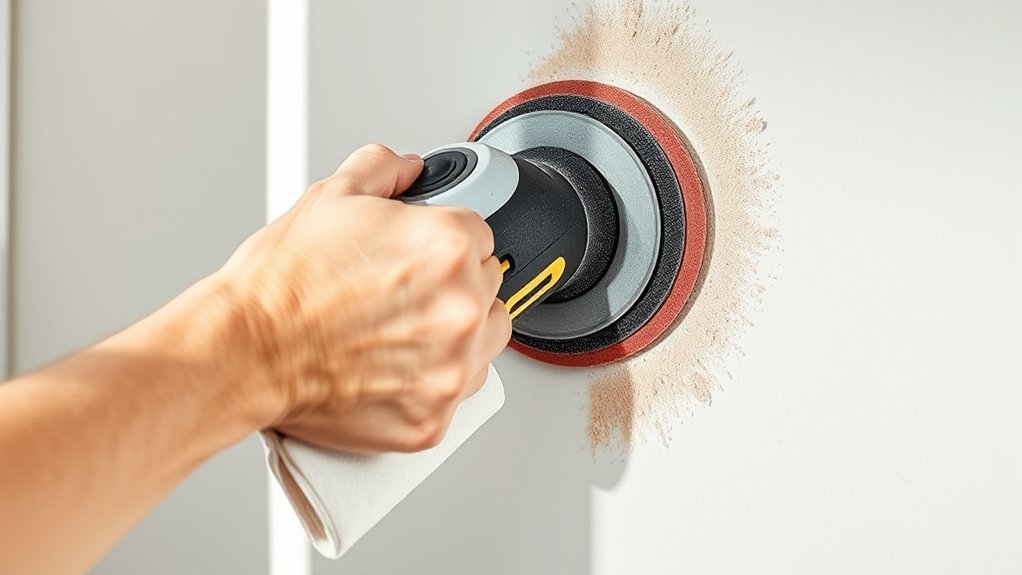
You’ll find orbital sanders effective for smoothing large wall surfaces quickly due to their consistent, circular motion.
For tight corners and edges, detail sanders offer precision without damaging adjacent areas.
When tackling extensive wall areas, belt sanders provide powerful abrasion but require careful control to avoid over-sanding.
Orbital Sanders Advantages
Why choose an orbital sander for wall projects? Orbital sanding offers smooth, swirl-free finishes, essential for prepping walls before painting. These sanders excel in dust containment, reducing airborne particles and keeping your workspace cleaner. Their random orbital motion prevents gouging, making them ideal for delicate drywall surfaces.
| Feature | Benefit |
|---|---|
| Random orbital motion | Smooth, even sanding |
| Dust containment | Cleaner workspace, less cleanup |
| Lightweight design | Easier maneuverability on walls |
| Variable speed | Adjusts to different wall textures |
With these advantages, orbital sanders provide efficiency and precision. You’ll achieve professional-quality results while minimizing dust exposure, making them the best choice for wall sanding tasks.
Detail Sanders For Corners
How do you tackle sanding tight corners and intricate edges on walls? Detail sanders are your best bet for precise corner finishing. Their small, pointed pads allow you to reach areas that larger sanders can’t.
When selecting a detail sander, consider these factors:
- Pad Shape and Size: Triangular pads excel at accessing corners and tight spaces.
- Variable Speed Control: Adjust speed for delicate surfaces to avoid damage.
- Ergonomic Design: A comfortable grip ensures better control and less fatigue.
- Dust Collection System: Efficient dust extraction keeps your workspace clean and visibility clear.
Using detail sanders specifically designed for corner finishing ensures smoother results and prevents over-sanding. They complement orbital sanders by handling the detailed work orbital models miss.
Belt Sanders For Large Areas
A belt sander offers powerful, rapid material removal, making it ideal for sanding large wall surfaces efficiently. When tackling extensive wall cleanup, belt sanders excel at stripping old paint, smoothing rough drywall, or prepping surfaces for repainting.
You’ll appreciate their continuous sanding belt, which ensures consistent abrasion and speeds up the process compared to orbital or detail sanders. However, because belt sanders are aggressive, you’ll need to control pressure carefully to avoid gouging the wall.
Opt for models with adjustable speed settings and ergonomic handles to maintain precision and reduce fatigue during prolonged use. Remember to wear protective gear, as belt sanders generate significant dust, so integrating a vacuum attachment can improve cleanup and maintain a safer workspace.
When to Use an Electric Sander vs. Hand Sanding?
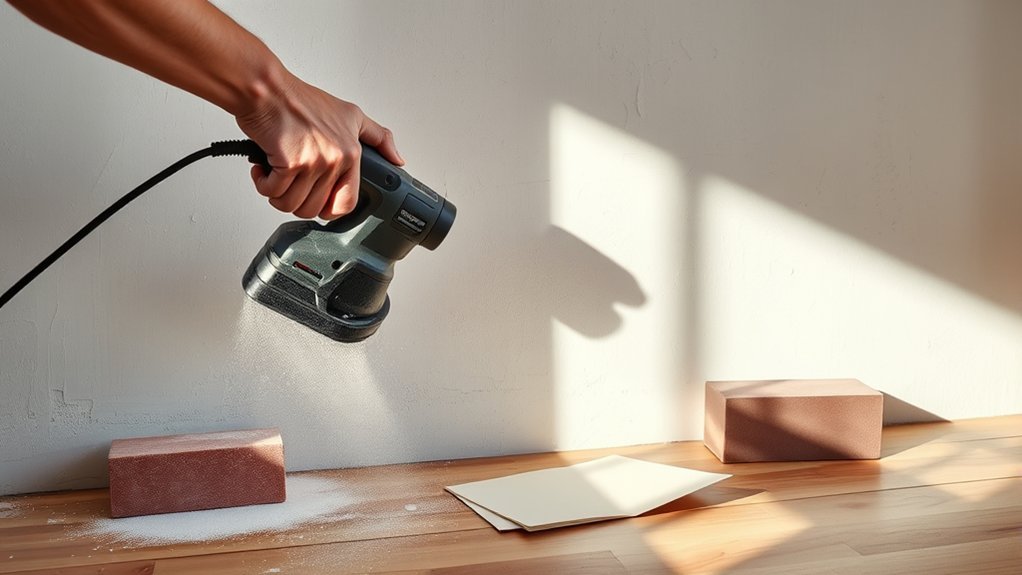
When deciding between an electric sander and hand sanding, consider the scope and detail of your project. Electric sanders excel in covering large areas quickly, while hand sanding offers control for intricate or delicate spots. Avoid off topic insight or irrelevant caution that might distract from practical decision-making.
Focus on these factors:
- Surface Size: Use electric sanders for expansive walls; hand sanding suits small patches.
- Detail Work: Hand sanding is ideal for corners and trim where precision matters.
- Material Sensitivity: Choose hand sanding for delicate surfaces to prevent damage.
- Dust Control: Electric sanders generate more dust; plan accordingly for ventilation or containment.
Balancing these elements ensures efficient, accurate sanding tailored to your wall’s needs.
What Grit Sandpaper Should You Use on Walls?
Selecting the right grit sandpaper directly impacts the smoothness and finish quality of your walls. For initial sanding, choose a medium grit between 80 and 120 to efficiently remove imperfections without causing excessive surface damage. This grit balances effective material removal with a controlled noise level from your electric sander.
After the surface is uniform, switch to a finer grit, such as 180 to 220, to refine the edge finish and prepare the wall for painting or priming. Using grit that’s too coarse can create scratches, while grit that’s too fine initially may prolong the process unnecessarily.
How to Avoid Damaging Your Walls While Sanding
Prevent wall damage by controlling pressure and motion during sanding. Applying too much force or staying in one spot can harm wall textures and cause uneven surfaces. To protect your walls and achieve a smooth finish, follow these steps:
- Use light, consistent pressure to avoid gouging or removing too much material.
- Move the sander in steady, overlapping motions to evenly sand plaster repair areas.
- Select a sanding pad suitable for delicate wall textures to prevent abrasion.
- Frequently inspect the surface for any signs of damage or over-sanding, adjusting your technique as needed.
How to Control Dust When Using an Electric Sander
Controlling dust is a key part of maintaining a clean workspace and protecting your health while sanding walls. To manage dust control effectively, always use an electric sander equipped with a built-in vacuum port. Connect a high-efficiency dust extractor or shop vacuum to capture particles at the source.
Seal off the room with plastic sheeting and tape to prevent dust from spreading to adjacent areas. Wear a dust mask or respirator rated for fine particulates to protect your respiratory system.
Adjust your sanding technique to accommodate wall texture. Smoother surfaces generate less dust than heavily textured walls, which may require lower speeds or intermittent sanding to minimize airborne particles.
Regularly empty the vacuum and clean the workspace to maintain optimal dust control throughout your project.
How to Sand Walls for Different Finishes and Paints
How should you adjust your sanding approach based on the type of finish or paint on your walls? Different paint types and sanding finishes require specific techniques to avoid damage and ensure smooth results. Here’s how to tailor your sanding:
- Matte and Flat Finishes: Use fine-grit sandpaper (220-320) to lightly smooth surfaces without removing too much paint.
- Eggshell and Satin Finishes: Opt for medium-grit (180-220) to gently scuff the surface, promoting adhesion without dulling the sheen excessively.
- Semi-Gloss and Glossy Finishes: Start with medium to fine grit (180-220), sanding more carefully to avoid visible scratches, as these finishes highlight imperfections.
- Textured or Specialty Paints: Use a sanding sponge or hand-sand delicately to preserve texture while preparing for repainting.
Adjust your sanding finishes based on paint types for optimal wall preparation and finish quality.
Common Sanding Mistakes to Avoid on Walls
Why do sanding errors frequently lead to uneven surfaces or paint adhesion problems? Because improper technique causes inconsistent abrasion, which compromises surface uniformity and paint bonding.
To avoid this, don’t press too hard or linger in one spot, as this creates gouges or unevenness. Use appropriate grit sandpaper for the wall’s material and finish, progressing gradually to finer grits.
Neglecting dust control is another common mistake; airborne particles can settle back on surfaces, affecting adhesion and finish quality. Always wear proper safety gear, including a dust mask and goggles, to protect yourself from harmful dust.
Finally, maintain a steady, even motion with the electric sander, and regularly check your progress to ensure a smooth, consistent wall surface ready for painting or finishing.
Frequently Asked Questions
Can Electric Sanders Remove Wallpaper From Walls?
You can remove wall wallpaper using an electric sander, but choose the right sandpaper grit selection carefully to avoid damaging walls.
Start with a coarse grit to strip adhesive, then finer grits to smooth surfaces efficiently.
How Long Does It Take to Sand an Average-Sized Room?
Back in the Renaissance, they’d marvel at how quickly you can finish sanding an average-sized room, usually two to three hours. Focus on surface prep and dust control to optimize your workflow and achieve professional results efficiently.
Are Electric Sanders Noisy for Indoor Use?
Electric sanders can be noisy for indoor use, producing significant wall sanding noise that may disturb others. You’ll want to use hearing protection and consider noise-dampening measures if you’re sanding walls in a shared indoor space.
Can I Use an Electric Sander on Textured Walls?
You can use an electric sander on textured walls, but adjust your sanding technique carefully. Use a fine-grit sandpaper and gentle pressure to avoid damaging the texture while smoothing imperfections effectively.
What Safety Gear Is Recommended When Sanding Walls?
You should wear safety gear including goggles, a dust mask or respirator, ear protection, and gloves. Follow PPE guidelines strictly to protect your eyes, lungs, ears, and skin from dust, debris, and noise hazards while sanding walls.
Conclusion
Using an electric sander on walls is like sculpting a statue—you need the right tools, grit, and careful hands to reveal a flawless surface beneath. With orbital or detail sanders, you’ll shape your walls smoothly, avoiding gouges and dust chaos.
Prepare well, choose your grit wisely, and sand with control. That way, your walls won’t just be prepped; they’ll be a polished canvas, ready to showcase your next masterpiece of paint.
In conclusion, using an electric sander on walls is an effective way to achieve a smooth, professional finish when done properly.