You can use a hand sander on drywall, but the key is selecting the right tool and technique to avoid damaging the surface. Using medium to fine grit sandpaper with consistent, gentle pressure helps achieve a smooth finish without gouges.
However, drywall texture and dust control introduce challenges that require careful consideration. Understanding these factors will help you decide when hand sanding is appropriate and how to execute it properly.
Can You Use a Hand Sander on Drywall Effectively?
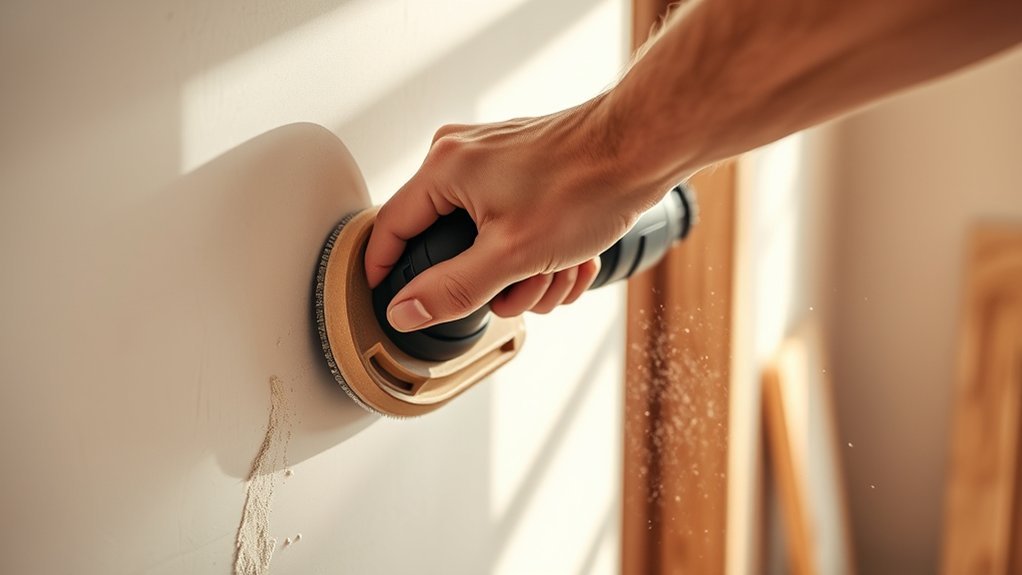
How effectively you can use a hand sander on drywall depends largely on the type of sander and the sanding technique you employ. For optimal hand sanding during drywall finishing, select a sanding block or a pole sander with fine-grit sandpaper (120-150 grit) to avoid damaging the surface.
Apply consistent, light pressure and use smooth, circular or back-and-forth motions, focusing on seams and joints. Maintain a clean work area by frequently wiping dust away, which helps you see imperfections clearly.
Avoid excessive sanding, as it can thin the drywall compound and create uneven surfaces. By controlling pressure, motion, and grit, you’ll achieve a smooth, professional finish through hand sanding, making it an effective method for drywall finishing when done correctly.
How Drywall Texture Affects Hand Sanding
The texture of your drywall surface considerably influences the approach and tools you’ll need for effective hand sanding. Smooth drywall requires fine-grit sandpaper to avoid gouging, while textured surfaces demand coarser grits and more aggressive sanding techniques to level high points.
You’ll need to adjust your sanding pressure accordingly to prevent uneven spots. Dust control becomes critical as textured drywall creates more debris; using a vacuum attachment or wet sanding methods helps minimize airborne particles.
Additionally, tool maintenance is essential because textured surfaces can quickly wear down sandpaper and clog sanding pads, reducing efficiency. Regularly inspect and replace sanding materials to maintain consistent performance. Understanding how texture affects sanding ensures you achieve a uniform finish with minimized cleanup and extended tool life.
Pros and Cons of Hand Sanding Drywall
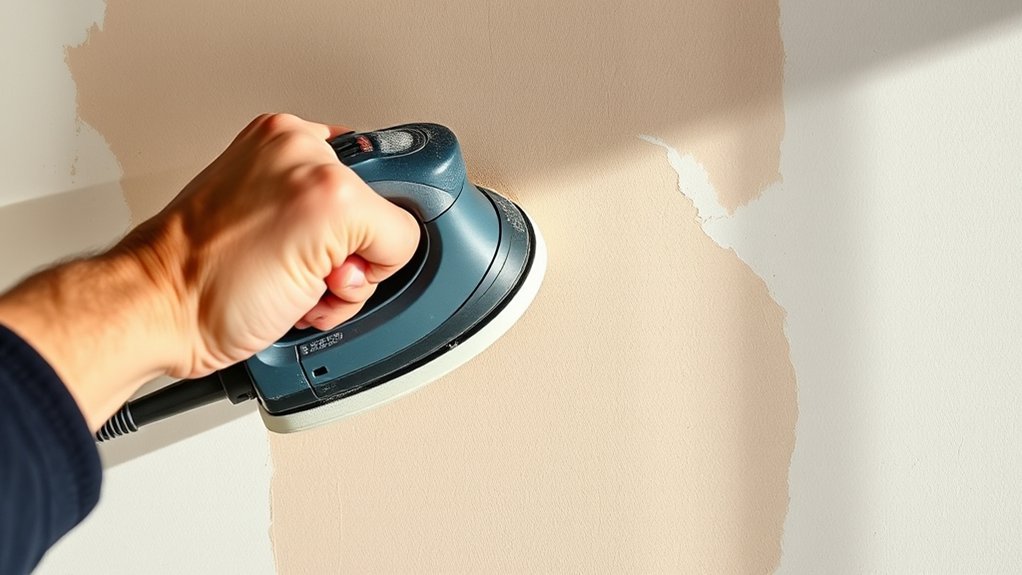
Why choose hand sanding drywall over power sanding? Hand sanding gives you greater control, especially when working with varying drywall texture. It allows you to target specific areas without over-sanding adjacent surfaces. However, it’s important to weigh the pros and cons to decide if hand sanding suits your project.
- Offers precise control for delicate drywall texture.
- Requires less equipment and setup time.
- Can be physically demanding and time-consuming.
- May produce inconsistent finishes if not done carefully.
Hand sanding is ideal when you need to preserve subtle drywall texture or avoid damage. On the downside, it demands more effort and skill to achieve uniform results compared to power sanding. Understanding these factors helps you select the right sanding approach for your drywall finishing.
Which Hand Sanders Work Best for Drywall?
To get the best results on drywall, you’ll want to choose a hand sander designed for smooth, even pressure, typically a sanding block or pole sander. Using the correct sandpaper grit is essential; start with medium grit to level joints, then finish with fine grit for a flawless surface.
Also, consider ergonomics and handling to reduce fatigue and maintain control during extended sanding sessions.
Types Of Hand Sanders
Which hand sanders work best for drywall depends on the project’s scale and finish requirements. When you’re hand sanding drywall, choosing the right tool directly impacts the drywall texture and overall smoothness. You’ll find several types suited for different tasks:
- Sanding blocks: Provide firm, even pressure for small, detailed areas.
- Pole sanders: Extend your reach for ceilings and large walls, improving efficiency.
- Handheld orbital sanders: Offer power and speed, ideal for medium-sized surfaces.
- Sanding sponges: Flexible for contouring corners and uneven drywall textures.
Each type handles hand sanding differently, so select based on your drywall texture and workspace. For precision and control on delicate finishes, sanding blocks or sponges work best. For large-scale projects, pole or orbital sanders save time without sacrificing quality.
Sandpaper Grit Recommendations
How do you choose the right sandpaper grit for hand sanding drywall? Start with a medium grit, typically 120 to 150, to smooth joints and remove excess compound efficiently.
For final finishing, switch to a finer grit, around 220, to achieve a uniform surface without damaging the drywall texture. Avoid overly coarse grit, as it can create uneven surfaces and complicate later painting.
When selecting hand sanders, consider those compatible with these grit ranges, ensuring ideal abrasion control. Texture tips recommend testing grits on a scrap piece to match your desired finish.
Also, factor in loan considerations if you’re renting equipment. Verify that the sandpaper options align with the sander provided. This ensures you maintain quality without extra expenses or compatibility issues.
Ergonomics And Handling
Selecting the appropriate sandpaper grit sets the foundation, but the ease and effectiveness of sanding drywall heavily depend on the ergonomics and handling of the hand sander you choose. For optimal hand sanding, you want a sander that allows precise control over drywall texture without causing fatigue.
Look for models designed with comfortable grips and balanced weight distribution. The ability to maintain consistent pressure is crucial for uniform texture.
Consider these factors when selecting a hand sander for drywall:
- Ergonomic handle design to reduce strain during extended use
- Lightweight construction for better maneuverability
- Flat sanding surface to ensure even drywall texture removal
- Compatibility with various sandpaper grits for versatility
Choosing the right hand sander improves efficiency and finish quality in drywall projects.
When to Choose Power Sanders Over Hand Sanders
You should opt for power sanders when you need to cover large areas quickly and maintain consistent surface smoothness. They deliver higher efficiency compared to hand sanders, especially on extensive drywall projects.
Understanding the balance between speed and finish quality will help you choose the right tool for your task.
Speed And Efficiency
When does it make sense to opt for a power sander instead of a hand sander on drywall? You’ll want to prioritize power sanding when speed optimization is crucial, especially on large surfaces where manual sanding becomes labor-intensive. Power sanders deliver consistent abrasion, accelerating the drywall finishing process.
However, noise considerations are important; power sanders generate significant sound, requiring hearing protection and possibly limiting use in occupied spaces.
Consider power sanding if you need to:
- Complete extensive drywall areas quickly
- Maintain uniform sanding pressure and speed
- Reduce physical fatigue during prolonged work
- Accept higher noise levels with proper precautions
In contrast, hand sanders give you more control in tight spots but aren’t as efficient for large-scale projects demanding rapid turnaround.
Surface Smoothness Requirements
How smooth does your drywall surface need to be? The answer guides your choice between hand and power sanders. For fine drywall finishing, where a perfectly smooth surface is essential, power sanders excel due to consistent pressure and speed. Hand sanders suit rougher preparation phases or small touch-ups.
| Surface Type | Recommended Tool | Ideal Use Case |
|---|---|---|
| Rough Preparation | Hand Sander | Initial sanding, patch blending |
| Moderate Smoothing | Power Sander | General drywall finishing |
| Fine Finishing | Power Sander | Final surface smoothness |
| Small Touch-Ups | Hand Sander | Spot repairs and edges |
This two word discussion idea, “surface smoothness,” helps you optimize drywall finishing efficiency and quality by selecting the appropriate tool.
How to Prepare Drywall for Hand Sanding
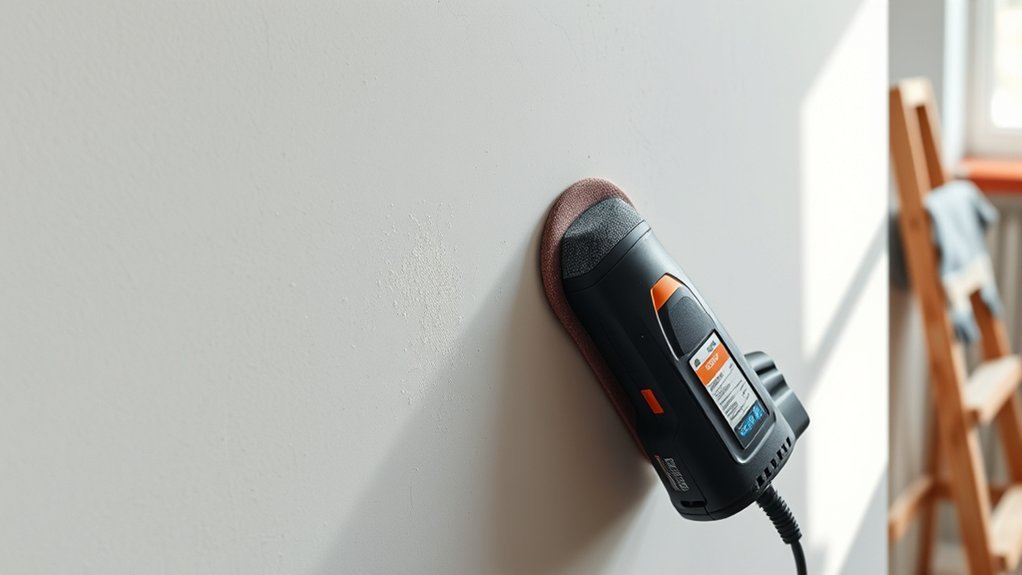
Where should you begin before using a hand sander on drywall? Proper preparation is critical to ensure effective hand sanding and preserve the drywall texture. Start by assessing the surface for any imperfections like ridges, bumps, or joint compound excess.
Then, follow these steps:
- Remove dust and debris with a dry brush or vacuum to avoid clogging the sanding surface.
- Protect adjacent areas using painter’s tape and drop cloths to prevent damage from dust.
- Select the appropriate grit sandpaper, typically medium to fine, for your drywall texture.
- Test a small inconspicuous area to verify sanding effectiveness and prevent over-sanding.
Tips for Getting a Smooth Drywall Finish With a Hand Sander
Why does achieving a smooth drywall finish require careful technique with a hand sander? Because uneven pressure or aggressive sanding can damage the drywall surface, causing imperfections that show through after drywall priming.
Achieving a smooth drywall finish demands gentle, even sanding to prevent surface damage and visible imperfections.
To get a flawless finish, use a sanding block with fine-grit sandpaper and apply consistent, light strokes. Focus on feathering edges around joints to blend compound seamlessly.
Maintain moisture control by ensuring the drywall compound is fully dry before sanding; excess moisture leads to gouging and uneven texture. After sanding, wipe the surface with a damp cloth to remove dust without saturating the drywall, preserving moisture balance.
These steps help you create a smooth, uniform surface ready for drywall priming, ensuring your paint or finish adheres evenly and looks professional.
How to Minimize Dust When Hand Sanding Drywall
When sanding drywall by hand, controlling dust is essential to maintaining a clean workspace and protecting your health. Implementing effective dust control techniques will improve air quality and reduce cleanup time. Focus on sanding ergonomics to minimize fatigue and maintain precision while managing dust output efficiently.
To minimize dust when hand sanding drywall:
Use a sanding block with a vacuum attachment to capture dust at the source.
Wear a high-quality respirator mask designed for fine dust particles.
Work in well-ventilated areas or use an air scrubber to filter airborne dust.
Regularly clean the workspace and tools to prevent dust accumulation.
Common Mistakes When Hand Sanding Drywall
Controlling dust effectively sets the foundation for smooth sanding results, but overlooking common errors during hand sanding can undermine your efforts. Avoid uneven pressure and inconsistent motion, which create visible ridges and compromise drywall aesthetics.
Also, don’t ignore the grit selection; too coarse or too fine can waste time or damage the surface.
Here are some two word discussion ideas to keep in mind:
| Mistake | Impact on Drywall |
|---|---|
| Uneven Pressure | Creates ridges, uneven finish |
| Wrong Grit | Inefficient sanding, damage |
| Inconsistent Motion | Visible swirl marks |
Frequently Asked Questions
What Grit Sandpaper Is Best for Drywall Hand Sanding?
You’ll want to use 120- to 150-grit sandpaper for hand sanding during drywall finishing. This grit smooths joint compound effectively without damaging the drywall surface, ensuring a clean, professional finish while minimizing dust and surface scratches.
Can You Reuse Drywall Sanding Sponges?
You can reuse drywall sanding sponges a few times, but their effectiveness decreases as they clog with dust. To maintain dust control, clean them gently between uses and replace when they no longer smooth surfaces efficiently.
How Long Does Hand Sanding Drywall Typically Take?
Don’t worry about tedious sanding. Hand sanding drywall typically takes 30 to 60 minutes per wall, depending on hand sanding efficiency and drywall dust control methods you use. This ensures smooth surfaces without overwhelming mess or delays.
Is Hand Sanding Better for Small Drywall Repairs?
Yes, hand sanding is better for small drywall repairs because it offers precise control, reduces the risk of over-sanding, and guarantees smooth finishes in tight areas.
You’ll achieve accurate results without damaging surrounding surfaces.
What Safety Gear Should Be Worn When Sanding Drywall?
Dust flies like a storm, so you need a respirator, goggles, and gloves for hand safety. Maintain proper sanding ergonomics by using a comfortable grip and posture to avoid strain, ensuring precision and protecting your hands during drywall sanding.
Conclusion
You can effectively use a hand sander on drywall if you choose the right grit and maintain consistent pressure. Studies show that using 120–150 grit sandpaper reduces finishing time by up to 30% compared to coarser grits.
Remember, controlling dust with a vacuum attachment or wet sanding is essential for safety and finish quality.
By mastering technique and tool choice, you’ll achieve a smooth, professional drywall surface without gouges or uneven textures. Using a hand sander on drywall is a practical approach to getting the job done efficiently and with excellent results.