Imagine the subtle scratch of a hand sander gliding over worn hardwood, gradually revealing fresh wood beneath layers of old finish. Can you refinish hardwood floors with a hand sander? Absolutely. While power tools are often seen as essential, a hand sander can effectively refinish floors, especially in tight spots or small areas.
However, this method demands careful preparation, skill, and patience to avoid uneven results. Before you start, it’s important to understand when and how a hand sander can be your best option.
Is a Hand Sander Right for Your Floors?
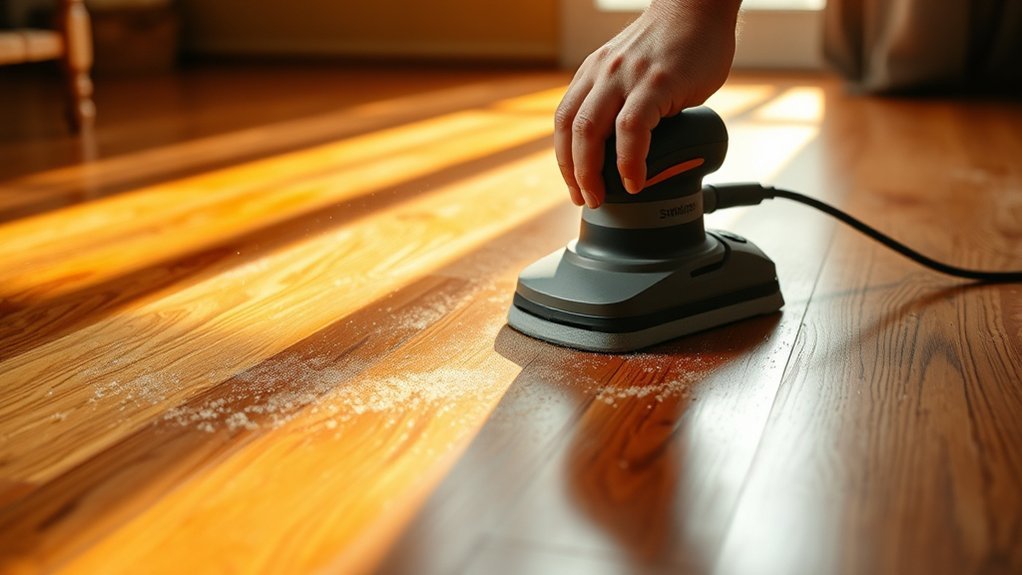
How do you determine if a hand sander suits your hardwood floors? First, assess the floor’s size and condition. Hand sanding is ideal for small areas or detailed sections where larger machines can’t reach. It allows precise control over pressure and movement, minimizing the risk of uneven surfaces or damage.
If your floors have intricate designs or delicate edges, hand sanding is your go-to method. Additionally, hand sanding supports an eco friendly approach by reducing electricity consumption and noise pollution compared to power sanders.
However, it requires more labor and time, so consider your physical capacity and project timeline. Ultimately, you’ll want to balance efficiency with the care your hardwood deserves when deciding if hand sanding is the right choice.
Prepare Your Hardwood Floors for Sanding
Once you’ve determined that hand sanding suits your hardwood floors, the next step involves thorough preparation to ensure effective and even sanding. Start by clearing the room of furniture and debris, then inspect the floor for nails or staples that might damage your sander.
Address any areas affected by floor expansion, especially near walls or doorways, to avoid uneven sanding. Consider your desired stain color in advance, as proper prep ensures consistent absorption.
Clean the surface meticulously to remove dust and residues that interfere with sanding.
| Preparation Step | Purpose |
|---|---|
| Remove furniture | Prevent obstructions |
| Check for nails | Avoid sander damage |
| Address floor expansion | Ensure level surface |
| Plan stain color | Achieve uniform finish |
| Clean thoroughly | Enhance sanding efficiency |
How to Sand Hardwood Floors by Hand
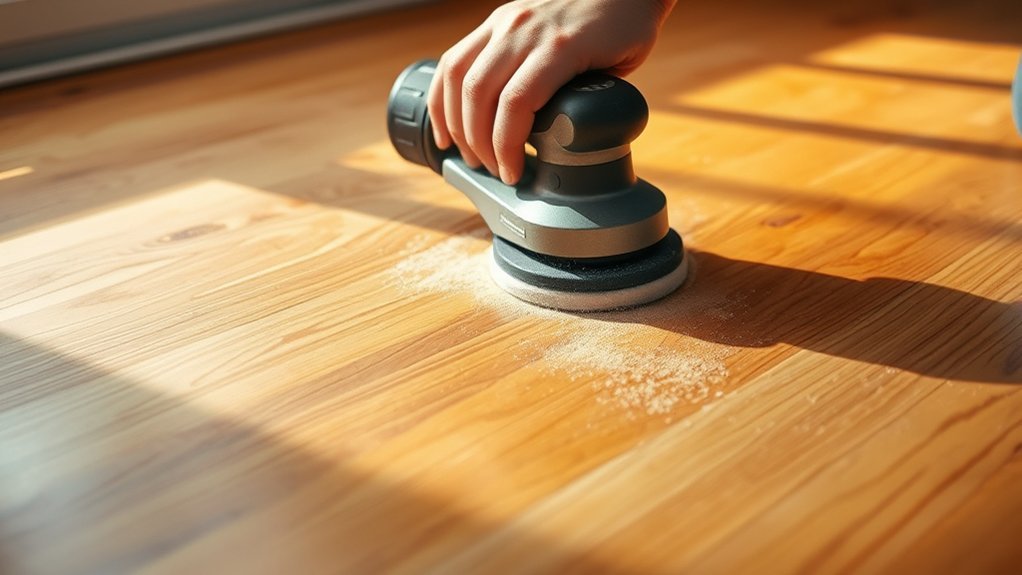
You’ll want to start by selecting the appropriate sandpaper grit to match your floor’s condition, typically beginning with coarse and progressing to fine. Use controlled, even strokes with your hand sander to ensure consistent abrasion and avoid uneven surfaces.
Finally, prepare the floor thoroughly for finishing by removing all dust and debris to achieve a smooth, clean base.
Choosing The Right Sandpaper
Why does selecting the right sandpaper matter when refinishing hardwood floors by hand? Choosing sandpaper with proper grit compatibility ensures efficient material removal while minimizing surface damage.
Start with coarse grit (around 40-60) to strip old finishes and level imperfections. Progressively switch to medium grit (80-100) to smooth scratches left by coarser grits.
Finish with fine grit (120-150) to prepare the surface for sealing or staining. Using incompatible grit can cause uneven sanding, prolonged work, or surface gouging.
Also, pick sandpaper designed for hardwood floors, typically aluminum oxide or silicon carbide, for durability and consistent performance. Proper grit progression and material selection optimize your refinishing results, saving time and effort during hand sanding.
Effective Hand Sanding Techniques
Selecting the appropriate sandpaper sets the foundation for effective hand sanding. Begin with coarse grit to remove old finishes, then progress to finer grits for a smooth surface. Use consistent, overlapping strokes following the wood grain to avoid uneven sanding.
Maintain steady pressure to prevent gouges. For dust control, attach a vacuum or use a dust collection system, reducing airborne particles and improving visibility. Incorporate noise reduction strategies by working during daytime hours and using ear protection to minimize discomfort.
Regularly check sandpaper wear and replace as needed to maintain efficiency. Keep the sander moving to avoid heat buildup that can damage the wood. By applying these precise techniques, you’ll achieve a professional finish without the complexity of power tools.
Preparing Floors For Finishing
How do you guarantee your hardwood floors are properly prepared for finishing when sanding by hand? Start by thoroughly cleaning the surface to remove dirt and debris that could interfere with sanding. Use a vacuum and tack cloth to ensure no particles remain.
Then, select the right grit sandpaper. Begin with coarse (around 36-40 grit) to level imperfections, progressing to finer grits (up to 120) for smoothness. Apply consistent pressure while sanding to avoid uneven surfaces.
Pay attention to edges and corners, using specialized hand sanding tools if needed. As for budget considerations, hand sanding saves on equipment rental but demands more labor time. These tips help you achieve a professionally prepped floor, ready for stain or finish application, ensuring durability and aesthetic appeal.
How to Fix Common Hand Sander Problems
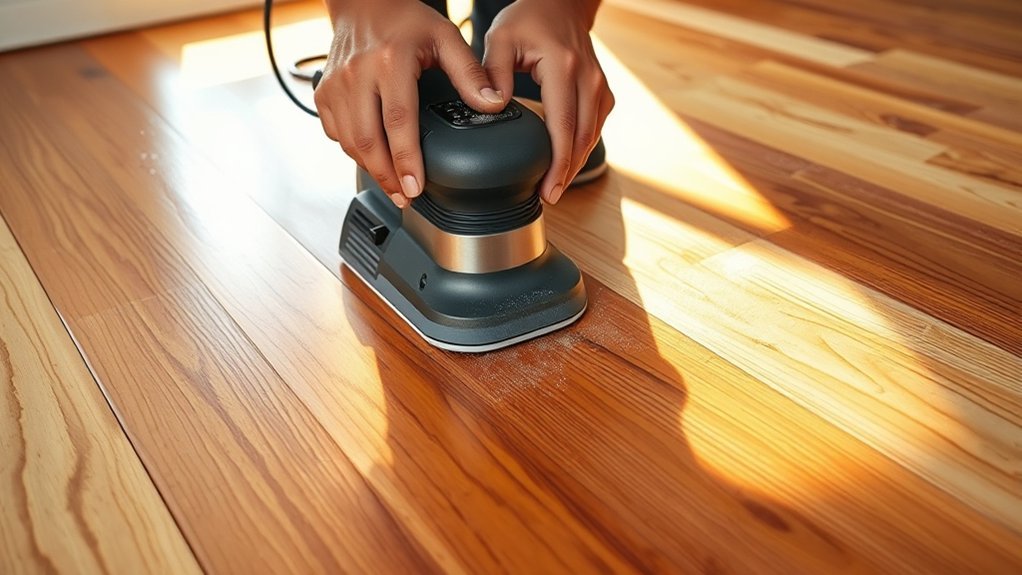
If you notice uneven sanding surfaces, adjust your sanding technique and check the sandpaper grit for consistency.
To tackle dust collection issues, ensure the vacuum attachment is properly connected and clean the dust bag regularly.
Prevent sander overheating by taking breaks during extended use and inspecting the motor vents for blockages.
Uneven Sanding Surfaces
Why do uneven sanding surfaces occur when using a hand sander, and how can you correct them? Uneven surfaces and sanding irregularities often result from inconsistent pressure, worn sandpaper, or improper technique.
To fix these issues, follow these steps:
- Apply even pressure across the sander to avoid gouges or dips.
- Replace sandpaper frequently to maintain consistent abrasion.
- Move the sander in smooth, overlapping strokes, ensuring full floor coverage.
- Check your progress regularly by running your hand over the surface to detect irregularities early.
Dust Collection Issues
Ensuring an even sanding surface goes hand in hand with managing dust collection, as excessive dust can obscure your view and affect the sander’s performance. To optimize dust control, always use a hand sander equipped with a dust bag or connect it to a vacuum system.
Regularly empty the dust bag to maintain suction efficiency and prevent clogging. If your workspace is sensitive to noise concerns, opt for a vacuum with a low-decibel rating or use sound-dampening barriers to reduce operational noise.
Avoid using sanders without dust collection features, as airborne particles not only compromise visibility but also pose respiratory hazards. Maintaining effective dust control improves sanding precision and prolongs the tool’s lifespan, ensuring a cleaner, safer, and more efficient refinishing process.
Sander Overheating Prevention
How can you prevent your hand sander from overheating during hardwood floor refinishing? Overheating not only damages the tool but also compromises sanding quality. To avoid sander overheating, follow these key steps:
- Maintain dust control. Regularly empty the dust collection bag or canister to prevent clogging, which restricts airflow and causes heat buildup.
- Use correct grit sandpaper. Avoid overly coarse grits that increase motor strain and heat generation.
- Operate at recommended pressure. Applying excessive pressure forces the motor to work harder, increasing heat and wear.
- Allow cooling breaks. Periodically turn off the sander to let the motor cool, especially during extended use.
Implementing these measures ensures optimal performance and longevity of your hand sander.
Tips for a Smooth, Even Finish
What steps can you take to achieve a smooth, even finish when refinishing hardwood floors with a hand sander? First, select the appropriate grit sandpaper, starting coarse and progressing to fine for uniform abrasion. Maintain consistent pressure and move the sander in overlapping, parallel strokes to avoid uneven sanding marks.
Pay close attention to wood types, as harder woods may require slower passes to prevent burning. After sanding, thoroughly vacuum and wipe the surface to remove dust, ensuring a clean base for staining. When applying stain, test your staining color on a small, inconspicuous area to confirm compatibility and desired tone.
Finally, apply finish coats evenly, allowing proper drying time between layers, to protect your refinished floor and highlight the wood’s natural beauty.
Know When to Choose Professional Floor Sanding Equipment
Achieving a smooth finish with a hand sander requires skill and patience, but there are limits to what hand sanding can accomplish efficiently. You should consider professional floor sanding equipment when:
- The floor area is extensive, making manual sanding time-consuming and physically demanding.
- Deep scratches, dents, or unevenness require aggressive sanding beyond hand sander capabilities.
- You want to minimize the noise impact; professional machines often have better dust collection and noise control.
- Rental cost and the overall project budget justify investing in or renting industrial equipment for faster, more uniform results.
Frequently Asked Questions
How Long Does It Take to Refinish Hardwood Floors by Hand?
You’ll spend several days hand sanding hardwood floors, depending on size and condition. Finish timing varies, but expect at least 3-5 days for sanding, staining, and sealing, ensuring thorough drying between each step.
What Safety Gear Should I Wear When Using a Hand Sander?
You should wear safety gear including a dust mask or respirator for dust control, ear protection against noise levels, and safety goggles.
Also, choose the correct grit selection to minimize airborne particles and assure precise sanding.
Can I Refinish Engineered Hardwood Floors With a Hand Sander?
Imagine peeling back a delicate layer. Yes, you can refinish engineered hardwoods with hand sanding, but be cautious. The thin veneer requires gentle, precise strokes to avoid damage while restoring its natural beauty effectively.
How Often Should I Sand My Hardwood Floors to Maintain Them?
You should sand hardwood floors every 7-10 years, depending on wear and durability concerns.
Establish a maintenance schedule balancing sanding frequency with refinishing needs to preserve floor integrity and appearance without excessive abrasion.
What Types of Finishes Work Best After Hand Sanding Floors?
You’ll find water-based polyurethane and oil-based varnishes work best after hand sanding floors. Choose finishing options based on gloss preferences, such as matte for subtlety or high gloss for shine. This ensures durability and enhanced wood grain visibility.
Conclusion
Refinishing hardwood floors with a hand sander is like restoring a vintage watch—precision and patience bring out the true beauty. You’ll carefully strip old finishes, smooth imperfections, and reveal natural grain with each pass.
While it demands skill and time, your hands control every detail, ensuring an eco-friendly, quiet process. Remember, for larger jobs or deep damage, professional equipment might be your best bet to achieve a flawless finish efficiently.
If you’re considering a smaller project or want a hands-on approach, refinishing hardwood floors with a hand sander can be a rewarding experience that highlights craftsmanship and care.