If you’re considering hand sanding hardwood floors as part of your refinishing project, you might wonder if it’s a practical option.
While hand sanding is certainly possible, especially in tight corners or small areas, it requires patience, precision, and the right tools to avoid uneven surfaces or damage.
Understanding when to rely on hand sanding versus power sanding can save you time and effort.
Mastering the technique involves more than just elbow grease and careful attention to detail.
Is Hand Sanding Right for Your Hardwood Floors?
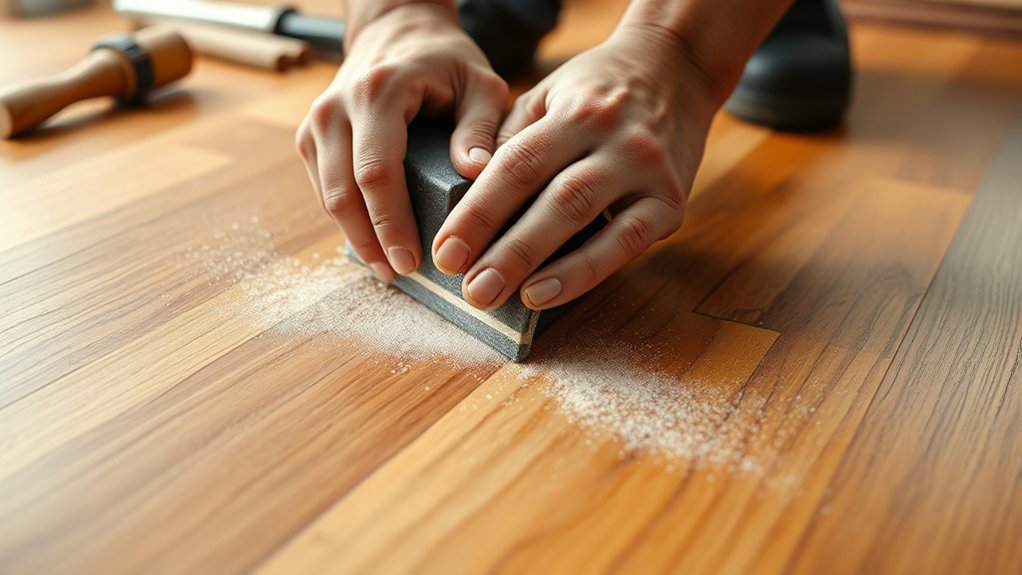
How do you determine if hand sanding is the best method for your hardwood floors? First, assess the floor’s condition and size. Hand sanding suits small areas with intricate details or edges where power tools can’t reach effectively.
It’s not an unrelated topic or a random idea to consider the grain direction and wood hardness, which directly affect sanding quality. You’ll want to evaluate if the floor has deep scratches or requires major leveling, as hand sanding won’t achieve uniform results in those cases.
Additionally, consider your stamina and time, since hand sanding demands more physical effort and precision. By focusing on these technical criteria, you can decide if hand sanding aligns with your floor’s needs before exploring other methods.
When to Choose Hand Sanding vs. Power Sanding Hardwood Floors
You’ll want to choose hand sanding for smaller floors or areas requiring detailed precision, like corners and edges.
Power sanding is more efficient for large, open spaces but requires access to specialized equipment and higher upfront costs. Balancing floor size, detail needs, and your budget will guide your sanding method choice.
Floor Size Considerations
When deciding between hand sanding and power sanding hardwood floors, the size of the area plays a pivotal role. For smaller spaces, hand sanding can be efficient, debunking common hand sanding myths that claim it’s always too slow or ineffective. However, as floor size increases, power sanding often becomes necessary to meet budget considerations and time constraints.
Consider these factors when evaluating floor size:
- Areas under 100 sq. ft. favor hand sanding for control and cost savings
- 100 to 300 sq. ft. spaces may require a hybrid approach
- Over 300 sq. ft. typically demands power sanding for efficiency
- Complex floor layouts can reduce power sander effectiveness in large areas
- Time available vs. sanding method impacts project feasibility
Assess size carefully to choose the optimal sanding method.
Detail and Precision Needs
Why prioritize detail and precision in hardwood floor sanding? Because these factors determine your floor’s final appearance and longevity. When working on intricate areas like corners, edges, or around vents, hand sanding offers unmatched control.
Power sanding risks removing too much material or damaging delicate spots, making it the wrong approach for precision work. Conversely, relying solely on hand sanding for large, open areas is inefficient and often an irrelevant topic in terms of detail.
You should use power sanding for broad surfaces, then switch to hand sanding to refine and perfect. This hybrid method ensures you don’t sacrifice precision for speed or vice versa.
Understanding when to employ each technique prevents costly mistakes and guarantees a professional-looking finish without compromising the wood’s integrity.
Equipment Accessibility and Cost
How much you invest in sanding equipment considerably impacts your project’s approach and outcome. If you opt for hand sanding, equipment accessibility is straightforward. You mainly need sanding blocks, various grit sandpapers, and elbow grease.
Power sanding demands access to drum or orbital sanders, which can be costly to purchase or rent.
Consider these factors when deciding:
- Initial cost of power sanders versus inexpensive hand sanding tools
- Availability of equipment rentals in your area
- Skill level required to operate power sanders safely
- Time efficiency differences between hand and power sanding
- Maintenance and replacement expenses for sanding discs and machines
If equipment accessibility is limited or budget-constrained, hand sanding remains a viable, precise method despite being labor-intensive.
What Tools You Need to Hand Sand Hardwood Floors
What essential tools do you need to hand sand hardwood floors effectively? First, a high-quality sanding block is crucial; it ensures even pressure and control during hand sanding. Use replaceable sanding sheets in varying grits. Start coarse (around 60-80 grit) and progress to fine (120-150 grit) to achieve a smooth finish.
A detail or corner sander will help you reach tight spaces and edges where larger tools can’t access. You’ll also need a sturdy vacuum or broom to clear dust regularly, maintaining a clean work area. Lastly, wear a dust mask and safety goggles to protect yourself from airborne particles.
These precise tools will help you hand sand hardwood floors efficiently, yielding professional results without the need for heavy machinery.
Preparing Your Hardwood Floor for Hand Sanding
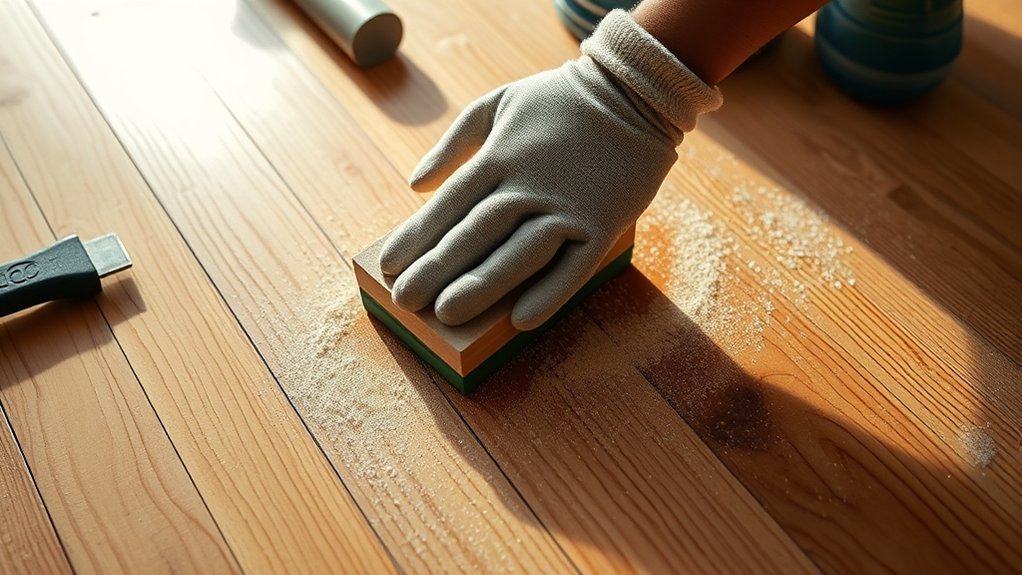
Start by clearing the floor area completely, removing all furniture and fixtures to ensure unobstructed access.
Next, sweep and vacuum the floor thoroughly to eliminate dust and debris that could interfere with sanding.
Proper preparation sets the foundation for an even and effective hand sanding process.
Clear The Floor Area
Before you begin hand sanding hardwood floors, you’ll need to clear the entire area thoroughly. This step balances clarity vs precision: a completely clear space guarantees no obstacles hinder your work or damage your tools. Although it may seem like extra effort, the cost vs effort analysis favors spending time here to avoid costly mistakes or injury.
Focus on these tasks:
- Remove rugs, mats, and loose debris to expose the full floor surface.
- Clear small objects like toys, cables, and nails that could damage sandpaper.
- Sweep and vacuum to eliminate dust and fine particles.
- Guarantee adequate lighting and ventilation for safe, precise sanding.
- Mark any floor imperfections or transitions to address later.
This preparation sets a solid foundation for efficient, accurate hand sanding.
Remove Furniture And Fixtures
How do you guarantee your hardwood floor is fully accessible for hand sanding? Start by removing all furniture and fixtures from the room. This step is crucial to prevent damage and provide unobstructed access.
Carefully detach baseboards or molding if necessary, as they often conceal nails. Speaking of nails, meticulously remove any protruding nails or staples embedded in the floor to avoid damaging sanding equipment.
If you haven’t done so, consider renting equipment specialized for hardwood floors, such as nail pullers or pry bars, to streamline this process. Clear space ensures you can move freely during sanding and achieve uniform results.
Proper preparation at this stage saves time, protects your tools, and prevents costly mistakes during the actual hand sanding process.
Sweep And Vacuum Thoroughly
Why is sweeping and vacuuming so critical before hand sanding hardwood floors? Proper removal of dusting debris ensures a smooth sanding process and prevents scratches or gouges on the wood surface. It also aids in noise management by minimizing particles that can cause abrasive sounds during sanding.
Before you start, thoroughly clear the floor using these steps:
- Use a broom with stiff bristles to dislodge coarse debris
- Vacuum with a floor brush attachment to capture fine dust
- Pay extra attention to corners and edges where debris accumulates
- Wipe down baseboards to prevent dust transfer back onto the floor
- Ensure the vacuum’s filter is clean to maintain suction efficiency
Performing these tasks guarantees a clean surface, enhancing sanding quality and protecting your floor from damage.
How to Hand Sand Hardwood Floors, Step-by-Step
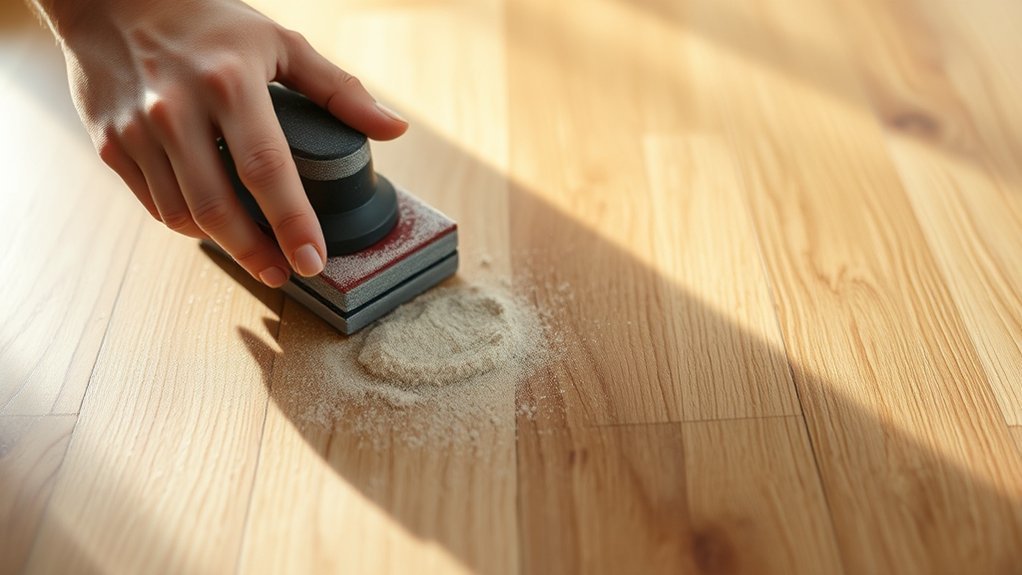
Where should you begin when hand sanding hardwood floors? First, debunk common hand sanding myths: it’s not about brute force but technique and patience.
Begin hand sanding hardwood floors with patience and technique, not brute force.
Start with coarse-grit sandpaper (around 60-grit) wrapped tightly around a sanding block. Sand with the grain, applying even pressure to avoid gouges. Maintain consistent, overlapping strokes, ensuring you cover all floorboards uniformly.
Next, switch to medium-grit (100-grit) and finish with fine-grit (150-180 grit) for a smooth surface.
For dust control, wear a dust mask and use a vacuum frequently to remove debris and prevent buildup. Proper dust control not only keeps your workspace clean but improves sanding efficiency.
This step-by-step approach ensures you prepare the floor evenly, ready for finishing, without relying on power tools.
How to Hand Sand Edges and Detailed Areas
To hand sand edges and detailed areas effectively, you’ll need the right tools like sanding sponges, detail sanders, and fine-grit sandpaper. Focus on controlled, even strokes to avoid gouging or uneven surfaces.
Mastering these techniques ensures a smooth finish that matches the rest of your floor.
Choosing The Right Tools
How do you ensure a smooth finish when hand sanding edges and detailed areas of hardwood floors? Selecting the right hand tools is critical for effective manual sanding. You need tools that offer precision and control, especially in tight, intricate spaces.
Consider these essentials:
- Sanding blocks with ergonomic grips for consistent pressure
- Flexible sanding sponges to conform to curves and corners
- Detail sanding sticks for narrow grooves and edges
- Fine-grit sandpaper sheets (120-220 grit) for progressive smoothing
- A small hand scraper for stubborn spots or old finish removal
Each tool serves a specific function, enabling you to address different contours without damaging the wood. Prioritize quality hand tools to maintain efficiency and avoid uneven surfaces during manual sanding of edges and detailed hardwood floor areas.
Techniques For Smooth Finishing
Why focus on proper technique when hand sanding edges and detailed areas? Precision here ensures a smooth, even finish that power sanders can’t reach. Start with hand planning to level high spots gently, using a fine-toothed plane to avoid gouging.
Next, employ a sanding block wrapped with appropriately gritted sandpaper to maintain flatness and control. For tight corners, fold sandpaper into a wedge or use sanding sponges designed for detail work. Consistent pressure and motion prevent uneven surfaces.
Dust management plays a crucial role. Frequent vacuuming and wiping with a tack cloth prevent particles from scratching the wood. By mastering these techniques, you ensure seamless transitions between edges and main floor areas, achieving a professional-quality finish without relying on heavy machinery.
Choosing the Right Sandpaper Grit for Hand Sanding
Which sandpaper grit should you select to achieve a smooth, even finish when hand sanding hardwood floors? Proper grit selection is critical to balance material removal with surface refinement during hand sanding. Start coarse to strip old finishes or level uneven areas, then progressively move finer to smooth the wood.
- Begin with 60-80 grit for initial sanding and finish removal
- Use 100-120 grit for intermediate smoothing and minor scratches
- Switch to 150-180 grit for final surface preparation before finishing
- Avoid skipping grits to prevent deep scratches or uneven surfaces
- Opt for high-quality aluminum oxide sandpaper for durability and consistent abrasion
Careful grit selection ensures an efficient process and a flawless hardwood floor finish.
Avoid Common Hand Sanding Mistakes on Hardwood Floors
Mistakes during hand sanding can compromise your hardwood floor’s appearance and longevity. Avoid the wrong sanding context; never sand too aggressively or unevenly, as this creates gouges or uneven surfaces. Always follow the wood grain to prevent scratches that may become permanent.
Many fall into the trap of mimicking popular painting trends by applying finishes or stains prematurely, which can highlight sanding errors. Make sure to use appropriate grit progression; skipping grits can leave scratches that are hard to remove.
Don’t neglect dust removal between sanding stages, as residual particles can cause surface imperfections. Lastly, avoid excessive pressure—let the sandpaper do the work. By steering clear of these errors, you’ll ensure a smooth, professional finish that enhances your hardwood floor’s durability and aesthetic appeal.
How to Finish and Seal Hand Sanded Hardwood Floors
How do you ensure your hand-sanded hardwood floors achieve a durable, flawless finish? Start by carefully selecting a stain color that complements the wood grain and enhances the sand texture. Apply the stain evenly with a brush or cloth, wiping off excess to prevent blotches.
After the stain dries, seal the floor with a high-quality polyurethane or oil-based finish for protection.
Key steps include:
- Test stain color on a small area to confirm desired tone
- Use fine-grit sandpaper between coats to smooth the surface
- Apply thin, even layers of finish to avoid puddling
- Allow sufficient drying time as per product instructions
- Maintain ventilation to speed curing and reduce fumes
Following these precise steps ensures your hand-sanded floor combines beauty with lasting durability.
How Much Time and Effort Does Hand Sanding Take?
When planning a hand sanding project, you’ll want to contemplate the significant time and physical effort involved. Hand sanding hardwood floors demands patience and consistent technique to avoid uneven surfaces or damage.
Expect to spend several hours sanding even a modest-sized room, especially if you aim to remove old finishes thoroughly. The repetitive motion can be taxing, requiring frequent breaks to maintain control and precision.
Additionally, you must be vigilant about moisture exposure; irreversible moisture can warp the wood or cause cosmetic staining, compromising your results. Proper ventilation and dry conditions are crucial throughout the process.
While hand sanding offers control, the labor intensity and time commitment are considerably higher compared to machine sanding, so plan accordingly to achieve a smooth, professional finish without unintended flaws.
Frequently Asked Questions
Can Hand Sanding Remove Deep Scratches or Stains From Hardwood Floors?
You can remove deep scratches or stains with hand sanding, but it’s labor-intensive. For effective removal strategies and finish restoration, combine fine-grit sanding with careful refinishing.
This approach ensures smooth, even results without damaging the wood surface.
Is Hand Sanding Safe for All Types of Hardwood Flooring Finishes?
Hand sanding vs. finish compatibility is crucial; you won’t want to damage delicate polyurethane or shellac finishes.
You must test a small area first, ensuring the finish withstands abrasion without dulling or peeling under your abrasive technique.
How Often Should Hardwood Floors Be Hand Sanded for Maintenance?
You should perform hand sanding frequency every 7-10 years, depending on wear.
Update your maintenance schedule based on traffic and finish condition to guarantee optimal surface restoration without over-sanding or damaging the hardwood floor.
Can Hand Sanding Hardwood Floors Affect the Floor’s Durability?
Hand sanding can affect your floor’s durability if overdone; maintaining proper floor maintenance frequency prevents excessive wear. When done correctly, hand sanding preserves wood integrity, ensuring longevity while smoothing surfaces without compromising structural strength.
What Are the Environmental Impacts of Hand Sanding Hardwood Floors?
You’ll find hand sanding hardwood floors eco friendly due to minimal energy use, but you must manage dust effectively to prevent environmental contamination and health risks. Proper dust management ensures your sanding process stays clean and responsible.
Conclusion
Hand sanding hardwood floors is like crafting a fine watch—each precise movement matters. While it’s labor-intensive, your effort rewards you with unmatched control and detail, especially in tight corners.
Remember, starting with coarse grit and progressing methodically ensures a flawless finish. Combining hand sanding with power tools can save time while maintaining quality.
With patience and the right techniques, your floors will not only look professional but also last for years to come. Hand sanding hardwood floors is a valuable skill that brings out the natural beauty of your wood while providing excellent results.