When you’re sanding detailed areas, mastering how to sand details is essential to balance removing imperfections with preserving sharp edges and fine features. Using too coarse a grit or applying heavy pressure can quickly erase the details you want to keep.
Instead, you’ll need to select the right grit, tools, and techniques, especially for tight spots and delicate surfaces. Mastering these steps will make all the difference in achieving a smooth, professional finish.
Here’s what you need to know to get started.
Why Sanding Details Can Be Tricky

Why does sanding detailed work often feel more challenging than smoothing flat surfaces? It’s because details demand precision and control. When you sand flat areas, you can quickly cover the surface, but intricate carvings and edges require a gentler touch.
Sanding detailed work demands precision and care, unlike quickly smoothing flat surfaces.
You need to avoid sanding away important features or rounding sharp edges unintentionally. Careful dusting is essential throughout the process since dust can obscure your view and clog your sandpaper, reducing its effectiveness.
Plus, edge guarding becomes crucial. You must protect delicate edges to maintain the design’s integrity. Using masking tape or specialized guards helps you avoid accidental damage.
These extra precautions make sanding detailed work slower and more demanding, but they ensure the final result preserves the craftsmanship and looks clean and sharp.
Choose the Right Sandpaper Grit for Sanding Details
How do you select the right sandpaper grit to handle intricate details without damaging them? Start by understanding grit differences: coarse grits (40-60) remove material quickly but risk erasing fine details, while fine grits (220 and above) smooth surfaces gently without altering shapes.
For detailed sanding, you want a medium to fine grit, typically between 150 and 220, balancing material removal and delicacy.
Next, consider sanding compatibility with your material; softer woods or delicate finishes require finer grits to avoid gouging. Always test on a small area to ensure the grit won’t harm the detail.
Pick Tools That Reach Those Hard-To-Sand Spots
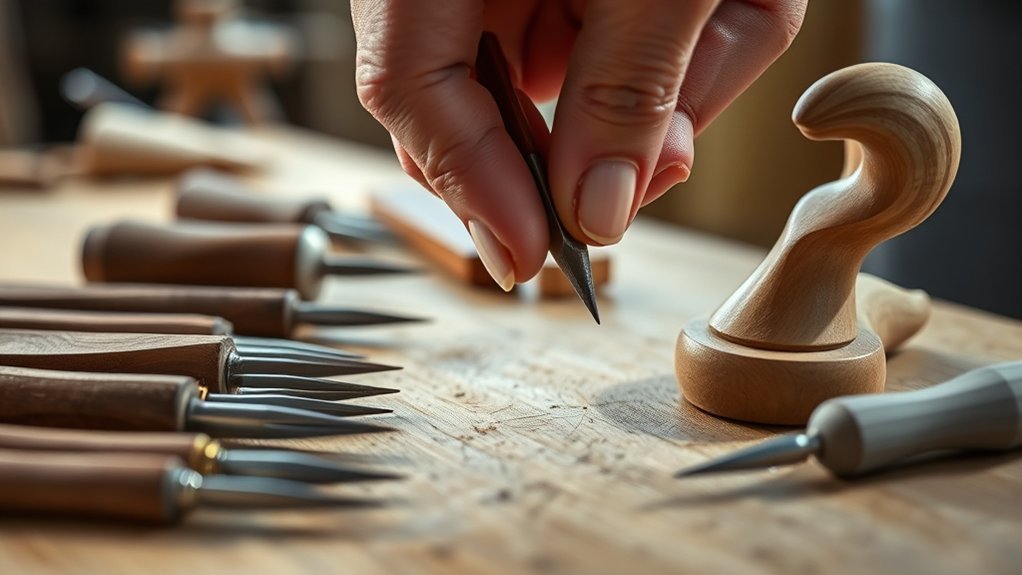
Where do you turn when your sandpaper can’t reach tight corners or intricate grooves? You need tools designed for tool accessibility to tackle those hard-to-sand spots without compromising edge preservation. Here’s what to consider:
When sandpaper falls short, specialized tools help reach tight spots without damaging delicate edges.
1. Detail Sanding Sticks
Their slim profile lets you glide into narrow crevices, maintaining control and precision.
2. Flexible Sanding Pads
These conform to complex shapes, preserving delicate contours without flattening edges.
3. Needle Files or Micro Rasps
Ideal for sculpted details, they offer tactile feedback, helping you avoid over-sanding fragile areas.
Protect Sharp Edges While Sanding Details
Although sanding details demands careful attention, protecting sharp edges is essential to maintaining your work’s definition and crispness. When you sand, avoid rounding off edges by using masking tape or edge guards to protect edges precisely.
Employ detail sanding techniques like light strokes and angled sanding to minimize edge wear. Focus on gradual removal rather than aggressive sanding.
| Technique | Purpose |
|---|---|
| Masking tape | Shields sharp edges |
| Edge guards | Prevents accidental rounding |
| Light strokes | Controls sanding pressure |
| Angled sanding | Targets surfaces, spares edges |
| Fine grit sandpaper | Smooths without edge damage |
Finishing Touches to Make Sanded Details Pop

Why do finishing touches matter when you want your sanded details to truly stand out? Because they bring your work from good to exceptional. After sanding, perform a thorough detail inspection to catch any uneven areas or missed spots. Then, apply precise finishing techniques to enhance texture and depth.
Here’s how to do it:
- Use a fine-grit sanding sponge for a gentle polish, smoothing out imperfections without over-sanding.
- Apply a light coat of sealant or finish to protect the details and add subtle contrast.
- Consider using a soft brush to remove dust thoroughly before finishing, ensuring a clean surface.
These steps sharpen your results, making your sanded details pop with clarity and professional polish.
Frequently Asked Questions
Can I Use Power Sanders for Intricate Details?
You can use power sanding for intricate details, but choose fine attachments to avoid damaging carving cleanliness. Focus on detail sanding to protect your finish, ensuring careful, controlled movements for optimal finish protection and precision.
How Often Should I Replace Sandpaper During Detailed Sanding?
Think of sandpaper rotation like a dance. You should replace it as soon as it’s dull or clogged. For effective detail maintenance, changing it frequently ensures crisp edges and smooth finishes without wasting effort or damaging fine details.
Is Wet Sanding Recommended for Delicate Wood Carvings?
Yes, wet sanding is recommended for delicate wood carvings because it reduces dust and prevents clogging. You should always sand with the grain direction to avoid damaging the wood’s surface and preserve intricate details.
What Safety Gear Is Necessary When Sanding Small Details?
You should wear safety gloves to protect your hands, eye protection to shield against debris, and a dust mask or respirator to avoid inhaling fine particles. These precautions keep you safe and comfortable while sanding small details.
Can Sanding Damage the Finish if Done Incorrectly?
Yes, sanding hazards include finish gouging if you apply too much pressure or use coarse grit. You’ll damage the finish quickly, so use gentle, controlled strokes and finer grits to protect your work while smoothing details.
Conclusion
Sanding details is like carving a delicate sculpture—you wouldn’t rush or press hard, or you’d lose the masterpiece.
Remember, starting with 150–220 grit and using precise tools keeps your edges sharp and your work clean. Dust often and protect those crisp lines with masking.
Finish with a fine-grit sponge and sealant to make your details pop. With patience and care, your sanding will reveal the true beauty beneath every tiny curve, highlighting the importance of sanding details.