Picture the smooth, even surface of a freshly sanded table, free of old finishes and imperfections. Sanding a table with an orbital sander is the key to achieving this professional look. To get started, you’ll need to prepare your workspace and select the correct grit of sandpaper for your orbital sander.
Applying steady, controlled pressure and moving with precision will guarantee a flawless result. But before you start, there are essential steps and techniques you must understand to avoid common pitfalls. Following these guidelines will help you get professional-quality results every time.
Prepare Your Table Surface Before Using an Orbital Sander
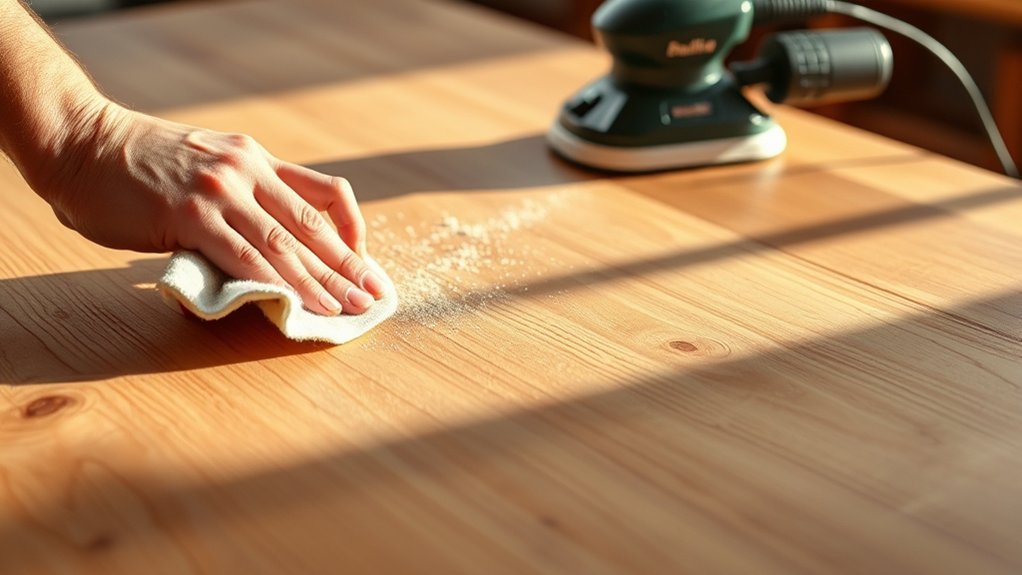
Before you start sanding, how should you prepare your table surface to ensure effective and safe use of an orbital sander? First, clear the table of any objects and clean the surface thoroughly to remove dust, grease, or residues that could interfere with sanding.
Clear and clean your table surface thoroughly before sanding to ensure effective and safe orbital sander use.
Inspect the table for nails, screws, or staples; remove or countersink them to prevent damage to the sander’s pad. Secure the table firmly to avoid movement during sanding, ensuring consistent pressure and control.
If your goal is to achieve modern finishes, understanding the table’s current coating is crucial. Strip any old varnish or paint using appropriate solvents to reveal the bare wood.
Proper preparation guarantees uniform abrasion and prevents uneven results, which are essential for professional table finishing with an orbital sander.
Choose the Right Sandpaper Grit for Your Orbital Sander
Choosing the right sandpaper grit is essential for achieving a smooth, professional finish with your orbital sander. Selecting improper grit can damage the wood or leave uneven surfaces, so follow these steps precisely:
- Start with 60-80 grit for removing old finishes or significant imperfections.
- Progress to 120-150 grit for smoothing rough areas without over-sanding.
- Finish with 220 grit or higher to prepare for staining or sealing.
- Replace sandpaper as it wears to maintain effective abrasion and dust management.
Maintain a proper grip on the sander to control pressure evenly, preventing gouges. Also, ensure your dust collection system is active to avoid clogging the sandpaper, which reduces efficiency and finish quality.
This technical approach guarantees optimal results.
How to Sand Your Table Smoothly With an Orbital Sander
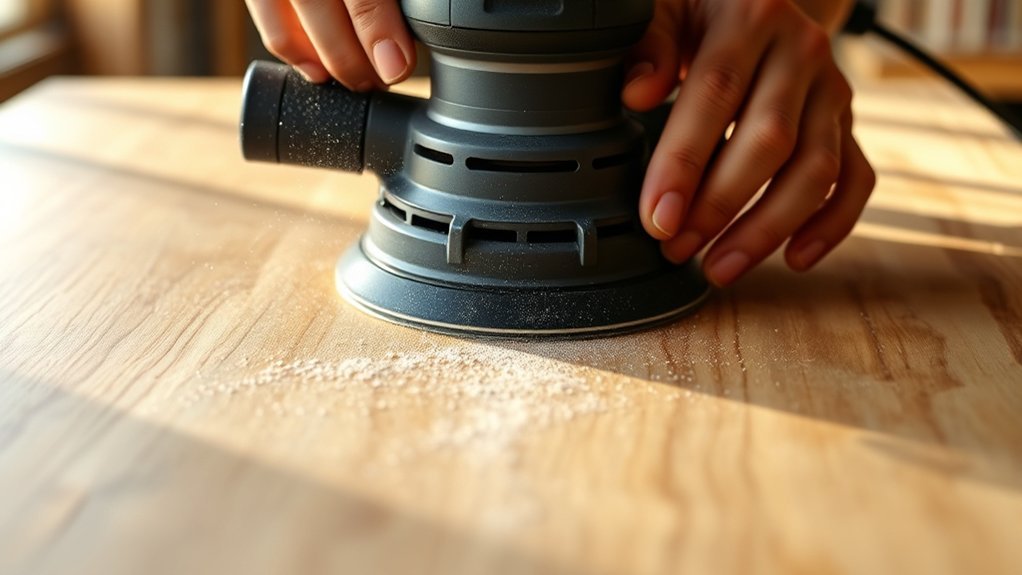
How do you guarantee an even, smooth surface when sanding your table with an orbital sander? First, secure the table to prevent movement. Turn on the sander and engage the dust collection system to minimize debris and maintain visibility.
Move the sander in slow, overlapping circular motions, applying consistent, light pressure. Avoid staying in one spot to prevent gouging. Sand along the wood grain direction where possible for a finer finish.
After the initial pass, wipe the surface clean to inspect for imperfections. To prepare the wood for finishing, apply a thin layer of conditioning wax; this helps achieve an even absorption of stains or sealers.
When and How to Change Sandpaper During Sanding
You’ll know it’s time to change the sandpaper when it clogs, tears, or loses abrasive grit, reducing sanding efficiency. To replace it, first power off the sander, then carefully peel off the old sheet.
Align the new one with the pad’s holes before pressing it firmly into place. Maintaining fresh sandpaper ensures consistent finish quality and prevents damage to the table surface.
Signs Sandpaper Needs Replacement
When should you replace the sandpaper on your orbital sander? Timely replacement is essential for consistent results, especially when discussing filler techniques or exploring refinishing alternatives. Watch for these signs:
- Reduced Abrasiveness: The sandpaper no longer removes material efficiently, causing uneven surfaces.
- Clogging: Dust and debris fill the grit, decreasing performance and risking damage to the wood.
- Visible Wear: Edges fray or the grit appears shiny and smooth, signaling loss of cutting ability.
- Increased Heat: Excessive heat buildup during sanding indicates friction from dull grit, which can scorch the wood.
Replacing sandpaper when you notice these signs guarantees top-notch sanding performance and a flawless finish on your table.
Proper Sandpaper Changing Technique
Why is changing sandpaper at the right time essential during sanding? Timely replacement ensures consistent abrasion, prevents surface damage, and maintains sanding safety by reducing heat buildup.
To change sandpaper properly, first unplug the sander to avoid accidents. Peel off the worn sandpaper carefully, then align the new sheet with the sander’s pad. Press firmly to secure it, ensuring no wrinkles or gaps.
| Step | Action |
|---|---|
| 1 | Unplug the sander |
| 2 | Remove worn sandpaper |
| 3 | Align new sandpaper |
| 4 | Press firmly to secure |
Following these steps maintains efficiency and supports sanding safety, offering reliable topic ideas for your project planning.
How to Avoid Common Sanding Mistakes
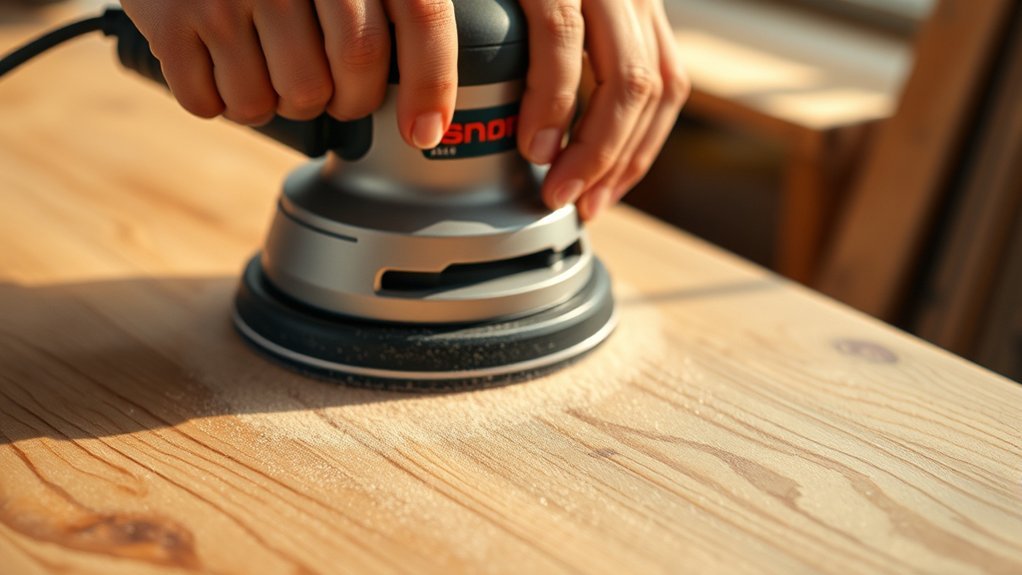
To achieve a smooth finish, you need to choose the right grit sandpaper for each stage of sanding. Apply consistent, even pressure to avoid uneven surfaces or swirl marks.
Be careful around edges to prevent gouges that can damage the table’s appearance.
Choosing The Right Grit
How do you determine the right sandpaper grit for your table project? Selecting the proper grit is essential to avoid damage and achieve a smooth finish. Follow this precise guide:
- Start with 80-100 grit to remove old finish or rough spots efficiently, ensuring your orbital sander’s soft grip comfort reduces hand fatigue.
- Progress to 120-150 grit for smoothing the surface without over-sanding.
- Use 180-220 grit for final sanding before applying finish, enhancing the wood’s texture.
- Always monitor dust collection to maintain visibility and prevent clogging, which affects sanding efficiency.
Choosing the correct grit not only preserves your table’s integrity but also leverages your orbital sander’s features for best results.
Maintaining Even Pressure
When sanding a table, where you apply pressure can make all the difference in achieving a smooth, uniform surface. To maintain pressure consistency, use light, even pressure across the sander’s pad, avoiding pressing down too hard.
Excessive force can cause uneven sanding, damaging the wood or creating low spots. Unlike a router, which requires firm, steady pressure to control cutting depth, an orbital sander works best with gentle, consistent pressure to let the abrasive do the work.
Keep the sander flat against the surface, moving it steadily without pausing. This approach prevents uneven abrasion and swirl marks. Practicing pressure consistency ensures a professional finish and extends the life of your sandpaper, optimizing your sanding efficiency.
Avoiding Edge Gouges
Why do edge gouges happen during sanding, and how can you prevent them? Edge gouges occur when the sander’s pad slips over the table’s edges, digging into the wood and disrupting your surface prep. To avoid this, you need to control the sander precisely around edges.
Follow these steps:
- Maintain firm, even pressure, keeping the sander flat on the surface.
- Use your free hand to steady the table or edge, preventing sudden movements.
- Sand edges manually with a sanding block for better control.
- Gradually feather the sander off edges instead of abruptly stopping on them.
How to Finish Your Table for a Professional Look
What steps guarantee a flawless, professional finish on your sanded table? First, select appropriate finishing tools such as high-quality brushes, foam applicators, or lint-free cloths based on your finish type.
Apply finishing techniques precisely: start with a thin, even coat of stain or sealer using smooth, consistent strokes. Let it dry thoroughly, then lightly sand with fine-grit sandpaper to remove imperfections.
Repeat application and sanding for multiple coats, ensuring each layer is dry before proceeding. Finally, apply a protective topcoat, polyurethane or varnish, for durability and sheen using a clean brush in long, even strokes.
Maintain a dust-free environment during application to prevent blemishes. By methodically following these finishing techniques and utilizing proper finishing tools, you’ll achieve a smooth, professional-quality surface that enhances your table’s appearance and longevity.
How to Clean and Maintain Your Orbital Sander
A well-maintained orbital sander performs efficiently and lasts longer. To keep yours in peak condition, follow these steps:
- Clean the dust collection system after every use to prevent clogging and maintain suction power.
- Inspect and replace sanding pads regularly to ensure smooth edge care and prevent uneven sanding.
- Wipe down the sander’s exterior with a dry cloth to remove fine dust particles that can affect performance.
- Check the power cord and switches for wear or damage to avoid electrical hazards and maintain consistent operation.
Frequently Asked Questions
Can an Orbital Sander Be Used on Painted Tables?
Yes, you can use an orbital sander on painted tables. You’ll want to manage dust carefully and select the right grit to avoid damaging the colored finish.
Always sand evenly to maintain a smooth surface.
What Safety Gear Should I Wear While Sanding?
You should wear eye protection, dust masks, hearing protection, and gloves while sanding. These prevent debris, dust inhalation, loud noise damage, and hand injuries, ensuring your safety during the sanding process.
Always gear up properly.
How Long Does It Typically Take to Sand a Table?
Sanding a table usually takes 30 to 60 minutes, depending on its size and condition. You’ll want to focus on table finishing and dust management carefully to ensure a smooth surface and minimize airborne particles.
Can I Use an Orbital Sander on Other Furniture?
Yes, you can use an orbital sander on other furniture due to its orbital versatility. Just ensure thorough project planning by selecting appropriate grit sandpaper and adjusting speed for different surfaces.
This will help you achieve smooth, even finishes efficiently.
Is It Better to Sand by Hand or Use a Sander?
Picture your hand gliding like a feather across wood grain. You’ll preserve the finish best with hand sanding, but for speed and uniformity, a sander’s great. Just be cautious to avoid removing too much material.
Conclusion
Now that you know how to prepare your table, choose the right grit, sand smoothly, change sandpaper timely, avoid mistakes, and finish professionally, you’re ready to transform your surface with precision.
Secure your work, control your sander, monitor your progress, and maintain your tools consistently.
By following these steps carefully, you’ll achieve a flawless, smooth finish every time. Trust the process, respect the technique, and enjoy the craftsmanship you create when you sand a table with an orbital sander.