When you decide to sand hardwood floors with a hand sander, precision and preparation are critical.
Sanding hardwood floors with a hand sander requires understanding the right grit sequence and sanding techniques to avoid damaging the wood.
Proper tool selection and safety measures also play a significant role in achieving a smooth, even surface.
Before you start, consider the essential steps that ensure both efficiency and quality in your refinishing project.
Taking the time to prepare and plan will help you get the best results and protect your floors from unnecessary wear.
Why Choose a Hand Sander for Hardwood Floors
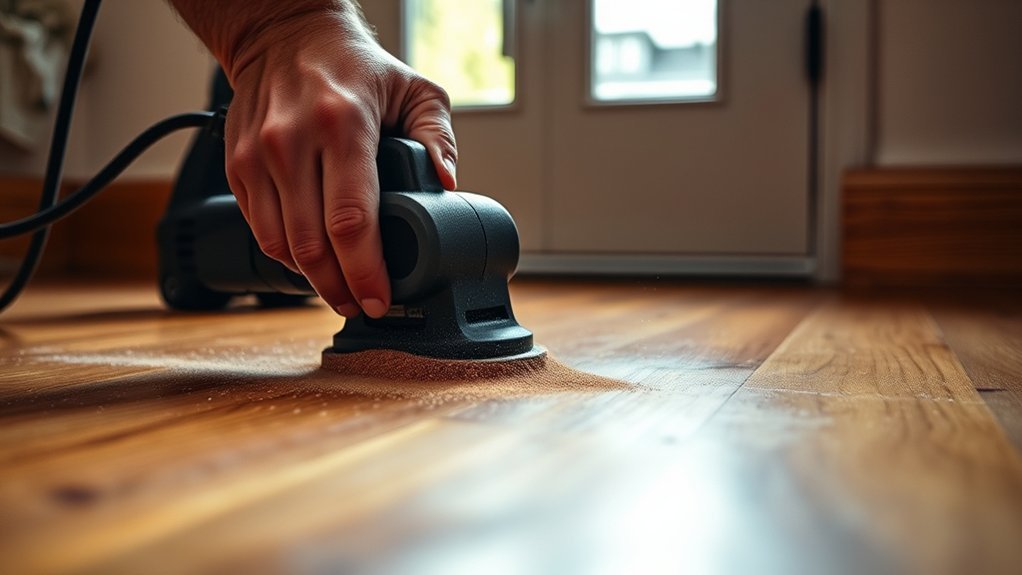
Why opt for a hand sander when refinishing hardwood floors? You gain precise control over sanding depth and pressure, crucial for avoiding gouges and uneven surfaces. Unlike power sanders, hand sanders minimize sanding dust dispersion, making cleanup more manageable and reducing airborne particles harmful to health.
This control lets you focus on corners and edges power tools can’t reach efficiently. When you discuss sanding dust, you realize its impact on finish adherence, especially if you debate oil based finishes; proper dust removal is essential for a smooth, lasting application.
Choosing a hand sander ensures you prepare the surface meticulously, optimizing finish quality. Ultimately, it’s a technique that balances efficiency with careful craftsmanship, vital for achieving professional-grade hardwood floor restoration.
Essential Tools and Materials for Hand Sanding Hardwood Floors
You’ll need a reliable hand sander designed for hardwood floors and a selection of high-quality sandpaper grits to achieve a smooth finish.
Start with coarse grit to remove old finishes, then progress to finer grits for smoothing. Choosing the right tools and sandpaper ensures efficient sanding and prevents damage to the wood.
Necessary Sanding Tools
What tools do you need to achieve a smooth, professional finish when sanding hardwood floors by hand? First, a reliable hand sander is essential. Choose a model with ergonomic grips and adjustable settings for optimal control.
You’ll also need a sturdy sanding block to maintain even pressure and prevent gouging. A vacuum or dust extractor is crucial to minimize dust buildup, improving both visibility and air quality.
Don’t overlook protective gear: safety goggles and a dust mask protect your eyes and lungs from fine particles. Avoid focusing on unrelated topics like paintbrushes or irrelevant detail such as decorative tools, which don’t aid sanding.
Recommended Sandpaper Types
Which sandpaper grits deliver the best results when hand sanding hardwood floors? Start with coarse grits between 40 and 60 to remove old finish and surface imperfections efficiently. Then, progress to medium grits, such as 80 or 100, to smooth the floor and eliminate scratches left by the coarse grit.
Finally, finish with fine grits around 120 to 150 for a polished surface ready for staining or sealing.
When selecting sandpaper types for your hand sander, choose aluminum oxide or zirconia alumina. These abrasive materials provide durability and consistent cutting performance on hardwood.
Avoid cheap sandpapers, as they wear quickly and reduce sanding effectiveness. Using the correct sandpaper types with your hand sander ensures optimal control and a smooth, professional hardwood floor finish.
How to Prepare Hardwood Floors for Sanding
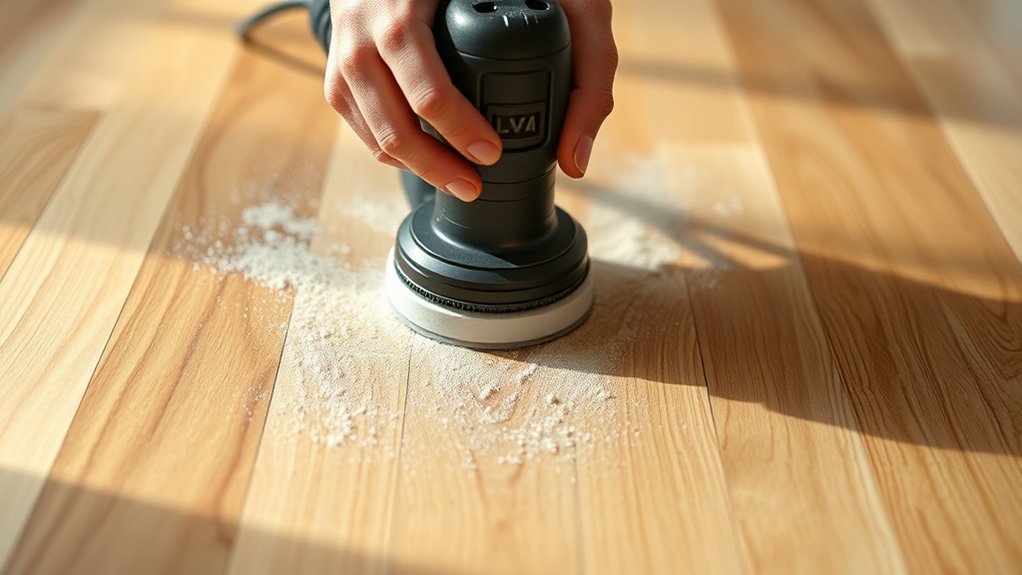
Before sanding, you need to clear all furniture and thoroughly clean the floor to remove dust and debris.
Inspect the hardwood for nails, gaps, or damage, and make necessary repairs to ensure a smooth surface. Proper preparation guarantees effective sanding and prevents equipment damage.
Clear and Clean Surface
A clear and clean surface is essential to ensure effective sanding and a smooth finish on your hardwood floors. Begin by removing all furniture, rugs, and debris to prevent obstruction.
Thoroughly sweep or vacuum the floor to eliminate dust, dirt, and loose particles that could interfere with the sanding process. Avoid any irrelevant discussion about unrelated topic ideas, such as wall treatments or ceiling repairs, which do not impact floor preparation.
Next, use a damp cloth to wipe down the floor, removing any remaining residue or grease that could clog the sander’s abrasive surface. Ensuring the floor is free of obstacles and contaminants will allow the hand sander to operate efficiently, providing consistent abrasion and preventing uneven wear or damage during sanding.
Repair and Inspect Floors
How thoroughly you inspect and repair your hardwood floors directly affects the quality and safety of the sanding process. Begin with complete furniture removal to allow unobstructed access for repair inspection.
Examine the floor for loose boards, nails, and cracks that could interfere with sanding. Address all identified issues before proceeding.
| Inspection Task | Action Required |
|---|---|
| Loose boards | Secure with screws or nails |
| Protruding nails | Hammer down or remove |
| Cracks and gaps | Fill with wood filler or epoxy |
Performing a detailed repair inspection ensures a smooth sanding surface and prevents equipment damage. Neglecting this step risks uneven sanding and safety hazards.
Your diligence in repair and inspection sets the foundation for professional results.
Best Sandpaper Grits for Hand Sanding Hardwood Floors
Which sandpaper grit should you choose to achieve a smooth, even finish when hand sanding hardwood floors? Start with a coarse 40-60 grit to remove old finish and surface imperfections quickly. This grit balances effective abrasion with manageable dust production, aiding dust management.
Next, move to a medium 80 grit to refine the surface and prepare it for finishing. Finally, finish with a fine 120-150 grit for a smooth, even texture without over-sanding.
Selecting these grits ensures efficient material removal while minimizing noise, essential for noise reduction during hand sanding. Avoid skipping grits; gradually transitioning preserves the wood’s integrity and provides the best surface for staining or sealing.
Using the correct progression of sandpaper grits optimizes your sanding process and final floor quality.
How to Sand Hardwood Floors Step-by-Step (Including Edges and Tight Spots)
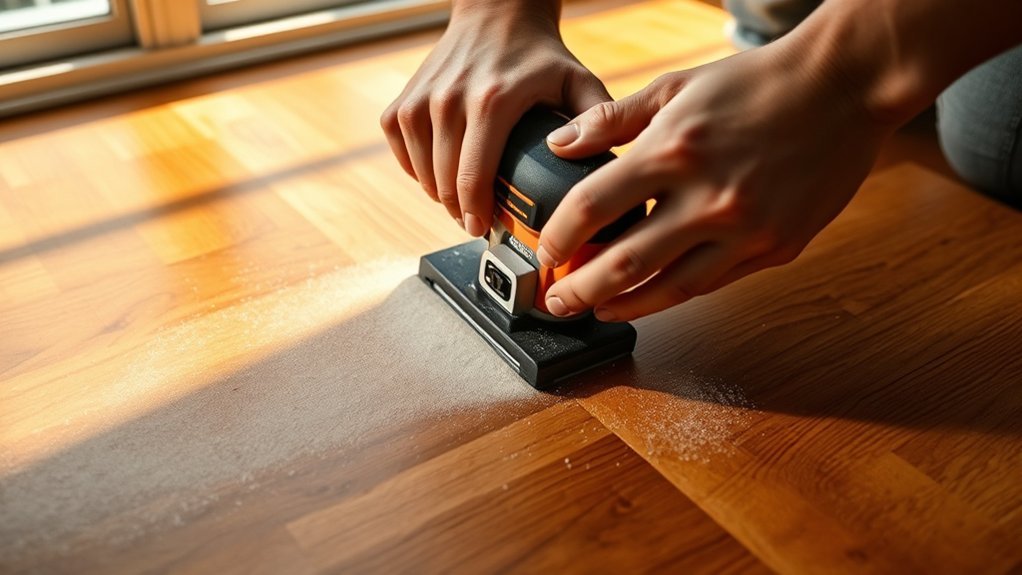
Where do you begin when sanding hardwood floors by hand? Start by selecting the appropriate sandpaper grit. Begin coarse to remove old finish, then progress finer for smoothness. For edges and tight spots, use a detail hand sander or sanding sponge to maintain control and avoid gouges.
Work systematically, sanding with the wood grain to prevent scratches. Unlike machine vs hand sanding debates, hand sanding offers precision in corners but requires more effort. Assess whether your project calls for refinishing vs staining; sanding prepares the surface for both but demands thoroughness.
Maintain consistent pressure and pace to ensure even abrasion. By following these steps, you’ll achieve a professional finish, especially in intricate areas where machines can’t reach, ensuring your hardwood floors look flawless and ready for final treatment.
How to Check Your Hand Sanding Progress and Fix Uneven Spots
When should you stop sanding and assess your progress to guarantee an even surface? You should regularly check progress after each sanding pass. Stop, wipe the floor with a damp cloth, and visually inspect the surface under good lighting.
Run your hand over the wood to detect uneven spots or rough patches. Use a straightedge or level to identify any low areas or gaps. To fix gaps, focus the hand sander on those spots with smooth, controlled strokes, gradually feathering the edges to blend with adjacent areas.
Avoid over-sanding to prevent creating depressions. Repeat the inspection and correction cycle until the floor is uniformly smooth and level. Consistent monitoring and precise adjustments ensure a professional-quality finish ready for the next step.
Safety Precautions to Follow When Hand Sanding Hardwood Floors
After confirming your floor is evenly sanded, you must prioritize safety before continuing. First, wear protective gear: safety goggles shield your eyes from dust and debris, while a dust mask prevents inhalation of fine particles. Gloves protect your hands from abrasions and blisters.
Ensure proper ventilation to reduce airborne dust concentrations. Use earplugs or earmuffs for noise reduction, as hand sanders can generate significant sound levels that may impair hearing over time. Keep your work area clear of obstacles to avoid tripping hazards.
Always unplug the sander before changing sandpaper or making adjustments to prevent accidental activation. Adhering strictly to these safety considerations minimizes injury risks, ensuring a secure and efficient sanding process every time.
How to Clean Hardwood Floors After Sanding
How should you effectively clean hardwood floors once sanding is complete? Proper cleaning is crucial to remove residual dust and prepare the surface for finishing. Employ appropriate cleaning tools to ensure thorough dust management and prevent contamination.
Start by vacuuming the floor with a vacuum that has a HEPA filter, targeting all corners and edges. Next, use a tack cloth or microfiber cloth slightly dampened with mineral spirits to pick up fine dust particles left behind. Finally, inspect the floor under strong lighting to identify any remaining debris or dust patches.
- Use a vacuum with attachments designed for hardwood floors
- Employ tack cloths for precise dust removal
- Utilize mineral spirits with microfiber cloths for fine dust management
This method ensures the surface is impeccably clean and ready for the next step.
How to Finish and Protect Your Sanded Hardwood Floors
Apply a high-quality finish promptly to safeguard your sanded hardwood floors from wear, moisture, and stains. Begin by thoroughly cleaning the floor with appropriate cleaning agents to remove all dust and contaminants. Ensure the surface is completely dry before application.
Choose a finish, such as polyurethane, oil-based, or water-based, based on durability and appearance preferences. Apply the finish evenly using a high-quality brush or applicator, following the manufacturer’s instructions.
Allow sufficient drying time between coats, lightly sanding with fine-grit sandpaper to promote adhesion. Repeat for two to three coats for optimal protection. Store any unused varnish properly in airtight containers, in a cool, dry place to maintain its efficacy.
Proper varnish storage prevents drying and contamination, extending shelf life for future touch-ups.
Frequently Asked Questions
Can I Use a Hand Sander on Engineered Hardwood Floors?
You can use a hand sander on engineered hardwood, but be cautious. The sandbar usage must be light and controlled to avoid sanding through the thin veneer layer, preserving the floor’s integrity and appearance.
How Long Does Hand Sanding a Hardwood Floor Typically Take?
How long hand sanding takes depends on your floor size and grit progression, but typically, a sanding schedule spans 4–8 hours for an average room.
You’ll want to allocate time for coarse to fine sanding passes.
What Are Common Mistakes to Avoid When Hand Sanding Floors?
Common mistakes include applying uneven pressure, skipping grit progression, and not moving the sander consistently. Avoid these sanding technique pitfalls by maintaining steady motion, using proper grit sequence, and checking progress frequently to prevent damage or uneven surfaces.
Can I Rent a Hand Sander Instead of Buying One?
Yes, you can rent a hand sander, which often offers cost savings compared to buying, especially for one-time projects.
Renting vs buying depends on frequency, budget, and tool maintenance, so evaluate your specific needs carefully.
How Do Humidity Levels Affect Hardwood Floor Sanding?
You know what they say: “Prevention is better than cure.” Humidity effects cause wood to expand or contract, so you must prioritize moisture management to prevent warping or uneven sanding during hardwood floor refinishing.
Conclusion
Remember, sanding hardwood floors by hand is like sculpting a masterpiece—each grit you choose carves away imperfections, revealing true beauty beneath. Just as a skilled artist layers strokes to refine their work, progressing from coarse to fine grit ensures a smooth, flawless finish.
With patience and attention to detail, your floors will not only look stunning but also stand the test of time. This process embodies craftsmanship and care in every inch.
By mastering how to sand hardwood floors with a hand sander, you bring out the natural elegance of the wood while preparing it for a lasting finish.