If you want to achieve a smooth, flawless finish on your car’s paint, learning how to wet sand a car by hand is an essential skill to master. You’ll need to prepare properly, use the right materials, and apply precise technique to avoid damaging the surface.
Understanding how to maintain consistent lubrication and recognize when to stop can make all the difference. Before you start, it’s important to know the key steps that ensure a professional result.
Gather Materials for Wet Sanding
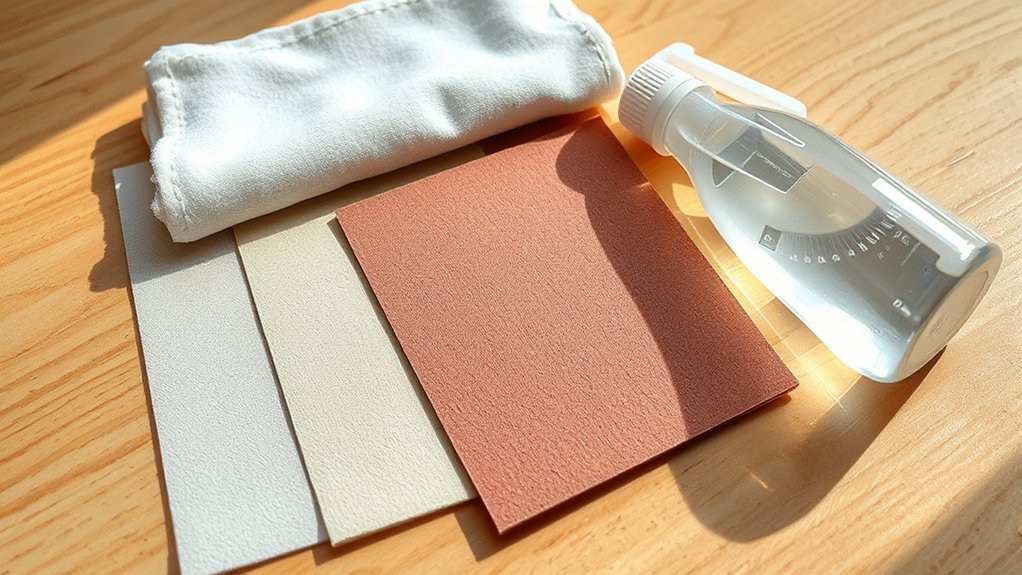
Before you begin wet sanding your car by hand, gather all necessary materials to ensure a smooth process. You’ll need waterproof sandpaper of varying grits, a sanding block, a spray bottle filled with water, microfiber towels, and a bucket.
Gather all essential materials before wet sanding your car by hand for a smooth and efficient process.
Use only sandpaper with clear manufacturing origins to avoid patent concerns that could arise from using unauthorized or counterfeit products. Ensuring the legitimacy of your materials helps mitigate potential legal liabilities.
Additionally, select sandpaper designed specifically for automotive applications to achieve the best finish. Avoid using abrasive tools not intended for wet sanding, as improper materials can damage your vehicle’s surface and increase your liability risk.
Organizing these items before starting ensures efficiency and reduces interruptions during the wet sanding process.
Prepare Your Car’s Surface for Wet Sanding
Once you have gathered the appropriate wet sanding materials, focus on preparing your car’s surface to ensure optimal sanding results. Begin by thoroughly washing the area to remove dirt, grease, and contaminants that could cause scratches.
Next, use a clay bar to eliminate embedded particles. Inspect the paint for edge cases, such as chipped areas or uneven layers, which may require special attention to avoid sanding through the paint. Mask off adjacent panels to prevent unintended damage and ensure precise work.
Verify that the base coat and clear coat are properly cured before sanding to avoid compromising color matching. Finally, dry the surface completely and re-clean with a lint-free cloth to maintain a pristine area, setting the stage for effective, controlled wet sanding.
Wet Sanding Your Car: Step-by-Step
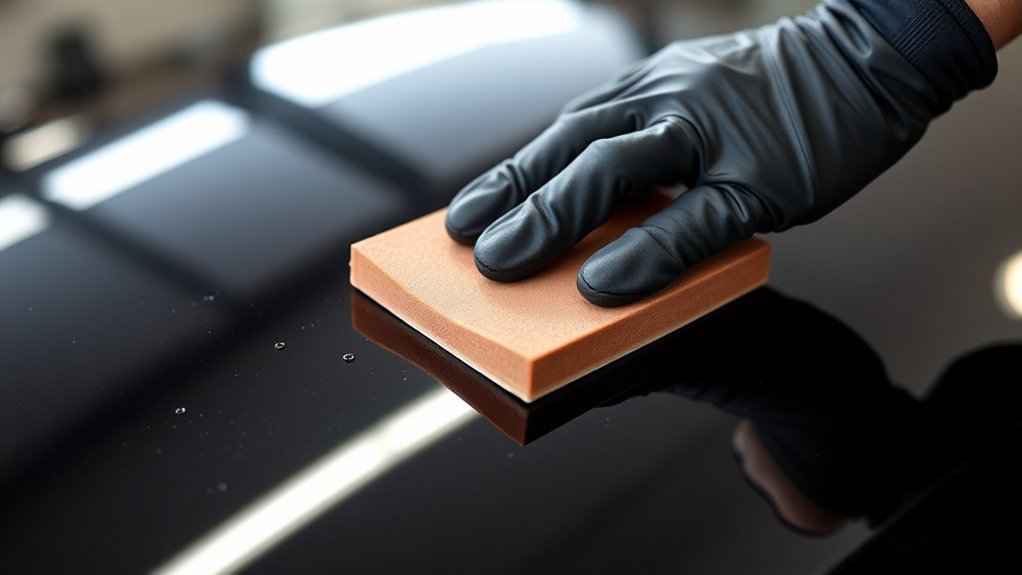
How should you approach wet sanding to achieve a smooth, even finish? Begin by consistently lubricating the area with water to prevent scratching. Use firm, even pressure and sand in straight, overlapping strokes to maintain uniformity.
Avoid discussion ideas or unrelated topics that distract from the task. Focus on technique for best results.
Follow these steps:
- Dip your 1500-2000 grit sandpaper in water for 10 minutes.
- Sand the surface evenly, keeping it wet at all times.
- Wipe the area frequently to check progress without introducing unrelated topics.
- Rinse thoroughly after sanding to remove residue before polishing.
This precise, step-by-step approach ensures you won’t miss critical details in the wet sanding process.
Check Wet Sanding Progress and Avoid Mistakes
Maintaining a clear view of your progress while wet sanding helps you avoid over-sanding or uneven surfaces. Frequently wipe the area with a clean microfiber cloth to inspect the finish and ensure consistent abrasion.
Look for uniform dullness without deep scratches or glossy spots. These indicate uneven sanding. Avoid questionable outcomes by adhering strictly to recommended grit sequences and sanding pressure.
Incorrect methods, such as sanding too aggressively or neglecting to keep the surface wet, can cause damage and prolong repair time. Use consistent, overlapping strokes and periodically check your work from different angles under good lighting.
If you spot any irregularities, adjust your technique immediately. Regular assessment and deliberate control minimize errors, ensuring a smooth, even surface ready for the next step.
Clean and Polish After Wet Sanding
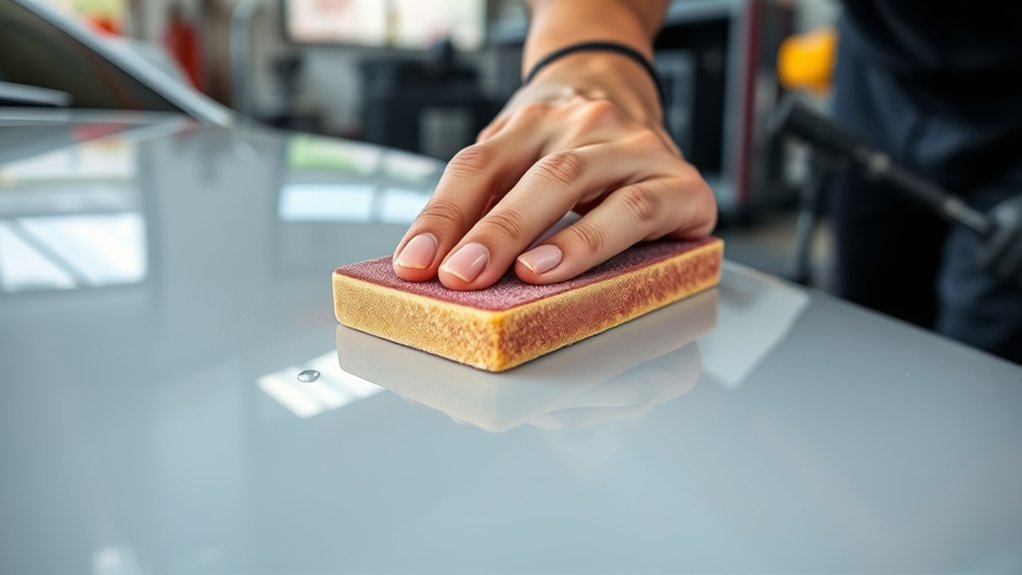
Why is cleaning and polishing essential after wet sanding? It removes abrasive residue and preps the surface for a flawless finish. Proper cleaning ensures no particles interfere with your scratch repair, while polishing restores gloss and smoothness.
Cleaning and polishing after wet sanding remove residue and ensure a smooth, glossy finish free from imperfections.
Follow these steps for effective cleaning and polishing:
- Thoroughly wash the sanded area with a mild detergent and water to remove all sanding grit.
- Dry the surface completely using a microfiber cloth to prevent water spots.
- Apply a fine polishing compound using a foam applicator pad, working in small, circular motions.
- Wipe off the residue and inspect the finish; repeat polishing if necessary to eliminate haze.
Use these polishing tips to achieve a uniform, high-gloss surface that complements your meticulous scratch repair efforts.
Frequently Asked Questions
Can Wet Sanding Remove Deep Scratches or Dents?
You can remove shallow scratches with wet sanding, but deep scratches often require debate on scratch depth for effectiveness.
Wet sanding won’t fix dents, since dent vs scratch involves structural damage, needing different repair methods.
Is Wet Sanding Safe for All Car Paint Types?
Wet sanding isn’t safe for all paint types; you must verify safe paint compatibility first. Use it sparingly, considering maintenance frequency, to avoid damaging sensitive finishes or clear coats.
Always test a small area before proceeding.
How Often Should I Wet Sand My Car?
You should wet sand your car sparingly, focusing on frequency maintenance every 1-2 years. Use two word discussion ideas like “paint preservation” and “surface refinement” to decide if your finish truly needs this detailed attention.
Can Wet Sanding Damage My Car’s Clear Coat?
If you sand too aggressively, like a novice who removed too much clear coat in one spot, you risk damaging your car’s finish. Wet sanding risks include thinning the clear coat, so always monitor clear coat health carefully.
What Grit Sandpaper Is Best for Beginners?
You should start with 1500 or 2000 grit sandpaper; these beginner-friendly alternatives reduce risk. For better control, use sandpaper grip tips like wrapping it around a sanding block. This assures even pressure and precision.
Conclusion
Now that you’ve mastered wet sanding by hand, your car’s finish will be as smooth as a knight’s polished armor. Remember to keep the surface wet, use consistent pressure, and check your progress frequently to avoid damage.
After sanding, thorough cleaning and polishing are indispensable to reveal that flawless, showroom shine. With patience and precision, you’ll restore your car’s paint to a professional standard.
By following these steps carefully, you’ll achieve excellent results and truly master how to wet sand a car by hand. Careful craftsmanship never goes out of style.