Sanding drywall with an electric sander is a task that demands careful attention rather than haste. You’ll want to select the right tool, prepare your surfaces properly, and master precise sanding techniques to avoid common pitfalls.
Getting these steps right ensures a flawless finish, but there’s more to contemplate—like managing dust and maintaining your equipment—that can make or break your project’s success. Taking the time to understand each phase will help you achieve professional results every time.
Choose the Right Electric Sander for Drywall
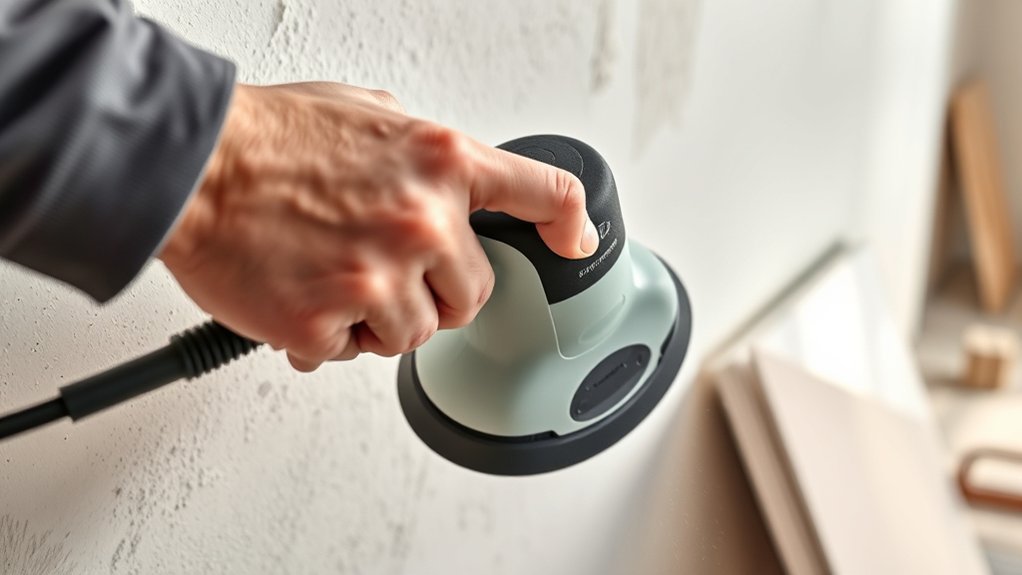
How do you select the best electric sander for drywall? Begin by evaluating your project size and surface area, as this influences your buying options. Opt for a drywall-specific sander, typically a drywall pole sander or a random orbital sander with dust collection.
Consider variable speed control for precision. Check power ratings and ergonomics to ensure efficient operation and user comfort. Budget considerations are crucial; balance cost with features and durability.
Entry-level models might suffice for occasional use, while professionals should invest in higher-end tools with advanced dust management. Review product specifications to confirm compatibility with drywall sanding discs.
Prioritize models with effective dust collection systems to maintain a clean workspace and reduce airborne particles. This targeted approach ensures you select an electric sander optimized for drywall tasks.
Gather Tools and Safety Gear for Drywall Sanding
Before you start sanding, gather all essential tools like your electric sander, sanding pads, and a vacuum attachment.
Make sure you have protective gear, including a dust mask, safety goggles, and gloves to prevent injury and inhalation of dust. Clear and organize your workspace to ensure safe, efficient movement while sanding.
Essential Sanding Tools
What tools and safety gear do you need to effectively sand drywall with an electric sander? To optimize your sanding technique and ensure proper dust control, gather the following essential tools:
1. Orbital or Pole Sander
Choose a variable-speed electric sander designed for drywall to maintain consistent pressure and control.
2. Sanding Screens or Fine Grit Sandpaper (120-150 grit)
Use these to achieve smooth finishes without damaging the drywall surface.
3. Vacuum Attachment or Dust Collection System
Attach this to your sander to minimize airborne dust, improving visibility and cleanup.
4. Extension Poles
These help you reach high or awkward areas while maintaining control and reducing fatigue.
Having these tools ready ensures efficient sanding, precise surface preparation, and effective dust management throughout your project.
Protective Safety Equipment
Why should you prioritize protective safety equipment when sanding drywall? Drywall dust contains fine particles that can irritate your eyes, lungs, and skin. Following strict safety precautions minimizes exposure and prevents health issues.
Always wear the appropriate protective equipment before starting.
Use the table below to ensure you have all necessary items:
| Protective Equipment | Purpose |
|---|---|
| Respirator Mask | Filters out harmful dust |
| Safety Goggles | Shields eyes from particles |
| Work Gloves | Protects hands from abrasion |
These items are essential for safe drywall sanding. The respirator mask prevents inhaling dust, goggles avoid eye irritation, and gloves protect your skin. Don’t skip these safety precautions. It’s critical for your health and efficient sanding results.
Preparing Your Workspace
A well-organized workspace sets the foundation for efficient drywall sanding. Before starting, gather essential tools and safety gear to control cornering dust and achieve noise reduction. Follow these steps:
- Clear the area of unnecessary items to prevent obstructions and facilitate movement.
- Set up dust containment by using plastic sheeting and tape to seal doorways and vents, minimizing cornering dust spread.
- Prepare your electric sander with appropriate sanding discs and ensure dust collection systems are functional.
- Equip yourself with safety gear, including a respirator mask, safety goggles, ear protection for noise reduction, and gloves.
This systematic preparation ensures a safer, cleaner environment and optimizes sanding performance while minimizing airborne dust and excessive noise.
Prep Drywall Surfaces Before Sanding
Before you start sanding drywall with an electric sander, ensure the surfaces are fully dry and free of dust or debris. To prep the surface effectively, remove any loose joint compound or paint flakes. This step is crucial for optimal sanding results and dust control.
Use a vacuum or tack cloth to clear remaining dust, preventing clogging of the sander and airborne particles.
| Task | Tool Needed | Purpose |
|---|---|---|
| Remove loose debris | Putty knife | Clean surface |
| Ensure dryness | Visual inspection | Prevent clogging |
| Dust removal | Vacuum or tack cloth | Dust control |
| Final check | Hand touch | Confirm smoothness |
Following these steps ensures a well-prepped surface for efficient, clean sanding.
Set Up Your Electric Sander for Drywall
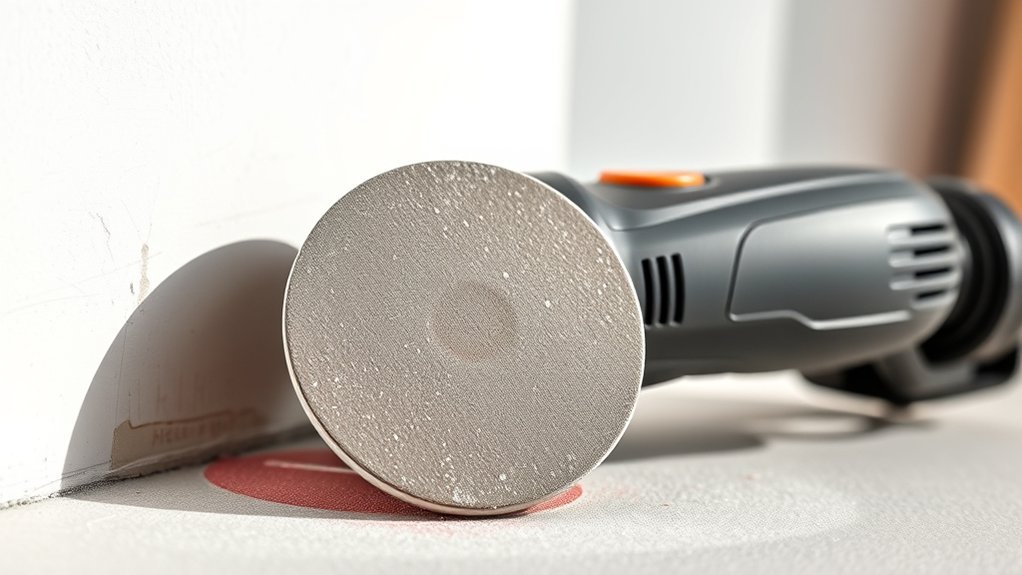
Start by selecting an electric sander designed for drywall, such as a pole or orbital sander with variable speed.
Next, attach the appropriate grit sandpaper securely to guarantee even sanding without slipping. Proper setup prevents damage to the drywall and improves your sanding efficiency.
Choosing The Right Sander
Which sander suits drywall sanding best? You want a tool that balances efficiency, finish quality, and noise control. Choose a sander designed specifically for drywall to achieve a smooth drywall finish without excessive sanding noise.
Consider these factors:
- Type of Sander: Use a random orbital or drywall-specific pole sander for even abrasion and minimal gouging.
- Dust Collection: Opt for models with built-in vacuum ports to reduce airborne dust.
- Power and Speed: Select a variable-speed sander to control aggressiveness and surface texture.
- Ergonomics: Pick a lightweight sander to reduce fatigue during extended use.
Selecting the right sander ensures you maintain control over sanding noise and achieve a consistent drywall finish efficiently.
Attaching Sandpaper Properly
A properly attached sandpaper ensures ideal contact with the drywall surface and prevents slippage during sanding. Begin by selecting the appropriate drafting sandpaper grits, typically starting with 120-grit for rough areas, progressing to finer grits for finishing.
Align the sandpaper so its abrasive side faces outward and the edges match the sander’s base precisely. Secure it using the sander’s clamp system or hook-and-loop backing, making sure it’s taut and flat. Avoid wrinkles or bubbles, which can cause uneven sanding.
When operating, maintain parallel sanding strokes along the drywall surface to achieve uniform abrasion and avoid gouging. Proper attachment coupled with correct sanding motion maximizes efficiency and surface smoothness, ensuring a professional drywall finish every time.
Master the Proper Drywall Sanding Technique
How do you achieve a smooth, professional finish when sanding drywall with an electric sander? Mastering the proper drywall sanding technique is essential. Follow these steps to guarantee effective drywall finishing:
- Start with a coarse grit sandpaper to remove excess joint compound, then switch to finer grits for a smooth surface.
- Hold the sander flat against the wall, applying even pressure to avoid gouges or uneven spots.
- Move the sander in slow, overlapping circular motions to uniformly sand the drywall.
- Regularly clean the sanding pad and replace sandpaper when clogged to maintain efficiency.
These topic ideas help you control dust, maintain surface integrity, and achieve a flawless finish vital for professional drywall work.
How to Tell When Your Drywall Is Smooth Enough
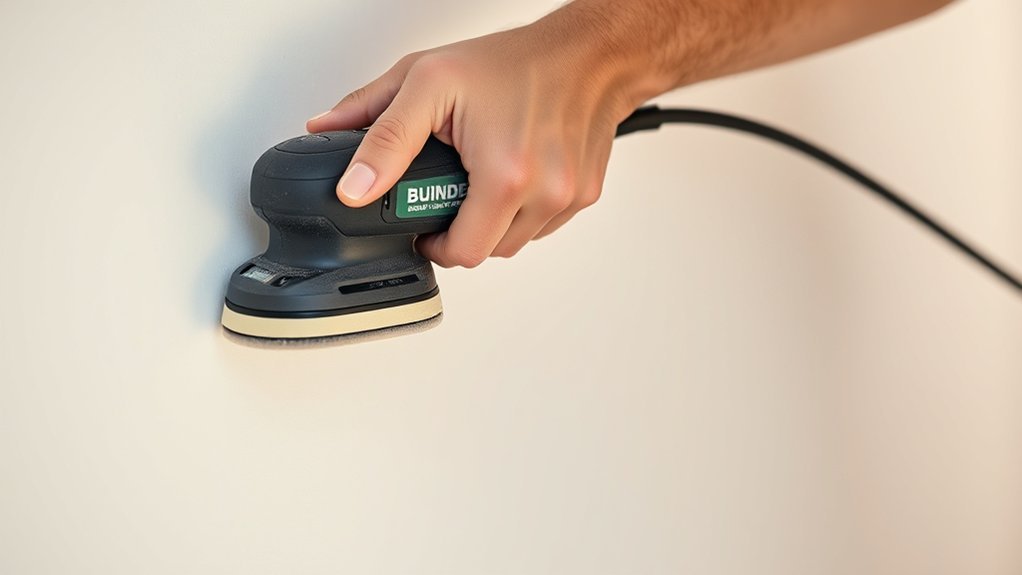
Once you’ve mastered the sanding technique with your electric sander, the next step is determining when your drywall surface has reached the right level of smoothness. Conduct a smoothness assessment by running your hand lightly over the drywall; it should feel even without noticeable ridges or bumps.
Visually inspect the surface under direct, angled light to detect any imperfections or uneven areas. Maintain sanding consistency by using uniform pressure and overlapping strokes to avoid gouges or missed spots.
When the drywall reflects light evenly and your touch confirms a flat, smooth texture, you’ve achieved the desired finish. Remember, the goal is a surface ready for priming and painting. Any roughness or inconsistencies will show through the final coat.
Fix Common Drywall Sanding Mistakes
Why do sanding mistakes happen, and how can you quickly correct them? Most errors stem from dodgy mudding or uneven pressure during sanding. Address these promptly to avoid costly refinishing.
- Uneven Surface: Reapply joint compound on low spots, let dry, then sand evenly to restore flatness.
- Over-sanded Areas: Lightly feather edges to blend without exposing drywall paper.
- Dusty Wiring Exposure: Avoid damaging wiring; use a soft brush attachment near fixtures to prevent abrasive contact.
- Visible Scratches: Switch to finer grit sandpaper and sand gently to remove marks without gouging.
Manage Drywall Dust and Clean Your Workspace
Correcting sanding mistakes creates a smoother surface, but it also stirs up a significant amount of drywall dust. To maintain effective dust control, immediately connect your electric sander to a vacuum system or use a sander with an integrated dust collection bag.
Seal off the workspace with plastic sheeting to prevent dust migration. After sanding, initiate a thorough cleanup routine: first, vacuum all surfaces, including walls, floors, and corners. Follow by wiping down with a damp cloth to remove residual dust particles.
Dispose of collected dust safely to avoid recontamination. Maintain your dust control equipment regularly to ensure optimal performance. By managing drywall dust systematically and adhering to a strict cleanup routine, you’ll protect your health and prepare your workspace for the next stage efficiently.
Finish Up After Sanding Drywall
After sanding drywall, you’ll typically want to inspect the surface carefully to ensure it’s smooth and even. Avoid drifting into irrelevant subtopic or off topic discussion; focus strictly on finishing steps. Follow these four precise actions:
- Wipe the drywall with a damp cloth or sponge to remove residual dust.
- Examine the surface under bright light to identify any remaining imperfections.
- Apply a thin skim coat of joint compound to fill minor scratches or uneven areas.
- Allow the compound to dry completely before lightly sanding those touch-ups.
Maintain Your Electric Sander for Drywall Sanding
Once you’ve finished preparing the drywall surface, keeping your electric sander in essential condition ensures consistent performance and extends the tool’s lifespan. Regularly inspect sanding pads for wear, clean dust filters, and lubricate moving parts.
Evaluate pros and cons of various maintenance methods to optimize efficiency and cost.
| Maintenance Task | Frequency | Cost Comparison |
|---|---|---|
| Replace sanding pads | After 5-10 uses | Low cost, high impact |
| Clean dust filters | Weekly | Minimal cost, crucial |
| Lubricate bearings | Monthly | Moderate cost, necessary |
| Inspect power cord | Monthly | No cost, safety critical |
| Tighten screws | Monthly | No cost, prevents damage |
Following these steps minimizes downtime and maximizes tool longevity.
Frequently Asked Questions
Can I Use an Electric Sander on Textured Drywall?
You can use an electric sander on a textured surface, but you’ll need a lower grit and careful control to avoid damage.
Ensure your sander has dust containment to minimize mess and protect the texture’s integrity.
What Grit Sandpaper Is Best for Initial Drywall Sanding?
You should start with 120-grit sandpaper for initial drywall sanding. It efficiently smooths scrap drywall surfaces while balancing noise reduction.
Avoid coarser grits to prevent damage, and finer grits come later for a polished finish.
How Long Does It Typically Take to Sand a Standard Room?
Coincidentally, sanding a standard room usually takes two to four hours. For effective drywall maintenance, focus on two-word discussion ideas like “surface prep” and “dust control” to ensure precision and efficiency during the process.
Are There Electric Sanders Specifically Designed for Corners?
Yes, you’ll find electric sanders designed for corner detail sanding. These tools feature specialized corner edging attachments or angled pads, enabling precise sanding in tight corners and edges.
This ensures smooth, professional drywall finishes efficiently.
Can I Rent an Electric Drywall Sander Instead of Buying?
You can rent an electric drywall sander; 60% of pros prefer renting over buying for cost-effectiveness. Renting reduces tool maintenance responsibility, and rental units often feature superior dust control and quieter noise levels than personal tools.
Conclusion
Now that you’ve mastered choosing the right sander, prepping surfaces, and perfecting your technique, the final step is vital—don’t rush. Take a moment to inspect every inch under bright light, ensuring no imperfections hide.
Are you ready to reveal a flawlessly smooth finish? With careful dust management and proper maintenance of your sander, you’re just one step away from professional results that will impress every time.
By following these tips on how to sand drywall with an electric sander, you’ll achieve a pristine surface ready for painting or finishing.