If you’re preparing sand for a stable base or surface, understanding how to compact sand by hand is essential. Proper compaction improves strength and prevents shifting, but it requires more than just pressing down on the sand.
You need the right moisture content, tools, and technique to achieve uniform density. Mastering these details can save time and avoid costly repairs later—yet many overlook key steps that make all the difference.
Why You Need to Compact Sand Properly
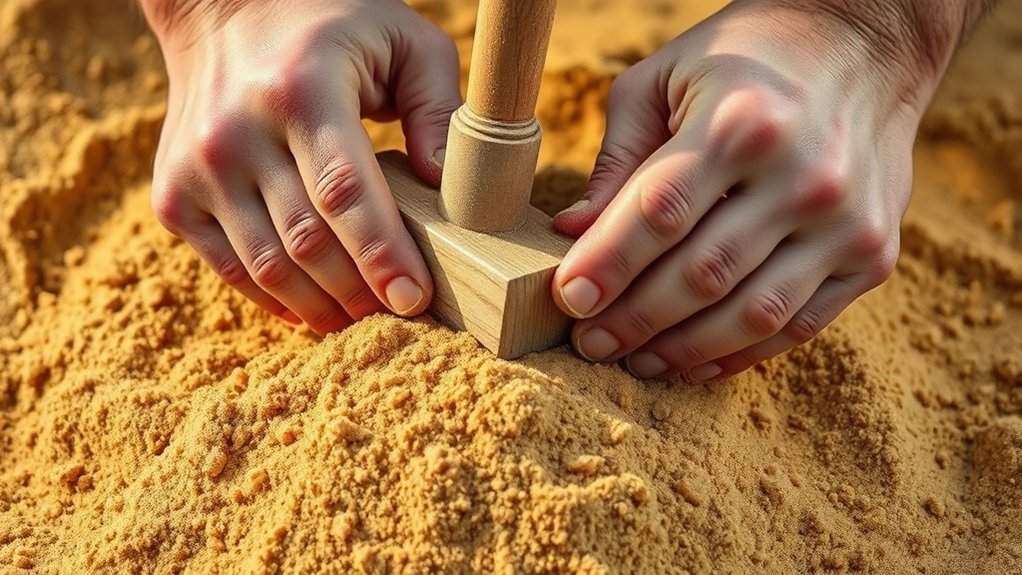
Why does compacting sand properly matter? When you compact sand correctly, you enhance its load-bearing capacity and reduce settlement risks, essential for stable construction or landscaping.
Properly compacted sand improves load-bearing strength and prevents settlement, ensuring stability in construction and landscaping.
This subtopic relevance lies in understanding how insufficient compaction leads to voids and uneven surfaces, compromising structural integrity. Proper compaction ensures uniform density, minimizing water infiltration and erosion.
As you explore this, consider discussion ideas focusing on the mechanical behavior of sand particles under pressure and how compaction affects permeability. By grasping these concepts, you’ll appreciate why meticulous compaction is indispensable before proceeding with any project involving sand.
This foundational knowledge sets the stage for effective manual compaction techniques, making this subtopic a critical starting point in your overall learning process.
Tools You’ll Need to Compact Sand by Hand
To compact sand effectively by hand, you’ll need specific tools that guarantee precision and safety. Essential hand tools like tampers and shovels will help you apply consistent pressure, while protective gear guards against injury.
Additionally, accurate measuring and marking tools allow you to maintain proper depth and uniformity throughout the process.
Essential Hand Tools
A few essential hand tools will help you achieve effective sand compaction by hand. Start with a sturdy tamper, preferably with a flat, heavy base and a comfortable handle, to apply uniform pressure.
A hand rake assists in leveling and loosening sand before compaction, ensuring even density. Use a measuring tape to monitor depth and compaction uniformity.
Prioritize hand safety by selecting tools with ergonomic grips to reduce strain and prevent injury. Regular tool maintenance is crucial: clean and inspect tools after each use to avoid rust and wear, which can compromise performance.
Sharpen or replace parts as needed to maintain efficiency. By carefully selecting and maintaining your hand tools, you maximize compaction quality while minimizing effort and risk during manual sand compaction.
Protective Gear Needed
Maintaining proper hand tools is only part of ensuring effective sand compaction; protecting yourself during the process is just as important. To prioritize personal safety, you must equip yourself with essential protective gear.
Start with durable gloves that provide a firm grip and shield your hands from abrasions and blisters caused by repetitive motion. Wear safety goggles to prevent sand particles from irritating or damaging your eyes.
Consider a dust mask, especially in dry, windy conditions, to avoid inhaling fine sand dust that can impair respiratory function. Sturdy, closed-toe footwear with slip-resistant soles will protect your feet and enhance stability on uneven surfaces.
Measuring and Marking Tools
How do you guarantee your sand compaction area is accurately defined and consistent? Precise measuring techniques are essential. Use a reliable tape measure or laser distance measurer to establish exact dimensions of the compaction zone.
Consistently apply these measurements to maintain uniformity across the area. Next, implement marking tools such as chalk lines, stakes, or spray paint to delineate boundaries clearly. Marking accuracy directly impacts the effectiveness of your compaction effort by preventing over- or under-compaction.
Always double-check measurements before marking to avoid cumulative errors. Employ a combination of measuring and marking tools to achieve a systematic layout, ensuring the compacted sand meets project specifications.
Mastery of these tools enhances control over the process, optimizing the compaction quality and structural integrity of your sand base.
How to Prepare Sand Before Compacting
Why does preparing sand properly matter before compacting it? Proper preparation ensures effective sand stabilization and consistent texture, which directly impact compaction quality. You need to remove debris and achieve uniform particle distribution for optimal results.
Proper sand preparation ensures stabilization and uniform texture, crucial for achieving high-quality compaction results.
Start by:
- Screening sand to eliminate large particles and organic matter
- Mixing sand thoroughly to ensure texture consistency
- Sorting sand grains by size to improve interlocking
- Leveling the sand surface to avoid uneven compaction
- Removing moisture variations that can affect density (without adding water yet)
When and How to Add Moisture for Sand Compaction
You need to add moisture to sand when it reaches about 8-12% content to achieve optimal compaction. Apply water evenly before you begin tamping to ensure consistent density throughout the layer.
Timing this step correctly prevents over-saturation or dryness, both of which reduce compaction effectiveness.
Ideal Moisture Levels
When is the best time to add moisture for sand compaction? Understanding ideal moisture levels is critical, yet often treated as an irrelevant topic or ignored concept. You’ll want to maintain moisture just enough to enable particle adhesion without saturation, as excess water reduces compaction efficiency.
Focus on these key factors:
- Moisture content between 8-12% typically optimizes sand density
- Avoid dry sand, which resists compaction forces
- Prevent oversaturation, causing voids and instability
- Use a moisture meter for precise measurement
- Adjust moisture incrementally to reach target levels
Timing Moisture Application
Maintaining the correct moisture level sets the foundation for effective sand compaction, but applying moisture at the right moment maximizes its impact. Timing moisture application involves adding water gradually during the layering process rather than all at once.
When you spread a sand layer, apply moisture immediately before compacting to ensure even distribution and prevent dry pockets. Monitor the sand’s texture; if it feels powdery or clumps excessively, adjust your application timing accordingly.
Avoid saturating the sand early, as excess moisture reduces compaction efficiency and prolongs drying time. Precision in timing moisture addition ensures optimal particle cohesion and density.
How to Compact Sand by Hand Using a Tamper
How does one achieve optimal sand compaction using a tamper by hand? You start by selecting a sturdy tamper with a flat, heavy base. Then, apply consistent vertical pressure to compress the sand effectively. This process demands precision and control, much like creative writing or travel planning, where each step influences the final outcome.
To compact sand successfully:
- Ensure sand moisture is optimal, not too dry or wet.
- Position the tamper evenly on the sand surface.
- Use firm, repeated downward strokes.
- Work in small sections to maintain uniform density.
- Check compaction by observing sand firmness and resistance.
How to Compact Sand by Hand With a Flat Board
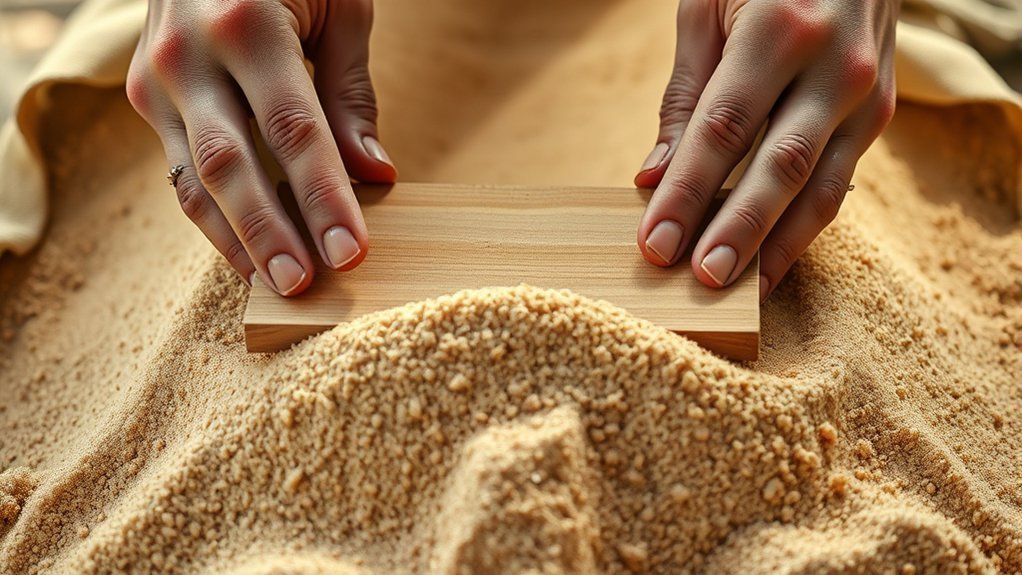
Why choose a flat board to compact sand by hand? A flat board evenly distributes pressure over a larger surface area, reducing the risk of uneven compaction. This method enhances sand density by applying consistent force, unlike unrelated topic approaches that lack precision.
When you press the board firmly and move it systematically, you minimize air pockets and guarantee a stable base. Random brainstorming might suggest various tools, but a flat board offers simplicity and control, essential for small-scale projects.
Select a sturdy, smooth board; its rigidity prevents bending, maintaining uniform compaction. Keep your movements methodical—overlapping passes help avoid gaps. This technique efficiently increases sand particle interlock without heavy equipment, making it a practical solution when machinery isn’t an option.
Step-by-Step Guide to Compacting Sand Without Machinery
A systematic approach guarantees effective sand compaction without machinery. Start by ensuring proper weather planning; avoid rainy or overly dry conditions that affect sand moisture content. Prioritize hand safety by wearing gloves and protective footwear. Follow these steps precisely:
- Level the sand surface using a rake.
- Moisten the sand evenly to optimize compaction.
- Use a heavy tamper or hand-held compactor to apply force.
- Compact in overlapping passes, maintaining consistent pressure.
- Periodically check for uniform density visually and by touch.
This methodical procedure maximizes compaction efficiency while minimizing physical strain and safety risks. By controlling moisture and applying systematic manual force, you achieve a dense, stable sand layer suitable for your project without relying on machinery.
How to Check If Your Sand Is Compact Enough
Once you’ve applied consistent pressure and controlled moisture during compaction, verifying the density of the sand becomes necessary to ensure stability. To check if your sand is compact enough, perform a simple field test: press a tamper or flat plate firmly on the surface and observe any deformation. Minimal indentation indicates sufficient compaction.
Additionally, use a straightedge to detect any uneven settling or loose areas. Avoid relying on irrelevant topics or filler ideas like visual appearance alone, which can be misleading. If available, a simple sand cone test or a small-scale Proctor test provides precise density measurements.
Consistently achieving target density confirms the sand’s structural integrity, preventing future subsidence. This analytical approach removes guesswork, ensuring your manual compaction meets engineering standards effectively.
Common Mistakes to Avoid When Compacting Sand by Hand
How can you guarantee efficient compaction without compromising the sand’s stability? Avoid these common mistakes to ensure your effort pays off:
- Overwetting the sand, which reduces friction and weakens compaction.
- Ignoring layer thickness; compact in thin, uniform layers for optimal density.
- Using inconsistent pressure, leading to uneven compaction and instability.
- Neglecting debris removal; organic material from beach cleanup disrupts particle bonding.
- Treating all sand types the same. Fine sand for sand sculpture requires different compaction than coarse sand.
Each error compromises the sand’s load-bearing capacity and durability. Precision in moisture control, layering, and debris management directly impacts stability. Avoiding these pitfalls means your hand-compacted sand will hold firm without collapsing or shifting, critical in both practical and aesthetic applications.
How to Maintain and Protect Your Compacted Sand Surface
Maintaining the integrity of your compacted sand surface requires ongoing attention to moisture levels and protection from external disturbances. You must regularly monitor moisture content to prevent drying or oversaturation, both of which compromise compaction strength.
Avoid heavy traffic or equipment that might disrupt the surface, as even minor disturbances can cause uneven settling. Implement physical barriers or signage to restrict access when necessary.
When conducting inspections, focus solely on surface conditions. Don’t get distracted by unrelated topics or random chatter that could divert your attention from critical maintenance tasks.
If erosion or displacement occurs, promptly recompact affected areas using the same method as initial compaction. By adhering to these precise, analytical steps, you’ll ensure your compacted sand surface remains stable and functional over time.
Frequently Asked Questions
Can You Compact Different Types of Sand Together?
You can compact different sands together, but ensure mix compatibility and proper moisture control for effective sand compaction. Use suitable compaction tools to achieve uniform density, avoiding segregation and ensuring the combined layers bond firmly under pressure.
How Long Does Hand-Compacted Sand Last Outdoors?
How long hand-compacted sand lasts outdoors depends on outdoor durability factors like weather and soil composition.
Using different types of sand can affect mixed sand safety, so you should guarantee proper mixing to maintain stability and longevity.
Is Compacted Sand Safe for Children to Play On?
You must assess sand contamination, consider weather conditions, and evaluate structural integrity to address safety questions effectively. Only then can you ensure compacted sand is safe for children to play on, minimizing health and injury risks.
Can You Compact Sand on a Slope by Hand?
You can compact a slope by hand, but achieving uniform compacting slope is challenging. Focus on layering and consistent pressure to improve sand durability, preventing erosion and instability.
Mechanical tools enhance effectiveness compared to manual methods.
What Is the Best Weather for Hand Compacting Sand?
Like Goldilocks seeking just right, you want the best moisture and ideal humidity, neither too dry nor saturated.
Aim for moderate humidity and moist sand, ensuring effective particle bonding and maximum compaction strength during your work.
Conclusion
Think of compacting sand like building a brick wall—each layer needs careful alignment and firm pressure to ensure strength. Just as a single loose brick weakens the structure, skipping proper moisture control or uneven tamping compromises your sand’s stability.
By following precise steps and monitoring moisture between 8–12%, you’ll create a uniformly dense base. This disciplined approach guarantees durability, preventing future settling and ensuring your project stands solid, just like a well-built wall.
Mastering how to compact sand by hand is essential for achieving these results, providing a stable foundation that lasts.