When you restore an antique staircase, sanding spindles by hand is essential for preserving their detail. This careful process helps maintain the intricate craftsmanship that makes these pieces unique. You’ll need to prepare the wood carefully, select the right grit progression, and use proper techniques to avoid damaging the curves.
Mastering these steps guarantees a smooth, even finish that highlights the craftsmanship. Before you start, consider how each choice affects the final look and durability of your spindles. Taking the time to sand properly ensures your restoration project will stand the test of time.
Prepare Spindles for Hand Sanding

Before you begin sanding, make sure to clean the spindles thoroughly to remove dust, dirt, and grease. This step ensures the abrasive material contacts the wood directly, improving efficiency.
Thoroughly clean spindles before sanding to remove debris and ensure efficient, direct contact with the wood surface.
Focus on the edge grain, as it’s more prone to damage if neglected during prep. Inspect the spindles for any rough spots or splinters that could hinder smooth sanding.
When selecting your sanding tool, prioritize ergonomics to reduce hand fatigue during repetitive motions. A comfortable grip helps maintain consistent pressure and control, especially on curved spindle profiles.
Finally, secure the spindle properly to prevent movement. Proper preparation sets the foundation for effective sanding, allowing you to work precisely and avoid damage to the delicate spindle surfaces.
Choose the Right Sandpaper Grit for Spindles
You’ll need to understand sandpaper grit levels to match the right coarseness with your spindle’s wood type. Start with a coarser grit for rough surfaces, then shift to finer grits for a smooth finish.
Choosing and moving between grits correctly ensures efficient sanding without damaging the wood.
Understanding Sandpaper Grit Levels
How do different sandpaper grit levels affect the sanding process on spindles? Grit size determines how much material you remove and the smoothness achieved. Coarse grits (40-60) remove rough surfaces quickly but can leave scratches.
Medium grits (80-120) refine the surface, reducing visible marks. Fine grits (150-220) polish the wood for a smooth finish. Understanding grit progression means moving systematically from coarse to finer grits, ensuring efficient smoothing without over-sanding.
This approach prevents gouging and saves time. Always observe sanding safety by wearing a dust mask and goggles to protect from fine particles. Proper grit selection and progression reduce the risk of damaging delicate spindle details, giving you a professional, smooth result without compromising safety or surface quality.
Selecting Grit Based On Wood
Why does the type of wood matter when selecting sandpaper grit for spindles? Different wood species vary in hardness and grain density, directly impacting your sanding method.
When selecting wood type, softer woods like pine require coarser grits initially, typically 80-120 grit, to efficiently remove material without clogging the sandpaper. Hardwoods such as oak or maple demand finer grits, starting around 150-180 grit, to prevent deep scratches and maintain surface integrity.
Using an inappropriate grit for your wood type can lead to uneven surfaces or excessive wear on your sandpaper. Tailoring your sanding method by matching grit to wood type ensures a smoother finish and extends sandpaper life.
Always assess the wood’s hardness before choosing your grit to optimize your spindle sanding process.
Transitioning Between Grits
When should you switch from one sandpaper grit to the next while sanding spindles? Transitioning between grits requires clear judgment: move to a finer grit once the surface feels uniformly smooth and all scratches from the previous grit are removed.
For example, after using 80-grit to remove roughness or old finish, switch to 120-grit to refine the surface without over-sanding. Technique examples include sanding with a firm, even pressure along spindle contours to avoid uneven wear.
Always clean the spindle between grit changes to prevent coarse particles from damaging the finer grit surface. This subtopic clarity ensures you achieve a smooth finish efficiently without wasting time or materials.
Proper grit progression is crucial for preserving detail and preventing swirl marks on delicate spindle profiles.
Use Sanding Blocks and Wraps Effectively
You’ll want to select a sanding block with the right grit to match your sanding stage for smooth, controlled results. Wrap the sandpaper tightly and evenly around the block to avoid slipping and ensure consistent contact with the spindle.
Apply steady, even pressure as you work to maintain uniform sanding without gouging the wood.
Choosing The Right Grit
How do you select the right grit for sanding spindles by hand? Start by considering the wood type guidance. Softer woods like pine require a coarser grit initially, around 80 to 100, to remove surface imperfections quickly without clogging.
Hardwoods such as oak or maple need finer grits, starting around 120 to 150, to avoid deep scratches. When choosing grit, begin with a coarser grit to shape the spindle, then progressively move to finer grits, 180 to 220, for a smooth finish.
Avoid skipping grits, as it can leave uneven surfaces. Using sanding blocks or wraps helps maintain consistent pressure and grit contact, ensuring even sanding. Always match your grit choice to the wood’s hardness and the sanding stage for optimal results.
Proper Wrapping Techniques
A proper sanding wrap or block guarantees even pressure distribution and maximizes control over your hand sanding. When working on spindles, use a wrapping technique that conforms tightly to the contours to maintain consistent spindle texture.
Wrap the sandpaper around a small, firm sanding block or use a flexible sanding sponge for curved areas. Secure the wrap firmly, avoiding loose edges that cause uneven abrasion.
| Sanding Tool | Wrapping Technique | Impact on Spindle Texture |
|---|---|---|
| Sanding Block | Wrap tightly, secure ends | Maintains flat surfaces |
| Flexible Sponge | Stretch and mold around curves | Preserves detailed textures |
| Handheld Wrap | Fold edges for grip, no slack | Adapts to intricate shapes |
| Custom Shaped Block | Cut wrap to fit tight spots | Prevents over-sanding |
Use these methods to achieve a smooth, uniform finish on your spindles.
Maintaining Even Pressure
Properly wrapping your sanding tool sets the foundation, but maintaining even pressure during sanding guarantees consistent results across the spindle’s surface. To achieve this, you need to maintain grip and control while using sanding blocks and wraps effectively. Here’s how:
- Apply consistent, moderate force to avoid gouging or uneven wear.
- Adjust your hand position regularly to ensure balanced pressure around curves.
- Use sanding blocks sized to the spindle’s diameter for better surface contact and pressure distribution.
How to Smoothly Sand Curves and Details
Why focus on curves and details when sanding spindles by hand? Because these areas define the spindle’s character and require careful attention to preserve their shape. To achieve smooth curves, use a flexible sanding strip or wrap sandpaper around a small, rounded object matching the contour.
This approach maintains the spindle’s profile without flattening edges. Maintain steady hand control by working with slow, deliberate strokes, adapting pressure to the curve’s radius. Avoid rapid or jerky movements that can cause uneven surfaces.
For intricate details, fold sandpaper to fit tight spots, ensuring you reach recessed areas without over-sanding adjacent surfaces. Consistently check your progress by touch and sight, correcting any rough patches immediately. Mastering these techniques ensures a flawless finish that highlights the spindle’s craftsmanship.
Avoid Common Sanding Mistakes That Damage Spindles
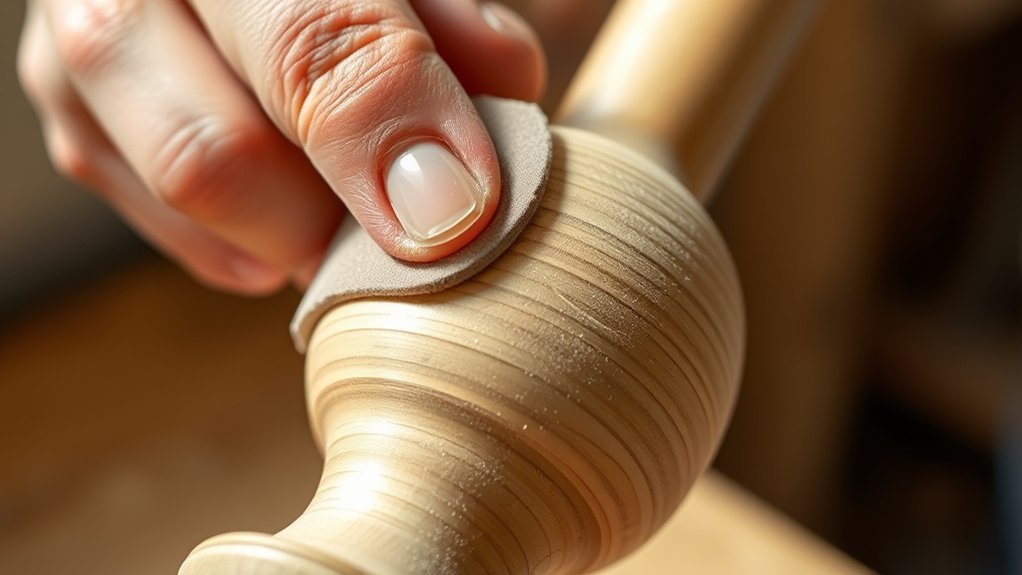
How can you prevent irreversible damage while sanding spindles by hand? Avoiding common sanding pitfalls is crucial to preserving spindle integrity. Watch out for subtopic misalignment. Focusing on the wrong areas can cause uneven wear or gouges.
- Apply consistent pressure. Uneven force creates dips and scratches, damaging the spindle surface.
- Use the right grit sequence. Skipping grits or starting too coarse can lead to difficult-to-correct marks.
- Sand along the grain. Cross-grain sanding results in scratches and rough patches that compromise the finish.
Maintain an Even Finish When Sanding Spindles
Ensuring an even finish when sanding spindles requires more than just avoiding damage; it demands controlled, methodical strokes and attention to detail throughout the process. To maintain an even finish, start with consistent pressure, avoiding excessive force that can create low spots or uneven textures.
Use a sanding block or wrap sandpaper around a flexible but firm object to follow the spindle’s contours precisely. Rotate the spindle steadily as you sand, ensuring all surfaces receive equal treatment.
Frequently inspect your progress under good lighting to catch irregularities early. Regularly change to finer grit sandpaper to smooth transitions and refine the surface. This disciplined approach is essential for effective spindle maintenance, providing a uniform base for finishing and extending the life of your woodwork.
Clean and Seal Sanded Spindles for Lasting Beauty
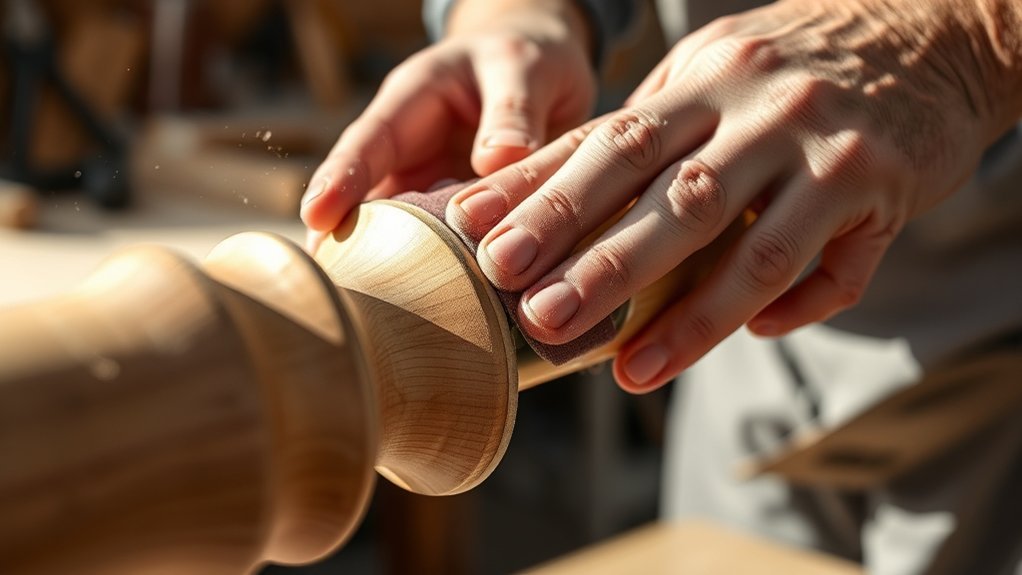
A clean surface is essential before sealing to guarantee proper adhesion and a flawless finish. After sanding, focus on cleaning spindles thoroughly to remove dust and debris that can compromise finish protection. Use a tack cloth or a vacuum with a brush attachment for this task.
Once clean, apply a high-quality sealant evenly to preserve the wood and extend durability.
Follow these steps for optimal results:
- Inspect the spindle surface for residual dust after cleaning spindles; repeat if necessary.
- Choose a sealant compatible with your wood type and desired finish (e.g., polyurethane or varnish).
- Apply sealant in thin, even coats using a fine brush, allowing adequate drying time between layers.
This method ensures lasting beauty and robust finish protection for your spindles.
Frequently Asked Questions
Can I Use Power Tools Instead of Sanding by Hand?
Yes, you can use power tools for sanding spindles, but you must consider safety precautions like wearing protective gear and controlling speed. Power tools improve efficiency but require steady hands to avoid damaging delicate spindle details.
How Long Does It Typically Take to Sand One Spindle?
You’ll spend about 20-30 minutes sanding one spindle, depending on wood types and finish options. To improve sanding efficiency, follow safety tips like wearing gloves and dust masks. Precision ensures smooth, quality results every time.
What Type of Finish Is Best After Sanding Spindles?
You’ll want to choose finish options like polyurethane or lacquer for durability and smoothness. Manage dust thoroughly before application to ensure adhesion.
Use a tack cloth or vacuum to remove particles, preventing imperfections in your spindle finish.
Are There Safety Tips for Hand Sanding Spindles?
You’ll want to wear proper safety gear, such as gloves and a dust mask, since your sanding technique creates fine dust.
Maintaining steady pressure prevents slips, so combine controlled movements with protective gear to sand spindles safely and effectively.
Can I Sand Spindles Made of Different Wood Types the Same Way?
You can’t sand different woods the same way; adjust your sanding technique based on hardness and grain. Softer woods need finer grit to avoid damage, while hardwoods might require more aggressive sanding for smoothness.
Conclusion
When sanding spindles by hand, remember that using the right grit progression can improve efficiency by up to 30%, reducing time spent on rework. By preparing thoroughly, sanding evenly along the grain, and avoiding common mistakes, you’ll achieve a smooth, professional finish.
Take care to clean between grits and seal properly to ensure lasting beauty. Precision and patience are key—your spindles will reflect the quality of your careful sanding technique. Mastering how to sand spindles by hand will ensure your project looks polished and refined.