Think of your orbital sander as the engine of your finishing work—when your orbital sander is clogged with dust and debris, its performance falters. You can’t afford downtime or uneven sanding caused by neglect.
Knowing how to properly clean the tool guarantees it operates smoothly and lasts longer. Before you dive into maintenance, consider the key steps that protect both the sander and your workspace from damage and dust buildup.
How To Tell When Your Orbital Sander Needs a Clean
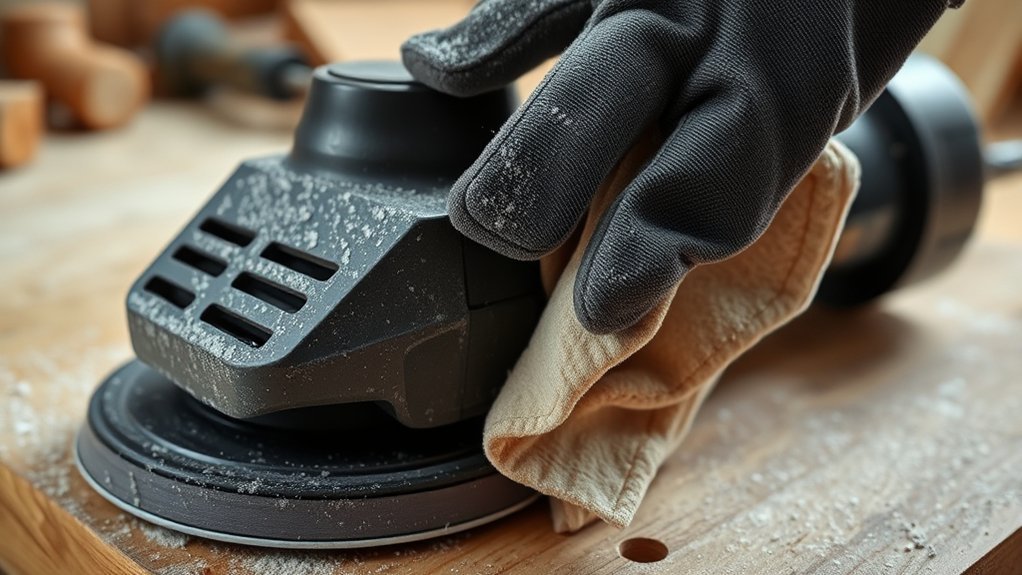
You’ll know your orbital sander needs a clean when its performance drops noticeably. Reduced sanding efficiency or excessive vibration often signals internal clogging. To diagnose clog, inspect the sanding pad and dust port for accumulated debris.
Check airflow; restricted suction indicates a blockage affecting motor cooling and dust extraction. Examine the dust bag or canister; excessive buildup reduces effectiveness. Additionally, monitor motor temperature. Overheating may suggest clogged vents.
When to replace filters depends on wear and visible contamination. If filters appear saturated or damaged, replace them promptly to maintain airflow and prevent motor strain. Regular inspection helps you identify these issues early, ensuring your orbital sander operates at optimal efficiency and prolonging its service life.
Gather Cleaning Tools and Supplies
Start by collecting essential cleaning materials like compressed air, brushes, and cloths. Make sure you wear protective gear such as gloves and safety glasses to avoid injury.
Set up your workspace in a well-ventilated area with good lighting for efficient cleaning.
Essential Cleaning Materials
Which tools and materials are essential for effectively cleaning your orbital sander? First, gather a soft-bristle brush to remove fine dust without damaging components, crucial for maintaining orbital sander ergonomics and preventing operational strain.
Use compressed air to blow out debris from tight spaces and the dust collection system, supporting efficient dust collection maintenance. A microfiber cloth dampened with a mild solvent safely cleans external surfaces, preserving grip and control.
Additionally, have replacement sandpaper discs ready for quick changes after cleaning. Small picks or toothpicks help dislodge stubborn particles from vents. Avoid harsh chemicals that could degrade plastic or rubber parts.
Using these precise materials ensures your orbital sander remains well-maintained, ergonomically responsive, and dust-free for optimal performance.
Protective Gear Preparation
How should you prepare to protect yourself during orbital sander cleaning? Begin by selecting appropriate protective gear. Wear safety goggles to shield your eyes from dust and debris.
Use a dust mask or respirator rated for fine particles to protect your respiratory system. Put on heavy-duty gloves to prevent skin irritation from cleaning agents and sharp components. Consider ear protection if noise exposure is significant.
These preparation steps ensure safety throughout the cleaning process. Inspect your protective gear for damage before use. Have all cleaning tools and supplies within reach to minimize unnecessary movement during cleaning.
Proper protective gear preparation not only guards against physical hazards but also enhances efficiency by allowing you to focus on the task without distraction or risk. Always prioritize safety to maintain optimal working conditions.
Workspace Setup Tips
An organized workspace streamlines the cleaning process and reduces the risk of accidents. Begin by selecting a well-lit, flat surface that supports proper workspace ergonomics to minimize strain during cleaning.
Arrange your cleaning tools, such as brushes, compressed air, cloths, and solvent, in an accessible layout. Use dedicated tool storage solutions like magnetic strips or labeled bins to keep everything orderly and prevent misplacement.
Ensure electrical outlets are nearby for any powered cleaning devices, but keep liquids well separated to avoid hazards. Clear the area of unnecessary items to maintain focus and safety.
Cleaning Your Orbital Sander: A Simple Step-By-Step Guide
Maintaining your orbital sander’s performance requires regular cleaning to remove dust and debris that accumulate during use. Start by unplugging the sander for safety. Remove the sanding pad and brush off loose particles using a stiff brush.
Use compressed air to blow out dust from vents and motor housing, preserving orbital sander aesthetics and preventing overheating. For stubborn varnish removal, apply a small amount of solvent on a cloth and wipe the sanding pad carefully, ensuring no residue affects future sanding.
Check the pad for wear and replace if necessary. Reassemble the sander and wipe the exterior with a damp cloth. Following these steps consistently ensures optimal function and prolongs tool life without compromising the orbital sander’s aesthetics or your varnish removal strategies.
Maintain the Orbital Sander’s Dust Collection System
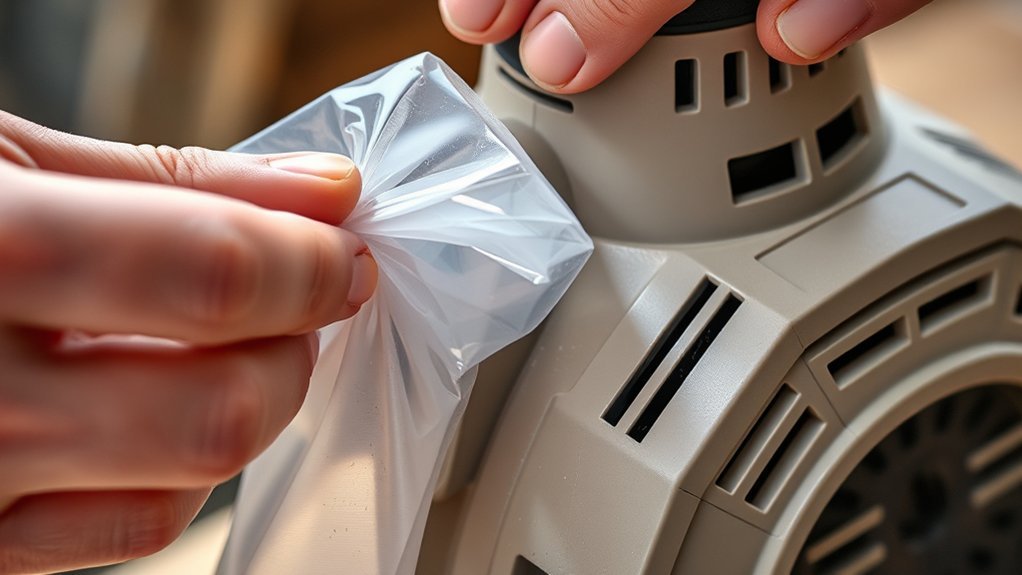
You should empty the dust bag regularly to prevent clogging and maintain optimal suction.
Check and clean the dust port filters to ensure efficient airflow and extend the tool’s lifespan. Keeping these components clear will improve performance and reduce wear.
Empty Dust Bag Regularly
How often do you empty the dust bag on your orbital sander? Regularly emptying the dust bag is essential for peak performance and longevity. Neglecting this routine maintenance can reduce suction efficiency and cause overheating.
Make emptying the dust bag part of your routine maintenance by following these steps:
- Detach the dust bag carefully to avoid dust spillage.
- Dispose of collected dust in an appropriate container or trash.
- Inspect the bag for damage or wear and replace if necessary.
- Reattach the dust bag securely to maintain proper airflow.
Clean Dust Port Filters
Regularly cleaning the dust port filters guarantees your orbital sander’s dust collection system operates efficiently. Start by detaching the dust port carefully to access the filters. Use compressed air or a soft brush to remove accumulated dust and debris from the filter surface without damaging its mesh.
Inspect the filters for tears or clogging; replace them immediately if compromised. Proper filters maintenance prevents airflow restriction, which can reduce sander performance and cause overheating.
After cleaning, reattach the dust port securely to maintain an airtight seal. Perform filters maintenance routinely, ideally after every few hours of use, to ensure consistent dust extraction.
Neglecting this step risks clogging and diminished dust collection, impacting both tool longevity and your workspace cleanliness.
Tips To Prevent Orbital Sander Dust Build-Up
Where does all the dust go when you’re working with an orbital sander? Effective dust management is essential for orbital sander maintenance and longevity. Preventing dust build-up not only improves sanding efficiency but also protects internal components from damage.
Managing dust during orbital sanding is key to maintaining tool efficiency and preventing internal damage.
To minimize dust accumulation, follow these tips:
- Use a vacuum attachment or dust collection system compatible with your sander.
- Regularly empty dust bags or containers to maintain optimal airflow.
- Employ high-quality, compatible sanding discs to reduce excessive dust generation.
- Work in well-ventilated areas and clean the workspace frequently to prevent dust settling.
How To Fix Common Orbital Sander Cleaning Problems
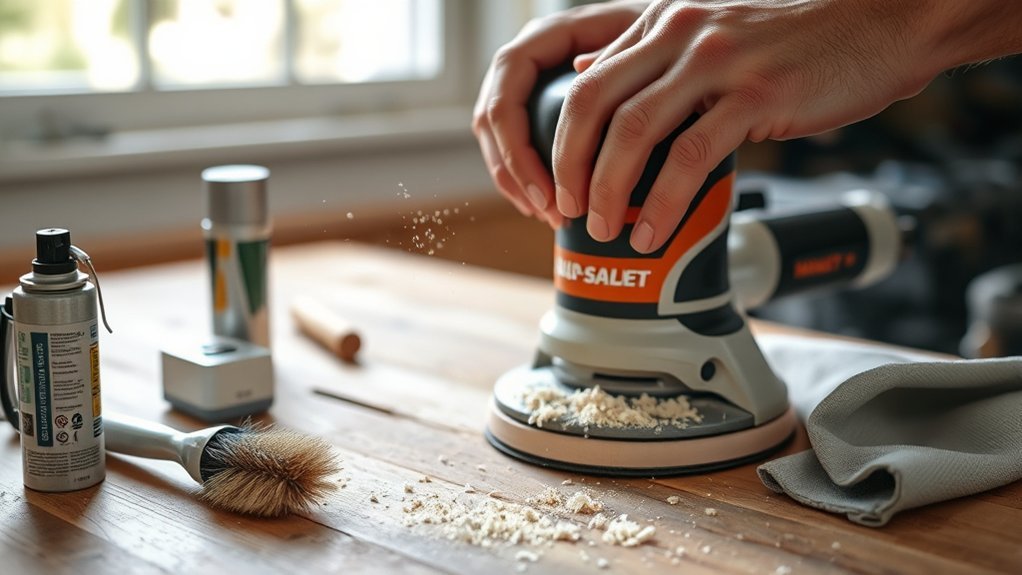
Why does your orbital sander still struggle despite routine cleaning? Often, cleaning shortcuts cause overlooked debris buildup inside the motor housing or ventilation slots. Avoid quick surface wipes; instead, open the casing periodically to remove dust clogs with compressed air or a soft brush.
Another common issue is worn or improperly aligned sanding pads, which reduce sanding refinements and efficiency. Check pad attachment and replace if damaged.
Additionally, verify the dust collection system isn’t blocked or damaged, as this limits suction and performance. By addressing these factors—thorough internal cleaning, pad inspection, and dust system maintenance—you’ll restore optimal sander function.
Don’t rely on shortcuts; precise, methodical cleaning ensures your orbital sander operates smoothly and extends its lifespan.
Frequently Asked Questions
Can I Use Water to Clean My Orbital Sander?
You shouldn’t use water for cleaning your orbital sander because water-based cleaning can damage electrical components. Instead, focus on dust containment with compressed air or a vacuum to keep the tool safe and functioning properly.
How Often Should I Replace Sanding Pads?
You should replace sanding pads when they show wear or clogging, usually after several uses. Avoid water cleaning to prevent damage.
Always wear safety gear during replacement to protect yourself from dust and debris.
What Safety Gear Is Recommended When Cleaning an Orbital Sander?
Wear safety gear like goggles, gloves, and a dust mask. Use proper cleaning methods, such as compressed air or a soft brush.
You’ll protect your eyes, hands, and lungs while efficiently maintaining your orbital sander.
Can Cleaning Improve My Sander’s Performance?
Yes, cleaning benefits your sander by removing dust and debris, which reduces motor strain and improves airflow. These performance gains extend tool life, enhance sanding efficiency, and assure smoother, more consistent results during operation.
Are There Specific Brands of Cleaners for Orbital Sanders?
You won’t find orbital sander brands offering specialized cleaning solutions, but general electronics or power tool cleaners work well. Choose non-corrosive, residue-free options to maintain your sander’s motor and components effectively.
Conclusion
Keeping your orbital sander clean isn’t just good practice—it’s like giving your tool a new lease on life. By regularly brushing off dust, inspecting pads, and maintaining the dust collection system, you’ll prevent performance drops and costly repairs.
Don’t let dirt and debris turn your sander into a sluggish beast. Follow these straightforward steps, and you’ll ensure smooth, efficient sanding every time.
Taking the time to clean your orbital sander properly will make your projects easier and your results sharper than ever before, helping you get the most out of your orbital sander.