Sanding small crevices by hand can feel like steering a tightrope—one wrong move, and you risk damaging delicate edges. You’ll need patience, precision, and the right approach to tackle these tricky spots effectively. Starting with proper preparation and selecting the correct grit is essential.
Mastering the technique to avoid gouges and achieve a smooth finish takes practice. Let’s explore how to handle this task with confidence and control.
Preparing Your Workpiece for Sanding Small Crevices
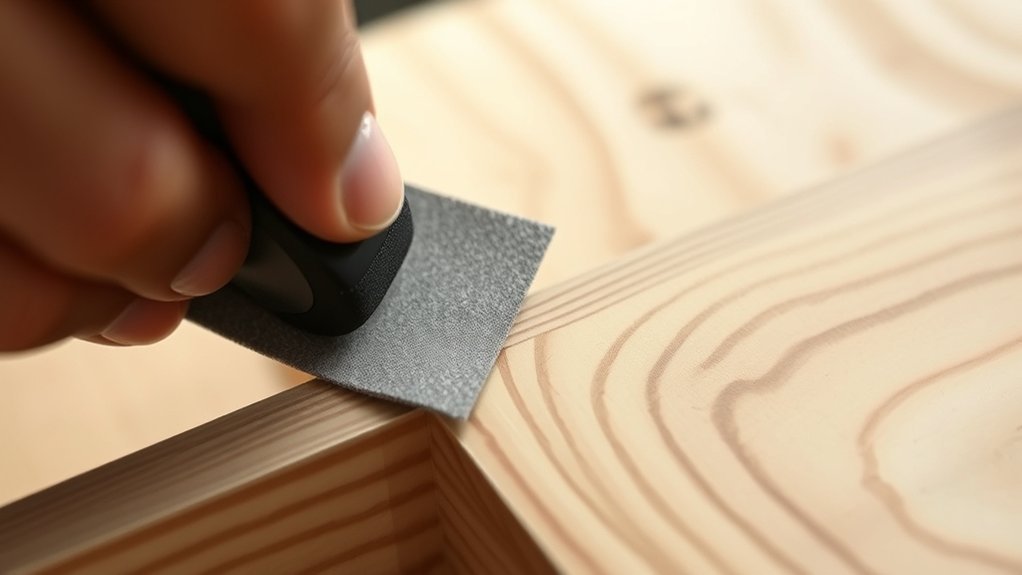
Begin by thoroughly cleaning your workpiece to remove dust, grease, and any loose debris, as a clean surface guarantees better sanding results in small crevices. Use a soft brush or compressed air to reach tight spots, ensuring your small crevice prep is meticulous.
Next, inspect the crevices for damage or irregularities that require attention before sanding. When you’re ready to sand, consider grip ergonomics carefully; hold your sanding tool or block firmly but comfortably.
A secure grip prevents slipping and improves control, letting you work precisely in confined areas. Position your hand to maintain steady pressure without fatigue. Taking these preparatory steps ensures you’ll tackle small crevices efficiently, achieving smooth, professional results without frustration or wasted effort.
Choosing the Right Sandpaper Grit for Tight Spaces
How do you select the right sandpaper grit for tight spaces to achieve the best results? Precision sanding demands careful grit selection to avoid damaging delicate crevices while effectively smoothing surfaces.
Start with a coarser grit, like 120 or 150, to remove rough material quickly. For intricate areas, opt for finer grits such as 220 or 320 to refine the finish without over-sanding.
Begin with 120 or 150 grit, then switch to 220 or 320 for detailed, delicate sanding.
Avoid grits that are too coarse, as they can gouge or distort small details. Conversely, using grit that’s too fine too soon wastes time and reduces efficiency.
Always match grit selection to the material’s hardness and the level of smoothing needed. By choosing the right grit, you maintain control, protect the workpiece, and ensure your precision sanding delivers clean, smooth crevices every time.
Best Tools for Sanding Small Crevices by Hand
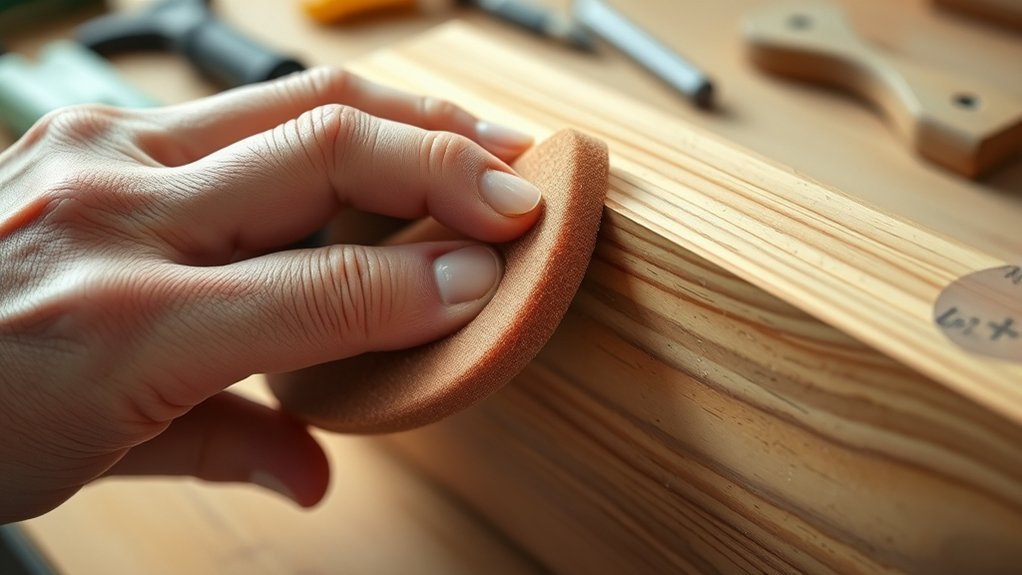
To sand small crevices effectively, you’ll need the right tools that offer control and precision. Essential options include sanding sticks, folded sandpaper, and small files designed to reach tight spots.
You can also use specialty abrasives like micro-mesh pads or flexible sanding sponges to smooth irregular surfaces without damaging delicate areas.
Essential Sanding Tools
Selecting the right sanding tools is essential when working on small crevices by hand, as precision and control directly impact your results. You’ll want tools that offer precision balance to avoid slips and ensure even sanding. Edge protection is crucial to prevent damage to delicate surfaces while accessing tight spaces.
Here’s a quick guide to essential sanding tools:
| Tool Type | Key Feature | Ideal Use |
|---|---|---|
| Needle Files | Precision balance | Narrow crevices |
| Sanding Sticks | Edge protection | Flat edges and curves |
| Detail Sandpaper | Flexible, small size | Intricate, hard-to-reach areas |
Choosing tools with these features helps you maintain control, protect edges, and achieve smooth finishes in small crevices.
Specialty Abrasive Options
Why settle for generic abrasives when specialty options can dramatically improve your control and finish in tight spaces? Choosing the right abrasive tool enhances your precision grip and reduces dust containment issues, making your work cleaner and more efficient.
1. Detail Sanding Sticks
These slim, flexible sticks fit snugly into crevices, offering excellent control without hand fatigue.
2. Mini Sanding Sponges
Their conformable surface adapts to uneven contours, providing uniform abrasion and better dust containment.
3. Needle Files with Abrasive Coating
Perfect for intricate areas, these tools give you a firm precision grip and precise material removal.
Using these specialty abrasives lets you tackle small crevices confidently and neatly, ensuring a flawless finish every time.
Using Sanding Sticks, Files, and Sponges Effectively
A well-chosen sanding tool can make all the difference when working on small crevices. You need to focus on scope alignment, selecting a tool that fits the size and shape of the crevice, and tool ergonomics to maintain control and reduce fatigue. Sanding sticks offer precision in tight spots, files provide consistent abrasion on edges, and sponges conform to irregular shapes for even sanding.
| Tool Type | Best For | Key Benefit |
|---|---|---|
| Sanding Stick | Narrow, straight crevices | Precision control |
| File | Edges and corners | Consistent abrasion |
| Sponge | Curved or uneven areas | Flexible shaping |
| Combination | Complex shapes | Versatile use |
Choosing tools with proper ergonomics ensures comfort and accuracy during detailed sanding tasks.
Techniques for Sanding Narrow Crevices Smoothly
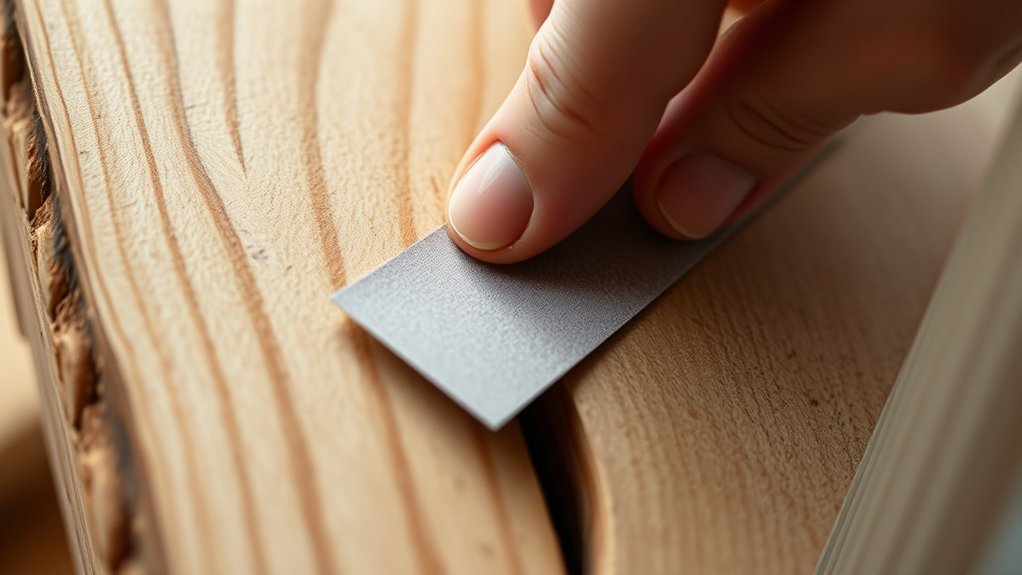
Mastering the right technique can make sanding narrow crevices much smoother and more efficient. Start by selecting fine-grit sandpaper wrapped tightly around a thin, flexible shim to reach deep into crevice gaps without over-sanding surrounding areas.
Master the technique of using fine-grit sandpaper on a flexible shim for precise, efficient sanding in narrow crevices.
Next, use small, controlled strokes along the crevice’s length, maintaining consistent pressure to avoid uneven surfaces. Finally, prioritize dust control by working over a damp cloth or vacuuming frequently to prevent buildup that obscures your progress.
- Wrap fine-grit sandpaper on a flexible shim for precise access.
- Use controlled, linear strokes to smooth crevice gaps evenly.
- Employ damp cloths or vacuuming for effective dust control.
These techniques ensure you sand narrow crevices cleanly, preserving detail while achieving a smooth finish.
Avoiding Damage When Sanding Delicate Details
When working on delicate details, you need to apply gentle pressure and choose the right sanding tools to prevent damage. Start with fine-grit sandpaper or sanding sticks designed for precision work. Use a light touch and small, controlled movements to avoid removing too much material or distorting intricate shapes.
This techniques overview emphasizes patience and steady hands. Always inspect your work frequently to catch any signs of over-sanding early. Safety considerations include wearing a dust mask and eye protection, as fine dust can irritate your respiratory system and eyes.
Avoid using power tools near delicate areas to maintain control and reduce risks. By combining these practical strategies, you’ll protect fragile surfaces while achieving a smooth, refined finish without compromising detail integrity.
Troubleshooting Rough Finishes and Tool Marks
If you notice uneven surfaces or visible tool marks after sanding, it’s essential to identify their source before proceeding. Check for inconsistent pressure or using the wrong grit sandpaper, which often causes rough finishes.
To smooth these areas, switch to finer grits and use controlled, even strokes that follow the contours of the crevice.
Identifying Common Tool Marks
How can you tell if your sanding efforts have left behind unwanted tool marks or rough patches? Identifying common toolmarks is essential to achieving a smooth finish, especially in tight areas. Look closely for these signs:
1. Small Crevice Gouges
Tiny, uneven indentations in narrow spots signal aggressive sanding or improper grit choice.
2. Scratch Patterns
Parallel lines or circular swirls often indicate uneven pressure or using a worn-out abrasive.
3. Rough Patches
Areas that feel coarse or inconsistent suggest missed spots or insufficient sanding time.
Techniques for Smoother Surfaces
Why do rough finishes and tool marks persist despite careful sanding? Often, it’s due to inconsistent pressure or missed spots in small crevices. To achieve smoother surfaces, maintain a precision grip on your sanding tool, allowing controlled, even strokes. This prevents gouges and uneven abrasion.
Focus on light, circular motions to blend tool marks seamlessly. Effective dust management is crucial. Regularly wipe debris away with a soft brush or cloth to avoid scratches from trapped particles.
Change sandpaper frequently to ensure abrasive quality remains optimal, especially in tight areas. Finally, inspect your work under good lighting, feeling for imperfections. These techniques ensure you eliminate roughness and tool marks, leaving your small crevices perfectly smooth without over-sanding or damaging delicate surfaces.
Cleaning and Maintaining Your Sanding Tools
When was the last time you thoroughly cleaned your sanding tools? Proper tool maintenance ensures consistent results and prolongs the life of your equipment, a crucial part of the technique rationale. To clean and maintain your tools effectively, follow these steps:
- Remove dust and debris from sandpaper and sanding blocks using a stiff brush or compressed air.
- Inspect sandpaper for wear and replace it if abrasive grit is worn down or clogged.
- Wipe handles and sanding surfaces with a damp cloth to remove oils and grime that reduce grip.
Regular maintenance prevents clogging and uneven sanding, helping you achieve smooth, precise finishes in tight crevices without frustration or tool failure. Make cleaning part of your sanding routine for optimal performance.
Checking Crevices for a Smooth, Professional Finish
You’ll want to start by closely inspecting the crevice under good lighting, looking for any rough spots or uneven areas. Next, run your fingertip gently along the surface to feel for smoothness and catch any missed imperfections.
This combination of visual and tactile checks guarantees your sanding work achieves a truly professional finish.
Visual Inspection Techniques
How can you be sure that every nook and cranny in your project is perfectly smooth? Visual inspection is your first line of defense. Use strong, angled lighting to reveal uneven surfaces or remaining rough patches in crevices.
Next, perform scratch testing by gently running a fingernail or a soft tool along the crevice edges; this helps detect subtle imperfections invisible to the eye. Focus on these three precise steps:
- Position a bright light source at an angle to cast shadows inside crevices.
- Slowly move your eyes along the contours to spot inconsistent textures.
- Apply gentle scratch testing to confirm the absence of rough spots or burrs.
Tactile Smoothness Testing
Why rely solely on your eyes when ensuring crevices are perfectly smooth? Tactile assessment lets you detect subtle imperfections that visual inspection can miss.
After sanding, gently run your fingertip along the crevice’s surface, paying close attention to the crevice texture. You’re looking for any roughness, bumps, or uneven spots that disrupt the smooth finish. Use light pressure to avoid creating new scratches but enough to feel inconsistencies.
If you detect rough patches, return to sanding with fine-grit paper, focusing on those areas. Repeat the tactile assessment until the surface feels uniformly smooth, mimicking the surrounding material.
This hands-on approach guarantees a professional finish by combining touch with sight, ensuring your small crevices are flawlessly prepared and ready for painting or sealing.
Advanced Tips for Perfecting Small Crevice Sanding
What techniques can elevate your small crevice sanding from good to flawless? Mastering edge trimming and grit management is key. First, use fine-grit sandpaper wrapped tightly around a toothpick or small wooden stick to access tight corners without damaging edges.
Second, alternate between sanding grits systematically. Start with medium, then fine to prevent uneven surfaces and maintain control over grit management.
Third, employ a magnifying glass to inspect your progress closely, ensuring no rough spots or leftover debris remain. These steps help you achieve consistent results and avoid over-sanding delicate edges.
Frequently Asked Questions
Can I Use Power Tools for Sanding Small Crevices?
You can use power tools for sanding small crevices, but you’ll need an ergonomic grip and a fine attachment. Move in a circular motion carefully to avoid damage and ensure even sanding in tight spaces.
What Safety Gear Is Recommended When Sanding by Hand?
You should wear safety gear like goggles to protect your eyes, a dust mask for respiratory safety, and gloves to shield your hands.
Use a vacuum or damp cloth for dust management, preventing inhalation and mess.
How Long Does Hand Sanding Small Crevices Usually Take?
Timing expectations vary, but you’ll usually spend 10-30 minutes on small crevices to ensure finish quality. Don’t rush. Precision matters here, so take your time for smooth, even results without damaging delicate details.
Can Sanding Small Crevices Affect Paint or Finish Adhesion?
Yes, improper crevices preparation can negatively affect adhesion impact. You’ll want to sand carefully, removing debris without over-sanding, to ensure paint or finish bonds well and lasts longer, especially in tight, hard-to-reach areas.
Are There Eco-Friendly Sandpaper Options for Small Crevices?
Like a gentle breeze through leaves, you’ll find eco-friendly sanding options made from recycled materials or natural fibers perfect for small crevices. They’re precise, biodegradable, and easy on the planet while effectively smoothing tight spots.
Conclusion
By mastering these sanding techniques, you’ll tame even the most stubborn crevices with surgical precision—no nook or cranny will resist your touch. With the right grit, tools, and steady hands, your small spaces will transform from rough chaos to flawlessly smooth surfaces that look like they belong in a museum.
Keep your tools sharp and your focus sharper, and you’ll conquer every detail with ease. Sanding small crevices by hand requires patience and control, but the results are well worth the effort.
With practice, your skills will improve, leaving behind nothing but perfection in every tight spot. Remember, the key to success is mastering sanding small crevices by hand.