You might think an orbital sander can’t achieve perfectly flat surfaces, but with the right technique, an orbital sander can sand flat surfaces effectively. Keeping the tool level and using slow, overlapping passes are key to preventing gouges and uneven spots.
Applying consistent pressure and progressing through grits ensures a smooth finish. However, mastering these details requires more than just turning the sander on—there’s a precise method that makes all the difference.
Choose the Right Grit Sandpaper for Orbital Sander Use
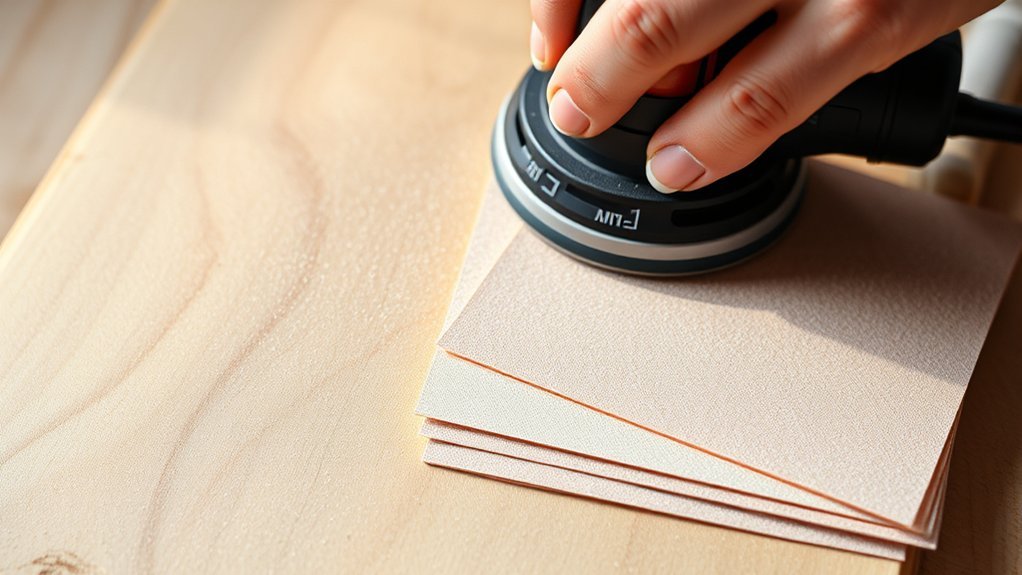
Selecting the right grit sandpaper is essential for achieving a smooth, even finish with your orbital sander. Grit selection directly influences material removal rate and surface texture.
Start with a coarse grit (40-60) for heavy stock removal, then progress to medium grits (80-120) for smoothing. Finish with fine grits (150-220) to eliminate scratches.
Maintain a consistent sanding cadence to avoid uneven wear or gouging. Move the sander steadily and overlap passes slightly to ensure uniform abrasion. Avoid lingering in one spot, which causes dips or burn marks.
Proper grit progression and controlled sanding cadence work together to create a flat, polished surface. Choosing sandpaper grit with precision helps you optimize efficiency and surface quality when sanding flat with your orbital sander.
Prepare Your Orbital Sander for Consistent Sanding
Before you start sanding, select the correct grit sandpaper to match your project’s needs. Make certain the sandpaper is firmly attached to the orbital sander’s pad to prevent slipping or uneven wear.
Proper preparation ensures consistent pressure and smooth results throughout your sanding session.
Choose Proper Sandpaper Grit
How do you determine the right sandpaper grit for your orbital sander? Start by assessing the surface condition. Coarse grits (40-60) remove material quickly but generate more dust, so ensure your dust collection system is effective to maintain visibility and cleanliness.
Medium grits (80-120) smooth surfaces without aggressive removal, ideal for initial sanding phases. Fine grits (150-220) refine and prepare surfaces for finishing.
Always wear safety footwear to protect against accidental slips or dropped tools during sanding tasks. The correct grit balances efficiency and finish quality, preventing gouges or unevenness.
Selecting proper grit optimizes sanding performance and surface flatness while minimizing dust buildup, enhancing both safety and the longevity of your orbital sander.
Secure Sandpaper Correctly
Why does securing sandpaper correctly matter? A secure grip on the sandpaper ensures even sanding, prevents slipping, and optimizes dust control. Without proper attachment, the paper can shift, causing uneven surfaces and clogging the sander’s dust collection system.
To secure sandpaper correctly, align it precisely, press firmly against the pad, and fasten any clamps or hook-and-loop systems tightly. This guarantees consistent contact and efficient operation.
| Step | Action | Benefit |
|---|---|---|
| Align Paper | Match edges to pad | Uniform sanding |
| Press Firmly | Apply even pressure | Secure grip |
| Fasten Clamps | Lock sandpaper | Prevents shifting |
| Check Dust Port | Ensure clear path | Optimal dust control |
Proper sandpaper attachment improves sanding quality and prolongs tool life.
How to Sand Flat Surfaces Like a Pro
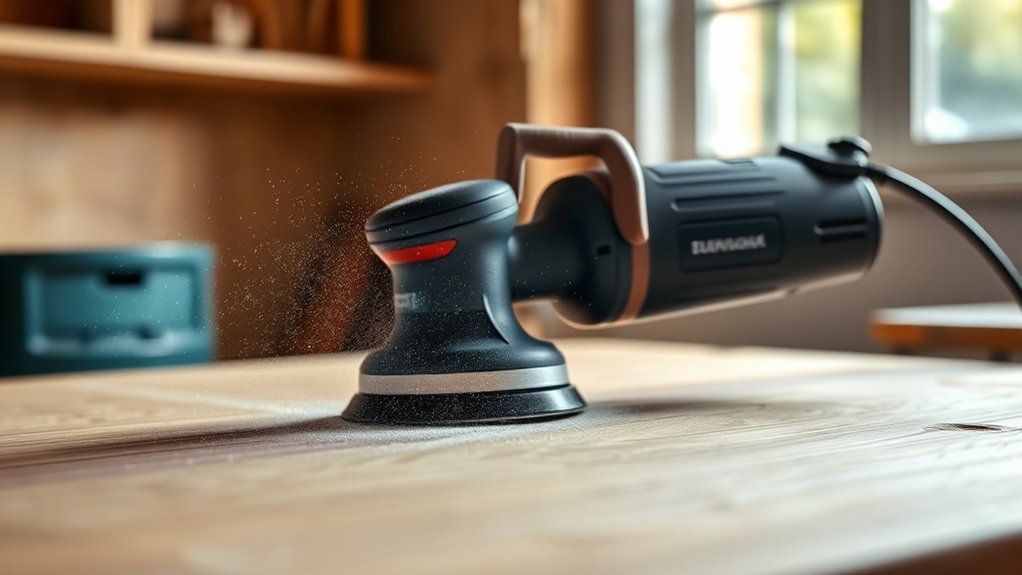
What’s the key to achieving a perfectly smooth, flat surface with an orbital sander? It’s all about maintaining consistent, overlapping passes.
Start by holding the sander flat against the surface without tilting. Use slow, controlled, circular motions, ensuring each pass overlaps the previous one by about half the pad’s diameter.
Avoid focusing on one area too long. That leads to uneven sanding and gouges. Don’t let your mind drift to unrelated topics or off topic discussions during sanding; concentration directly affects precision.
Keep the sander moving steadily to distribute abrasion evenly, preventing low spots. By mastering these techniques, you’ll reliably create flat, professional-quality finishes.
Keep Pressure and Speed Consistent to Avoid Gouges
When sanding with an orbital sander, where you apply pressure and how fast you move the tool directly impact your results. Keep pressure light and even to prevent gouges, which can ruin your surface and require extra work to fix. Avoid pressing too hard; the sander’s weight is sufficient for effective sanding.
Maintain a consistent speed to ensure uniform abrasion and reduce uneven wear on the sanding pad. Inconsistent pressure or speed can cause overheating, a common safety hazard that risks damaging both the workpiece and the tool.
Follow maintenance tips by regularly inspecting the sanding pad and replacing it when worn, ensuring smooth operation. Consistent technique not only improves finish quality but also extends tool life and reduces safety risks.
Sand in Overlapping Passes for Even Results
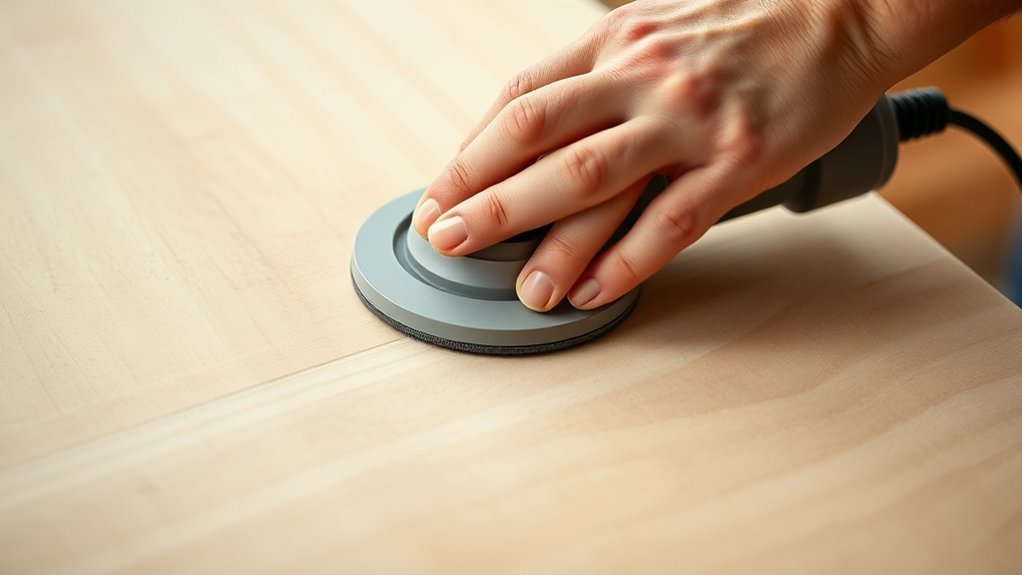
You’ll want to maintain consistent pressure while moving the sander in overlapping passes to guarantee even abrasion. Follow a systematic pattern that covers the entire surface without gaps.
Check your progress frequently to catch any uneven spots early.
Maintain Consistent Pressure
How do you ensure a perfectly even finish while sanding with an orbital sander? Focus on pressure consistency to avoid uneven surfaces or gouges. Apply moderate, uniform pressure. Too much wears the abrasive prematurely; too little reduces efficiency.
Maintain control by gripping the sander firmly but relaxed, letting the tool’s weight aid the process. Consistent pressure supports an optimal sanding technique, producing a flat, smooth surface.
| Pressure Level | Effect on Surface | Recommended Use |
|---|---|---|
| Light | Inefficient sanding | Final touch-ups |
| Moderate | Even, smooth finish | General sanding |
| Heavy | Uneven, gouged surface | Avoid |
| Variable | Inconsistent results | Not recommended |
Maintain consistent pressure for best results and prolong abrasive life.
Follow Overlapping Pattern
Why does following an overlapping pattern matter when sanding with an orbital sander? Overlapping passes ensure uniform abrasion across the surface, preventing uneven spots and swirl marks. When you move the orbital sander, each pass should partially cover the previous one, creating a consistent sanding pattern.
This technique distributes pressure evenly and avoids gouging. Additionally, overlapping passes help maintain efficient dust management by keeping dust from accumulating in one area, which can clog the sanding pad and reduce effectiveness.
To implement this, guide the orbital sander slowly and steadily, maintaining a steady speed and consistent overlap of about 50%. This method not only yields a flat, smooth finish but also prolongs the lifespan of your sanding discs while optimizing dust extraction performance for cleaner results.
Check Progress Frequently
Maintaining an overlapping sanding pattern sets the foundation, but regularly checking your progress guarantees the surface remains flat and even. As you use the orbital sander, pause frequently to inspect the area visually and by touch.
This step helps you identify low spots, uneven patches, or swirl marks early, allowing corrective action before advancing. Use a straightedge or level to verify flatness precisely.
Incorporating this sanding technique into your workflow improves consistency and prevents over-sanding. When searching for topic ideas on sanding methods, emphasize the importance of real-time evaluation during sanding.
Check Progress to Spot Uneven Areas
Where should you focus as you sand to guarantee a perfectly flat surface? Concentrate on identifying uneven areas by visually and tactically inspecting the workpiece.
Stop sanding periodically to run your hand over the surface, feeling for dips and high spots. Use a straightedge or level to detect subtle irregularities invisible to the naked eye.
Avoid distractions from unrelated topics or irrelevant concepts that don’t directly affect surface flatness. Your goal is a uniform plane, so zero in on inconsistencies rather than general roughness.
If you miss this step, you risk leaving imperfections that compromise the finish. By methodically checking progress, you ensure each pass removes material evenly, preventing over-sanding in some areas while under-sanding others.
This focused approach leads to a truly flat surface ready for final smoothing.
Finish Orbital Sander Work With Fine Grit for Smoothness
How do you achieve a smooth, professional finish after flattening a surface with an orbital sander? Switch to a fine grit sandpaper, typically between 220 and 320 grit, to eliminate scratches left by coarser grits.
Maintain a consistent finishing grip on the sander to ensure even pressure and avoid creating new uneven spots. Move the sander in slow, overlapping passes, letting the tool’s motion do the work without forcing it.
Keep a steady grip and move the sander slowly with overlapping strokes for an even finish.
Effective dust management is crucial at this stage; use a vacuum attachment or dust collection system to reduce airborne particles, which can mar the surface and clog the abrasive. Regularly check the sanding pad for wear and replace it if necessary to maintain optimal contact.
This approach guarantees a smooth, flat surface ready for finishing.
Clean and Maintain Your Orbital Sander After Use
A thorough cleaning after each use extends your orbital sander’s lifespan and guarantees consistent performance. Start by unplugging the sander and removing the sanding pad. Use compressed air or a brush to clear dust from vents and moving parts, ensuring optimal dust control.
Check the sanding pad for wear and replace it if necessary to maintain effective sanding. Wipe down the exterior with a dry cloth to remove residual dust, promoting sanding safety by preventing dust buildup that can cause overheating or malfunction.
Inspect the power cord for damage, and store the sander in a dry, clean area. Regular maintenance prevents mechanical failure and ensures your orbital sander operates safely and efficiently on every project.
Frequently Asked Questions
Can I Use an Orbital Sander on Curved Surfaces?
You can use an orbital sander on curved surfaces, but its curvature limits precision. For sanding on arches, use lighter pressure and flexible sanding pads to better conform and avoid uneven material removal.
What Safety Gear Should I Wear When Sanding?
Like a knight dons armor before battle, you should wear eye protection and a dust mask when sanding. These essentials shield you from flying debris and harmful dust, keeping your eyes safe and lungs clear.
How Do I Choose Between an Orbital and a Belt Sander?
You choose between orbital vs belt sanders based on surface preparation needs: use an orbital for fine, smooth finishes and curved surfaces. Opt for a belt sander for aggressive material removal and flat, large areas.
Can Orbital Sanders Be Used on Metal Surfaces?
Yes, you can use an orbital sander on metal, but be aware of orbital sander limits. It’s best for light metal sanding and finishing. For heavy rust or thick coatings, other tools offer better metal sanding suitability.
What Is the Best Way to Dispose of Used Sandpaper?
You should dispose of used sandpaper by placing it in regular trash, as most types aren’t recyclable. Avoid burning it due to toxic adhesives.
Check local regulations for specific disposal methods to ensure safe handling.
Conclusion
Mastering flat sanding with an orbital sander boosts efficiency—did you know using the correct grit progression can reduce sanding time by up to 40%? By keeping your tool level, applying consistent pressure, and using overlapping passes, you ensure a flawless surface.
Regularly check your progress and finish with fine grit for professional results. Proper technique not only improves your finish but also extends your sander’s life.
Incorporating these tips will make every project smoother and more precise, helping you master flat sanding with an orbital sander.