Hand sanding rocks is a skill that starts with a thoroughly cleaned surface. Dirt and debris can cause uneven abrasion and scratches, so cleaning your rock first is critical for effective hand sanding.
Before you begin, it’s essential to mark any cracks to avoid worsening them during sanding. Understanding the correct grit progression and maintaining consistent pressure are key to achieving a smooth, polished surface.
These foundational steps set the stage for a precise sanding process that many overlook. Following them ensures the best results and a beautifully finished rock.
Tools and Materials for Hand Sanding Rocks
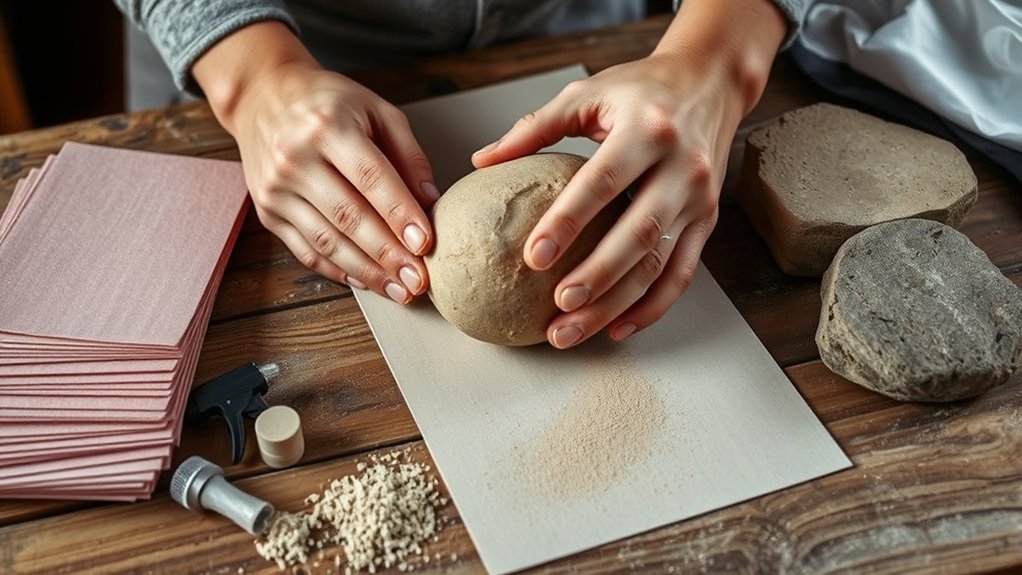
To hand sand rocks effectively, you’ll need a selection of specific tools and materials designed for precision and durability. Start with a range of wet/dry sandpaper grits, from coarse (around 60 grit) to very fine (up to 600 grit), to gradually refine the rock’s surface.
Hand sanding rocks requires precise tools and wet/dry sandpaper grits from coarse to very fine for best results.
A sturdy sanding block ensures even pressure and control. You’ll also need a container for water to keep the sandpaper lubricated, preventing scratches and preserving delicate crystal formations.
For mineral identification, a magnifying loupe helps you examine the rock’s texture and features during sanding, ensuring you don’t damage key characteristics. Additionally, a soft brush and clean cloth are essential for removing debris between sanding stages.
Using these tools correctly will help you reveal the rock’s true structure without compromising its integrity.
Preparing Your Rocks for Sanding
You’ll almost always want to start by thoroughly cleaning your rocks to remove dirt, dust, and loose particles that could interfere with sanding. Use a stiff brush and water to eliminate surface debris, then dry the rocks completely.
Next, inspect each rock for fractures or weak points, as these can affect your sanding outcome and require careful rock tuning. Mark any problematic areas to avoid over-sanding and potential breakage.
For hobby safety, always wear protective gloves and eyewear during preparation to prevent injury from sharp edges or dust. Ensure your workspace is well-ventilated to minimize dust inhalation.
Proper preparation sets the foundation for effective sanding, optimizing surface smoothness while preserving the rock’s structural integrity throughout the process.
How to Hand Sand Rocks: Step-by-Step
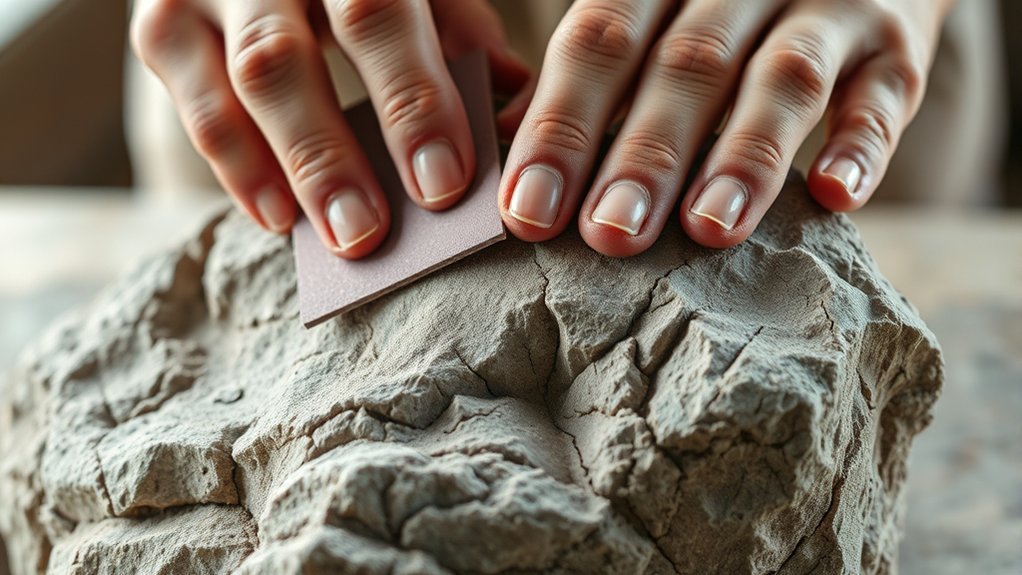
You’ll start by selecting the appropriate sandpaper grit, moving from coarse to fine to achieve a smooth finish. Next, make sure the rock surface is clean and slightly damp to reduce dust and improve sanding efficiency.
Finally, apply consistent pressure with controlled, circular motions to evenly smooth the rock without causing damage.
Choosing Sandpaper Grit
How do you determine the right sandpaper grit for hand sanding rocks? Begin by evaluating the rock’s hardness and the extent of surface irregularities. Coarser grits (40-60) remove material quickly, ideal for rough shaping and eliminating deep scratches.
Medium grits (80-150) refine the surface, addressing smaller imperfections. Fine grits (220-400+) provide a smooth finish, preparing the rock for polishing. Your tool selection influences grit choice; hand sanding requires grits that balance aggression and control to avoid damaging the rock.
Start with a lower grit to shape, then progressively switch to higher grits for smoothing. Selecting grit carefully ensures efficiency and prevents unnecessary abrasion, preserving the rock’s structural integrity while achieving the desired texture. Always match grit to the rock’s condition and your sanding goals.
Preparing the Rock Surface
Where should you begin when preparing a rock surface for hand sanding? Start by thoroughly cleaning the rock to remove dirt, dust, and debris that could interfere with sanding. Use a stiff brush and water, then let the rock dry completely.
Next, inspect the surface for irregularities, such as sharp edges or loose fragments, and carefully chip away unstable material to prevent damage during sanding. When prepping surfaces, ensure they’re stable and secure to avoid shifting.
Consider the ergonomics of your tools. Choose hand sanders or sanding blocks that fit comfortably in your hand, reducing fatigue and improving control. Proper tool ergonomics enhance precision and safety, allowing you to maintain consistent pressure.
This preparation sets the foundation for effective and efficient hand sanding.
Sanding Techniques and Tips
When should you apply varying grit levels during hand sanding? You start with coarse grit to remove rough surfaces, then progress to medium grit for refining, and finish with fine grit to achieve a polished look. Follow these key steps:
- Use coarse grit (60-80) to shape the rock and eliminate major imperfections.
- Switch to medium grit (120-220) to smooth scratches left by coarse sanding.
- Finish with fine grit (400+) for a sleek, polished surface.
Always wear protective gear to minimize dust inhalation and eye injury. Safety precautions are essential. Additionally, minimize environmental impact by wet sanding to reduce airborne particles and clean up debris thoroughly. This systematic approach ensures efficient sanding while protecting your health and the environment.
Smoothing and Shaping Rocks by Hand
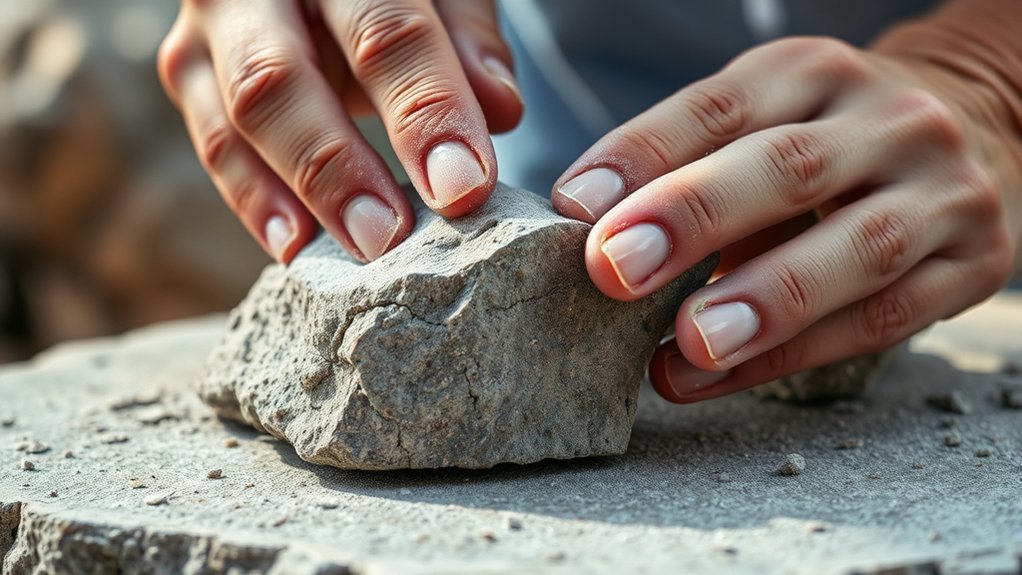
To smooth and shape rocks by hand, you’ll need to select the appropriate sandpaper grit, starting with coarser grits to remove rough edges and progressing to finer grits for a polished finish. Use controlled, consistent strokes to maintain even pressure and avoid creating uneven surfaces.
Mastering these techniques ensures precise contouring and a smooth, professional result.
Choosing Sandpaper Grit
How do you select the right sandpaper grit for hand sanding rocks? Choosing the correct grit is critical for effective smoothing and shaping rocks by hand. Start with a coarse grit to remove rough edges and establish the rock’s basic shape.
Next, switch to a medium grit to refine the surface and eliminate scratches from the coarse grit. Finally, use a fine grit to achieve a smooth, polished finish.
- Use 60-80 grit for initial shaping and aggressive material removal.
- Move to 120-220 grit for moderate smoothing and scratch reduction.
- Finish with 400-600 grit for fine polishing and surface refinement.
This two-step discussion approach ensures efficient progression, balancing material removal and surface quality.
Proper Hand Sanding Techniques
Selecting the right sandpaper grit lays the foundation for effective hand sanding, but mastering your technique will determine the quality of your results. Begin by wearing safety gloves to protect your hands from abrasion and sharp edges.
Maintain a firm yet relaxed hand posture to ensure even pressure distribution, preventing gouges or uneven surfaces. Hold the rock securely in one hand while sanding with the other, using smooth, consistent strokes that follow the rock’s natural contours.
Start with coarser grits to shape the rock, then progressively switch to finer grits for smoothing. Avoid excessive force; let the sandpaper do the work.
Periodically rinse the rock and sandpaper to remove debris, which preserves abrasive efficiency and prevents scratching. Proper technique enhances control and achieves a polished finish.
Polishing Rocks for a Beautiful Shine
Why does polishing rocks require careful attention to grit progression and pressure control? Because improper grit sequence or excessive pressure can cause scratches or uneven surfaces, ruining the final shine.
To achieve a flawless polish, follow this precise polishing technique:
- Progress through finer grits systematically, starting from about 600 grit up to 3000 or higher, ensuring each grit removes the scratches from the previous one.
- Apply consistent, light pressure to avoid overheating or gouging the rock surface.
- Maintain your tools meticulously. Clean sanding pads and replace worn abrasives promptly to ensure uniform contact and prevent contamination.
Avoid These Common Hand Sanding Mistakes
Mastering grit progression and pressure control sets the foundation for effective hand sanding, but overlooking common errors can still undermine your results. To avoid mistakes, focus on consistent sanding motion and proper grit sequence.
Applying uneven pressure or skipping grits can cause scratches or uneven surfaces. Also, neglecting to clean the rock between grits traps debris, reducing effectiveness.
| Common Error | Effect on Rock Surface | How to Avoid Mistake |
|---|---|---|
| Skipping Grits | Visible scratches, uneven polish | Follow sequential grit progression |
| Excessive Pressure | Deep scratches, rock damage | Apply light, even pressure |
| Inconsistent Motion | Uneven sanding marks | Use uniform, circular motions |
| Dirty Sandpaper | Abrasive contamination | Clean rock and sandpaper frequently |
| Rushing the Process | Poor finish quality | Take time, allow sanding to work |
Avoid these mistakes to achieve a smooth, polished finish every time.
Frequently Asked Questions
Can I Use Power Tools Instead of Hand Sanding for Rocks?
Yes, you can use power tools, but be aware of power tool risks like overheating and loss of control.
Prioritize hand sanding safety by wearing protective gear and working slowly to avoid damaging the rock or injuring yourself.
What Types of Rocks Are Best for Hand Sanding?
You’ll prefer sedimentary, igneous, and metamorphic rocks for hand sanding. Their varied textures demand precise grit selection and thorough surface prep, enabling you to achieve smooth, polished finishes with controlled abrasion and consistent, even results.
How Long Does Hand Sanding Typically Take per Rock?
Hand sanding time typically ranges from 30 minutes to several hours per rock, depending on your rock texture goals.
Finer textures require more time and multiple grit stages, while rough finishes shorten the overall sanding duration.
Is Hand Sanding Safe for Children to Try?
Safety first, as the saying goes. Yes, hand sanding is safe for children if you enforce strict safety precautions and ensure adult supervision.
Use protective goggles, dust masks, and teach proper sanding techniques to prevent injury and inhalation hazards.
Can Hand Sanding Damage Valuable or Rare Rocks?
Yes, hand sanding can damage valuable rocks by removing delicate surfaces. You should wear gloves for hand care and work quietly within noise limits to avoid disturbing others.
Carefully control pressure and grit size for precision.
Conclusion
Now that you’ve mastered each sanding step—from cleaning to polishing—you hold the power to transform rough stones into smooth gems. Like a craftsman using a quill pen, your steady hand and careful progression through grits ensure precision and avoid damage.
Keep your tools and workspace clean, apply even pressure, and never rush the process. With patience and attention to detail, your rocks will reveal their true beauty, shining with a flawless, polished finish. Hand sanding rocks allows you to achieve this level of detail and artistry, bringing out the natural brilliance in every stone.