You might not realize that even small amounts of dust or wear on your orbital sander’s hook-and-loop pad can cause sandpaper to slip unexpectedly. To keep sandpaper on your orbital sander firmly in place, it’s important to prepare both the tool and the paper carefully before you start.
Understanding how to match the right sandpaper and maintain your sander can save you time and frustration during your project. Let’s explore the key steps that make a real difference.
Getting Your Orbital Sander Ready for Sandpaper
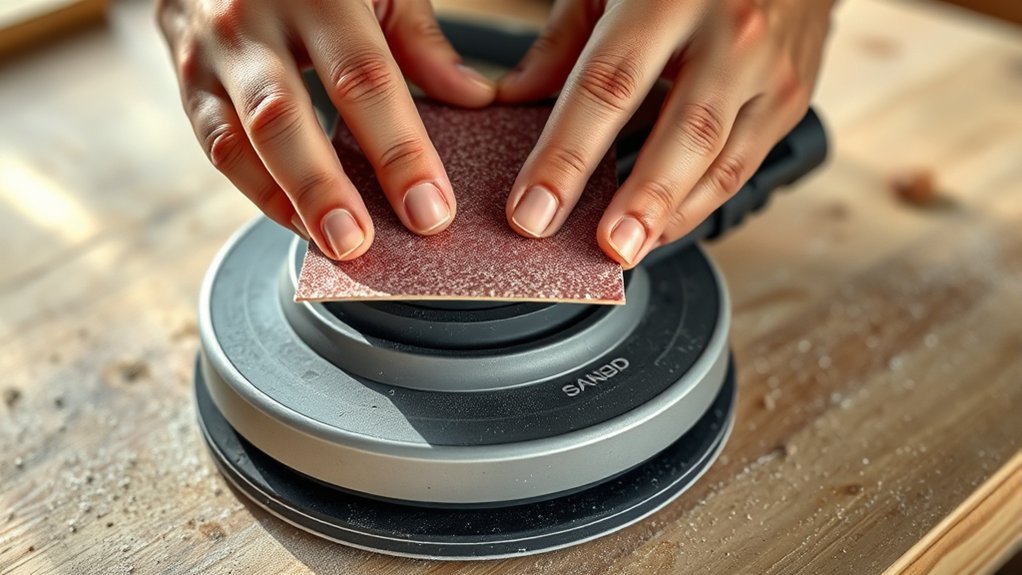
Before you attach sandpaper, make sure your orbital sander is clean and free of dust or debris. Use a soft brush or compressed air to remove dust from the sanding pad and vents. This prevents uneven sanding and helps the sandpaper adhere properly.
Check the pad for wear or damage and replace it if necessary. After cleaning, inspect the hook-and-loop (Velcro) surface to ensure it’s intact for secure sandpaper attachment.
When you finish sanding, always store your orbital sander in a dry, dust-free place to maintain its condition. Safe storage protects the tool from damage and keeps the pad clean for the next use.
Following these steps on how to remove dust and maintain your tool sets you up for effective sanding every time.
Choosing the Right Sandpaper for Your Orbital Sander
How do you choose the right sandpaper for your orbital sander? Start by considering the grit size. Use coarse grits for heavy material removal and fine grits for finishing.
Sandpaper selection hinges on the material you’re working with. Use aluminum oxide for wood and general purposes, and silicon carbide for metal or wet sanding.
Choose aluminum oxide for wood and general use, silicon carbide for metal or wet sanding tasks.
Choosing durability is key. Higher-quality sandpapers last longer and maintain their abrasive properties, saving time and effort.
Check if the sandpaper is compatible with your sander’s attachment system to ensure a secure fit. Remember, using the wrong grit or type can damage your project or wear out quickly.
Focus on matching grit, material compatibility, and durability to get the best results from your orbital sander every time.
How to Use Hook-And-Loop Backing to Secure Sandpaper
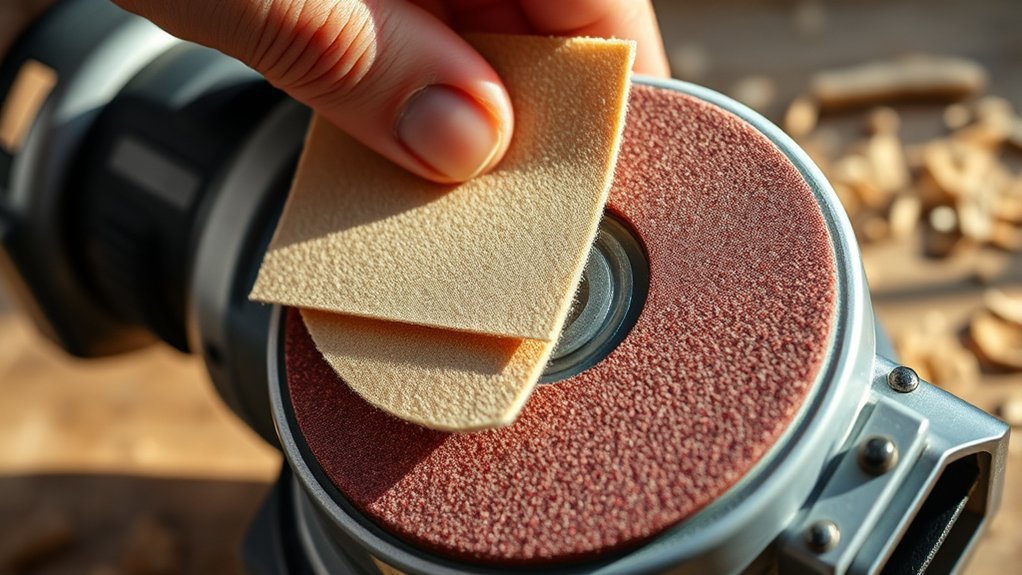
Why choose hook-and-loop backing for your orbital sander? It’s simple and efficient. This system lets you quickly attach and remove sandpaper without waiting for glue drying, saving you time.
To use it, align the sandpaper’s loop side with the sander’s hook surface, then press firmly to secure. Make sure the backing is clean to maintain strong grip and prevent slippage.
Hook-and-loop backing also improves dust containment since the sandpaper fits tightly, reducing airborne particles during sanding. When the paper wears out, just peel it off and stick a new sheet on, no mess or hassle.
This method ensures consistent sanding performance and keeps your work area cleaner, making your sanding tasks smoother and more efficient.
How to Use Adhesive Spray to Stop Sandpaper From Slipping
To keep your sandpaper from slipping, start by choosing an adhesive spray designed for temporary bonding. Make sure to apply the spray evenly across the back of the sandpaper for consistent grip.
This approach will help you secure the sandpaper without leaving a sticky residue.
Choosing The Right Adhesive
Choosing the right adhesive spray can make all the difference in keeping your sandpaper firmly attached to an orbital sander. Start by doing an adhesive comparison to find sprays designed specifically for sanding applications. Look for options that offer strong tack yet allow easy repositioning.
Next, consider pad compatibility. Some adhesives work better with foam or rubber pads, while others suit harder surfaces. Using an adhesive incompatible with your sander’s pad can cause uneven bonding or damage.
Also, check if the adhesive dries quickly and resists dust buildup to maintain grip during use. By selecting the correct adhesive based on these factors, you’ll ensure your sandpaper stays put, improving your sanding efficiency and preventing frustrating slips.
Applying Spray Evenly
How evenly you apply adhesive spray directly affects how well your sandpaper sticks to the orbital sander. For the best sandpaper grip, follow these steps:
1. Clean the surface
Ensure the sander’s pad is free of dust and debris before spraying to maximize adhesion.
2. Spray from a distance
Hold the adhesive spray can about 6-8 inches away and apply a light, even coat across the entire pad surface. Avoid pooling or heavy spots that can reduce grip.
3. Allow tack time
Wait 30 seconds for the adhesive to become tacky before attaching the sandpaper, ensuring it bonds firmly and prevents slipping.
Cutting Sandpaper to Fit Your Orbital Sander Properly
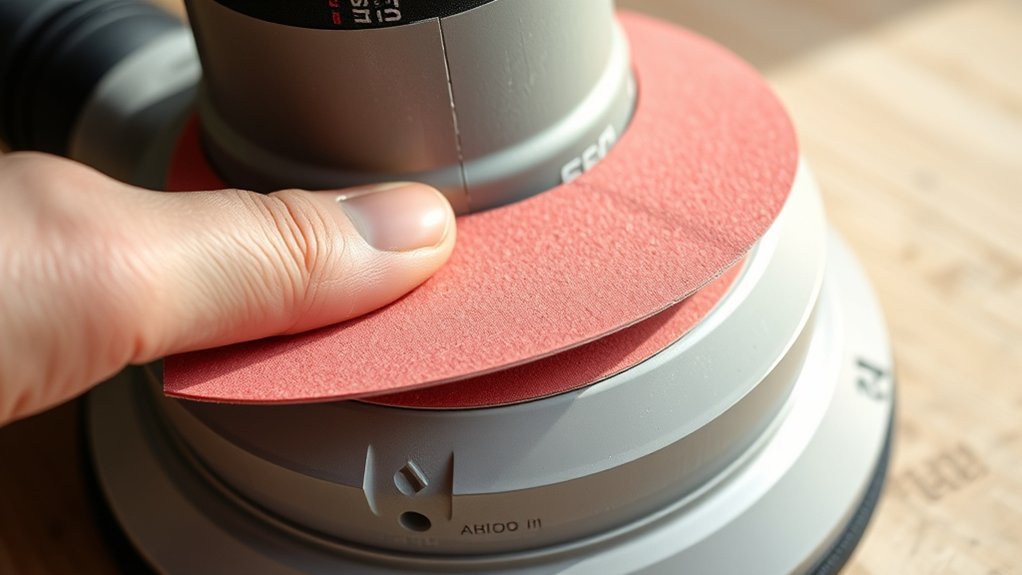
Start by measuring your orbital sander’s base carefully to match the sandpaper size exactly. Use sharp scissors or a utility knife for clean, precise cuts that fit snugly.
Taking time to ensure straight edges will help the sandpaper stay firmly in place during use.
Measuring Sandpaper Dimensions
Where do you begin when cutting sandpaper to fit your orbital sander? Start by accurately measuring sandpaper dimensions to ensure a snug fit. Focus on measuring margins carefully to avoid excess material that can interfere with pad alignment.
Follow these steps:
- Place the sandpaper on the sander’s pad and align all edges precisely.
- Use a ruler or tape measure to note the exact length and width, paying close attention to the margins.
- Mark the measured dimensions on your sandpaper before cutting, ensuring the paper will sit flush with the pad.
Cutting Techniques And Tools
When cutting sandpaper to fit your orbital sander, what tools and techniques will give you the cleanest, most accurate edges? Start with a sharp pair of scissors or a utility knife for clean cuts. Use a cutting mat or a flat surface to protect your work area.
Hold the sandpaper firmly but don’t bend it, ensuring steady tool handling. Mark your measurements clearly before cutting, then cut slowly along the lines to avoid jagged edges. If your sandpaper has perforations or pre-cut sections, use them as guides.
Avoid tearing or ripping the paper, as uneven edges can lead to poor attachment on the sander. Proper cutting techniques ensure the sandpaper fits snugly, enhancing both performance and durability during your sanding projects.
Ensuring Precise Edges
How can you achieve perfectly precise edges when cutting sandpaper for your orbital sander? Properly trimmed edges ensure a secure fit, improve edge finishing, and support effective dust management. Follow these steps:
- Measure and Mark: Use a ruler and pencil to mark exact dimensions matching your sander’s pad. Precision here prevents uneven wear and tear.
- Cut with Sharp Tools: Employ sharp scissors or a utility knife for clean cuts. Jagged edges can cause the sandpaper to peel or snag, compromising edge finishing.
- Check Fit and Adjust: Place the sandpaper on the sander and inspect the fit. Trim any excess carefully to avoid gaps that hinder dust management and reduce sanding efficiency.
How to Align Sandpaper on the Sander Pad Correctly
Why does proper alignment matter when attaching sandpaper to your orbital sander? Without precise alignment, the sandpaper won’t grip evenly, leading to premature wear and inefficient sanding.
Proper alignment prevents uneven grip, reducing premature wear and improving sanding efficiency.
To align it correctly, start by placing the sandpaper flat on a clean surface. Match the holes on the sandpaper with the sander’s dust extraction holes. This step ensures proper dust collection and prevents an unused topic like ignoring hole placement.
Next, center the sandpaper on the pad so the edges don’t hang over or fall short, avoiding an irrelevant focus on just sticking it anywhere. Press firmly around the edges, especially if your sander uses hook-and-loop fastening.
Proper alignment keeps the sandpaper secure, maximizes performance, and extends its life without slipping or tearing.
Common Reasons Sandpaper Slips or Tears on Orbital Sanders
If your sandpaper keeps slipping or tearing on your orbital sander, you might not be attaching it properly or using the wrong grit size for the job.
Also, check if the backing on your sandpaper is worn or damaged, as this can affect its grip. Fixing these issues will help your sandpaper stay put and last longer.
Improper Attachment Methods
When does sandpaper slip or tear during use? It often happens due to improper attachment methods that compromise the sandpaper grip on your orbital sander. To prevent this, focus on these key points:
- Incorrect alignment: Make sure the sandpaper matches the sander’s base perfectly. Misalignment reduces grip and causes slipping.
- Insufficient pressure: Press the sandpaper firmly against the pad before starting. If it’s loosely attached, it’ll tear quickly.
- Worn or damaged backing: Check the hook-and-loop or adhesive surface regularly. Worn backing won’t hold sandpaper properly, leading to frequent detachment.
Using Incorrect Grit Size
How does using the wrong grit size cause sandpaper to slip or tear on your orbital sander? When you choose a grit that’s too coarse or too fine for your task, the sandpaper can’t grip the surface properly, leading to slippage or tearing.
Coarse grits remove material aggressively, which stresses the paper and the attachment, while fine grits may generate excessive heat, weakening the adhesive. Avoid getting into unrelated topics like sanding techniques or types of wood here. That’s off topic discussion.
Focus strictly on selecting the right grit size for your project to ensure the sandpaper stays secure. Using the correct grit not only prevents damage but also maximizes efficiency, keeping your sanding smooth and your paper firmly in place.
Worn or Damaged Backing
Why does your sandpaper slip or tear even if you’ve chosen the right grit? Often, it’s due to worn or damaged backing on the sandpaper. The backing supports the abrasive surface and keeps it secure during sanding. When it degrades, it compromises dust collection efficiency and noise reduction.
Here’s what to check:
- Inspect the backing for tears, creases, or fraying edges.
- Replace sandpaper immediately if the backing feels weakened or brittle.
- Ensure the backing sticks firmly to the sander’s pad without peeling.
Maintaining a strong backing prevents slippage and tearing, helps maintain dust collection, and reduces noise. Regularly swapping out worn sandpaper keeps your orbital sander working smoothly and extends the life of both your sandpaper and tool.
How to Replace Sandpaper Quickly During Your Project
Looking to change your sandpaper without losing momentum? First, turn off and unplug your orbital sander for safety. Peel off the worn sandpaper carefully. If it’s hook-and-loop, it should come off easily.
Next, align your new sandpaper with the sander’s base, ensuring the holes match for dust extraction. Press firmly to secure it in place; the grip should be snug to avoid slipping.
If your sander uses clamps, release them, slide the new sandpaper under, then lock the clamps back down tightly. Keep your movements steady and deliberate to speed up the process.
Avoid distractions and focus on these two word ideas: alignment precision. Remember, subtopic irrelevant details can waste time. With practice, you’ll replace sandpaper quickly and keep your project moving smoothly.
Maintaining Your Orbital Sander for Better Sandpaper Grip
Even if you install sandpaper correctly, a worn or dirty sander base can cause slipping and poor grip. To maintain your orbital sander for better sandpaper attachment, follow these steps:
- Clean the sander base regularly. Use compressed air or a soft brush to remove dust collection buildup and debris that reduce adhesion.
- Inspect the hook-and-loop surface. Replace or repair the base pad if the hooks are worn out to ensure a strong grip on sandpaper.
- Store your sander properly. Keep it in a dust-free environment to prevent damage to the base and maintain performance.
Consistent maintenance supports your creative woodworking projects by ensuring smooth sanding and preventing interruptions caused by slipping sandpaper.
Essential Tools and Accessories for Sandpaper Attachment
What tools and accessories do you need to keep sandpaper firmly attached to your orbital sander? Start with high-quality hook-and-loop sanding discs that match your sander’s pad size. These ensure a secure grip and quick changes.
Use a sanding pad conditioner or cleaner regularly to maintain the hook-and-loop system’s effectiveness. Incorporate a dust collection system or vacuum attachment to minimize debris buildup, which helps maintain a firm sandpaper hold and improves sanding ergonomics by reducing airborne particles.
Consider ergonomic handle grips or pads to reduce hand fatigue during extended use, allowing you to focus on proper sandpaper placement. Finally, keep a set of clamps or weights handy for tricky surfaces where extra pressure is needed to keep the sandpaper flat and secure.
These tools make sandpaper attachment efficient and reliable.
Frequently Asked Questions
Can I Use Sandpaper From Other Sanding Tools on an Orbital Sander?
You usually can’t use sandpaper from other sanding tools due to sandpaper compatibility issues. Always choose tool-specific abrasives designed for your orbital sander to ensure proper fit, grip, and optimal sanding performance without tearing or slipping.
How Often Should I Change the Sandpaper During a Sanding Project?
As your surface smooths out like a fading sunset, change your sandpaper when it stops cutting efficiently, usually every 20-30 minutes or when you notice scratches. Regular sandpaper replacement keeps your finish flawless and your work easier.
Is It Safe to Use an Orbital Sander on Painted Surfaces?
Yes, you can use an orbital sander on painted surfaces. For sanding safety, always secure sandpaper properly to prevent slipping, wear protective gear, and test a small area first to avoid damaging the underlying material or creating harmful dust.
Can Wet Sanding Be Done With an Orbital Sander?
You can wet sand with an orbital sander if it has orbital compatibility for wet sanding. Make sure to use waterproof sandpaper and keep the surface wet to avoid clogging and extend the sandpaper’s life.
What Grit Sandpaper Is Best for Finishing Wood Surfaces?
You might think finer grit always means better finish, but for wood, start with 120-150 grit sandpaper for compatibility and smoothness. Then, use 220 grit for final touches. These grit recommendations guarantee a flawless surface.
Conclusion
Think of your orbital sander as a reliable partner—keeping sandpaper firmly in place is like tightening their grip before the job begins. By cleaning, choosing the right backing, and fitting sandpaper precisely, you guarantee smooth, uninterrupted work.
Treat your sander well, and it won’t let you down, turning every surface into a canvas of perfection. With these simple steps, you’re not just sanding—you’re mastering your craft.
To ensure the best results, always focus on how to keep sandpaper on orbital sander securely. This knowledge makes all the difference in achieving a flawless finish.