Think of a detail sander as your precision scalpel in the workshop, designed to reach where larger tools simply can’t. A detail sander is perfect for smoothing tight corners, edges, or intricate grooves without risking damage to surrounding surfaces. This tool becomes indispensable when fine, precise sanding is required.
Understanding exactly when and how to use a detail sander can make all the difference in achieving a flawless finish. Its small size and pointed tip allow it to access areas that other sanders can’t reach. Mastering this tool ensures your projects have a professional, polished look every time.
When to Choose a Detail Sander for Your Projects
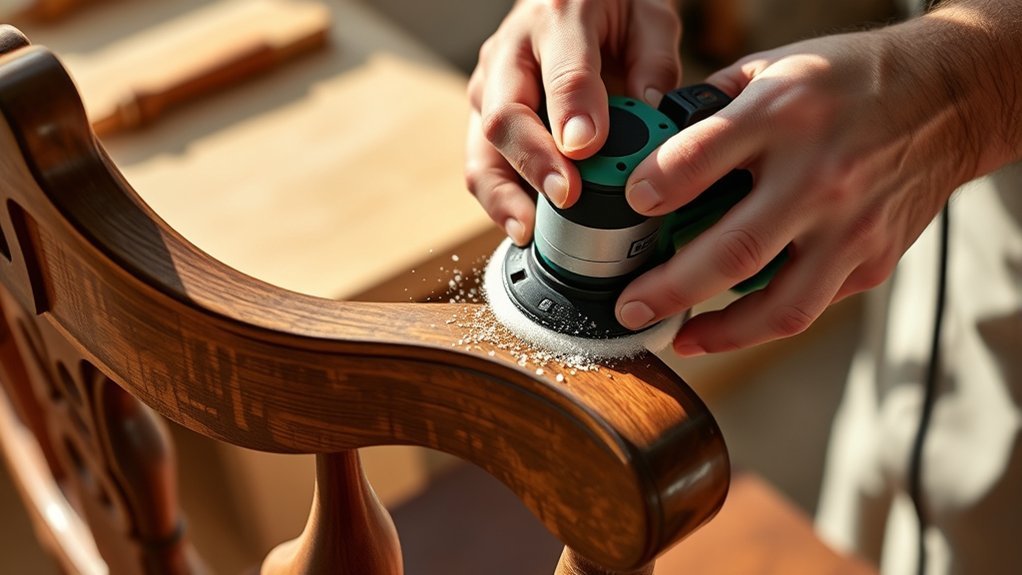
When should you opt for a detail sander in your projects? Choose a detail sander when you need precision sanding in tight corners, edges, or intricate shapes where larger sanders can’t reach. This tool excels at smoothing small surfaces without damaging adjacent areas.
Its compact size and pointed sanding pad allow you to work efficiently on detailed sections. Additionally, a quality detail sander includes an integrated dust collection system, which helps maintain a clean workspace and improves visibility while sanding.
Using a detail sander minimizes airborne dust, enhancing both safety and finish quality. You should rely on a detail sander whenever your project demands controlled, fine sanding with effective dust management, ensuring precise results and a professional finish.
Which Surfaces and Materials Can You Sand With a Detail Sander?
Detail sanders are designed to handle a variety of surfaces and materials that require careful, precise abrasion. You can effectively sand wood, including softwoods and hardwoods, where achieving a fine texture is crucial.
Detail sanders provide precise abrasion, ideal for achieving fine textures on both softwoods and hardwoods.
These tools excel at smoothing painted surfaces and varnished areas without removing too much material, especially when using skinny grit sandpaper for delicate finishes. Detail sanders also work well on plastics and composites, provided you select an appropriate grit to avoid surface damage.
Metals can be sanded, but you should use finer grits and proceed cautiously to prevent marring. The small, pointed sanding pad allows you to reach tight spaces and intricate patterns, maintaining material integrity.
Selecting the right grit and sanding speed ensures optimal results across diverse materials.
How a Detail Sander Smooths Edges, Corners, and Grooves
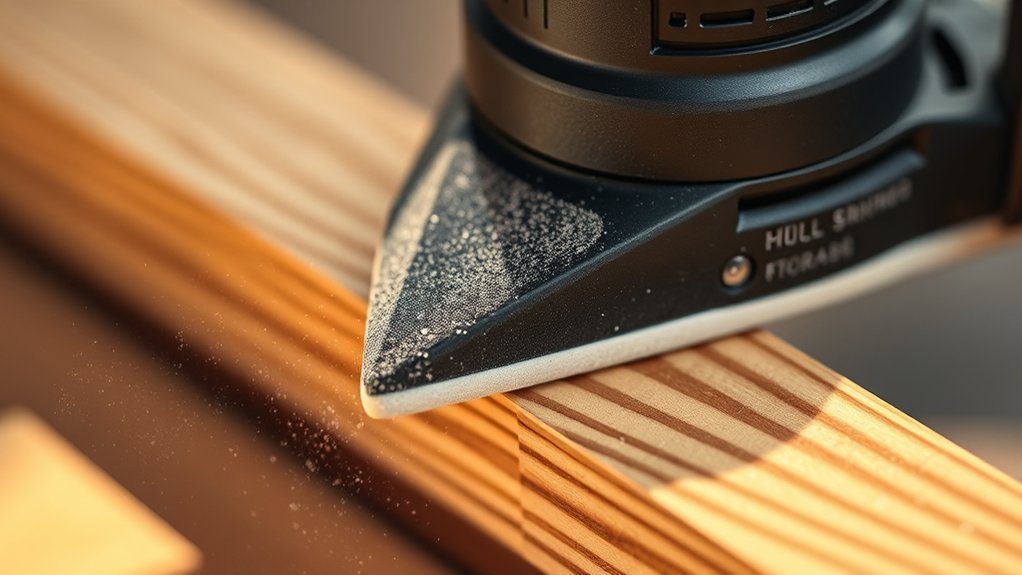
How exactly does a detail sander reach tight edges, corners, and grooves that standard sanders can’t access? Its compact, pointed sanding pad allows you to maneuver into confined spaces with precision.
When smoothing edges, the sander performs edge rounding by gently removing sharpness, creating a clean, consistent profile. For corner beveling, it lets you refine sharp internal or external corners without damaging adjacent surfaces.
The oscillating or vibrating motion of the pad ensures even abrasion, preventing gouging or uneven wear. In grooves, the narrow tip fits snugly, enabling you to sand deep recesses efficiently.
Using a detail sander, you control pressure and angle, achieving professional-level smoothness in hard-to-reach areas that larger sanders simply can’t handle.
Using a Detail Sander for Furniture and Cabinetry Finishing
Why choose a detail sander for finishing furniture and cabinetry? Its precision lets you refine surfaces without damaging intricate designs. You’ll appreciate how it handles tight spaces and detailed edges better than larger sanders.
Detail sanders offer precise finishing for furniture, expertly reaching tight spaces and protecting delicate designs.
When using it, remember:
- Maintain the tool regularly to ensure consistent sanding performance and extend its lifespan.
- Opt for lower noise models or use hearing protection to address noise considerations during extended use.
- Select appropriate grit sandpaper to achieve smooth finishes without over-sanding.
- Work with steady, controlled movements to avoid uneven surfaces or gouges.
Tips for Getting Into Tight Spots With a Detail Sander
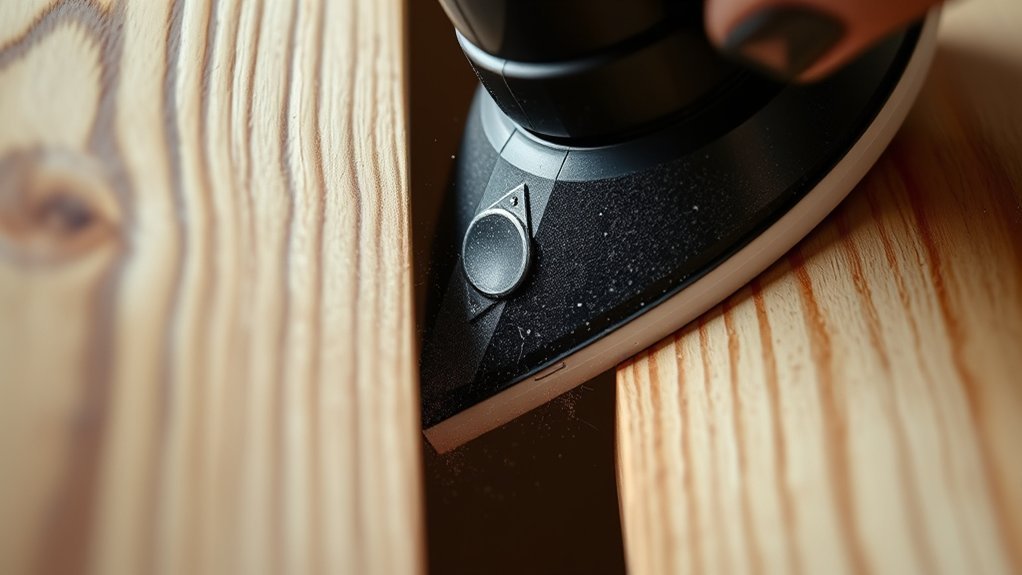
When finishing furniture and cabinetry, you’ll often encounter areas where larger tools can’t reach without risking damage. To effectively sand these tight spots, use a detail sander with a pointed or triangular pad designed for edge access.
Start by selecting the right grit sandpaper. Fine grits prevent over-sanding in delicate areas. Position the sander carefully to maintain control and avoid gouging the surface.
Apply light, consistent pressure and use short, precise strokes to maneuver into corners and grooves. If the sander’s size still limits access, consider swapping to a smaller attachment or hand-sanding with folded sandpaper for intricate sections.
Proper technique ensures you preserve the finish while smoothing tight spots efficiently and safely.
Frequently Asked Questions
How Do I Maintain and Clean a Detail Sander?
You maintain your detail sander by regularly cleaning dust from vents and pads. Keep maintaining contact between the pad and surface, and perform pad conditioning to ensure optimal sanding performance and extend the tool’s lifespan.
What Safety Gear Is Recommended When Using a Detail Sander?
Like a knight gearing up before battle, you should wear safety gloves, a dust mask, noise protection, and eye protection when using a detail sander. These prevent injuries and exposure to harmful dust, noise, and debris.
Can a Detail Sander Be Used for Paint Removal?
Yes, you can use a detail sander for paint removal on small, intricate surfaces. It’s precise for edges and corners but may be slower and less efficient than specialized paint strippers or larger sanders on broad areas.
What Is the Difference Between a Detail Sander and an Orbital Sander?
Think of a detail sander as a scalpel, and an orbital sander as a sledgehammer. The difference comparison lies in precision versus speed.
You’ll find accessory compatibility varies, with detail sanders fitting smaller, intricate pads.
How Long Do Sanding Pads Typically Last on a Detail Sander?
Sanding pads on a detail sander typically last 2 to 4 hours of continuous use, depending on material hardness and grit.
You’ll want to replace them once efficiency drops or they’re visibly worn to maintain precision sanding.
Conclusion
When precision matters, a detail sander becomes your trusted compass, guiding you through tight spots and intricate edges with ease. Like a sculptor refining a masterpiece, you’ll achieve smooth, flawless surfaces without overreach or damage. Whether working on wood, plastic, or coated finishes, this tool offers control and finesse that larger sanders simply can’t match.
Embrace its precision to elevate your projects from rough drafts to polished perfection. The versatility and accuracy of a detail sander make it an essential tool for any craftsman aiming for impeccable results. When you need to perfect those hard-to-reach areas, a detail sander is your go-to solution.