You might wonder, can you sand a deck by hand, and if it is truly effective compared to using power tools.
While it demands more time and effort, hand sanding offers precise control and minimizes the risk of damaging the wood.
However, determining when this method is worth the investment depends on several factors, including the deck’s condition and your project goals.
Before deciding, consider the tools, preparation, and techniques involved in hand sanding.
Is Hand Sanding a Deck Worth It?
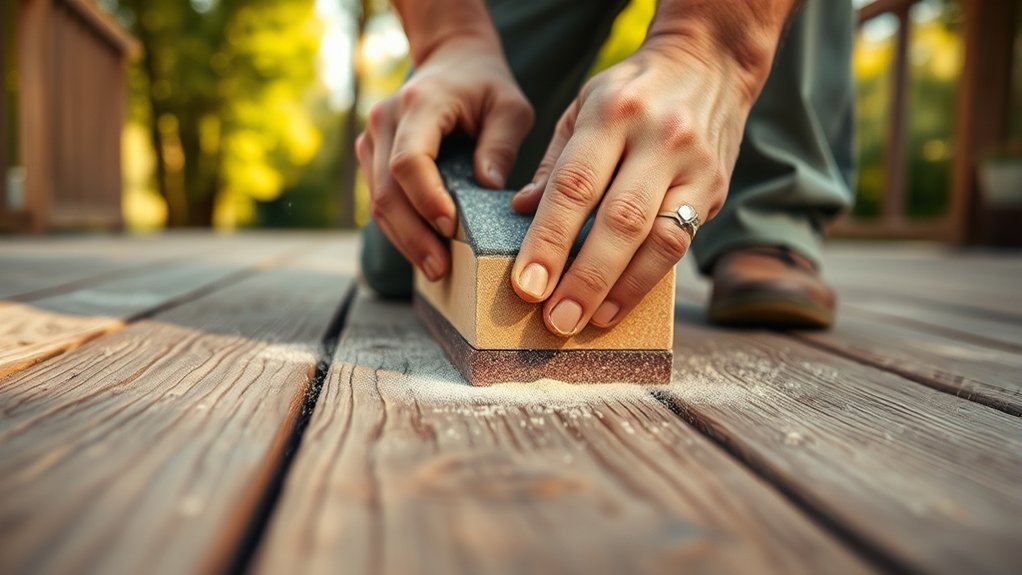
Why consider hand sanding your deck at all? Hand sanding offers precise control over the deck finishing process, allowing you to carefully smooth rough spots and remove old finishes without risking damage from aggressive power tools.
You can target intricate areas, such as corners and between deck boards, where power sanders struggle. Although it requires more time and physical effort, hand sanding ensures a uniform surface, which is critical for even stain or sealant application.
This method reduces the chance of uneven sanding marks or gouges, common with power sanding if not handled properly. By choosing hand sanding, you gain accuracy and can tailor pressure to the wood’s condition, ultimately enhancing the longevity and aesthetic of your deck finishing.
When to Choose Hand Sanding Over Power Sanding for Your Deck
You should choose hand sanding when working on small areas and edges that power sanders can’t reach effectively. If noise and dust are concerns, hand sanding offers a quieter, cleaner alternative.
It also provides greater precision and control for detailed or delicate sections of your deck.
Small Areas And Edges
When do you opt for hand sanding over power sanding on your deck? Small areas and edges demand precise attention that power tools often can’t provide without risking damage. Use hand sanding for tight corners, railings, and intricate trims where power sanders can’t reach effectively.
Hand sanding lets you control pressure, preserving delicate surfaces and avoiding gouges. Before sanding, employ appropriate cleaning tools to remove dirt, debris, and mildew, ensuring a smooth finish.
Consider weather conditions; avoid sanding in high humidity or wet weather, as moisture affects wood’s response to sanding and finishes. Hand sanding small areas under these conditions prevents uneven results and prolongs deck life.
Choosing hand sanding here balances precision and care, ensuring your deck’s detailed parts are properly prepared for refinishing.
Noise And Dust Concerns
How much noise and dust can you tolerate during your deck sanding project? Hand sanding and hand planning generate minimal noise and allow better dust mitigation compared to power sanding. If you’re working in a noise-sensitive environment or want to reduce airborne particles, hand methods are preferable.
| Factor | Hand Sanding/Hand Planning |
|---|---|
| Noise Level | Low |
| Dust Generation | Low to Moderate |
| Dust Mitigation | Easier with manual control |
| Equipment Required | Minimal |
| Suitability | Sensitive environments |
Choosing hand sanding reduces disruption and enhances dust control, making it ideal for residential areas or when neighbors are nearby. It demands more effort but offers a cleaner, quieter workspace.
Precision And Control Needed
Why prioritize precision and control in deck sanding? When your deck features intricate details or delicate wood surfaces, hand sanding offers unmatched precision control.
Unlike power sanding, which can quickly remove too much material or create uneven surfaces, hand sanding lets you target specific areas with care. You can adjust pressure and motion instantly, minimizing the risk of damage to railings, corners, or narrow spaces.
This level of precision control is essential when refinishing older decks or working on hardwoods that require subtle abrasion. Choosing hand sanding ensures you maintain the integrity of your deck’s design and wood grain.
While it demands more time and effort, the accuracy you gain makes hand sanding the preferred method whenever fine detail and controlled material removal are priorities.
What Tools Do You Need for Hand Sanding a Deck
To hand sand your deck effectively, you’ll need quality sandpaper in various grits and a sturdy sanding block to maintain even pressure.
Don’t forget safety gear like gloves, a dust mask, and eye protection to guard against debris and dust. These tools ensure you work efficiently while protecting yourself throughout the process.
Essential Sanding Materials
What tools do you need to hand sand a deck effectively? Start with quality sandpaper in varying grits: coarse (60-80 grit) for rough areas and fine (120-150 grit) for finishing touches. Use a sanding block or a hand sander to apply even pressure and avoid gouges.
A stiff-bristle broom or brush helps clear debris between sanding sessions, aiding in efficient deck maintenance. Keep a vacuum or dustpan nearby to remove dust buildup, which can affect sanding quality.
Although hand sanding drawbacks include higher labor intensity and longer time, these materials ensure precise control and surface smoothness. Selecting the right tools minimizes effort and improves results, crucial when preserving wood integrity during deck upkeep without power tools.
Safety Equipment Needed
How can you protect yourself effectively while hand sanding a deck? Prioritize wearing the right safety equipment to avoid injury and discomfort. Protective gear shields you from dust, splinters, and prolonged physical strain.
Don’t underestimate the importance of each item to maintain focus and efficiency throughout the task.
Must-have safety equipment includes:
- Dust mask or respirator to prevent inhalation of harmful particles
- Safety goggles to protect your eyes from debris
- Work gloves to shield hands from blisters and splinters
- Knee pads for comfort and joint protection during extended sanding sessions
Equipping yourself with this protective gear ensures a safer, more comfortable sanding experience, minimizing risks and allowing you to work with confidence and precision.
Getting Your Deck Ready for Hand Sanding

Where should you begin when preparing your deck for hand sanding? Start by clearing the entire surface of furniture, plants, and debris. This ensures unobstructed access for effective hand sanding.
Next, inspect the deck for nails or screws protruding beyond the wood surface; countersink or remove them to avoid damaging your sanding tools. Clean the deck thoroughly using a broom or blower to remove dust, dirt, and loose materials.
If mildew or stains are present, treat them with a suitable deck cleaner and allow the surface to dry completely. Finally, consider masking off nearby areas with painter’s tape to protect them during deck prep. Following these precise steps will optimize your hand sanding process and help achieve a uniformly smooth finish.
Step-by-Step Guide to Sanding a Deck by Hand
When should you start sanding your deck by hand? Begin when the wood shows signs of wear, splinters, or old finish deteriorating. Proper deck maintenance involves using a consistent sanding technique to restore smoothness and prepare the surface for sealing.
Start hand sanding your deck when wood shows wear, splinters, or the old finish begins to deteriorate.
Follow these steps carefully:
- Clear the deck of debris and wash thoroughly.
- Choose the right grit sandpaper; start coarse, finish fine.
- Sand along the wood grain with steady, even pressure.
- Inspect frequently to avoid over-sanding or damage.
This approach ensures you remove imperfections without compromising wood integrity. Hand sanding demands patience and precision but ultimately revitalizes your deck’s appearance and longevity. Stick to this methodical process to maintain the deck’s safety and aesthetic appeal effectively.
Practical Tips for Easier Hand Sanding
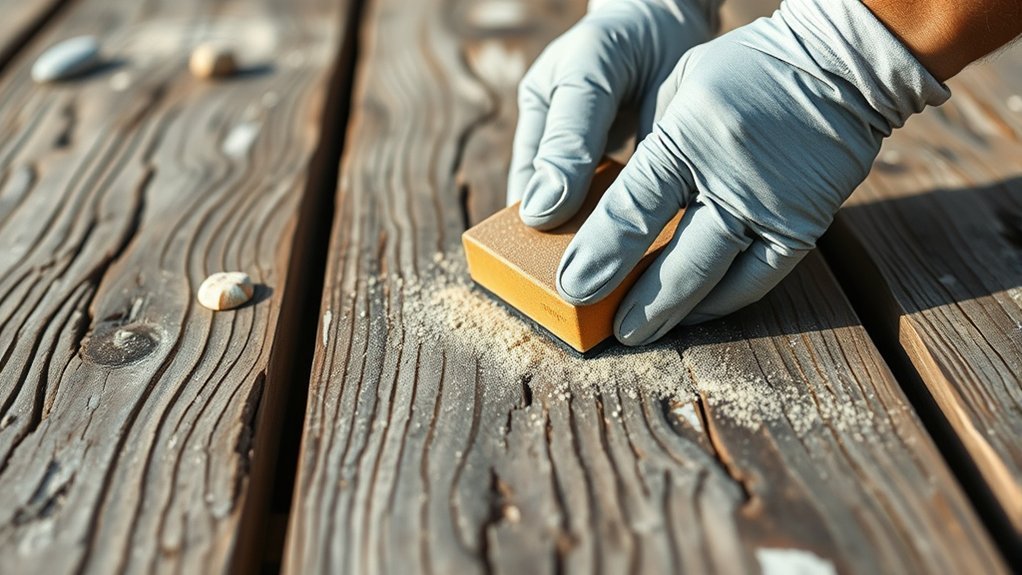
Mastering the step-by-step sanding process sets the foundation, but applying practical tips can considerably reduce effort and improve results. Start by selecting quality hand tools designed for deck sanding; ergonomic handles and appropriate grit sandpaper will minimize fatigue and increase efficiency.
Use a sanding block to maintain even pressure and avoid uneven surfaces. Prioritize sanding along the wood grain to prevent surface scratches. Take regular breaks to prevent hand strain, especially when working on large areas.
Budget considerations matter: investing in durable hand tools may have higher upfront costs but saves time and replacement expenses. Finally, maintain your tools—clean sandpaper and inspect blocks frequently—to ensure consistent performance throughout the project.
These strategies streamline hand sanding, delivering smoother results with less physical effort.
How to Finish Your Deck After Hand Sanding
After you’ve thoroughly sanded your deck by hand, finishing it properly is essential to protect the wood and enhance its appearance. You’ll want to apply a high-quality sealant or stain designed for outdoor furniture to preserve the wood’s integrity.
Use a brush or roller for even coverage, paying close attention to edges and gaps. Allow ample drying time between coats to ensure durability.
For effective hand maintenance and long-lasting results, remember to:
- Clean the deck surface thoroughly before applying finishes
- Apply finish evenly to prevent blotches and peeling
- Use protective gear to avoid skin irritation from chemicals
- Reapply finish periodically to maintain protection against weathering
This approach ensures your deck remains beautiful and sturdy for years.
Frequently Asked Questions
How Long Does Hand Sanding a Deck Typically Take?
Hand sanding a deck for preparation typically takes 8 to 12 hours, depending on deck size and wood condition.
You’ll need patience and consistent effort to achieve smooth, even surfaces before sealing or staining.
Can Hand Sanding Remove Old Paint or Stain Completely?
You can sand by hand, but it’s like peeling layers of an onion. Old paint or stain rarely vanishes completely.
You can sand without removing stain carefully, but power tools achieve faster, deeper removal than hand sanding’s gentle abrasion.
Is Hand Sanding Safe for All Types of Wood Decking?
You can use hand sanding on most wood decking, but you must adjust pressure to preserve wood safety. Softer woods need gentler sanding to avoid damage, while harder woods tolerate more abrasion without compromising structural integrity.
How Often Should You Sand Your Deck by Hand?
You should hand sand your deck every 2 to 3 years during routine deck maintenance to remove surface imperfections and prepare for refinishing.
More frequent sanding may be needed in high-traffic or weather-exposed areas.
What Are Common Mistakes to Avoid When Hand Sanding a Deck?
Avoid common mistakes like uneven pressure and circular motions. Use a consistent sanding technique with long, smooth strokes.
Don’t skip grits or ignore grain direction. You’ll achieve a uniform, smooth surface and prevent damage.
Conclusion
Hand sanding your deck demands patience and effort, but it offers unmatched precision compared to the fast, rough power sander. While the latter can quickly strip surfaces, hand sanding lets you carefully smooth corners and avoid damage.
By preparing properly and following the right steps, you’ll achieve a flawless finish that lasts. The slow, controlled process might take time, but the result is a perfectly prepped deck, ready for a durable, protective sealant.
In conclusion, you can sand a deck by hand to ensure careful attention to detail and a high-quality finish that power tools may not provide.