Just as a sculptor reveals form through careful chiseling, you refine surfaces through hand sanding. Hand sanding requires the right tools and techniques to avoid uneven finishes or damage. Starting with the proper grit and maintaining consistent pressure are essential steps that many overlook.
Mastering these details not only improves your results but also prepares you for the next phase in your project. Let’s explore how to approach hand sanding with precision and care.
What Is Hand Sanding and Why It Matters
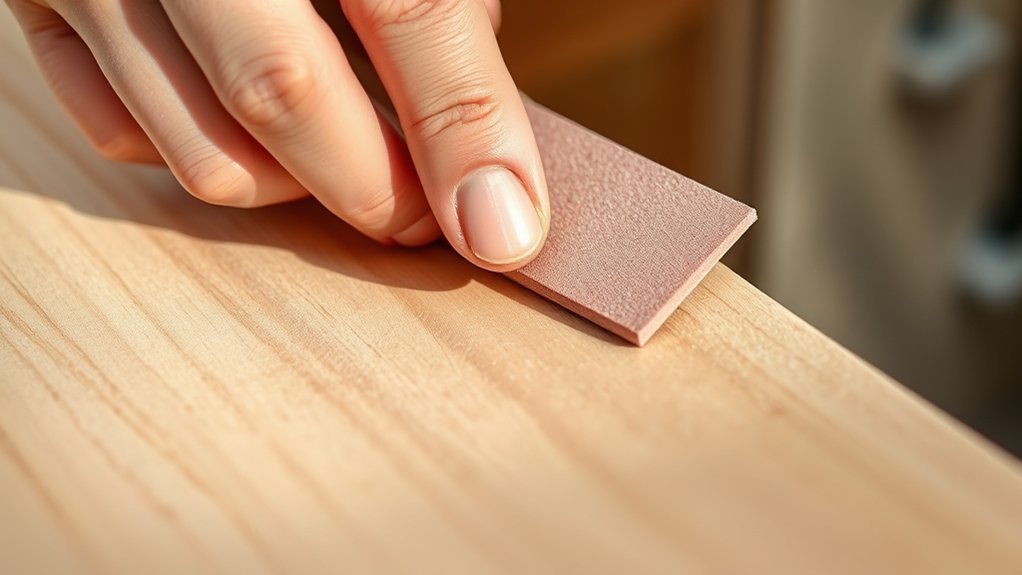
What exactly is hand sanding, and why should you prioritize it in your finishing process? Hand sanding is the manual technique of smoothing surfaces using abrasive paper, allowing precise control over pressure and movement.
You’ll find it essential for surface preparation, as it removes imperfections, old finishes, and contaminants that could compromise adhesion. Unlike power sanding, hand sanding lets you target delicate areas and achieve a uniform texture without damaging the substrate.
When you perform hand sanding carefully, you ensure an optimal surface profile, critical for subsequent finishing steps. Prioritizing this method enhances both the durability and aesthetics of your project.
Essential Materials for Hand Sanding
Achieving a flawless finish depends heavily on the tools and materials you choose for hand sanding. To start, gather the essential materials: a sanding block or pad to maintain even pressure, a variety of sandpapers for different tasks, and a clean cloth for dust removal.
When it comes to sandpaper selection, focus on quality and compatibility with your work surface, whether wood, metal, or plastic. Choose sandpapers with consistent grit distribution, ensuring they’re suitable for hand use to avoid uneven abrasion.
Additionally, a vacuum or tack cloth helps keep your workspace free of dust, preventing imperfections. By assembling these essential materials before you begin, you’ll streamline the sanding process and improve the accuracy and quality of your finish.
Picking the Right Sandpaper Grit for Hand Sanding
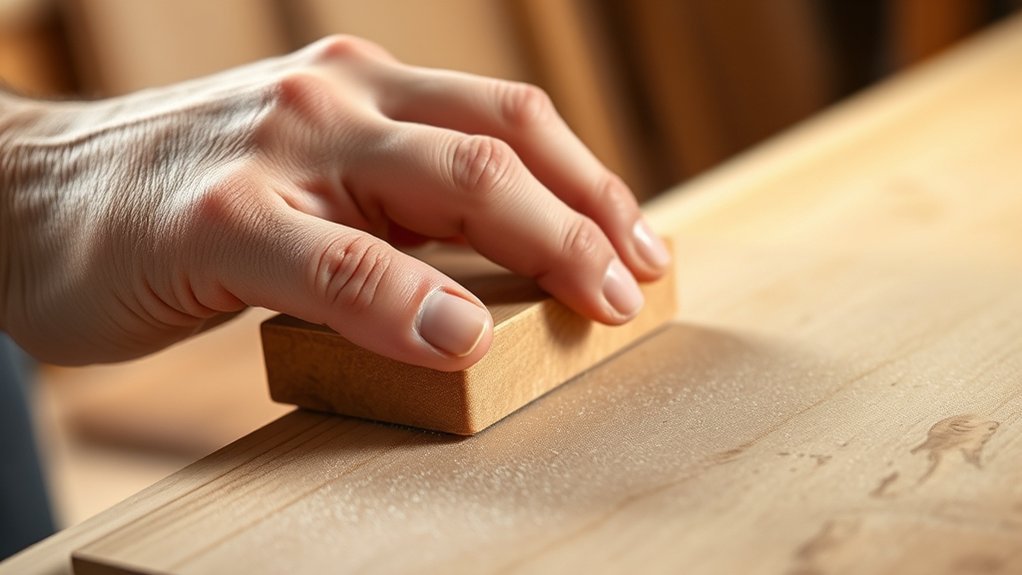
How do you determine the best sandpaper grit for your hand sanding project? Grit selection is essential to achieve a smooth, even finish without damaging the surface. Follow these guidelines for effective hand sanding:
- Start with coarse grit (40-60) for heavy material removal or rough surfaces.
- Use medium grit (80-120) to smooth out scratches left by the coarse grit.
- Choose fine grit (150-180) for final smoothing before finishing.
- Opt for extra fine grit (220+) when preparing surfaces for paint or varnish.
Preparing Your Surface for Hand Sanding
Before you begin hand sanding, make sure to clean the surface thoroughly to remove dust and debris.
Next, strip away any old finish to expose the bare material.
Finally, inspect the surface carefully for imperfections that need attention during sanding.
Clean Surface Thoroughly
Why is it essential to clean the surface thoroughly before you begin hand sanding? Proper cleaning ensures optimal sanding results and maintains sanding etiquette, preventing contamination that can cause scratches or uneven abrasion.
Plus, it supports effective workspace organization by reducing debris interference.
Follow these steps:
- Remove dust, dirt, and grease using a vacuum or tack cloth.
- Inspect the surface for loose particles or residues that could clog sandpaper.
- Ensure the surface is completely dry to avoid sanding inconsistencies.
- Organize your workspace by clearing away unrelated materials to maintain focus and efficiency.
Adhering to these methodical cleaning steps protects your workpiece integrity and preserves the lifespan of your abrasive materials, setting you up for successful hand sanding.
Remove Old Finish
Once the surface is clean and free of contaminants, you’ll need to remove any old finish to prepare it for effective hand sanding. Begin by selecting the appropriate method for finish removal, such as chemical varnish stripping or mechanical abrasion.
If using a chemical stripper, apply it evenly with a brush, following the manufacturer’s instructions carefully to avoid damaging the wood fibers. Allow sufficient dwell time for the varnish stripping agent to soften the old finish.
Then, use a plastic scraper to lift the softened finish gently. Afterward, clean the residue with a solvent recommended for the stripper used.
If opting for mechanical finish removal, start with coarse-grit sandpaper to strip layers efficiently, then progress to finer grits to smooth the surface. Proper finish removal ensures your hand sanding will be smooth and effective.
Inspect For Imperfections
How thoroughly you inspect the surface will determine the quality of your hand sanding. Before you start, examine the material closely to identify any defects that could compromise the finish. This step is crucial, especially when bad weather or budget constraints limit your options for rework.
Follow these steps:
- Check for dents, scratches, or gouges that need filling or extra smoothing.
- Look for uneven areas or raised grain that could affect sanding uniformity.
- Identify residual finish spots missed during removal.
- Detect moisture damage or mold that might require treatment before sanding.
Addressing these imperfections upfront ensures efficient sanding, prevents wasted effort, and guarantees a smooth final surface despite external challenges.
Hand Sanding Techniques for Smooth, Damage-Free Results
You’ll start by selecting the appropriate grit to match your surface condition, ensuring effective material removal without over-sanding. Use consistent, controlled sanding motions, typically circular or with the grain, to maintain an even finish.
Finally, apply light pressure and check your progress regularly to prevent any damage or uneven spots.
Choosing The Right Grit
Selecting the right grit is essential for achieving a smooth, damage-free finish when hand sanding. Your choice depends on the surface condition and your hand planning goals. Start coarse to remove imperfections, then progress to finer grits for refinement and polishing.
- Begin with 60-80 grit to remove roughness or old finishes.
- Use 120-150 grit for intermediate smoothing after initial hand planning.
- Choose 180-220 grit to refine the surface before final finishing.
- Opt for 320 grit or finer for ultra-smooth surfaces and delicate dust management.
Each grit level should be used methodically to avoid surface damage and dust buildup, facilitating efficient sanding and preparation for finishing.
Proper Sanding Motion
Where should your sanding motion focus to ensure a consistent, damage-free surface? Concentrate on using steady, even strokes that follow the grain of the material. Avoid circular or erratic movements that can cause uneven abrasion.
Maintain consistent pressure; too much force leads to gouges, too little slows progress. Keep your sanding pattern systematic to prevent topic drift into irrelevant tangents like cross-grain scrubbing, which compromises smoothness.
Use overlapping passes, gradually covering the entire surface without skipping spots. This methodical approach ensures uniform material removal and prepares the surface for finishing.
Preventing Surface Damage
Several key techniques help prevent surface damage when hand sanding, ensuring a smooth, flawless finish. You must apply consistent pressure and maintain even sanding strokes to avoid uneven wear. Follow these steps:
- Select the correct grit progression to minimize deep scratches that complicate color matching during finishing.
- Use a sanding block or pad with proper tool ergonomics to distribute force evenly and reduce hand fatigue.
- Sand with the grain to prevent cross-grain scratches that are difficult to conceal.
- Frequently clean the surface and sandpaper to remove debris that can cause gouges.
Sanding Wood, Metal, and Drywall: Key Differences
How do you adjust your sanding technique when working with wood, metal, or drywall? Each material demands distinct methods and tools, so avoid confusing non essential topics or unrelated tools.
Adjust your sanding technique for wood, metal, and drywall by using material-specific methods and tools for best results.
For wood, use medium to fine-grit sandpaper, applying even pressure along the grain to prevent scratches. Metal requires finer grit and often a lubricant to reduce heat and friction; use a circular motion to smooth imperfections.
Drywall demands a softer touch with fine-grit sandpaper or sanding screens to avoid gouging the surface; a pole sander helps maintain even contact. Choosing the right grit and motion for each material ensures efficiency and a quality finish.
Understanding these key differences prevents damage and optimizes your hand sanding results without wasting effort.
How to Avoid Common Hand Sanding Mistakes
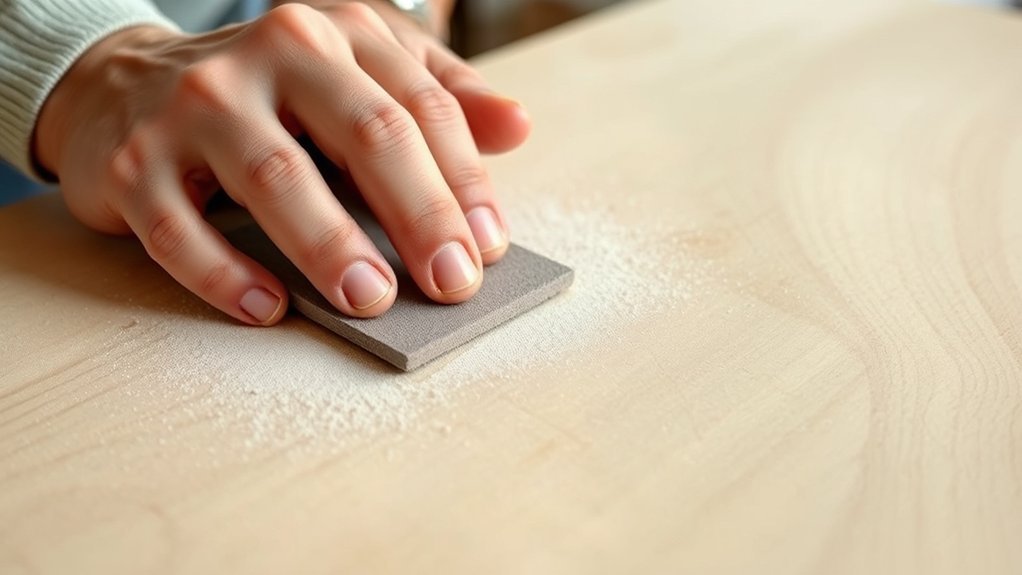
Although hand sanding may seem straightforward, you can easily make mistakes that compromise your finish or waste time. To avoid common errors, focus on these key points:
- Apply even pressure to prevent uneven surfaces and gouges.
- Replace worn abrasives promptly; proper tool maintenance ensures consistent results.
- Sand with the grain on wood to avoid scratches and a rough finish.
- Prioritize hand care by taking breaks and wearing protective gloves to maintain dexterity and avoid fatigue.
Speeding Up Hand Sanding Without Sacrificing Quality
Why spend hours on hand sanding when you can work smarter without cutting corners? Focus on speed optimization by using consistent, controlled strokes that cover the surface evenly.
Apply moderate pressure. Too much slows you down and risks unevenness, too little wastes effort. Utilize a sanding block to maintain flatness, which speeds up material removal and guarantees uniform results.
Apply moderate pressure and use a sanding block to ensure even, efficient material removal.
Effective dust management is essential. Regularly clear dust buildup with a vacuum or brush to prevent clogging, which reduces abrasive efficiency.
Work in a well-ventilated area and consider using a dust extraction system to maintain visibility and prolong sandpaper life. By combining these techniques, you’ll accelerate hand sanding without compromising the quality of your finish.
When to Switch Grits and How to Finish Your Sanding
When should you switch grits during hand sanding to ensure a smooth, professional finish? Switch grits as you eliminate previous scratches and surface irregularities. Follow these steps:
- Begin with coarse grit to remove major imperfections.
- Progress to medium grit once the surface feels uniformly rough.
- Shift to fine grit to smooth out the surface without over-sanding.
- Finish with ultra-fine grit for a polished, flawless finish.
Maintain consistent pressure and motion to optimize dust control and noise reduction. Use a sanding block or pad to evenly distribute force. Proper grit progression minimizes surface damage, reduces airborne dust, and lowers sanding noise, ensuring a cleaner, quieter workspace.
Complete your sanding by lightly buffing the surface with the finest grit to prepare for finishing treatments or coatings.
Cleaning and Storing Your Hand Sanding Tools
How often should you clean your hand sanding tools to maintain their effectiveness? Ideally, clean them after every use to prevent abrasive clogging and maintain optimal grit performance.
Begin by removing dust and debris using a stiff brush or compressed air, focusing on the sanding surface and edges. Proper dust collection minimizes abrasive wear and reduces health hazards.
For ergonomic hand tools, ensure handles are wiped down and inspected for damage to preserve hand tool ergonomics and user comfort.
Store your sanding blocks and sheets in a dry, dust-free environment to prevent moisture absorption and grit degradation. Organizing tools methodically allows for quick access and prolongs tool life, maintaining sanding precision and efficiency for your next project.
Frequently Asked Questions
Can Hand Sanding Be Done on Painted Surfaces?
Yes, you can hand sand painted surfaces, but you must perform frequent progress checks to avoid damaging the paint. Compare techniques carefully, using fine-grit sandpaper and gentle pressure for smooth, controlled results without stripping the paint layer.
How Do I Dispose of Used Sandpaper Safely?
You’ll want to follow disposal considerations carefully: since 30% of landfill waste is construction debris, dispose of used sandpaper in sealed bags to prevent dust spread.
Consider recycling options to minimize environmental impact effectively.
Is Hand Sanding Better Than Using a Power Sander?
Hand sanding offers superior control and precision compared to power tools, allowing you to target delicate areas without over-sanding. However, for large surfaces, a power sander provides efficiency. Your choice depends on project scale and detail.
What Health Precautions Should I Take While Hand Sanding?
You’ll see dust swirling, particles everywhere. Don’t inhale! To reduce health risks, wear protective gear like a mask and goggles.
Ensure proper ventilation safety, and use dust control methods to keep your workspace clean and safe.
Can I Reuse Sandpaper After It Gets Clogged?
You can reuse sandpaper if it has good clog resistance, but once grit clogs significantly, its effectiveness drops. Recycling grit isn’t practical; instead, clean lightly or replace the sheet to maintain optimal abrasion performance.
Conclusion
If you skip proper hand sanding, your project might as well be a disaster waiting to happen—uneven surfaces, poor paint adhesion, and visible flaws everywhere. By methodically following each step—selecting the right grit, sanding with steady pressure, and cleaning thoroughly—you’ll guarantee a flawless finish that lasts.
Hand sanding isn’t just a chore; it’s the critical foundation for any professional-quality result. Nothing less than perfection should satisfy you when aiming for a smooth, polished outcome.
Mastering how to do a hand sand properly ensures your work stands out with a superior finish every time.