You need to get sandpaper to stick to your orbital sander by first cleaning the pad, inspecting it for damage, and carefully aligning the sandpaper. Each step plays a crucial role in ensuring your sandpaper adheres properly to the orbital sander.
Skipping any part can lead to slipping or uneven sanding, which compromises your work quality. Understanding these fundamentals sets the stage for effective sanding.
However, the details on how to execute each step precisely are what really make the difference.
Common Causes of Sandpaper Not Sticking on Orbital Sanders
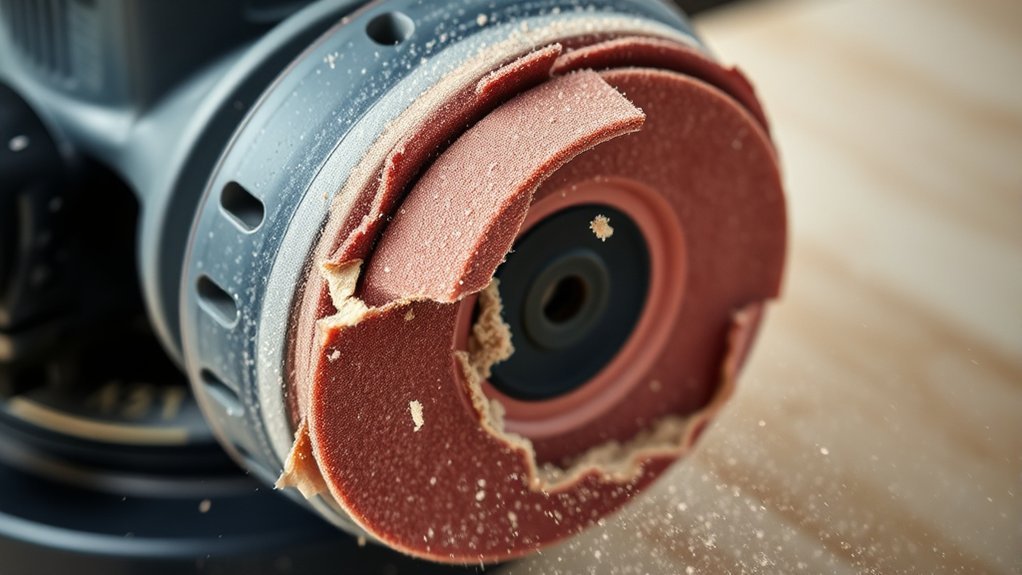
One common cause of sandpaper not sticking to your orbital sander is debris or dust buildup on the sanding pad’s surface. You need to inspect the pad carefully, removing any dust particles or stray adhesive fragments that compromise the pad’s grip.
Over time, irrelevant topic residues like dried glue or paint chips accumulate, reducing adhesion. Ensure the pad is clean and dry before attaching new sandpaper.
Additionally, check the condition of the hook-and-loop fastener; worn or clogged loops prevent proper engagement. Avoid using excessive force when affixing sandpaper, as it may cause misalignment and reduce contact area.
Choosing the Best Sandpaper for Your Orbital Sander
You need to select sandpaper with the correct grit size to match your project’s surface requirements. Pay attention to the paper material, as options like aluminum oxide or silicon carbide offer different durability and cutting efficiency.
Also, ensure the sandpaper’s backing and attachment method are compatible with your orbital sander’s design for optimal adhesion.
Grit Size Importance
Why does grit size matter when choosing sandpaper for your orbital sander? Proper grit selection directly influences the quality of your finish and the sandpaper longevity. Coarser grits remove material quickly but wear faster, while finer grits provide smooth finishes and extend paper life.
Consider these key factors:
- Material Removal Rate: Lower grit numbers (40-60) aggressively strip surfaces, ideal for rough shaping.
- Surface Smoothness: Medium grits (80-120) balance removal and finish, prepping surfaces efficiently.
- Final Finishing: Higher grits (150-220+) refine the surface, essential for painting or staining.
Selecting the correct grit size ensures efficient sanding, reduces unnecessary wear on your sandpaper, and prevents damage to your workpiece. Always match grit to your project’s stage for best results and maximum sandpaper longevity.
Paper Material Types
How do different sandpaper materials impact the performance of your orbital sander? The choice of paper material directly affects durability, cutting efficiency, and dust management. Aluminum oxide offers a balance of toughness and longevity, ideal for most sanding techniques on wood or metal.
Silicon carbide excels in wet sanding and smooth finishes but wears faster on rough surfaces. Zirconia alumina provides aggressive cutting, suited for heavy material removal but demands careful grip compatibility due to its stiffness. Ceramic abrasives deliver high performance for industrial use but may be overkill for typical DIY tasks.
Selecting the right sandpaper material ensures your orbital sander maintains optimal abrasive contact, maximizing efficiency and surface quality. Always align your paper material choice with your sanding technique and ensure it supports the sander’s grip compatibility for secure attachment.
Compatibility With Sander
Which sandpaper best fits your orbital sander’s design? Choosing the right sandpaper hinges on surface compatibility and how the material handles vibration impact. You want abrasive sheets engineered to match your sander’s motion and pad type to maximize efficiency.
Consider these factors:
- Backing Material – Select sandpaper with a backing that adheres firmly to your sander’s pad without peeling under vibration impact.
- Grit Size – Match grit size to your project surface, ensuring optimal abrasion without damaging delicate materials.
- Attachment Method – Confirm whether your sander uses hook-and-loop, adhesive, or PSA backing for secure sandpaper mounting.
Assessing these elements guarantees consistent sanding performance and prolongs sandpaper life, making your orbital sander more effective and reliable.
Preparing Your Orbital Sander for Better Sandpaper Adhesion
A clean and properly maintained sanding pad is essential for optimal sandpaper adhesion on your orbital sander. Start by removing any residual dust or debris with a soft brush or compressed air. This ensures effective dust alignment, preventing particles from disrupting the sandpaper’s grip.
Next, inspect the pad for wear or unevenness. Pad symmetry is crucial to maintain even pressure distribution during sanding. Replace the pad if you notice any deformities or damage.
Before attaching new sandpaper, wipe the pad surface with a lint-free cloth to remove oils or contaminants. By systematically cleaning and verifying dust alignment and pad symmetry, you create a reliable base that enhances sandpaper adhesion, ensuring consistent performance and prolonging both pad and sandpaper lifespan.
How to Attach Adhesive-Backed Sandpaper to Orbital Sanders
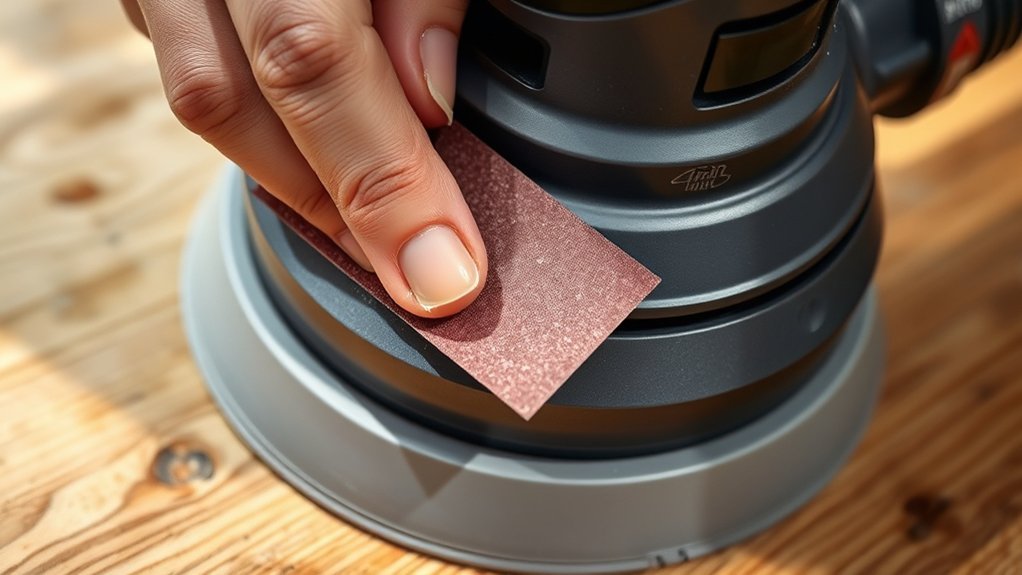
First, ensure the sander pad is clean and free of debris to maximize adhesion.
Next, carefully align the adhesive-backed sandpaper with the edges of the pad. Finally, press firmly across the surface to secure full contact and prevent lifting during use.
Preparing the Sander Pad
How do you ensure adhesive-backed sandpaper adheres securely to your orbital sander? Start by preparing the sander pad properly to avoid irreversible damage and optimize noise reduction.
First, inspect the pad for debris or worn areas that could compromise adhesion. Second, clean the pad thoroughly using a soft brush or compressed air to remove dust and residues. Third, check the pad’s surface for moisture or oil; use a clean, dry cloth to eliminate any contaminants.
Proper preparation ensures a flat, stable surface for the sandpaper to bond securely, minimizing vibration and noise during operation. This methodical approach not only improves adhesion longevity but also protects the sander’s components from premature wear, maintaining performance and extending tool life.
Aligning and Pressing Sandpaper
Where exactly should you position the adhesive-backed sandpaper to ensure optimal alignment on your orbital sander? Start by centering the sandpaper over the pad, aligning the holes precisely with the sander’s dust extraction system.
Next, press the sandpaper firmly from the center outward to eliminate air bubbles and ensure full contact.
| Step | Action | Purpose |
|---|---|---|
| 1 | Center sandpaper | Align sanding holes |
| 2 | Press firmly center out | Remove air pockets |
| 3 | Check edges | Confirm full adhesion |
| 4 | Re-press if needed | Secure edges |
| 5 | Inspect alignment | Ensure dust extraction intact |
Properly aligning and pressing sandpaper ensures optimal performance and longevity.
Applying Hook-and-Loop Sandpaper Correctly
Why does proper alignment matter when applying hook-and-loop sandpaper to your orbital sander? Misalignment causes an unstable grip, reducing sanding efficiency and risking premature sandpaper detachment.
To apply it correctly, follow these steps:
- Center the sandpaper: Position the hook side evenly on the pad, avoiding edges that hang over, which can peel off during use.
- Press firmly: Use consistent pressure to engage the loops fully, ensuring a secure bond without air bubbles or wrinkles.
- Check edges: Inspect the perimeter for gaps or loose spots that may compromise grip.
Using these budget hacks prevents frequent replacements and maintains optimal sanding performance. Properly applied hook-and-loop sandpaper enhances stability, reduces downtime, and delivers smooth, consistent results every time you work.
Repairing Worn Pads and Replacing Adhesive Surfaces on Orbital Sanders
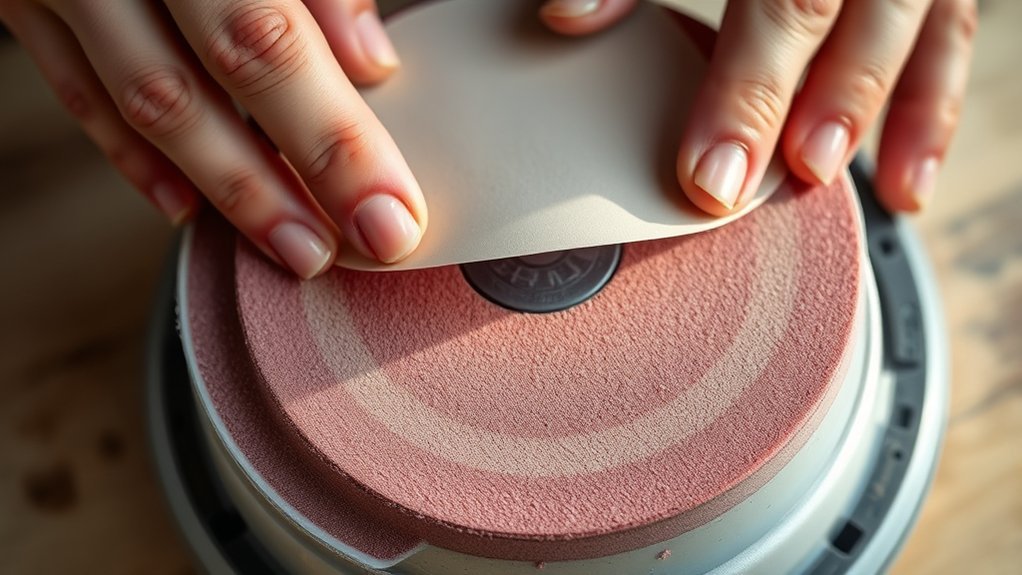
You’ll first need to inspect the sanding pad for wear, such as uneven surfaces or loss of adhesive grip. Next, select a compatible replacement adhesive designed for your sander’s specific pad type.
Follow a step-by-step process to remove the old pad, clean the surface, and securely apply the new adhesive for optimal sandpaper attachment.
Identifying Worn Sanding Pads
How can you tell when your orbital sander’s sanding pad needs attention? Identifying wear and pad degradation is key to maintaining optimal sanding performance. Inspect the sanding pad regularly for these signs:
- Surface Irregularities: Look for cracks, gouges, or uneven surfaces that impair sandpaper adhesion.
- Reduced Grip: Test if the pad firmly holds sandpaper; slipping indicates adhesive layer breakdown.
- Excessive Compression: Press the pad; if it feels overly soft or deformed, the foam or backing may be compromised.
Choosing Replacement Adhesives
When selecting replacement adhesives for your orbital sander’s pad, consider the type of bond and compatibility with both the sanding pad material and sandpaper backing. Opt for pressure-sensitive or hook-and-loop adhesives designed for high abrasion and temperature resistance.
Avoid cheap glues that degrade quickly under heat or friction. Ensure the adhesive’s thickness doesn’t interfere with the pad’s balance or sanding performance. Don’t confuse this with an irrelevant topic like general-purpose adhesives, which won’t provide the necessary shear strength.
Also, steer clear of unrelated concepts such as using double-sided tape or spray adhesives, as they lack durability in this application. Your goal is a secure, uniform bond that maintains pad integrity and sandpaper adherence during operation.
Prioritize product specifications and manufacturer recommendations for optimal results.
Step-by-Step Pad Replacement
Replacing the pad on your orbital sander requires careful attention to guarantee proper adhesion and balanced performance. Start by removing the worn pad; use a flat tool to peel it away gently, ensuring no residue remains.
Next, clean the backing plate thoroughly. Dust and debris compromise pad longevity and adhesive effectiveness. Finally, apply the new adhesive pad evenly, pressing firmly to eliminate air pockets, which can cause vibration and reduce dust management efficiency.
- Remove old pad carefully, avoiding damage to the backing plate.
- Clean the surface with a dry cloth or compressed air to clear dust.
- Align and press the new adhesive pad fully to secure it.
Following these steps optimizes pad longevity and maintains effective dust management for consistent sanding results.
Using Spray Adhesive to Improve Sandpaper Grip on Orbital Sanders
Why does sandpaper sometimes slip on your orbital sander despite proper attachment? The issue often lies in insufficient adhesion between the sandpaper and the pad. Using a spray adhesive enhances the bond by leveraging adhesive chemistry, improving grip without compromising sandpaper safety.
Follow these steps:
| Step | Action |
|---|---|
| Surface Prep | Clean pad thoroughly |
| Apply Adhesive | Spray evenly, avoid excess |
| Attach Sandpaper | Press firmly, let cure briefly |
Spray adhesives contain polymers that form a tacky layer, increasing friction and preventing slippage. Ensure proper ventilation and wear protective gear to maintain sandpaper safety. This method extends sandpaper life and optimizes sanding efficiency by reducing peel-off during operation.
Cleaning and Maintaining Your Orbital Sander Pad
How often should you clean your orbital sander pad to maintain optimum performance? Regular cleaning is essential; unclear maintenance can lead to reduced adhesion and inefficient sanding. Dirt, dust, and residue from unrelated sanding tasks can clog the pad’s surface, preventing sandpaper from sticking properly.
Follow these steps to maintain your pad:
- Detach the pad and remove loose debris with compressed air or a soft brush.
- Use a pad cleaning stick or rubber eraser to gently remove embedded particles.
- Inspect the pad for wear or damage, replacing it if the surface is uneven or hardened.
Adhering to this routine prevents buildup, ensuring consistent grip and prolonging pad life. Proper maintenance avoids performance drops caused by unclear maintenance and unrelated sanding contamination.
Troubleshooting Sandpaper Slipping on Orbital Sanders
When does your sandpaper start slipping during use, and what causes this common issue? Slippage often occurs when the adhesive backing weakens due to dust accumulation or excessive heat from friction.
To troubleshoot, first inspect the sanding pad for debris that reduces grip; clean it thoroughly. Check for pad wear that compromises vibration damping, as poor damping increases oscillation, making sandpaper detach prematurely.
Also, ensure you’re using compatible sandpaper types designed for your sander’s hook-and-loop or adhesive system to maximize sandpaper longevity. Avoid applying excessive pressure, which generates heat and reduces adhesive effectiveness.
Finally, verify that your sandpaper’s backing remains intact and undamaged. Addressing these factors methodically prevents slippage, maintaining consistent sanding performance and extending sandpaper lifespan.
Tips for Quick and Easy Sandpaper Replacement
Maintaining a secure grip on your sandpaper is key to effective sanding, but eventually, replacement becomes necessary. To ensure quick and easy sandpaper replacement while maintaining optimal performance, follow these steps:
A secure sandpaper grip ensures effective sanding, but timely replacement keeps performance at its peak.
- Verify sandpaper compatibility: Choose sandpaper designed specifically for your orbital sander’s hook-and-loop or adhesive backing system to ensure a secure fit and prevent slippage.
- Clean the sanding pad: Remove dust and debris from the pad surface to maximize adhesion and maintain proper dust collection efficiency.
- Align and press firmly: Position the new sandpaper evenly on the pad, then press firmly to engage the hook-and-loop or adhesive system fully, ensuring uniform contact and preventing premature detachment.
Frequently Asked Questions
Can I Use Sandpaper From Other Brands With My Orbital Sander?
You can use sandpaper from other brands if you ensure matching pad compatibility and select the correct grit. Always verify backing type and size to guarantee a secure fit and optimal sanding performance with your orbital sander.
How Often Should I Replace Sandpaper During a Project?
You should replace sandpaper every 20-30 minutes of continuous use to maintain efficiency. Use a precise replacement technique, ensuring brand compatibility to prevent poor adhesion and uneven sanding, which can compromise your project’s finish quality.
Does Humidity Affect Sandpaper Adhesion on Orbital Sanders?
Yes, humidity effects can cause adhesive failure on orbital sanders. Moisture weakens the glue, reducing sandpaper grip.
You should store sandpaper in dry conditions and avoid using it in high humidity to maintain proper adhesion.
Can I Reuse Sandpaper After Washing It?
Like shaking off dust from old leaves, you can reuse sandpaper after washing it carefully. To maximize grip, ensure thorough drying and gentle sandpaper conditioning, preserving the abrasive surface without compromising attachment to your orbital sander.
What Safety Gear Should I Wear When Sanding With an Orbital Sander?
You should wear safety goggles, a dust mask or respirator for dust protection, earplugs or earmuffs, and gloves. These guarantee sanding safety by protecting your eyes, lungs, ears, and hands from particles, noise, and vibration.
Conclusion
To ensure sandpaper sticks securely to your orbital sander, start by thoroughly cleaning the pad and backing to remove all contaminants. Inspect for damage and replace worn pads. Carefully align adhesive-backed sandpaper with pad edges and dust holes, pressing firmly to eliminate air pockets.
Maintaining a clean, dry surface during use is crucial. By following these precise, methodical steps, you’ll improve adhesion, reduce slippage, and achieve consistent sanding performance every time. This approach will help you get sandpaper to stick to your orbital sander effectively.