Many believe that sanding an electric guitar body is simply about smoothing the surface, but the reality demands a precise balance between grit selection and technique. Sanding an electric guitar body properly is essential for achieving a professional finish. You’ll need to start with coarser paper to remove old finishes, then progress carefully to finer grits, maintaining consistent pressure and direction.
Mastering this process prevents scratches and unevenness, ensuring a flawless base for finishing. Understanding the nuances of preparation and problem correction is essential before moving forward. This careful approach results in a smooth, even surface ready for paint or varnish application.
Sanding Your Electric Guitar Body by Hand or Tool
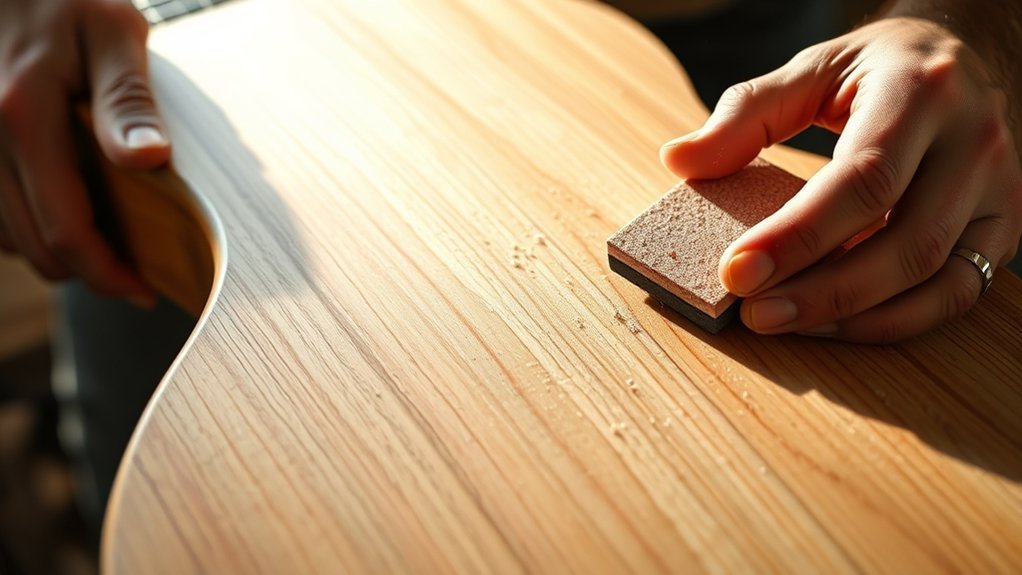
When sanding your electric guitar body, you can choose between hand sanding and using power tools, each offering distinct advantages. Hand sanding lets you maintain precise control, especially around curves and intricate contours, minimizing sanding challenges like uneven surfaces or gouges. It’s ideal for delicate areas where finesse is essential.
On the other hand, power tools such as orbital sanders accelerate material removal, making them efficient for flattening large, flat surfaces. However, they require a steady hand to avoid over-sanding or damaging the wood grain. When deciding, consider your comfort level and the guitar’s shape.
This two word discussion ideas approach, “control versus speed,” helps you weigh the benefits and limitations efficiently, ensuring your sanding process suits your project’s demands.
Selecting the Right Sandpaper Grit for Your Guitar
How do you determine the best sandpaper grit for your electric guitar body? Your selection grit directly impacts the smoothness and integrity of the wood surface. Start with a coarser grit, like 80 to 120, to remove old finishes or shape the body.
As you progress, switch to finer grits, 220 to 320, for smoothing without damaging the wood fibers. Employ a consistent sanding technique, applying even pressure and sanding with the grain to avoid scratches.
Avoid skipping grit levels to maintain control over surface refinement. The right sequence ensures efficient material removal and a perfectly prepared surface for finishing.
Preparing Your Guitar for Paint or Stain
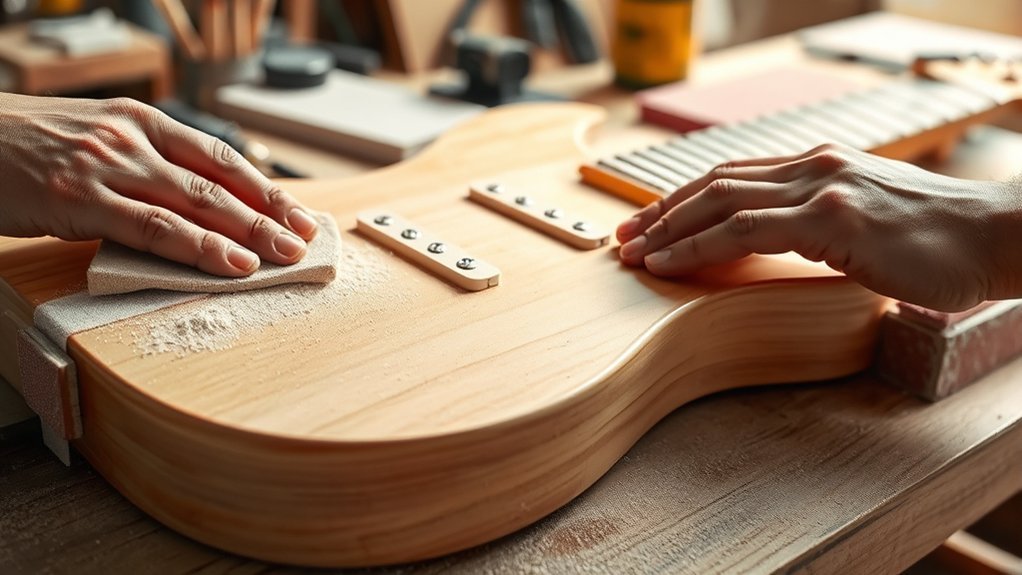
Why is thorough preparation essential before applying paint or stain to your electric guitar body? Proper prep steps ensure an even finish, prevent adhesion issues, and highlight the wood grain or paint vibrancy.
Start by cleaning the guitar body to remove dust and oils. Use fine-grit sandpaper (around 320 grit) for a smooth surface, eliminating sanding scratches from coarser grits.
Next, apply masking tape precisely to protect hardware cavities, neck joints, and control holes. This prevents unwanted paint or stain buildup in sensitive areas.
Finally, wipe the body with a tack cloth to eliminate residual dust particles. These prep steps guarantee your paint or stain adheres uniformly, resulting in a professional, durable finish that enhances your guitar’s aesthetics and longevity.
Fixing Common Sanding Problems on Electric Guitar Bodies
Even with careful preparation, sanding an electric guitar body can present challenges that affect the final finish. Fixing wobble is essential; if your sanding block or tool isn’t stable, it creates uneven surfaces. Secure the guitar body firmly and use a flat sanding block to maintain consistent pressure.
Sanding chatter, those unwanted ripple marks from vibration, often results from excessive speed or a dull abrasive. Reduce your sander’s speed and check that the sandpaper is firmly attached without any wrinkles. If chatter persists, switch to a finer grit and sand lightly, ensuring smooth, even strokes.
Addressing these issues promptly prevents imperfections that are difficult to correct later, preserving the precise contours and smoothness necessary to a professional-quality guitar body.
Finishing and Protecting Your Electric Guitar Body After Sanding
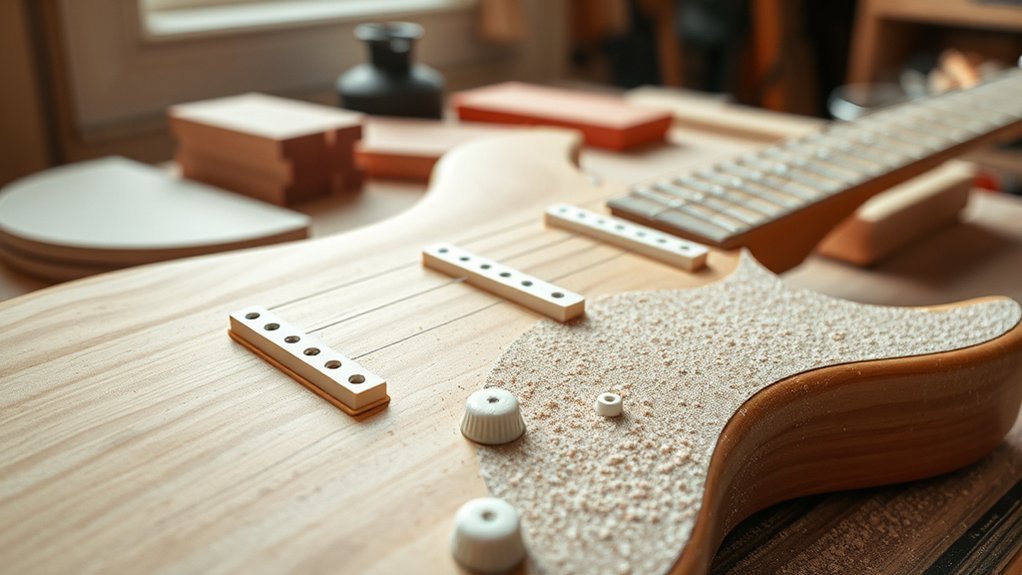
When should you apply the finish to your electric guitar body to ensure maximum durability and aesthetic appeal? Apply finishing techniques immediately after sanding and thoroughly cleaning the surface to remove dust and oils.
Start with a thin coat of sealer or grain filler to create a smooth base. Once dry, sand lightly with fine grit to maintain smoothness.
Begin by applying a thin sealer coat, then sand lightly with fine grit for a smooth finish.
Next, apply your chosen protective coatings, such as polyurethane, nitrocellulose lacquer, or oil-based finishes, in multiple thin layers, allowing full curing between coats. Use a spray gun or brush to ensure even application.
Finally, wet sand and polish the surface to achieve a high-gloss, durable finish that protects against moisture, wear, and UV damage. Proper finishing techniques preserve the guitar’s tone and appearance for years.
Frequently Asked Questions
Can Sanding Affect the Guitar’s Tone or Resonance?
Yes, your sanding technique directly affects tone and resonance; improper sanding can damage wood fibers. Ensuring finish compatibility preserves acoustic properties, so carefully match abrasives and finish.
Maintaining structural integrity is essential for optimal sound quality.
How Long Does Sanding an Electric Guitar Body Usually Take?
Sanding an electric guitar body usually takes you two hours, depending on your two-step approach and surface condition. Precision sanding and gradual smoothing ensure optimum finish quality, balancing time efficiency with detailed craftsmanship for a flawless result.
Is It Safe to Sand a Guitar With Electronics Installed?
It’s not safe to sand with electronics installed unless there’s dust containment. Disassembling is safer, preventing dust damage and short circuits.
Always disconnect and remove electronics to avoid risks and ensure precise, clean sanding results.
What Safety Gear Should I Wear While Sanding My Guitar?
You’ll want safety gear like a dust mask or respirator, safety goggles, and gloves to protect against particles and splinters. Pair these with proper sanding techniques to minimize inhalation and ensure precise, controlled sanding movements.
Can I Sand a Guitar Body Made of Different Wood Types?
Think of sanding different wood types like blending paints; you can sand them, but you must adjust pressure carefully. Uneven sanding affects finish and tone impact, so prioritize uniformity to preserve each wood’s acoustic properties precisely.
Conclusion
As you glide your sandpaper across the guitar’s curves, picture the smooth surface emerging beneath your fingertips—free of scratches and imperfections. With each fine grit, you’re crafting a flawless canvas, ready to showcase your finish or stain.
Stay precise, keep the motion steady, and protect your work with sealers and clear coats. This careful, methodical process transforms raw wood into a polished masterpiece.
By mastering these steps, you ensure your guitar looks and plays beautifully for years to come, making sanding an essential part of how to sand an electric guitar body.