Did you know that improper maintenance can reduce the lifespan of granite drill bits by up to 50%?
Proper maintenance of granite drill bits is essential to maximize their durability and performance.
You need to adopt a systematic approach to cleaning, inspecting, and storing your bits.
Understanding these key steps will not only prevent premature wear but also enhance your drilling precision.
Let’s explore the essential practices that keep your granite drill bits in prime condition.
How to Maintain Your Granite Drill Bits for Longevity
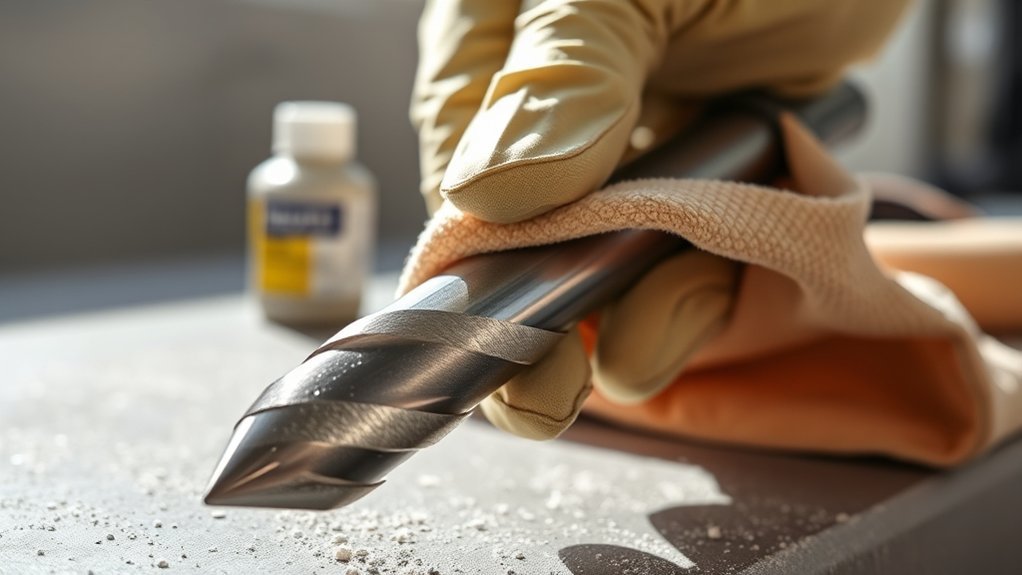
Although granite drill bits are designed for durability, you need to clean and inspect them regularly to confirm peak performance. Start by removing debris and dust after each use, as accumulated particles can cause overheating and wear.
Use a soft brush and mild solvent to clear the bit’s surface and cutting edges without damaging the diamond coating. Next, examine the bit for signs of chipping or uneven wear. These issues reduce cutting efficiency and increase strain.
During granite drill maintenance, guarantee proper storage in a dry, secure case to prevent corrosion and physical damage. Follow these bit longevity tips consistently: avoid excessive pressure during drilling, maintain adequate water cooling, and replace bits showing significant wear.
This methodical approach extends your granite drill bits’ life and optimizes cutting precision.
How to Choose the Right Granite Drill Bits for Your Project
How do you select the right granite drill bit to match your specific project requirements? Start by analyzing the material density and hole diameter needed. Different drill bit types, such as diamond-tipped, carbide-tipped, or tungsten carbide, offer varying levels of hardness and durability.
Diamond-tipped bits excel in precision and longevity for dense granite, while carbide bits suit lighter tasks or softer granites. Match the drill bit type to the hardness and grain of your granite to avoid premature wear or damage.
Additionally, consider the bit’s shank compatibility with your drill and the cooling method required. By methodically aligning drill bit types with your project requirements, you guarantee efficient cutting, reduce bit wear, and maintain peak performance throughout your granite drilling tasks.
Using the Right Drill Speed and Pressure on Granite
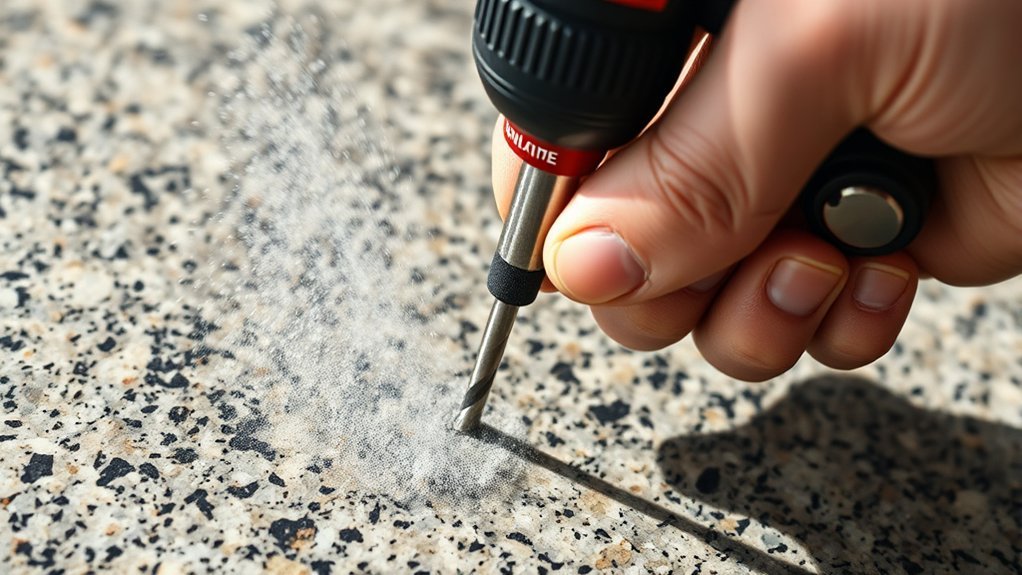
When drilling into granite, you must carefully control both the drill speed and the applied pressure to prevent bit damage and achieve clean holes. Start with a low drill speed to reduce heat buildup, which can degrade the bit’s cutting edge. Avoid high speeds that cause excessive friction and risk bit warping.
Maintain consistent pressure application. Too much force accelerates wear and risks bit breakage, while too little slows progress and causes uneven cutting. Apply firm, steady pressure that allows the bit to grind granite efficiently without binding.
Monitor the bit’s response, adjusting drill speed and pressure as needed to maintain ideal cutting conditions. This methodical balance preserves the bit’s integrity, extends its lifespan, and guarantees precise drilling performance on hard granite surfaces.
When and How to Use Cooling for Granite Drill Bits
Since drilling granite generates significant heat, you need to use cooling techniques to protect your drill bit and maintain cutting efficiency. Managing drill bit temperature is essential to prevent premature wear and maintain sharpness. Apply cooling methods whenever you notice excessive heat buildup, visible smoke, or discoloration on the bit.
Consider these effective cooling methods:
Use a continuous water flow to dissipate heat and flush away debris.
Apply a water-based lubricant for enhanced cooling and smoother drilling.
Pause drilling periodically to allow the bit to cool naturally.
Employ a wet diamond drill bit designed for use with water cooling.
How to Clean Your Granite Drill Bits to Keep Them Sharp
Although granite drill bits are designed for durability, regular cleaning is essential to maintain their sharpness and cutting performance. Begin by removing debris and dust using a stiff-bristled brush.
Regularly clean granite drill bits with a stiff brush to preserve sharpness and cutting efficiency.
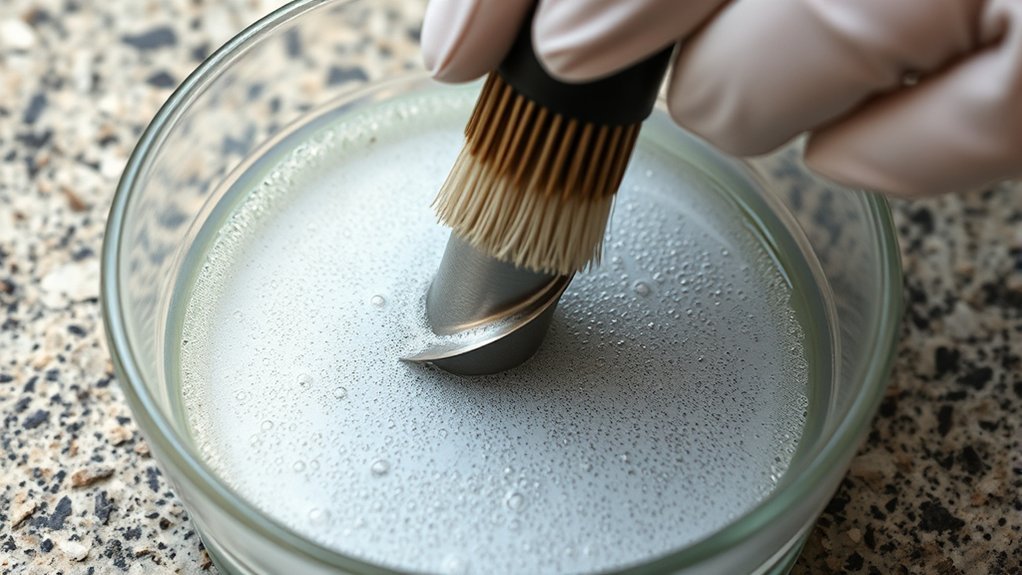
For more thorough cleaning, soak the bits in a mild cleaning solution specifically formulated for masonry tools; this dissolves cement and mineral residues that impair cutting efficiency. After soaking, scrub gently with a nylon brush to avoid damaging the diamond segments.
Rinse with clean water and dry completely to prevent rust. Incorporate these cleaning solutions into your routine as part of broader maintenance tips to extend bit life.
Avoid harsh chemicals that can degrade bonding agents. By consistently applying these cleaning steps, you guarantee peak drill bit function and reduce wear during granite drilling tasks.
How to Sharpen Granite Drill Bits at Home
Anyone working regularly with granite drill bits will eventually need to sharpen them to restore cutting efficiency. You can perform diamond sharpening at home using specific home tools designed for precision.
Follow these steps:
Secure the drill bit firmly in a vise or clamp to prevent movement. Use a diamond sharpening stone or wheel, ensuring it’s rated for hard materials.
Gently apply the bit’s edge to the diamond surface at the original bevel angle. Maintain consistent pressure and motion to evenly sharpen all cutting edges.
Sharpening this way preserves the bit’s integrity and extends its lifespan. Avoid overheating by dipping the bit in water frequently during the process.
With methodical diamond sharpening and proper home tools, you’ll keep your granite drill bits sharp and ready for demanding tasks.
How to Inspect Your Granite Drill Bits for Wear and Damage
A thorough inspection of your granite drill bits is essential to guarantee peak performance and safety. Begin by examining the wear indicators. These subtle marks signal when the bit’s cutting edges have degraded. Use a magnifying lens to detect any blunting or rounding of the diamond segments.
Next, perform a damage assessment by checking for cracks, chips, or uneven wear on the bit’s surface. Inspect the core and shank for structural integrity, ensuring no bends or fractures compromise stability.
If you identify any abnormalities, replace or repair the bit immediately to avoid inefficient drilling or potential hazards. Regular, methodical inspections help maintain ideal cutting efficiency and extend your drill bits’ operational lifespan.
How to Store Your Granite Drill Bits So They Last Longer
Properly storing your granite drill bits can greatly extend their lifespan and maintain cutting efficiency. To guarantee ideal storage, handle your bits methodically and protect them from environmental factors that cause corrosion or damage. Use a protective casing designed to prevent contact between bits, which reduces chipping and dulling.
Follow these storage practices for best results:
Store bits in a dry, temperature-controlled environment to avoid rust.
Keep each bit in a separate slot within a protective casing to prevent collisions.
Label storage compartments clearly to minimize handling and searching time.
Clean bits thoroughly before storage to remove debris and moisture.
How to Know When to Replace Your Granite Drill Bits
After storing your granite drill bits correctly, it’s important to monitor their condition regularly to guarantee peak performance. Recognizing signs replacement is essential to avoid damage or inefficient drilling. Key performance indicators include reduced cutting speed, increased vibration, and visible wear on the bit’s tip.
| Performance Indicator | Sign of Wear | Recommended Action |
|---|---|---|
| Decreased drilling speed | Dull or rounded edges | Sharpen or replace bit |
| Excessive vibration | Bit wobbling | Inspect and replace |
| Visible tip damage | Chips or cracks | Immediate replacement |
| Overheating during use | Discoloration | Cool or replace bit |
Conclusion
So, unless you enjoy the thrilling challenge of drilling with a chipped, overheated mess, stick to cleaning, inspecting, and storing your granite drill bits properly. Treat them like the precision tools they are—not like your leftover pizza.
Follow these steps methodically, or prepare for the glorious saga of replacing worn bits far too often. Your drill bits—and your patience—will thank you. Maintenance isn’t glamorous, but neither is a broken project.
Proper maintenance is key to extending the life and performance of your granite drill bits. Taking care of them ensures smooth drilling and saves you time and money in the long run.