When you’re about to drill into stucco, choosing the right type of drill bit for stucco is critical to avoid cracking or chipping the surface.
Stucco’s hard, abrasive texture demands more than a standard bit. Carbide-tipped masonry bits are often the go-to choice for durability and precision.
However, factors like stucco composition and the type of anchor you’re installing can influence your selection.
Understanding these nuances will help you achieve a clean, professional result.
Why the Right Drill Bit Matters for Drilling Stucco
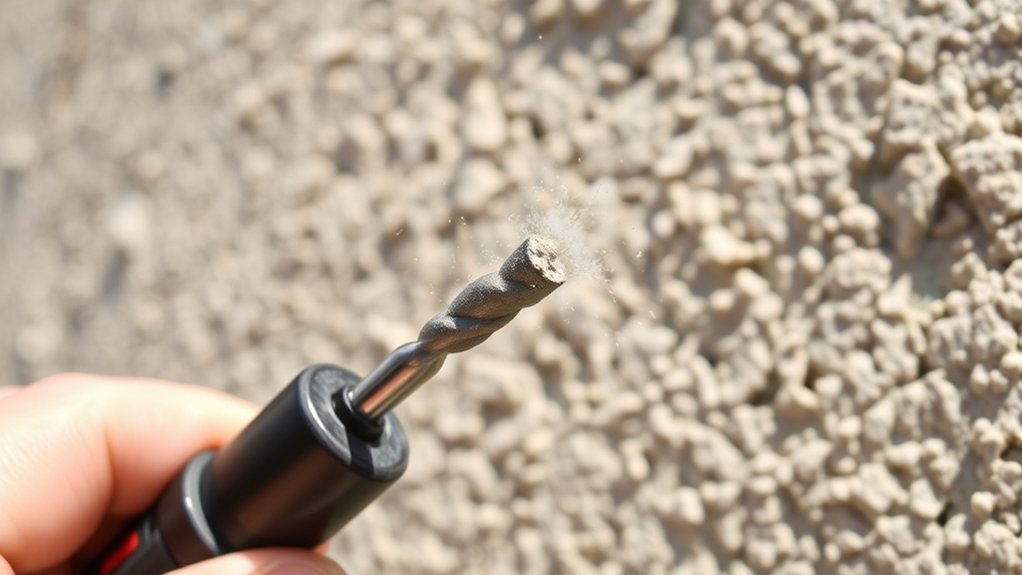
Choosing the right drill bit is essential when working with stucco because this material’s hardness and brittleness demand specific tools to prevent damage. Stucco characteristics, such as its abrasive texture and layered composition, require drill bit types designed for masonry.
Carbide-tipped or diamond-tipped bits excel in maintaining sharpness and resisting wear during drilling. Using inappropriate bits can cause cracking, chipping, or inefficient penetration, compromising structural integrity.
You need a drill bit that balances toughness with precision to minimize vibration and heat buildup. Selecting the correct drill bit type guarantees clean holes without damaging the stucco surface or underlying materials.
What Makes Stucco Different From Other Surfaces?
Although stucco may seem similar to other building materials at first glance, its unique composition and texture set it apart markedly. Stucco composition typically includes cement, sand, lime, and water, creating a dense, hard surface that differs markedly from wood, drywall, or brick.
Its surface texture is rough and uneven, designed to provide durability and weather resistance. Unlike smoother materials, the porous and abrasive nature of stucco demands specialized handling during drilling to prevent cracking or chipping.
Understanding these characteristics helps you select the appropriate tools and techniques, ensuring clean, precise holes without damaging the surface. Recognizing stucco’s distinct composition and surface texture is essential for effective installation and maintenance in construction or renovation projects.
Which Drill Bits Work Best for Stucco Walls?
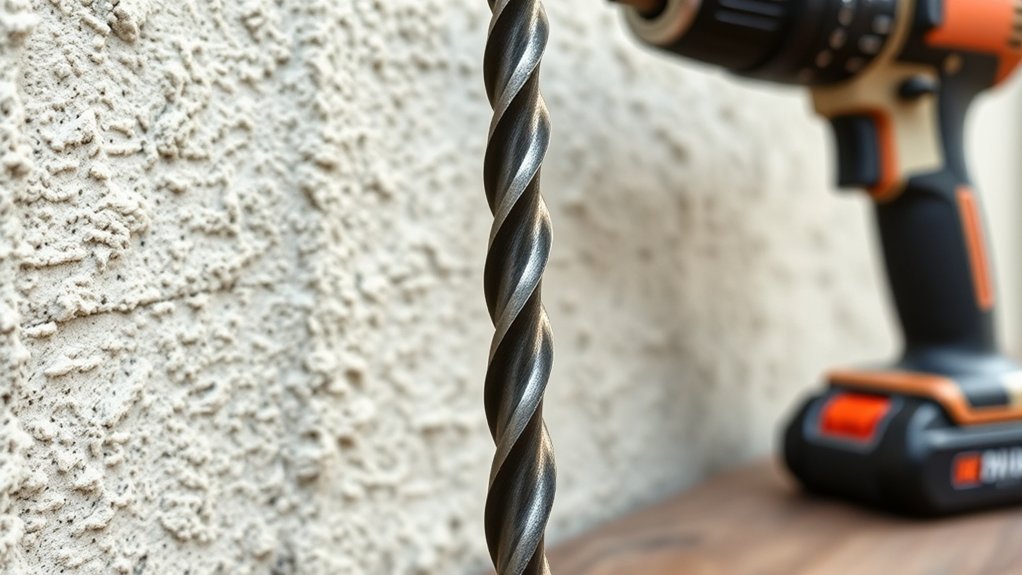
When you drill into stucco walls, using the right drill bit is essential to avoid surface damage and guarantee clean holes. For stucco repair, carbide-tipped masonry bits are your best choice. They offer durability and precision, effectively penetrating the hard, abrasive surface without cracking or chipping.
Always make sure the drill bit is sharp and in good condition; this reduces excessive heat and stress on both the bit and the wall. Proper drill maintenance, including regular cleaning and timely replacement of worn bits, extends tool life and improves performance.
Avoid using standard wood or metal bits, as they dull quickly and can damage the stucco. Selecting the appropriate drill bit and maintaining it properly makes certain efficient, damage-free drilling for stucco projects.
How to Choose Between Masonry and Carbide-Tipped Bits
How do you determine whether a standard masonry bit or a carbide-tipped bit suits your stucco project best? First, consider the material density and the frequency of use. Masonry bits are designed for general-purpose drilling into stucco, brick, and concrete.
They feature a tungsten carbide tip that balances durability and cost-effectiveness, making them ideal for occasional or light-duty tasks. In contrast, carbide-tipped bits have a thicker carbide layer and enhanced toughness, providing superior wear resistance and longer life.
Choose carbide-tipped bits when working on harder stucco blends or for repetitive, heavy-duty drilling, as they maintain sharpness and efficiency. Ultimately, select masonry bits for simpler, infrequent jobs, and opt for carbide-tipped bits when durability and precision under demanding conditions are paramount for your stucco work.
How to Use Masonry Bits on Stucco
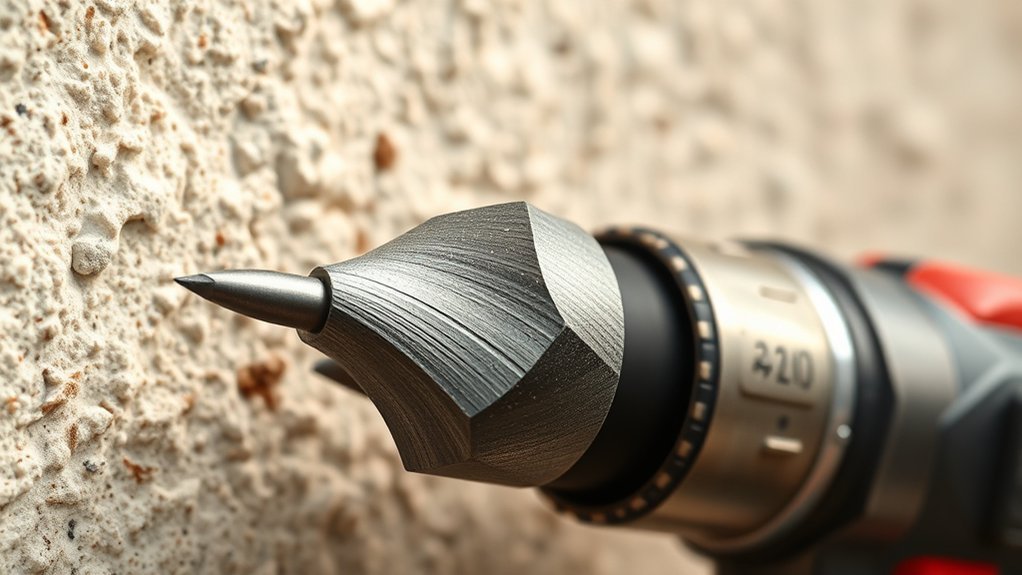
Using masonry bits on stucco requires careful preparation and steady technique to guarantee clean, effective holes without damaging the material. Begin by selecting the appropriate masonry drill types designed for stucco’s abrasive surface.
Careful preparation and the right masonry drill ensure clean holes without damaging stucco surfaces.
Employ the following stucco drilling techniques for ideal results:
Use a hammer drill on a low speed setting to maintain control.
Start drilling at a slight angle to prevent bit slippage, then shift to perpendicular.
Apply consistent, moderate pressure, avoiding excessive force that may crack the stucco.
Periodically withdraw the bit to clear dust and debris, ensuring efficient cutting.
Tips to Prevent Stucco Cracking When Drilling
Proper drilling techniques with masonry bits can greatly reduce the risk of stucco cracking, but additional precautions help protect the integrity of the surface. As a preventive measure, always mark the drilling spot clearly and start with a small pilot hole to minimize stress.
Use a sharp, carbide-tipped masonry bit to guarantee clean cuts and reduce vibration. Steady your drill to avoid lateral pressure, which can cause fractures. Before drilling, inspect the stucco for existing cracks or weaknesses and avoid those areas if possible.
Keep the drill perpendicular to the surface to distribute force evenly. Finally, after drilling, seal the hole promptly to prevent moisture intrusion, which can compromise stucco durability. These drilling techniques and preventive measures collectively maintain stucco’s structural soundness during installation.
Best Drill Speed and Pressure for Stucco
Although stucco is a durable material, you need to control drill speed and pressure carefully to avoid damaging its surface. Proper drill techniques are essential to maintain the integrity of the stucco during installation or repairs. When drilling, moderate speed combined with steady, gentle pressure prevents cracking and guarantees clean holes.
Keep these points in mind for ideal results:
- Use a variable-speed drill set between 600 and 1000 RPM
- Apply consistent, light pressure without forcing the bit
- Pause periodically to allow dust to clear and reduce heat buildup
- Avoid high speeds that generate excessive friction, risking surface damage
Mastering these parameters complements effective surface preparation and guarantees your drilling tasks proceed smoothly without compromising the stucco’s durability.
Preparing Your Stucco Surface for Drilling
Before you start drilling, make certain to clean the stucco surface thoroughly to remove dust and debris that could affect accuracy.
Precisely mark your drill points to guarantee proper alignment and avoid unnecessary damage.
Always wear protective gear to safeguard yourself from dust and potential chips during the drilling process.
Clean Surface Thoroughly
When preparing to drill into stucco, you need to clean the surface thoroughly to assure ideal drill bit performance and secure anchoring. Proper surface preparation is critical for effective stucco maintenance and assures your drill bit doesn’t slip or bind.
Begin by removing all dirt, dust, and loose particles from the drilling area. Use a stiff brush or compressed air for deep cleaning.
Focus on these key steps:
- Clear away cobwebs, moss, or algae growth.
- Remove any peeling paint or stucco flakes.
- Wipe down the area with a damp cloth to eliminate fine dust.
- Allow the surface to dry completely before drilling.
This precise cleaning process promotes better adhesion of anchors and extends the longevity of your drilling work.
Mark Drill Points
After thoroughly cleaning and drying your stucco surface, you can accurately mark the drill points to confirm precise placement. Begin by selecting appropriate marking techniques, such as using a pencil or chalk that contrasts well against the stucco texture without damaging it.
Measure carefully and use a level or straightedge to ascertain consistent drill positioning, especially when installing multiple fasteners or fixtures. Mark points clearly but minimally to avoid obscuring the surface or causing confusion during drilling.
Double-check all measurements and alignment before proceeding to avoid errors that can compromise the integrity of the stucco or the stability of the mounted object. Proper marking techniques and precise drill positioning are critical steps that set the foundation for a successful, clean drilling operation on stucco surfaces.
Use Protective Gear
Wearing the right protective gear is essential to confirm your safety while drilling into stucco. Stucco particles and dust can pose serious risks if inhaled or if they come into contact with your eyes or skin. To verify you follow proper safety precautions, equip yourself with appropriate protective equipment before starting. This includes:
- Safety goggles to shield your eyes from airborne debris
- A dust mask or respirator to prevent inhalation of fine particles
- Durable gloves to protect your hands from abrasions and vibrations
- Ear protection to reduce noise exposure from drilling
Adhering to these safety precautions reduces the risk of injury and confirms a safe working environment. Always inspect your protective equipment for damage before use and replace any compromised gear immediately.
How to Drill Anchors and Fasteners Into Stucco
To drill anchors and fasteners into stucco effectively, you need to select the correct drill bit designed for masonry. Start by thoroughly preparing the stucco surface to prevent cracking and guarantee a secure hold.
Then, install the anchors with proper technique to maintain structural integrity and maximize fastening strength.
Choosing The Right Drill Bit
Selecting the appropriate drill bit is essential when installing anchors and fasteners into stucco to guarantee a secure hold without damaging the material. You’ll want to choose drill types specifically designed for masonry, such as carbide-tipped or diamond-tipped bits, which effectively penetrate stucco’s hard surface.
Consider the bit diameter carefully to match your anchors’ size, ensuring stability. Additionally, proper surface preparation before drilling is critical to avoid cracking.
Key considerations include:
Use hammer drill mode with masonry bits for efficient penetration
Select a bit slightly smaller than the anchor diameter
Avoid high-speed drilling to prevent overheating
Regularly withdraw the bit to clear dust and debris
Preparing Stucco Surface
Before drilling into stucco, you should thoroughly clean and inspect the surface to guarantee it’s free of loose particles, dirt, or moisture that could compromise anchor stability. Conduct a detailed surface inspection as part of routine stucco maintenance to identify cracks, crumbling areas, or water damage.
Use a brush or compressed air to remove dust and debris, ensuring a clean drilling zone. Moisture presence must be addressed; damp stucco can weaken anchor hold and lead to premature failure. Confirm the stucco’s structural integrity before proceeding.
This preparation minimizes the risk of damage during drilling and enhances fastener performance. Proper surface readiness is essential for secure installations and long-term durability in stucco applications, supporting safe and effective anchoring.
Installing Anchors Properly
Although stucco presents a hard surface, drilling anchors and fasteners into it requires careful technique to avoid cracking and guarantee a secure hold. You must select appropriate anchor types, such as plastic, sleeve, or masonry anchors, based on load and stucco thickness.
Use a carbide-tipped masonry drill bit to create clean holes without damaging the surface. Follow precise installation techniques to maintain structural integrity.
Key steps include:
- Mark anchor positions accurately to prevent unnecessary holes.
- Start drilling at low speed to avoid surface chipping.
- Drill to the exact depth recommended for the anchor type.
- Insert anchors firmly, confirming they expand correctly within the stucco.
Adhering to these procedures guarantees your fasteners remain secure and your stucco intact.
Cleaning Up and Repairing Stucco After Drilling
Once you’ve completed drilling into stucco, you’ll need to thoroughly clean the area to remove dust and debris that can interfere with repairs. Use a stiff brush or vacuum to eliminate loose particles from the hole and surrounding surface.
For effective stucco maintenance, it’s essential to restore the integrity of the material by applying appropriate repair techniques. Begin by filling the drilled hole with a stucco patch or a compatible cement-based filler, ensuring it’s compacted to prevent air pockets.
Smooth the surface flush with the surrounding stucco, then allow it to cure as per manufacturer recommendations. Finally, if necessary, apply matching paint or finish to blend repairs seamlessly.
Proper cleanup and repair prolong stucco durability and maintain its protective function.
Conclusion
Choosing the right drill bit for stucco isn’t just a suggestion—it’s crucial to prevent damage and guarantee precision. Would you risk cracking your wall with the wrong tool?
By opting for carbide-tipped or diamond-tipped bits, you maintain sharpness and control, making your drilling task efficient and clean. Remember to use proper speed and pressure, and prepare your surface carefully.
With these steps, you’ll achieve professional results every time without compromising your stucco’s integrity. Selecting the proper type of drill bit for stucco is essential to ensure a smooth and damage-free drilling experience.